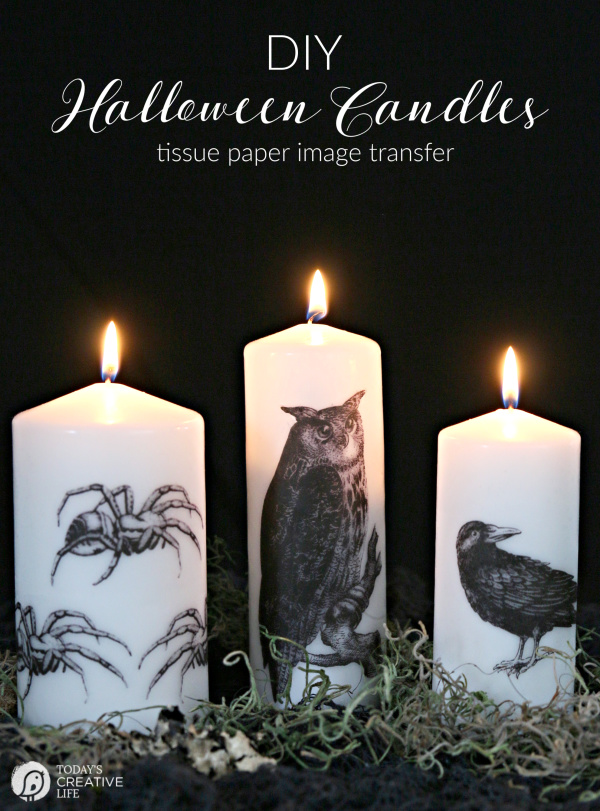
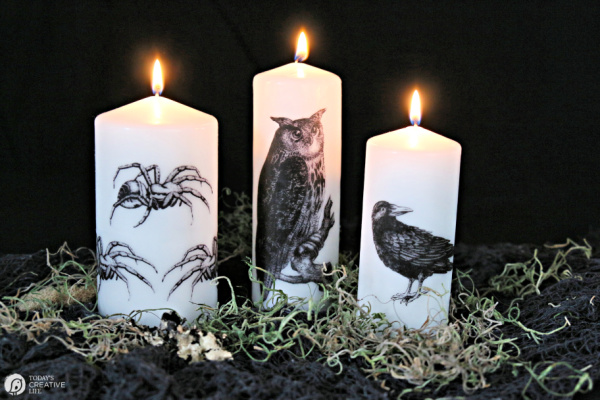
Creating DIY Halloween Candles using tissue paper to transfer any custom image onto a wax candle is an inexpensive and fun way to decorate for any time of year! Image Transfer Halloween Candles make Halloween decorating easy. Create a fun Halloween centerpiece for your Halloween party using any image.
Hey, I’m Kim from Today’s Creative Life where we believe life is more fun when it’s creative! I’m excited to join so many amazing creators as a part of the Spooktacular event here at Eighteen25. Always so many great ideas to get your spook on!
DIY Halloween Candles
This easy DIY craft doesn’t have to be used only for Halloween. You can print anything on any pillar candle. Create seasonal home decor for your mantle, a table centerpiece or an easy DIY gift idea with a nice message or photo. Once you see how easy this is, you’ll be making image transfer candles year-round.
I’ve created my own DIY Halloween decor for years!
How to Make Image Transfer Halloween Candles

Supplies for Image Transfer Candles
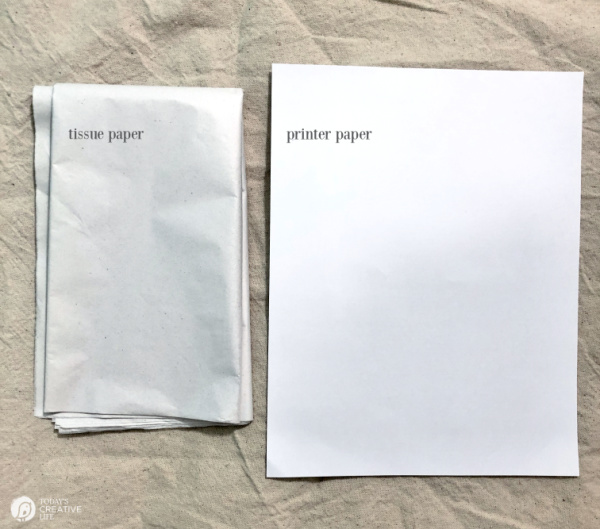
- White Tissue Paper
- Tape
- Printer Paper or Cardstock
- Graphic Images – I found mine on PicMonkey
- Blow Dryer or Heat Gun
- Waxed Paper
- Candles
- Inkjet Printer
- Oven Mitt – optional
1. Find Halloween images you want to use. Print photos, graphics or text.
2. Using your printer paper as a guide, cut one piece of tissue paper a little larger than the piece of paper.
3. With the paper face down on your cut tissue, fold and wrap the tissue around the paper, taping it all the way around.

4. Place into the printer so it will print onto the tissue side. Each printer may be different. If you’re not sure which side of the paper is printed, simply mark a regular piece of paper with a pencil and do a test print.
5. Cut the printed design out and lay the tissue onto your candle.
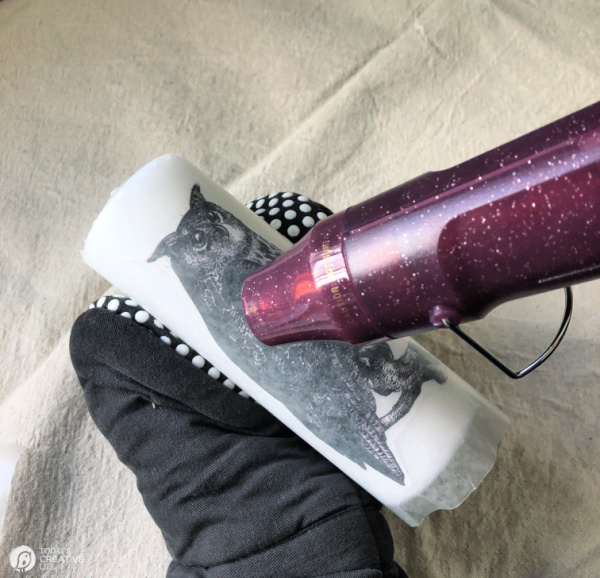
6. Wrap a piece of wax paper tightly over the tissue.
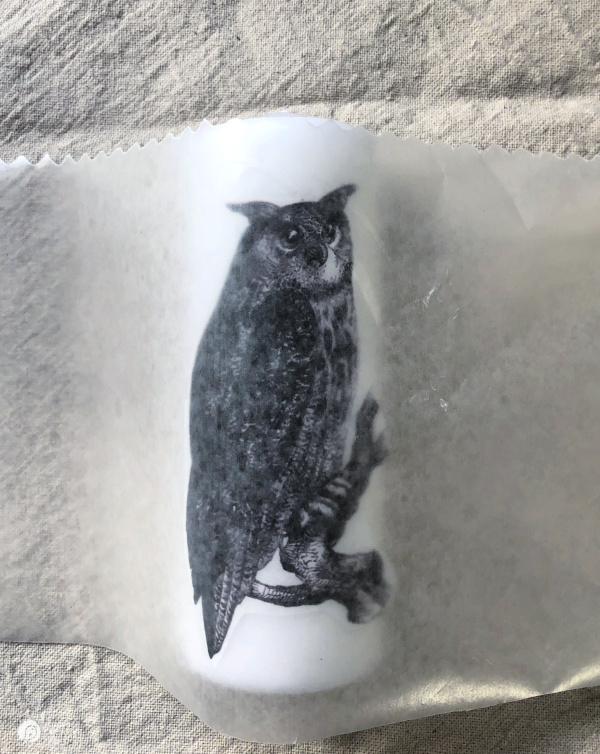
7. Use a blow dryer or heat gun about 2 inches away and with continuous movement to blow hot air over the image for about 20-30 seconds. You’ll notice the image get darker as it melts into the candle. Be careful not to burn yourself. Use a towel, glove or oven mitt to protect your hand.
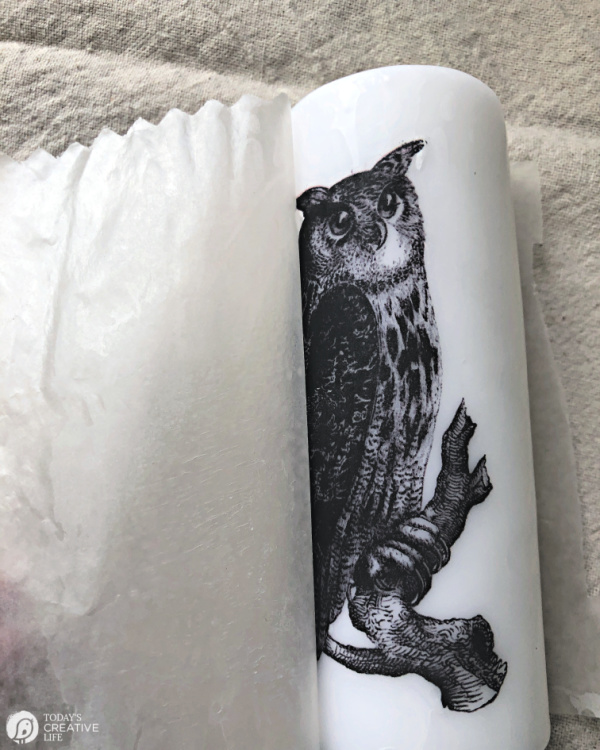
8. I will usually rub the paper a bit before peeling it away from the candle.
9. As you pull the paper away, you’ll see your image on the candle.
If you’re wanting to use text, you’ll want to make sure to reverse your image before printing. Some printers have this setting. I had to google to find out how on my printer.
How to Find Halloween Images
I usually just use the ones available free on PicMonkey. I created one page with all my Halloween designs on it so I could just print out one page.
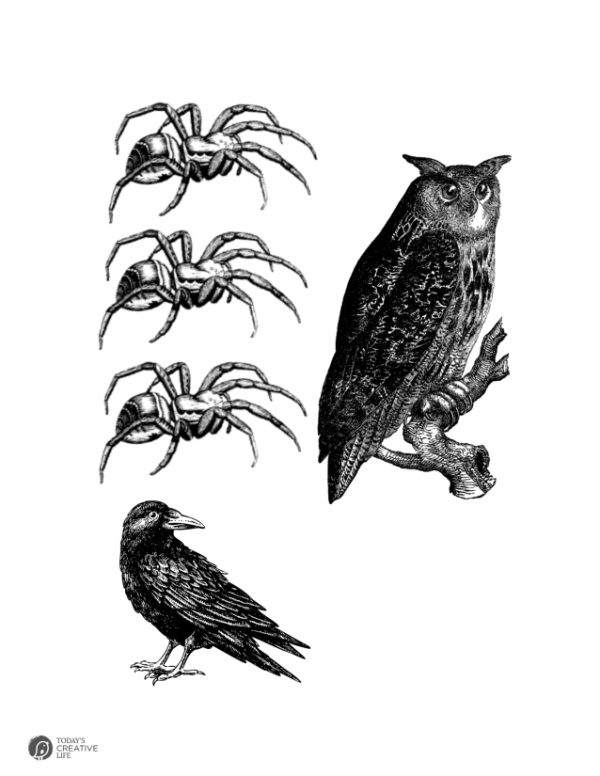
You can also just print black and white or colored photos you have. Or just write out any message with a fancy font. Remember to reverse the image before printing.
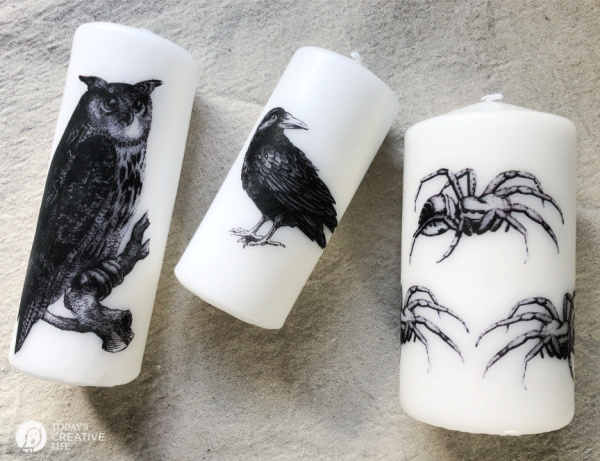
Let the Halloween season of decorating begin with your new DIY Image Transfer Halloween Candles!

Visit Kim on her BLOG | FACEBOOK | PINTEREST | INSTAGRAM
Here are a few more fun Halloween projects to check out:
Latest posts by Jodie and Jen (see all)
- Our Friday Five 9.30 - September 30, 2022
- Our Friday Five 12.3 - December 3, 2021
- Composition Book Christmas Planner - November 28, 2021
What a very clever idea! Great way to turn some dollar store candles into cool Halloween decor that would cost a mint at the store! I love this image transfer candle idea.
Aren’t they so cool!? So glad you like them. 🙂