As far as we’re concerned, here at Get Away Today we believe Minnie Ears never go out of style! That’s why we think it’s important to have at least one pair for all occasions. With this Halloween Minnie Ears DIY, you can whip up a pair of custom ears in no time!
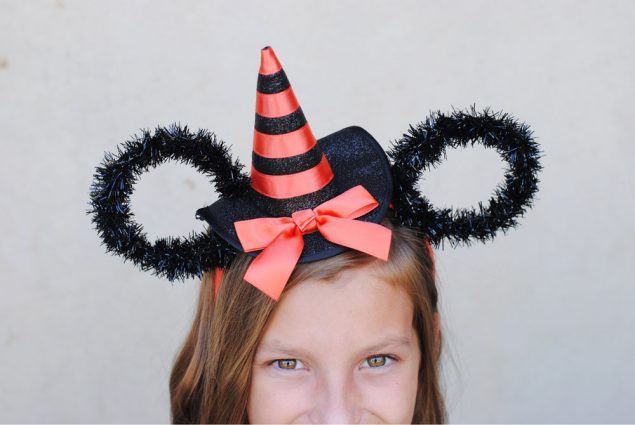
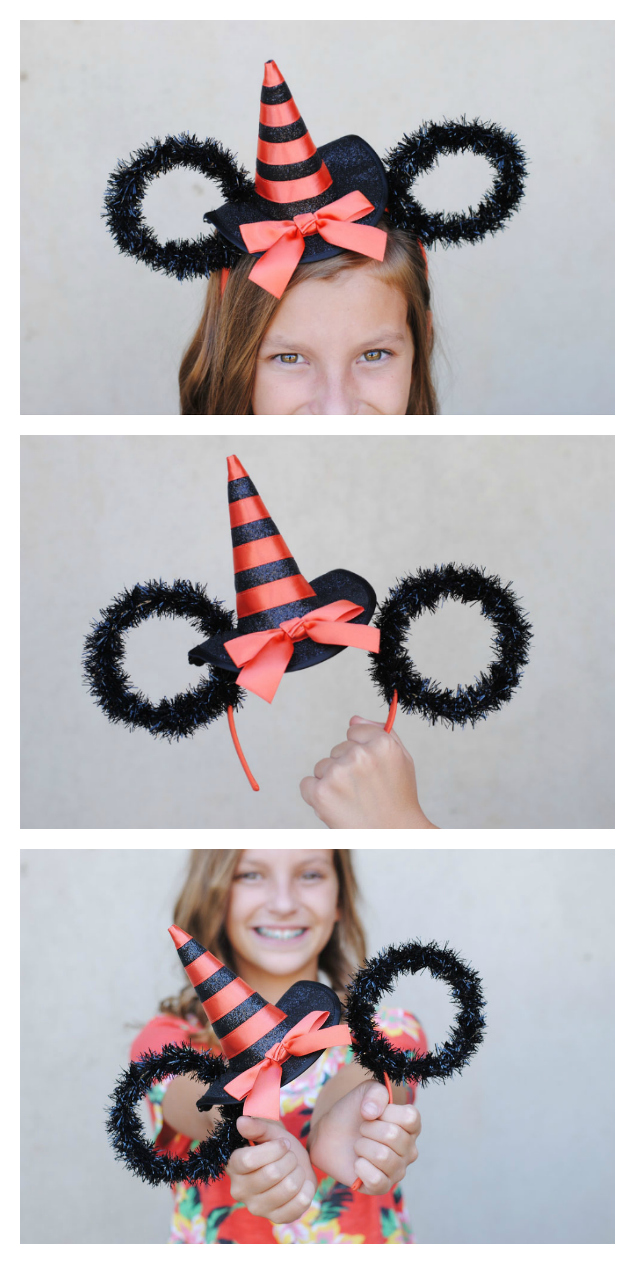
Halloween Minnie Ears DIY
Whether you wear these Halloween Minnie Ears to Disneyland during Halloween Time, or make them part of your trick-or-treating costume, you can’t go wrong! Since Minnie herself is a fan of dressing up, this Halloween Minnie Ears DIY gives her a chance to be a witch for this festive season.
Halloween Minnie Ears DIY – Prep
You can use a bit of Disney magic at home to transform a regular witch hat and headband combo into Halloween Minnie Ears in just 10 minutes! You don’t have to sew anything at all, and even the little witches at home can be involved because this Halloween Minnie Ears DIY is so easy.
Halloween Minnie Ears DIY – Supplies (affiliate links are included in this post)
- Witch hat headband
- Craft wire
- Black, wired tinsel
- Glass cup, or a can
- Scissors
- Wire cutters
- Sticky, black felt
Halloween Minnie Ears DIY – Getting Started
The craft store is probably your best bet for purchasing a witch hat headband. You can also try a dollar store or even Amazon. In a week or so you’ll probably see Halloween costume stores popping up, and they’re a good place to find a witch hat headband, as well. One thing I liked about the particular headband I found is that the hat is off-center. The ones with pointy witch hats in the center kind of resemble unicorn horns, which isn’t the look I’m going for here! Also, make sure you purchase WIRED black tinsel, so you can shape it; regular, draping tinsel will not work for this project.
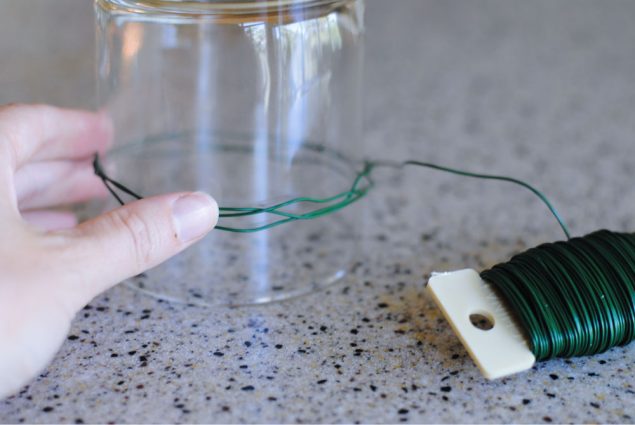
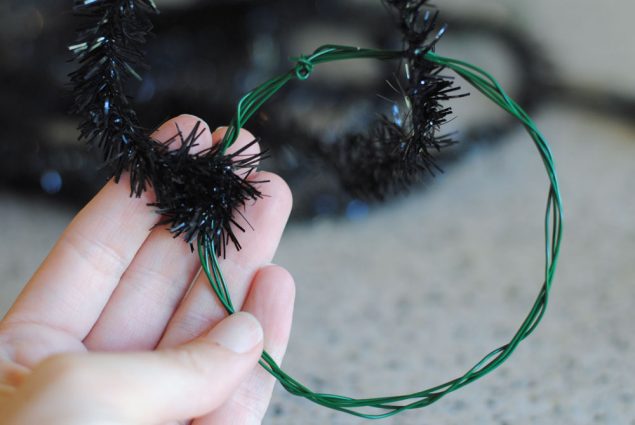
Use the glass cup or the can as a mold for the craft wire. Wrap the craft wire around your mold three times, and then secure the end in place by looping the end around the starting point to secure all your loops. Unroll a 15-inch tail of the craft wire before using the wire cutters to snip it off the roll. Do this twice so you have two Minnie Ears.
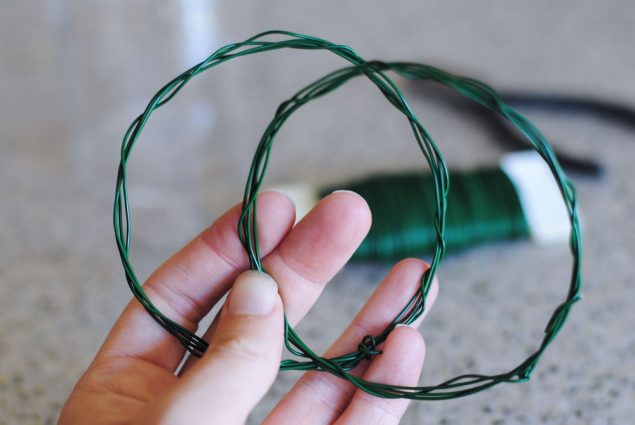
At this point, it’s time to slide the loops off your glass/can mold. Use the 15 spare inches of wire to wrap around each of the two loops to keep them together and make your Halloween Minnie Ears that much more sturdy.
Now, wrap the black tinsel wire around the craft wire rings you created. You will need about three feet of tinsel wire for each. Wrap the tinsel wire very tightly and push it tightly together so the craft wire underneath is completely hidden. This also helps make the Minnie Ears look full and have extra sparkle.
If you have any extra tinsel wire after wrapping your loops, leave about five inches to spare before snipping it off. You will need those five inches for your next step.
Halloween Minnie Ears DIY – Attaching the Ears
Using those extra five inches of tinsel wire, attach each Minnie Ear to the witch hat headband. Wrap those five inches of tinsel wear tightly, and make sure the loose end is tucked up away from your little witch’s head.

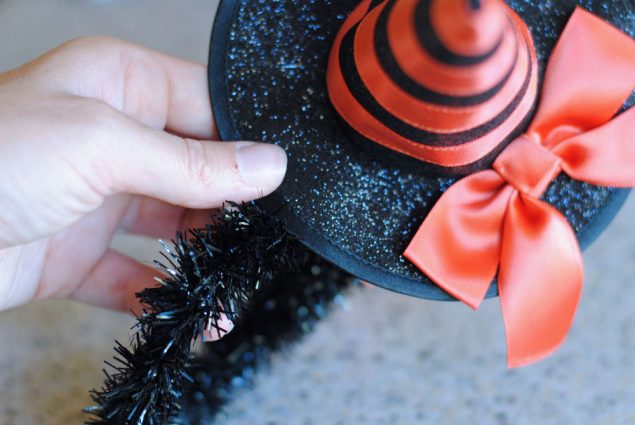
Repeat the above step on the second Minnie Mouse ear. Because I bought a headband with an off-center hat, I had to cut a slit in the hat’s brim to make room for one of Minnie’s Halloween Ears. Center your Minnie Ears to see exactly where you need to make your slit. Using scissors, cut a piece out of the brim of the hat. Keep that piece!
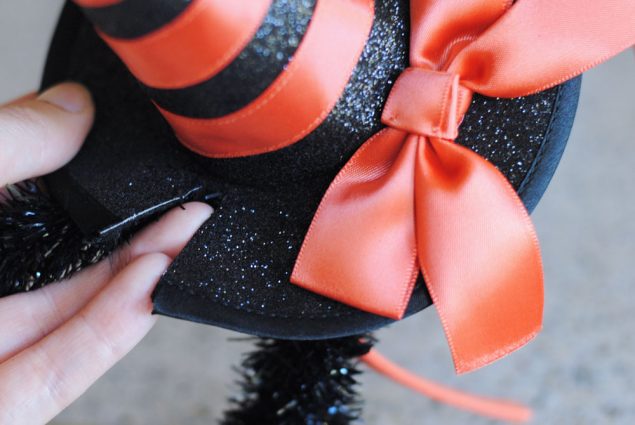
Lay the hat brim over the ear so it looks natural. You can leave it as is, or use fray glue to prevent the hat brim from looking rough. If you want a more finished look, add the following extra steps.
Halloween Minnie Ears DIY – Finishing Touches
Cut a small piece of black sticky felt that is slightly bigger than the slit you cut from the witch hat brim. Peel off the back of the felt so it reveals the sticky side, and place that on the underside of the hat’s brim. It should be covering the hole you cut, with the sticky side of the felt facing the slit. Then, put the hat piece right on top of the exposed, sticky side of the felt. You can even use a dab of hot glue is that seems more secure.

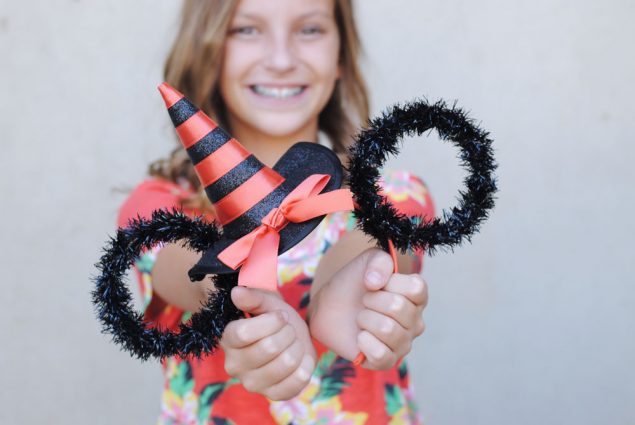
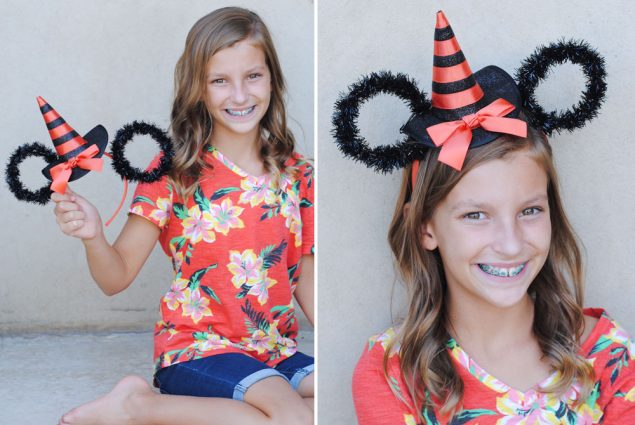
And there you have it! You’re finished with this straightforward, Halloween Minnie Ears DIY. You’re ready to wear them to Disneyland’s Oogie Boogie Bash – A Disney Halloween Party or Mickey’s Not-So-Scary Halloween Party in Walt Disney World. They’re perfect for an autumn visit to either Resort, or for neighborhood Halloween festivities.
Eighteen25 is happy to partner with Get Away Today to help you stay in the know with discounts, travel tips and insider info for all things Disneyland. Whether you choose to save with their Extra Day Free ticket special, Extra Nights Free at select hotels near Disneyland or by taking advantage of their interest-free Layaway Plan, Get Away Today is there for you every step of the way. Find all vacation packages HERE or speak directly to a travel agent at 855-GET-AWAY.
Here are a few more Halloween Disney Crafts to check out:
- Mickey Mouse Halloween Party
- Halloween Disney Countdown Chain
- Mummy Mickey Mouse Rice Krispie Treats
- DIY Haunted Mansion Lanterns

Use Promo Code: Eighteen25 at Get Away Today to receive $10 off any southern California Vacation that includes at least 2 nights hotel stay and 2 tickets.

Latest posts by Jodie and Jen (see all)
- Our Friday Five 9.30 - September 30, 2022
- Our Friday Five 12.3 - December 3, 2021
- Composition Book Christmas Planner - November 28, 2021
Super cute!
I agree. I think I need some for myself. 🙂