It’s back to school time, and what better to do in between all your clothes and school supply shopping than crafting? Since the kids will be starting school, and mistakes are inevitable, have them help you create their own erasers using eraser clay! Hey everyone! It’s Kara from A Kailo Chic Life and I am going to share how easy it is to make your own shaped erasers.
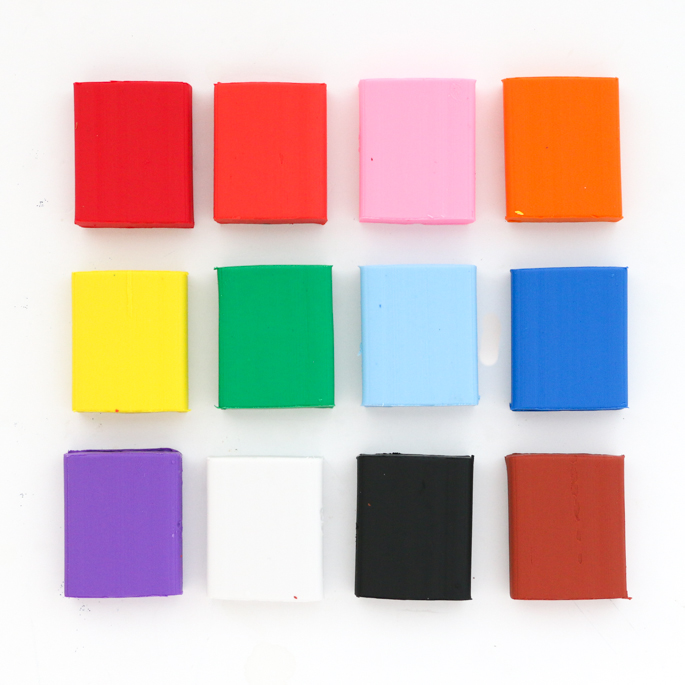
Thanks to the magic of eraser clay, making your own shaped erasers is easier than ever. Just shape the clay and bake to create your own rubbery eraser.
The Supplies:
- * Eraser Clay
- * Cookie Sheet
- * Oven
- * Optional – Silicone mold
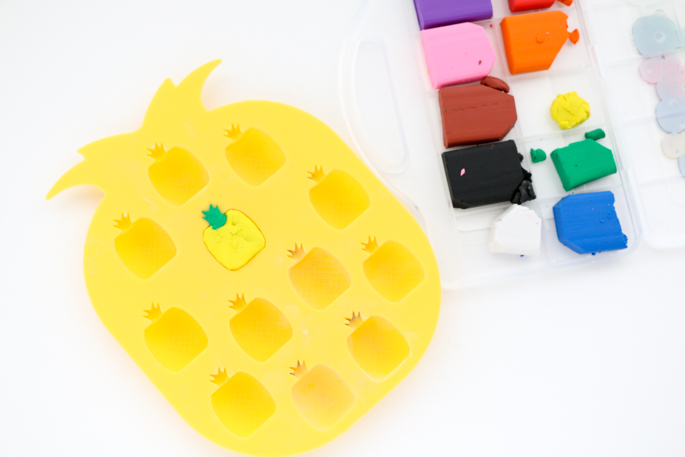
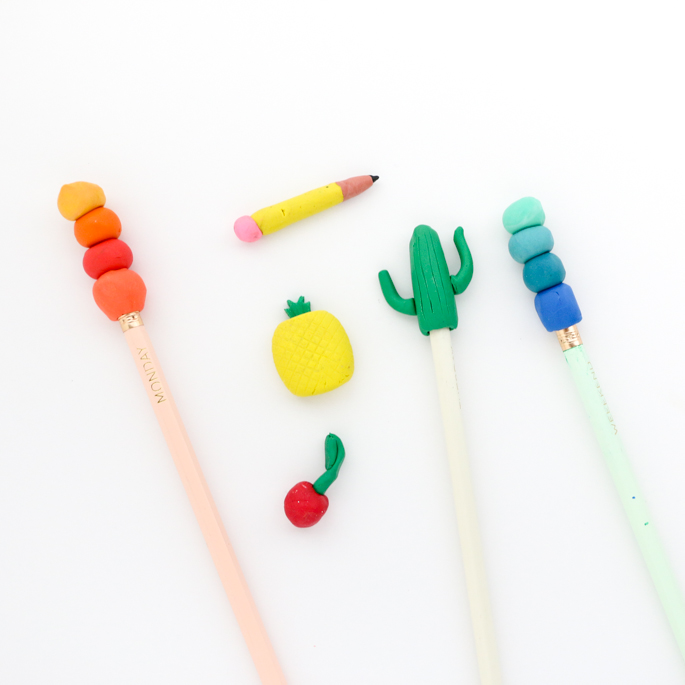
I made several different shaped erasers using different techniques and will share the different methods with you today. One easy way to make shaped erasers is to use a shaped silicone mold like this pineapple one.
Just squish the clay into the mold, bake and remove for a fun eraser. This method would be perfect for little hands that have trouble making their own shaped erasers.
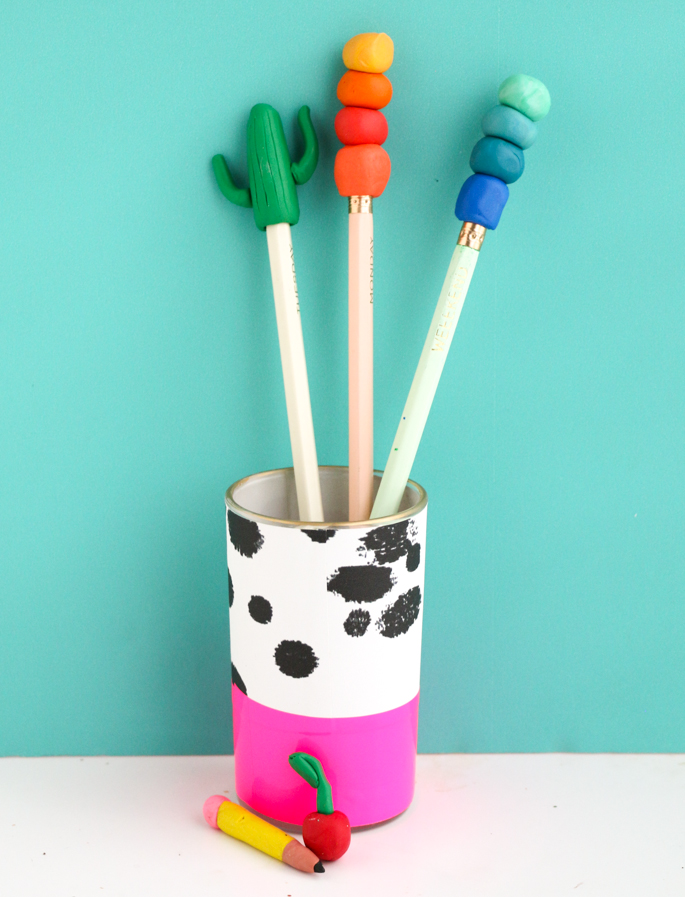
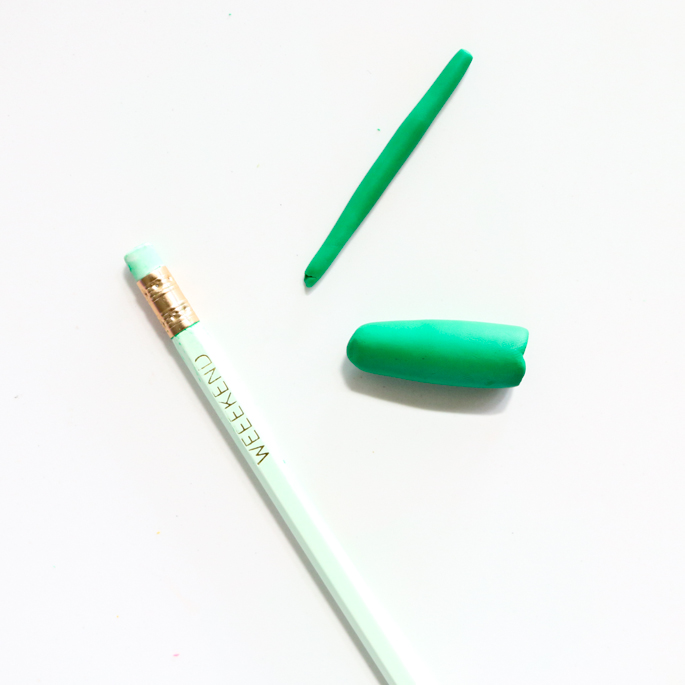
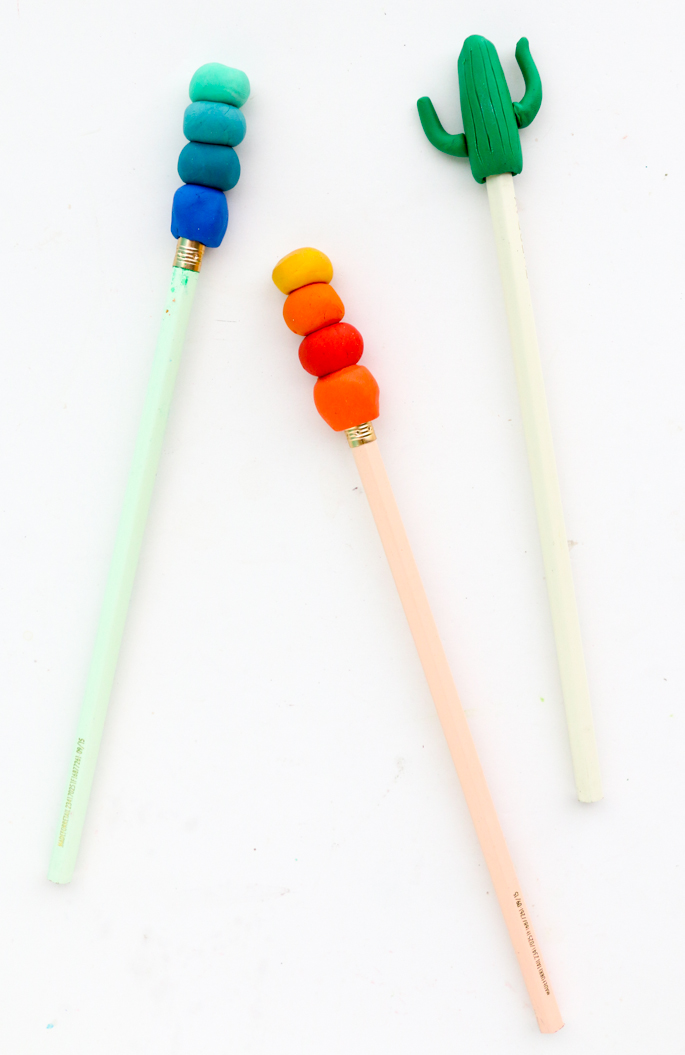
Another method is to create a ball or tube on top of a pencil with the clay and then add to it like I did with these fun ball and cactus erasers. Once your shape is made, remove the pencil and bake according to the package directions. Once the eraser is cooled, you can slip that pencil back in and have the most fun pencil eraser bling.
My daughter loved helping make her own erasers too! Just check out that cherry and pencil!
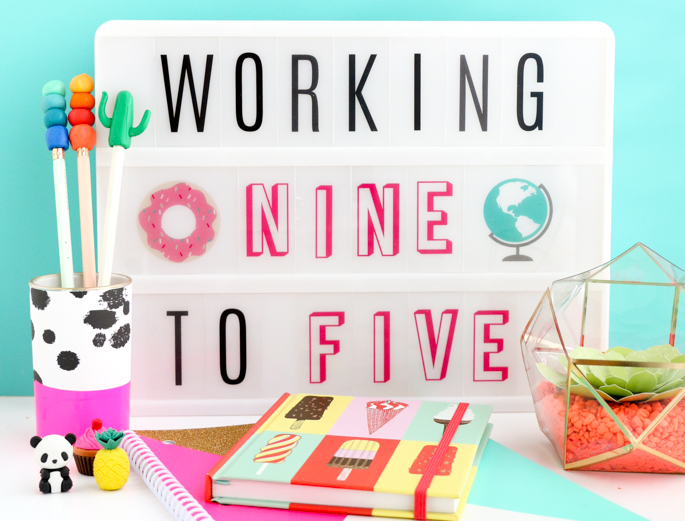
And while these erasers are perfect for the kids to take to school to correct their work, they are also super fun for adults to make for a little office flair.
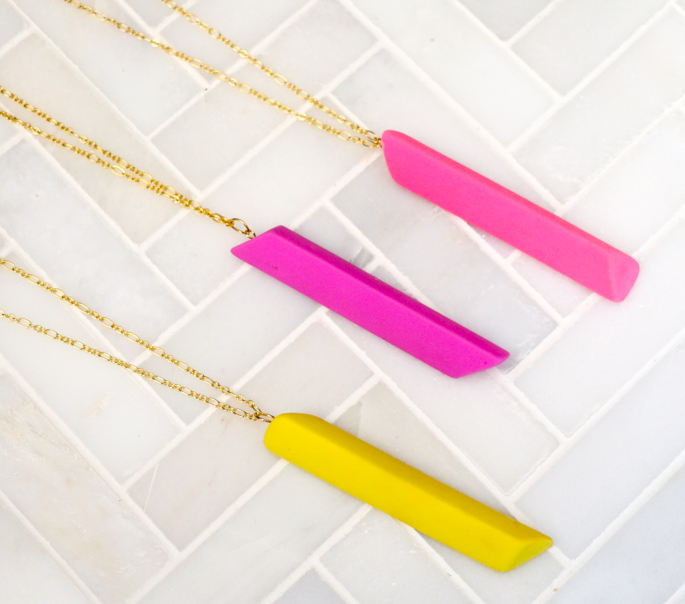
I hope you enjoyed this simple tutorial into making your own erasers. Be sure to check out my blog, A Kailo Chic Life, for even more fun DIY and craft ideas like these eraser necklaces
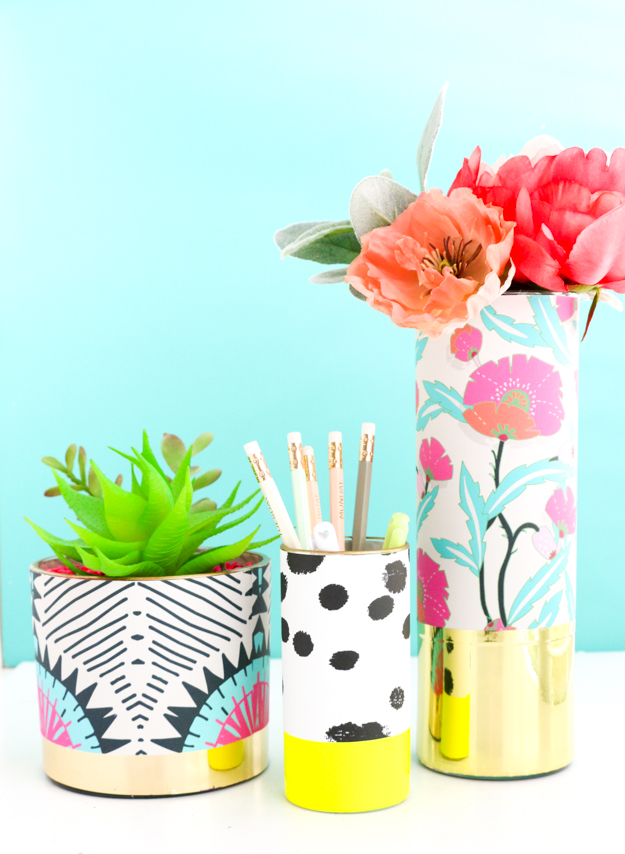
 or these patterned pencil cups.
Follow along with Kara on her Facebook : Instagram : Pinterest : Twitter
Here are some more great DIY & Craft projects you can find on Eighteen25:

Leave a Reply