These easy meringue bones make a fun Halloween treat for Halloween parties or class treats.
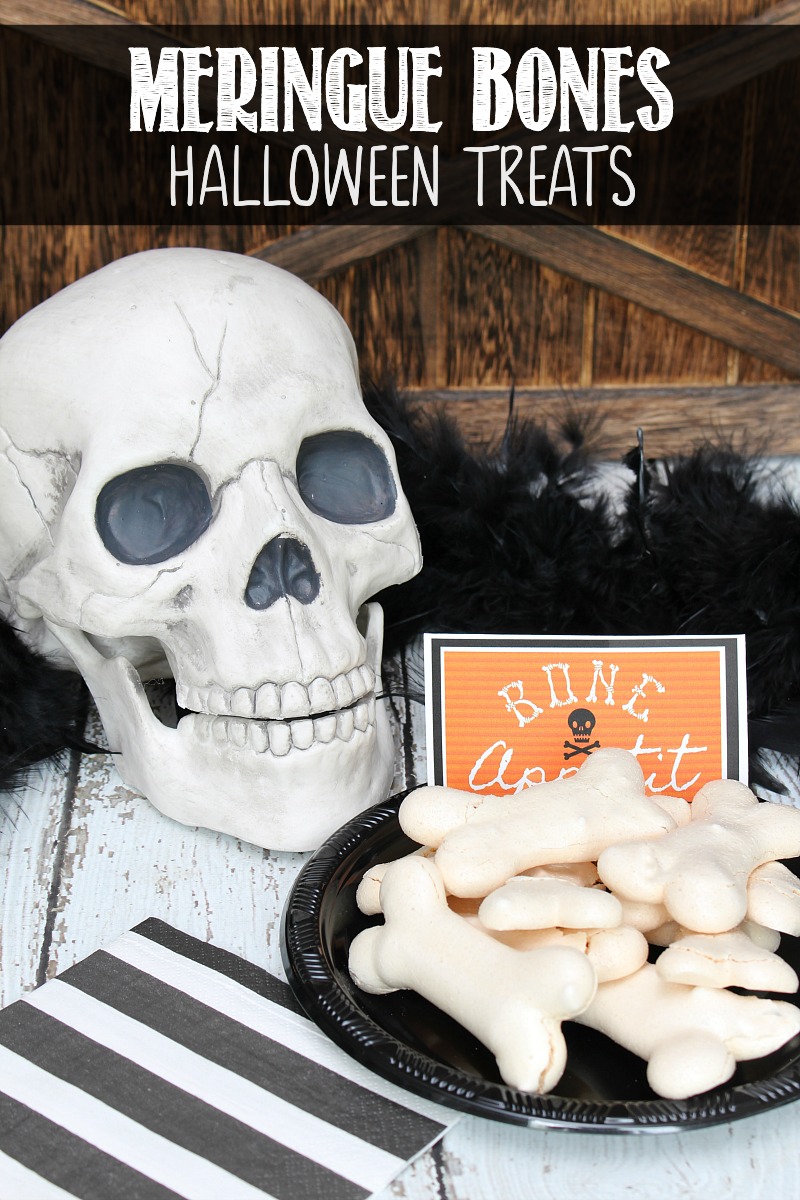
Hello Eighteen 25 fans! It’s Jenn here from Clean and Scentsible. I’m so excited to be back again for this year’s Spooktacular September! It always puts me in the holiday spirit and gives me so much Halloween inspiration. Bring on the spooky!
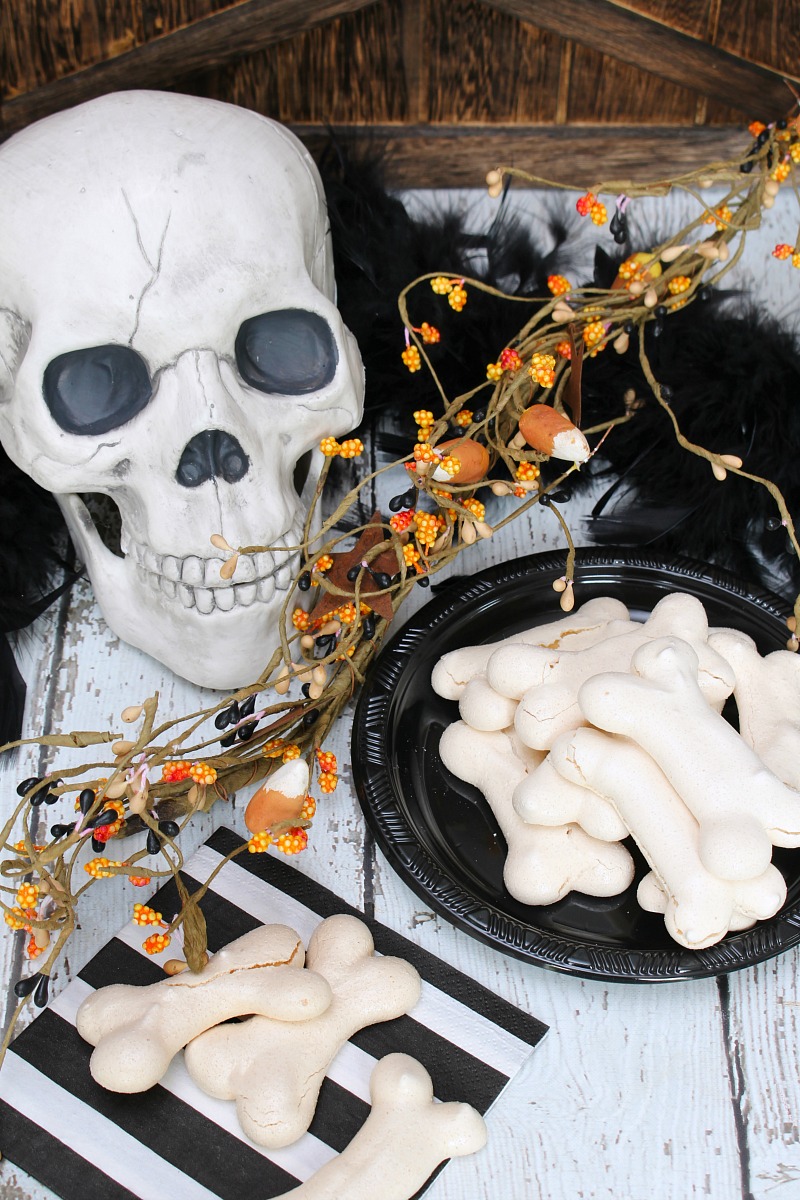
Halloween Food Ideas
One of the things that I love doing at Halloween is coming up with fun Halloween food ideas. Even if you’re not hosting a Halloween party, they just add a lot of Halloween spirit to the every day menu. We always put together a family Halloween dinner every year and there are usually at least a few Halloween treats that we’ll make up in the weeks leading up to Halloween.
Today, I’m sharing this easy recipe for meringue bones. They’re so cute on their own, but they also work great for dessert toppers too. Just add them to cupcakes, pudding cups, or Halloween cakes for that special touch. You could also keep it a little healthier and add one or two to a bowl of chopped strawberries or raspberries for a little added sweetness. Or have them on the side with some hot chocolate or goblin potion.
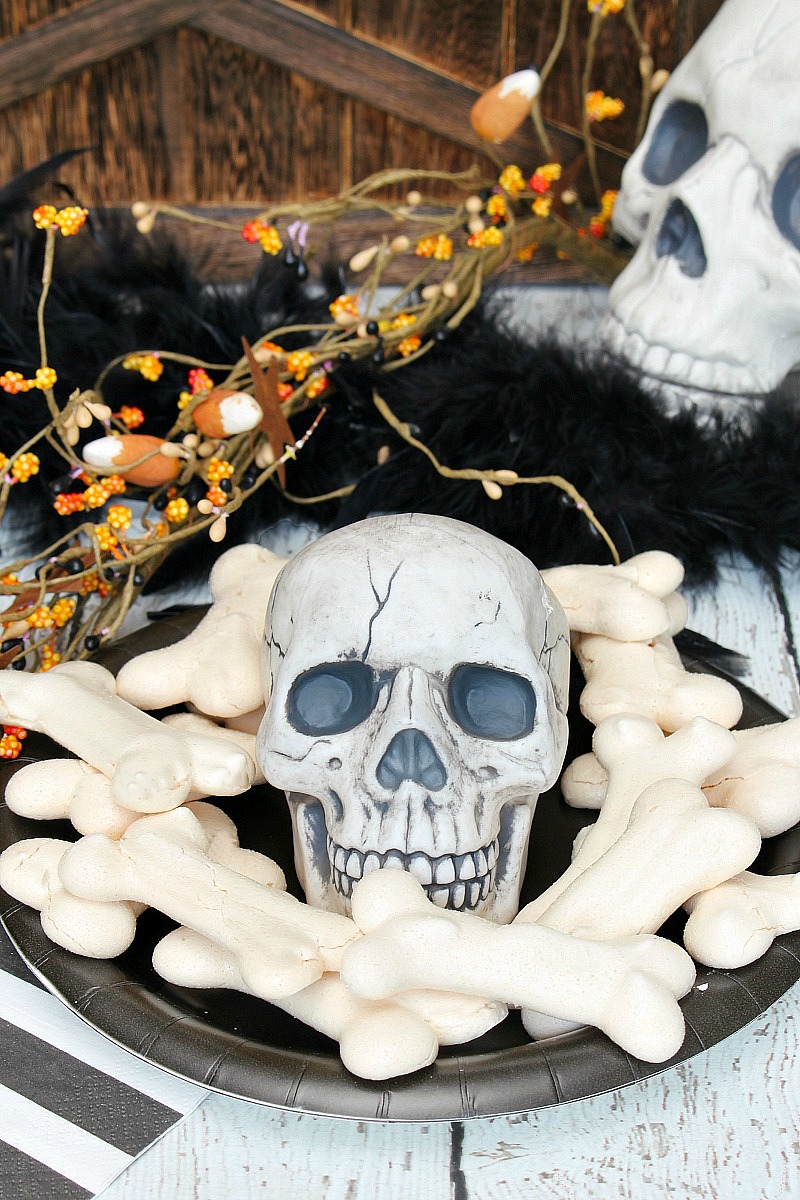
Meringue Bones Recipe
This meringue bones recipe makes about 20-24 bones depending on the size or 10-12 of the “sandwiches”. Be sure to check out the tips at the end of the post for recommendations on making the perfect meringue.
Ingredients
- 3 large egg whites
- 1/4 tsp cream of tartar. This is a stabilizer to make a sturdier meringue.
- 3/4 cup sugar
- 1 tsp. vanilla extract
- Nutella or strawberry jam for filling {optional}
Instructions
- Preheat the oven to 250 F. Position the oven racks in the upper and lower thirds.
- Line baking sheets with parchment paper.
- Beat the egg whites and cream of tartar in a large bowl with a mixer on medium speed until the the mixture is white and foamy like soap bubbles. Gradually beat in the sugar {1-2 tbsp. at a time} until thick and glossy, about 5 minutes. Beat in the vanilla.
- Transfer to the mixture to a pastry bag with a 3/8 round tip. If you don’t have a pastry bag, you can use a Ziploc bag and cut a small slit in one of the bottom corners of the bag for piping. Pipe 3-4 inch bones onto parchment paper.
- Bake for 1 1/2 to 2 hours switching the pans halfway between baking. The meringues should be dry and crisp. Allow them to gradually cool in the oven then remove and let them completely cool on the baking sheets.
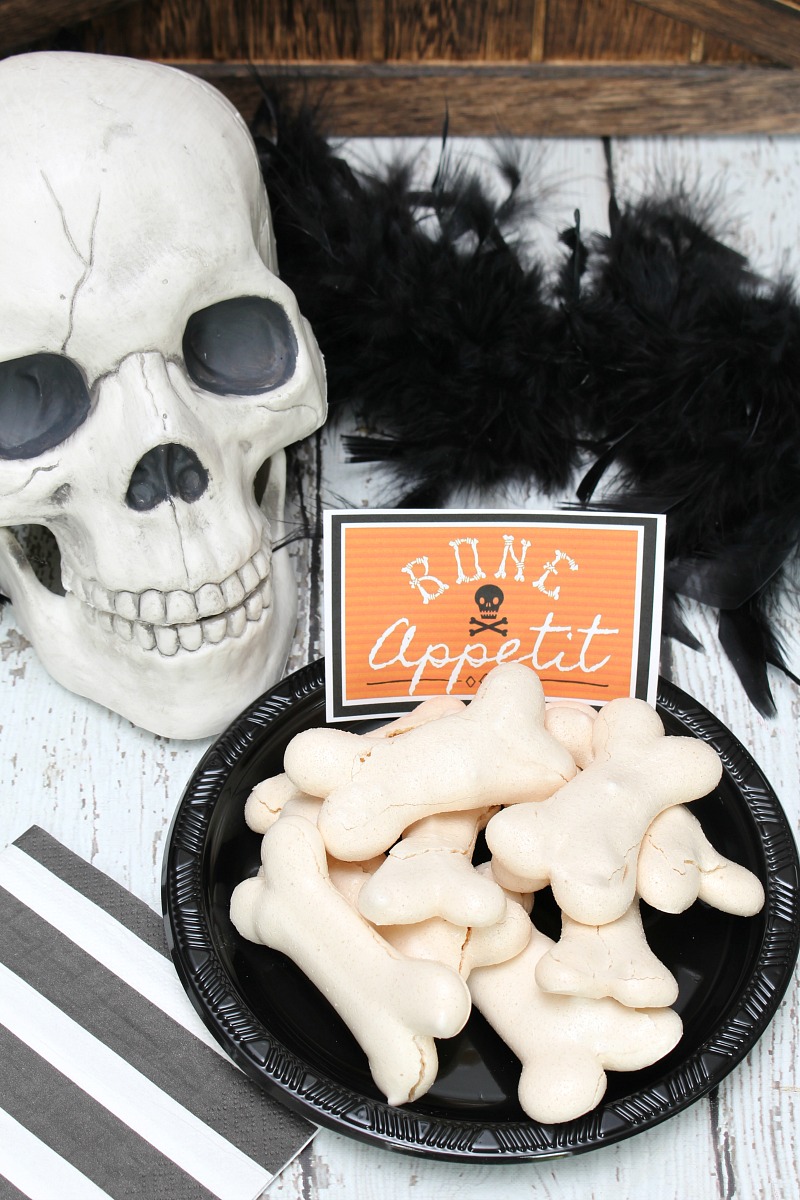
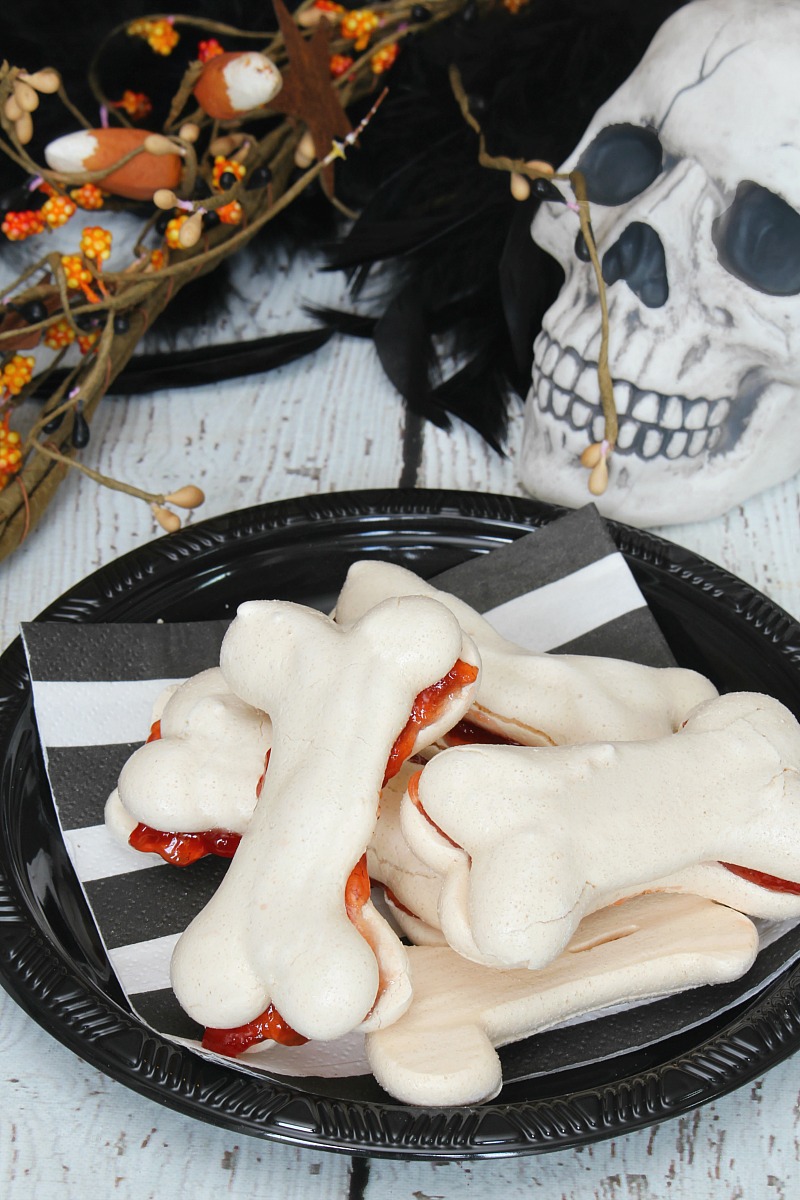
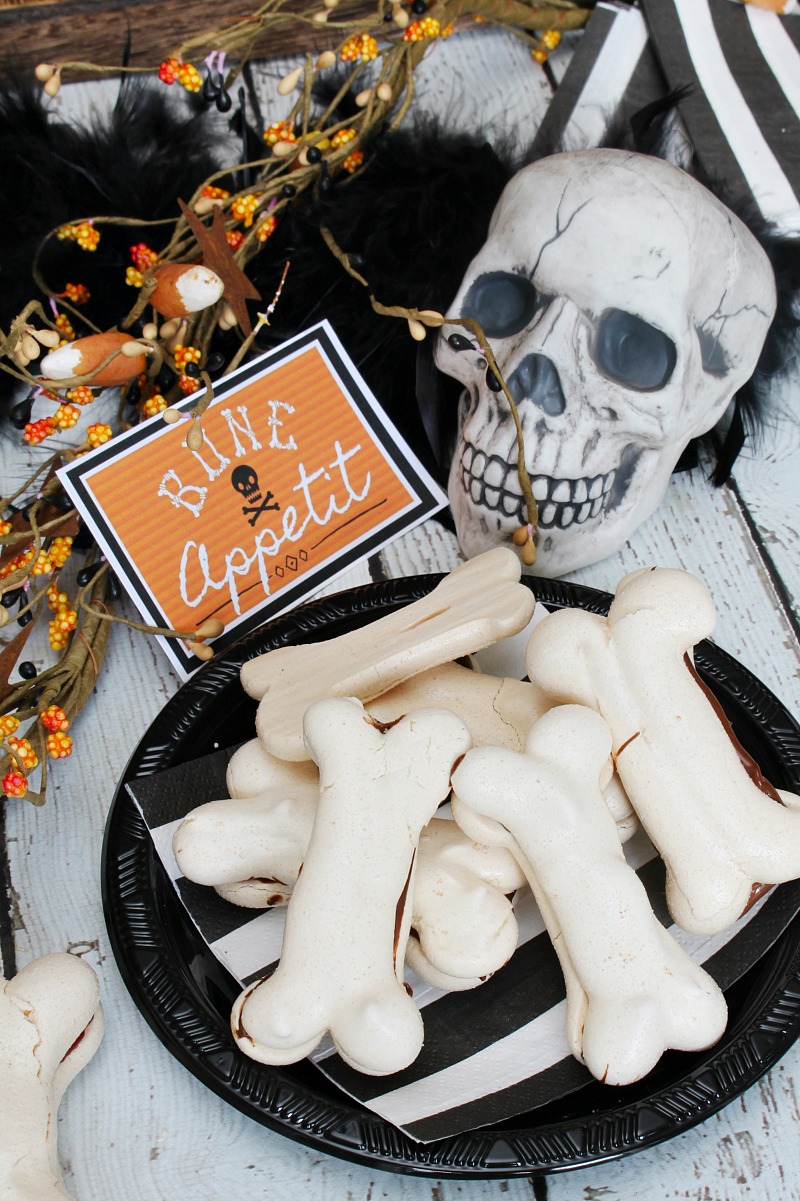
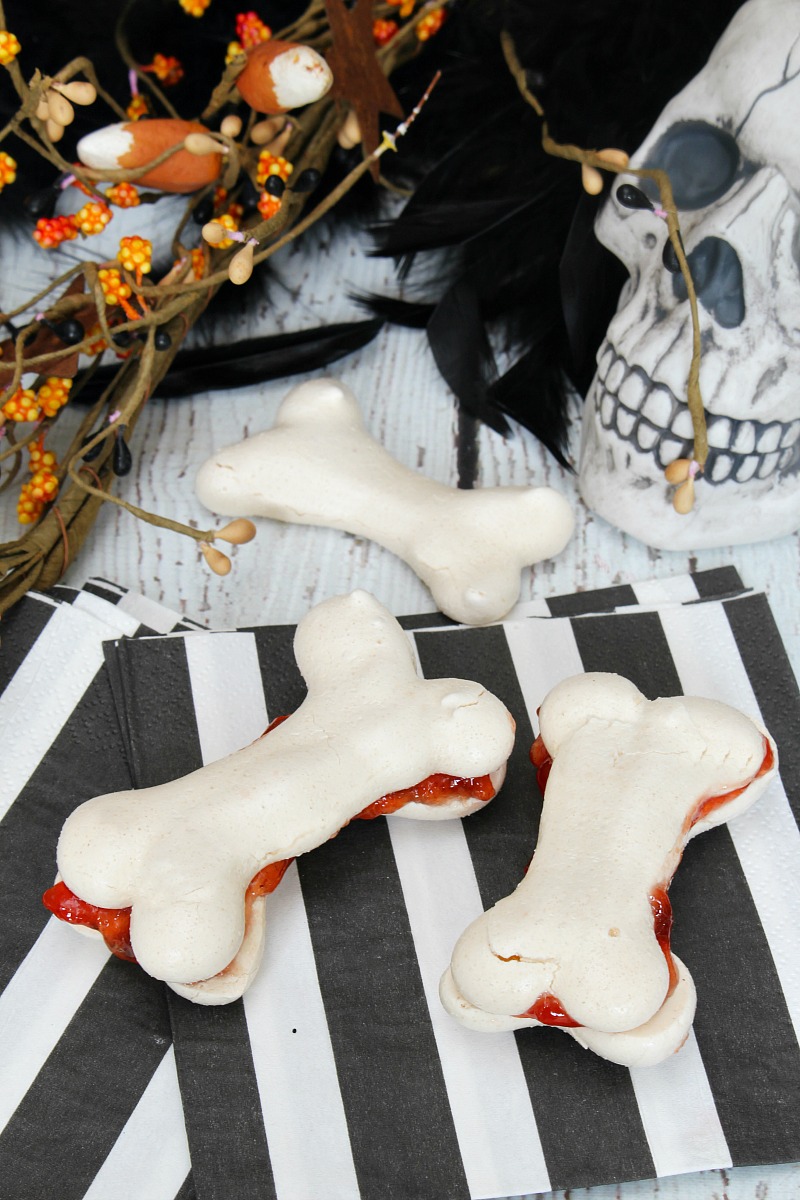
- You can eat the meringue bones on their own or use them for Halloween toppers on cupcakes, cakes or pudding cups. For some added flavor, you can add an optional filler such as strawberry jam or Nutella. Just spread it on the flat side of one of the bones and sandwich it between another bone.
Tips for the Perfect Meringue
- Once you’ve separated the egg whites from the yolks, let them sit out for 15-20 minutes at room temperature before beating. This will give your egg whites extra volume when whipped.
- Be careful not to overbeat the eggs when combining them with the cream of tartar or it will be harder to mix in the sugar. You just want to beat until the eggs are foamy like soap bubbles.
- Don’t add the sugar too quickly. Adding 1-2 tablespoons at a time will give you a much smoother texture. You can also try using superfine sugar rather than regular granulated sugar to help it dissolve more easily.
- Use a clean bowl made of metal, ceramic or glass. Plastic bowls are not recommended as it may be more difficult to remove traces of oil from previous use. Make sure your beaters are clean too! NOTE: If you’re using a copper bowl, adding an acidic stabilizer {i.e. cream of tartar} may react with the copper and discolor the eggs.
- To prevent the meringue from cracking, let it cool in the oven before taking it out. Sudden changes in temperature will cause the meringue to crack, so gradually letting it cool is your best option. The good thing about the bones is that cracking kind of adds to the look, so a few cracks really doesn’t matter. 😉
Thanks so much to Jodie and Jen for having me! If you get a chance, I’d love to have you drop by and say hello over at Clean and Scentsible. You can always find tons of fun seasonal decor ideas and inspiration along with easy DIY projects, home organization ideas, and cleaning tips.
I hope you have a happy fall and Halloween season and enjoy the rest of the Spooktacular September series! For more Halloween inspiration you can check out these posts…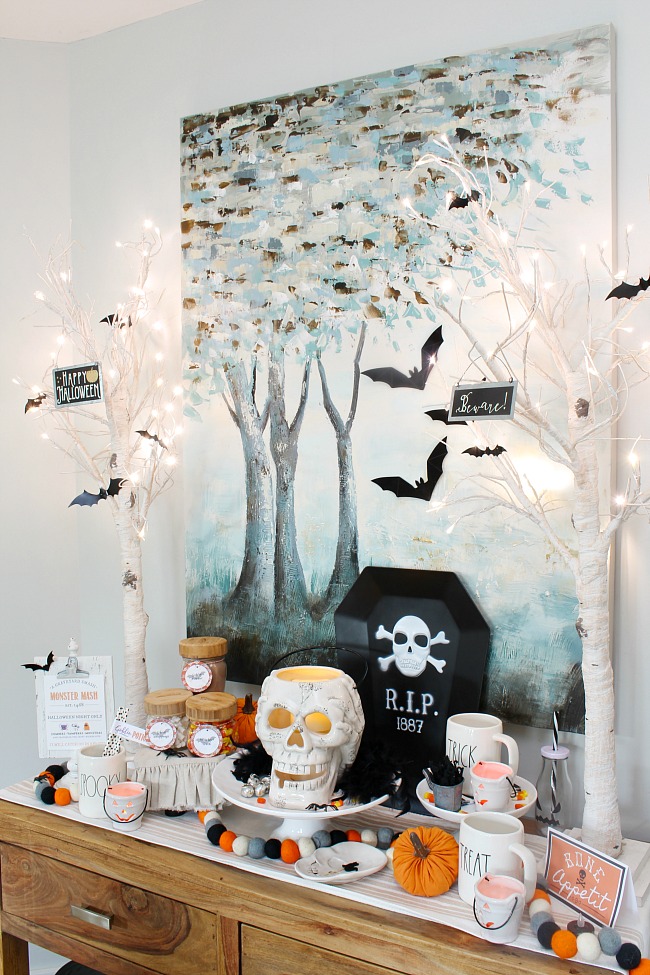
Halloween Hot Chocolate Bar and Monster Mash Printable
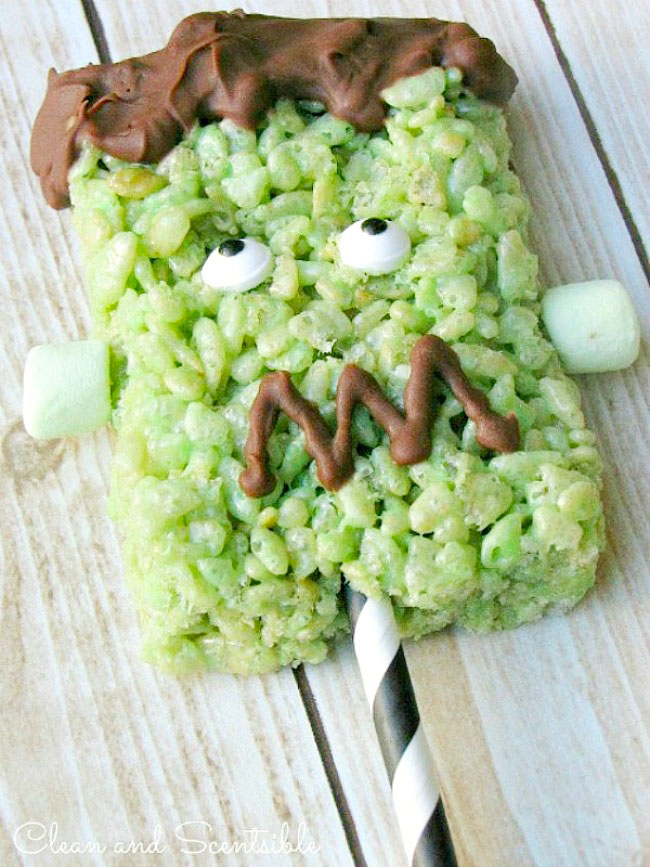
Frankenstein Rice Krispie Treats

Visit Jenn on her BLOG | INSTAGRAM | FACEBOOK | PINTEREST
Here are a few more Halloween Treats to check out:
Thanks again for having me ladies! This has always been one of my favorite series!
We LOVE everything you share for Spooktacular September!! We love having you!!!