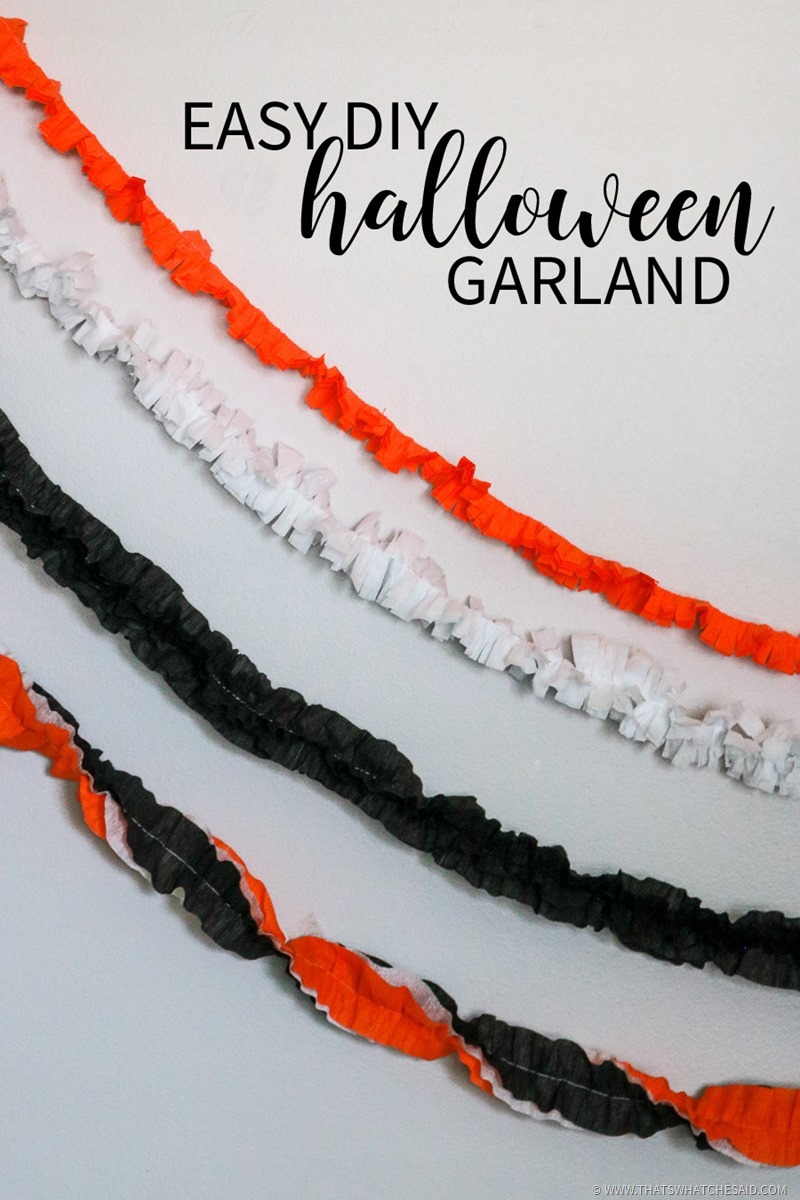
Halloween is one of my favorite holidays to decorate for! Whether you decorate spooky or cute, this Halloween Garland will be a perfect accent to your decorations! Simple to make and fun to use!
Hi! I’m Cheryl. I live over at That’s What Che Said. I like to share real life moments that include quick crafts, easy recipes, DIY projects you can actually make and helpful tips & tricks to make life run smoother!


One thing I go nuts over are multi-functional projects! Projects that can be easily customized to different holidays or occasions. Projects that can be used for more than one purpose! Projects that you can make several ways so you can use things you already have in your home!
This simple crepe paper garland is just that! Easy to customize, perfect for parties or holidays and can be used for more than just dressing up your mantel. Let’s get started!
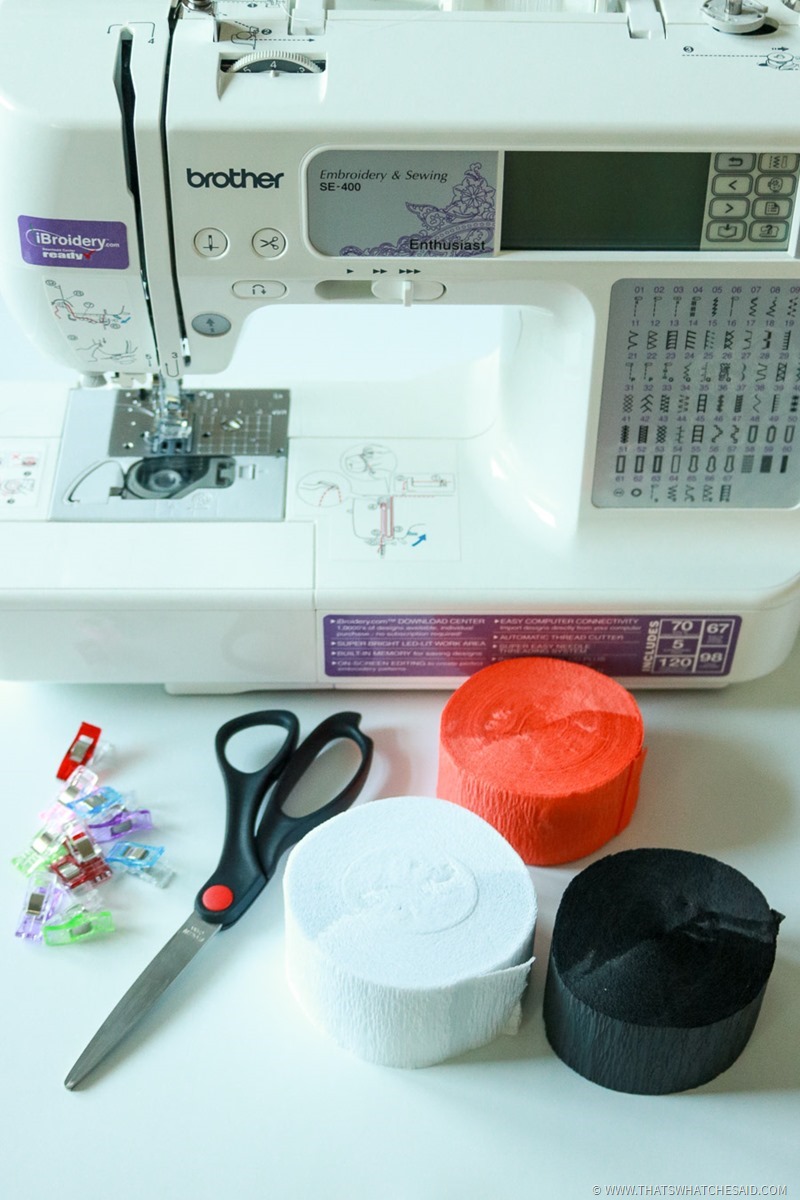
Supplies Needed:
- Crepe Paper in Halloween colors
- Scissors
- Paper Clips, clear tape or quilt clips
- Sewing Machine
- Thread
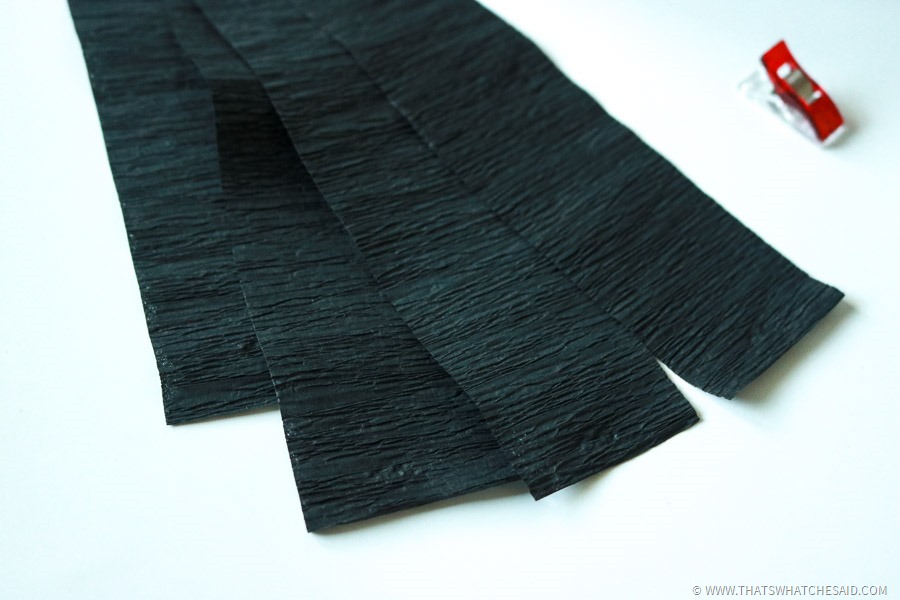
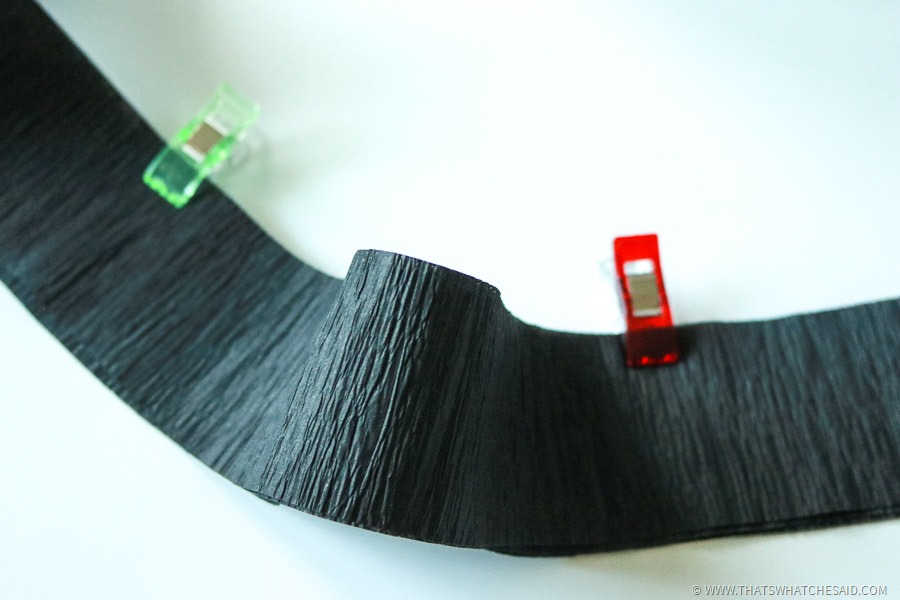
To start out we need to roughly measure how long you need your garland to be. I draped mine up on my mantel just to get a rough estimate. Now cut 4 pieces that are one and half that measurement. So if I needed 6 feet of length I would cut 9 foot pieces.
Use the clips or tape to hold your pieces together nicely on top of one another. I used these quilt clips because I couldn’t find my paper clips! Just keeping it real. Use anything you have at your house!
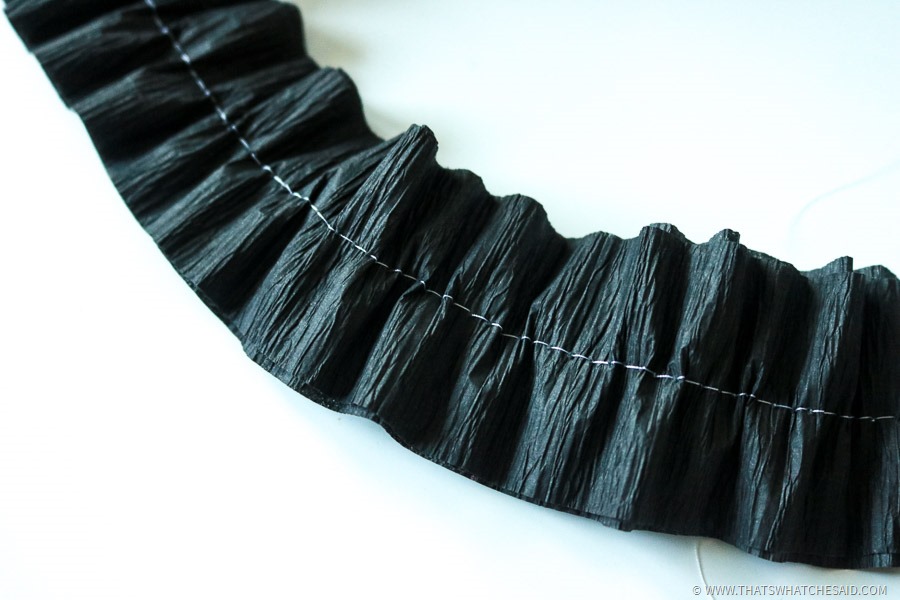
Once your have your 4 layers, you will run them together through your sewing machine on a loose straight stitch. I used a 4 mm length. This will “ruffle” your garland.
After the layers are sewn together you have a few options for your garland to finish it!
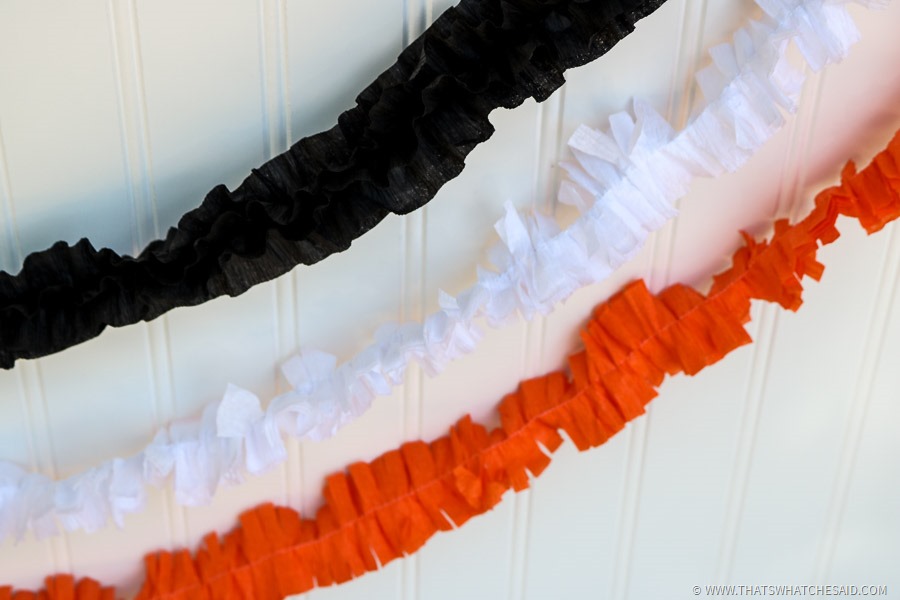
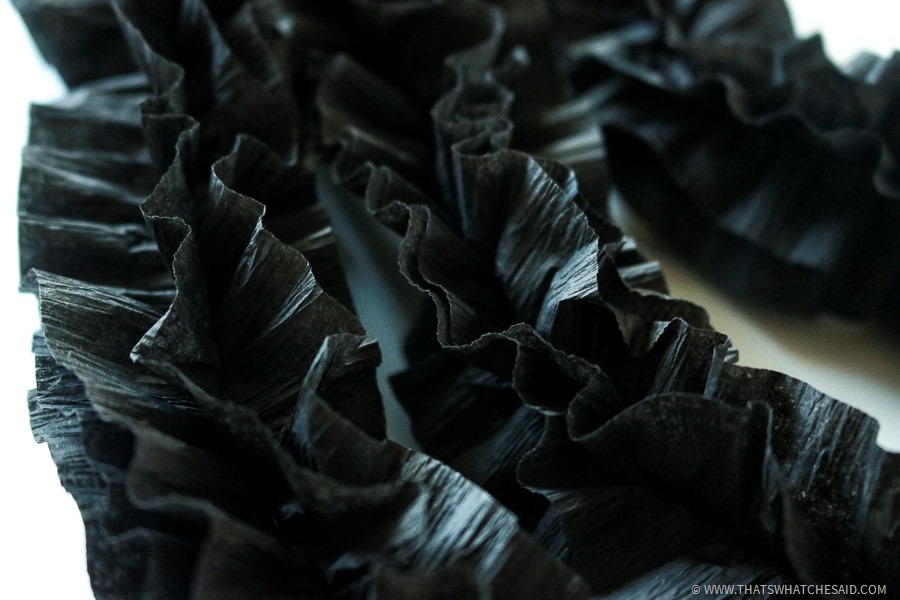
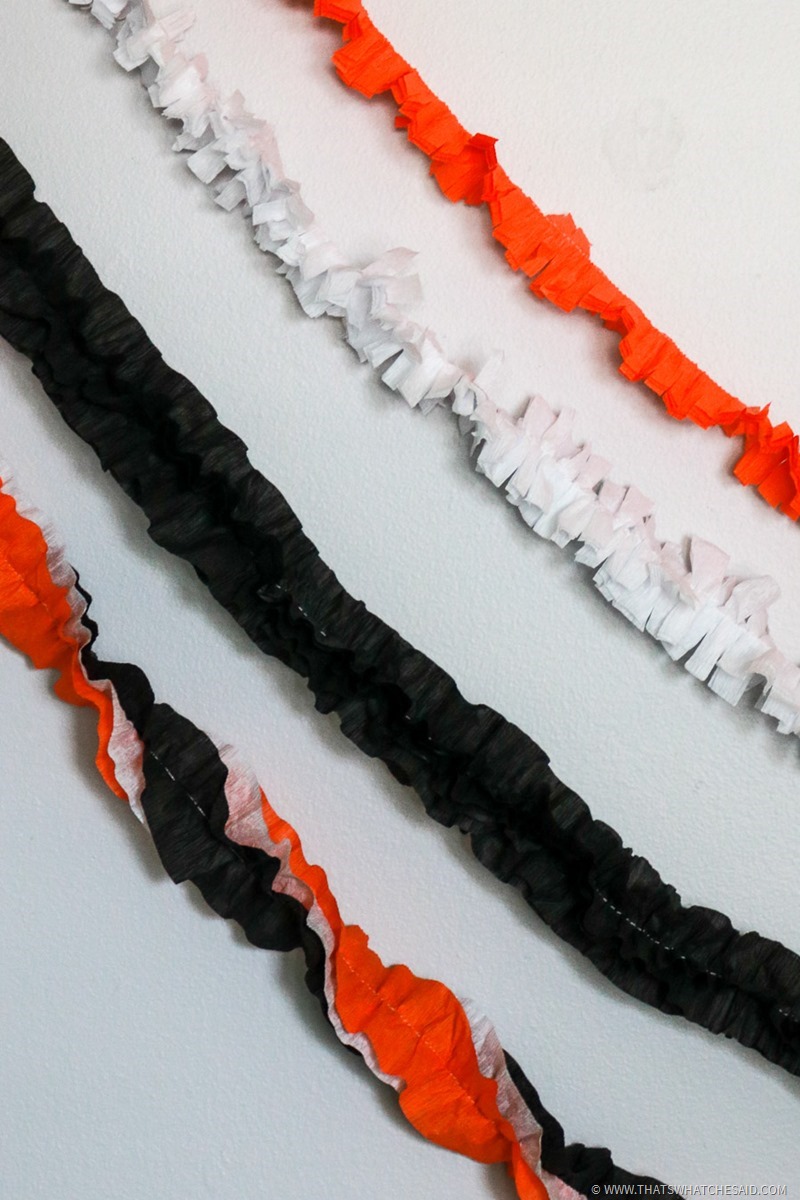
First you can just fluff it! Here is what it looks like with the black strand I did. I simply separated all 4 layers and fluffed it out nicely!
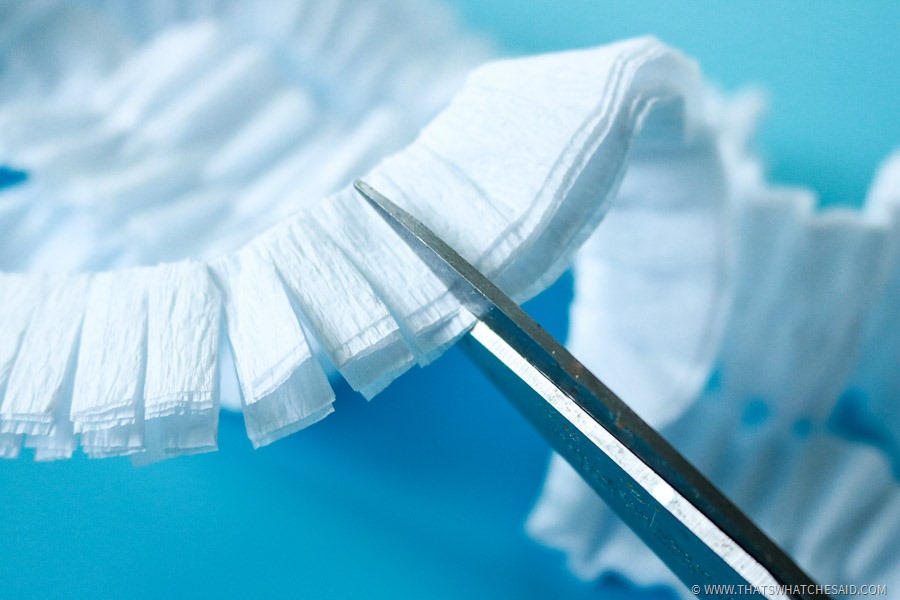
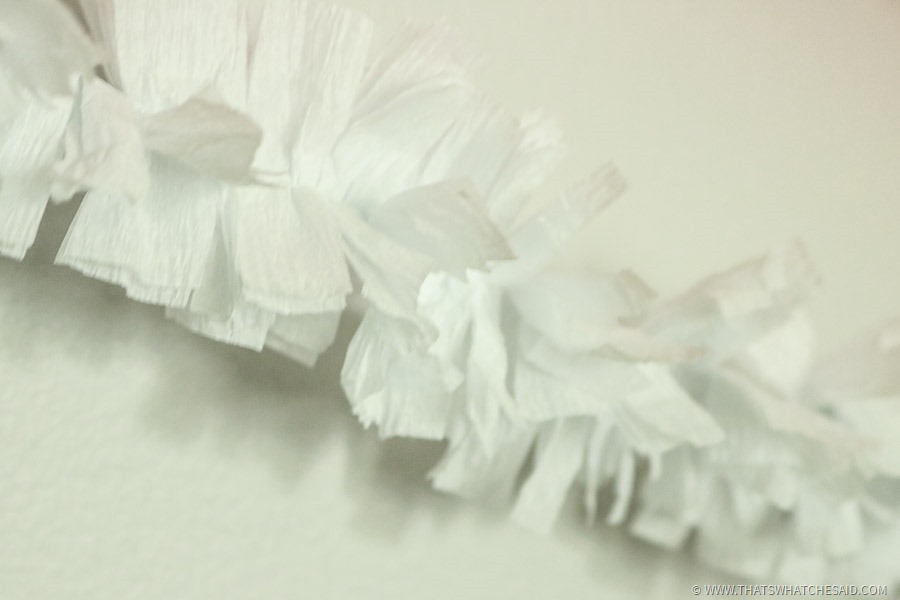
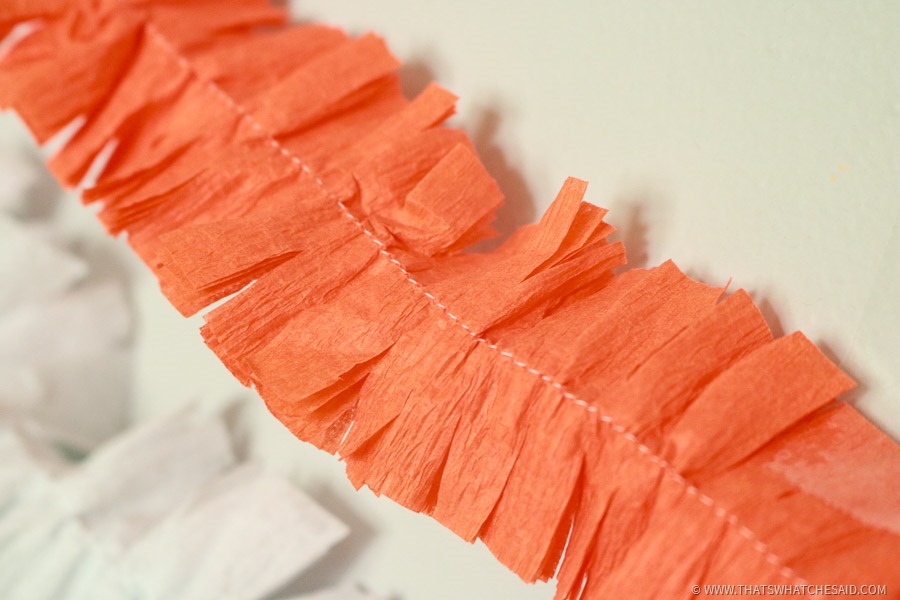
Second you can make it fringe! Who doesn’t love fringe? For this method, fold the garland in half. Using scissors, cut fringe in the garland making sure not to cut all the way through the garland/stitching.
Open the garland up and fluff!
The last method is just the same as the fringe except skip the “fluffing” at the end. You will get this flat fringe garland.
As you can see, I made 3 solid colors and one multi! Get creative! Use your school colors, your favorite team, different holiday colors! You can use this as garland, as table decorations and door décor for your child’s classroom or even nursery décor! (Just keep out of reach of baby!)
Thanks for crafting with me today! I’d love to invite you over to my place anytime, my door is always open! Today on my site I have a Halloween shirt idea + free cut file! Please come over and say hello! I love making new friends and have a bunch more fun Halloween Projects!
A big thank you to the ladies of Eighteen25 for having me over to invade their space today!
Visit Cheryl on her BLOG | INSTAGRAM | FACEBOOK | TWITTER | PINTEREST
Here are a few more awesome Halloween projects you can find on Eighteen25:




Leave a Reply