Happy Fall, Y’all! I can’t tell you how excited I am to be participating in Spooktacular September for the fourth time. Jodie and Jen have been so sweet to invite me back year after year. Thanks, ladies! For those of you who don’t know me, my name is Michael, and I’m the lifestyle blogger behind Inspired by Charm.
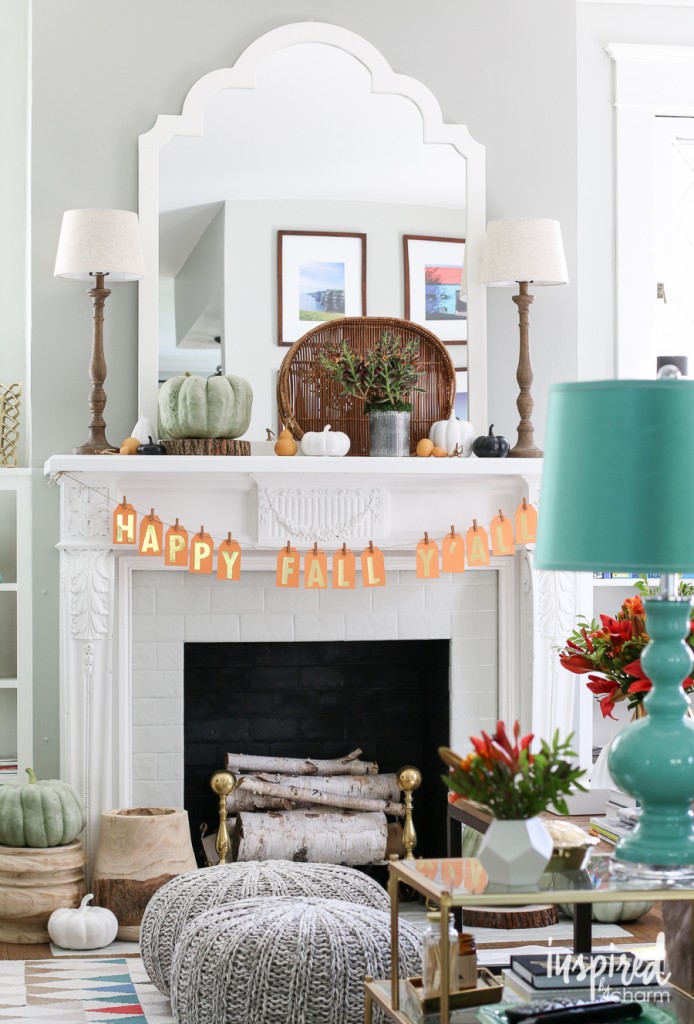
Fall is among my favorite times of the year for decorating my home. I recently completed two Fall Home Tours on my blog. One was entertaining-inspired and featured decor inspiration, DIY napkins, and several seasonal recipes. My second tour went into other spaces of my home and showed more of my fall decor. In that second tour, you will see a super simple DIY Tag Banner on my mantel. Since I didn’t tell how I created it, I thought it’d be the perfect thing to share here on Spooktacular September!
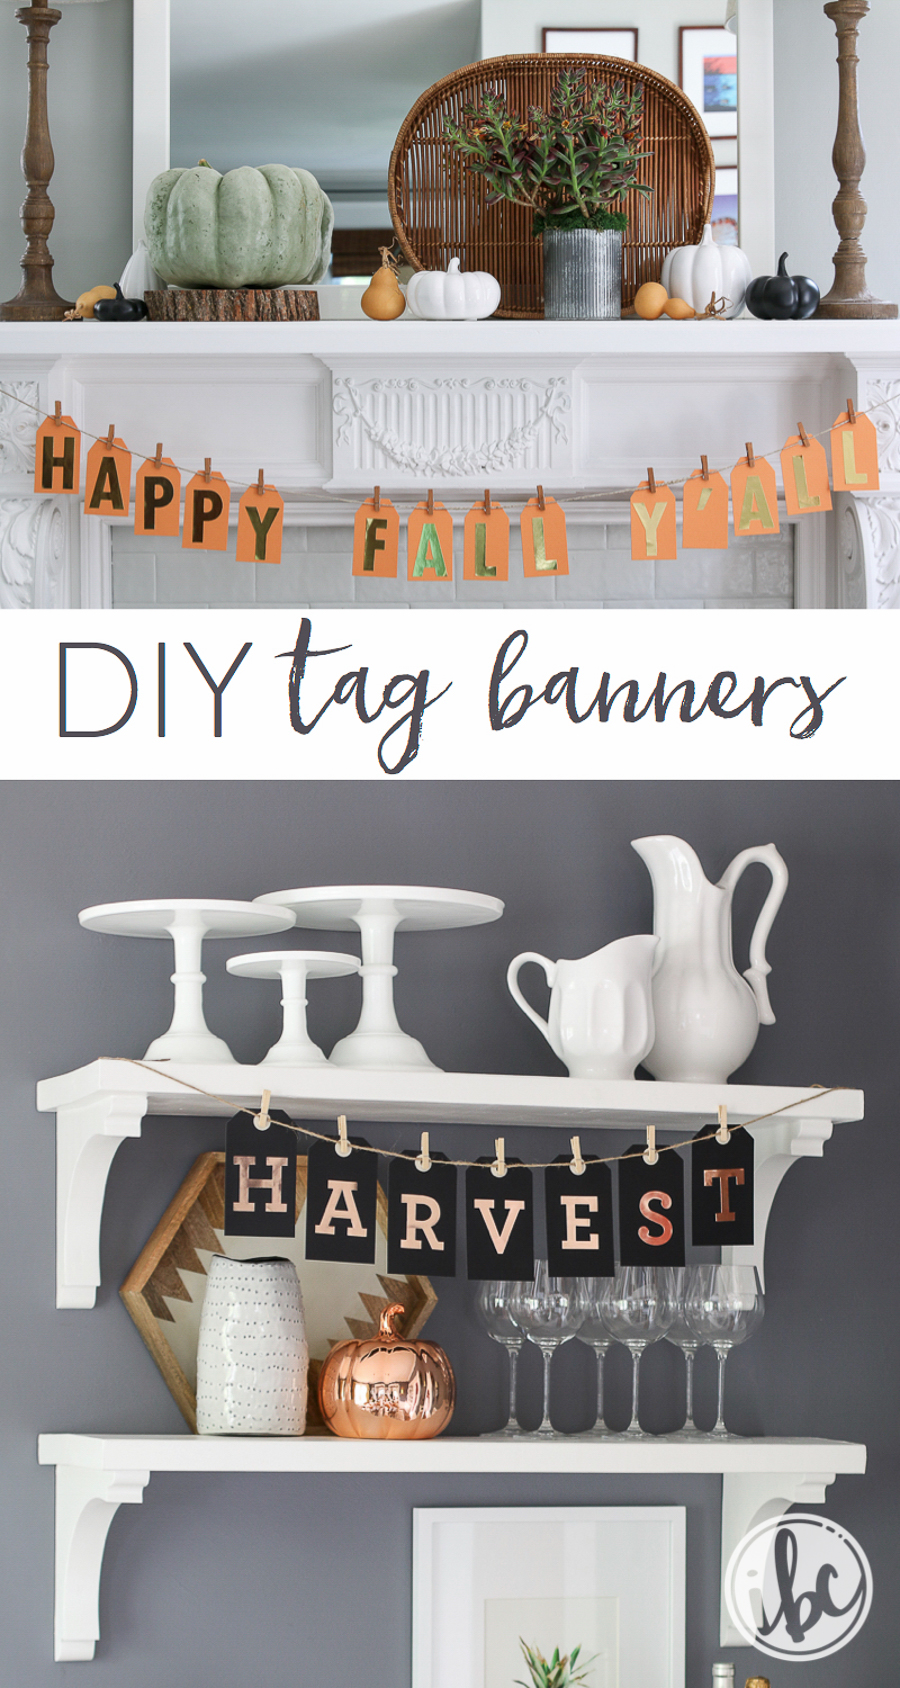
I don’t usually go all out decorating for Halloween, so both of these banners are more fall-inspired. However, as you will see, the designs are pretty flexible. Therefore, you can create whatever tag banner works best for your home.
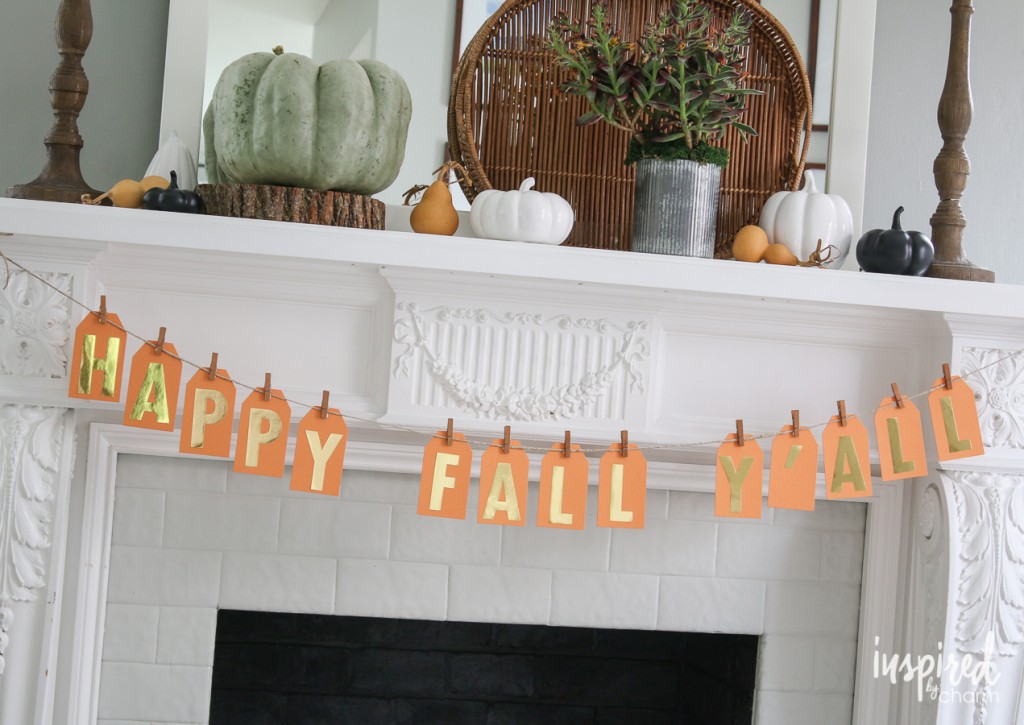
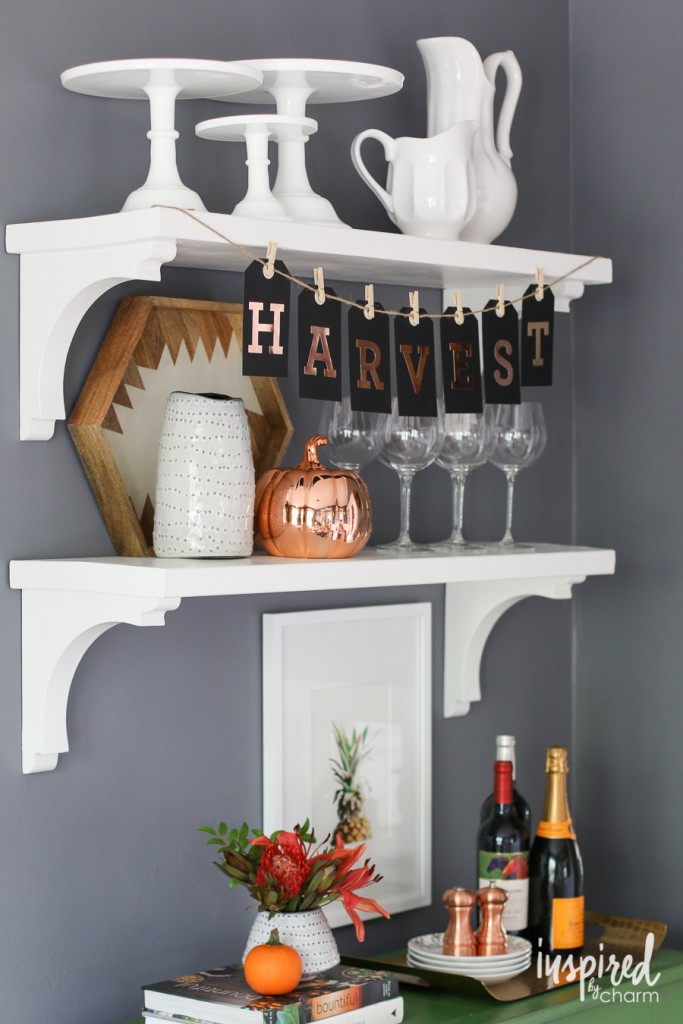
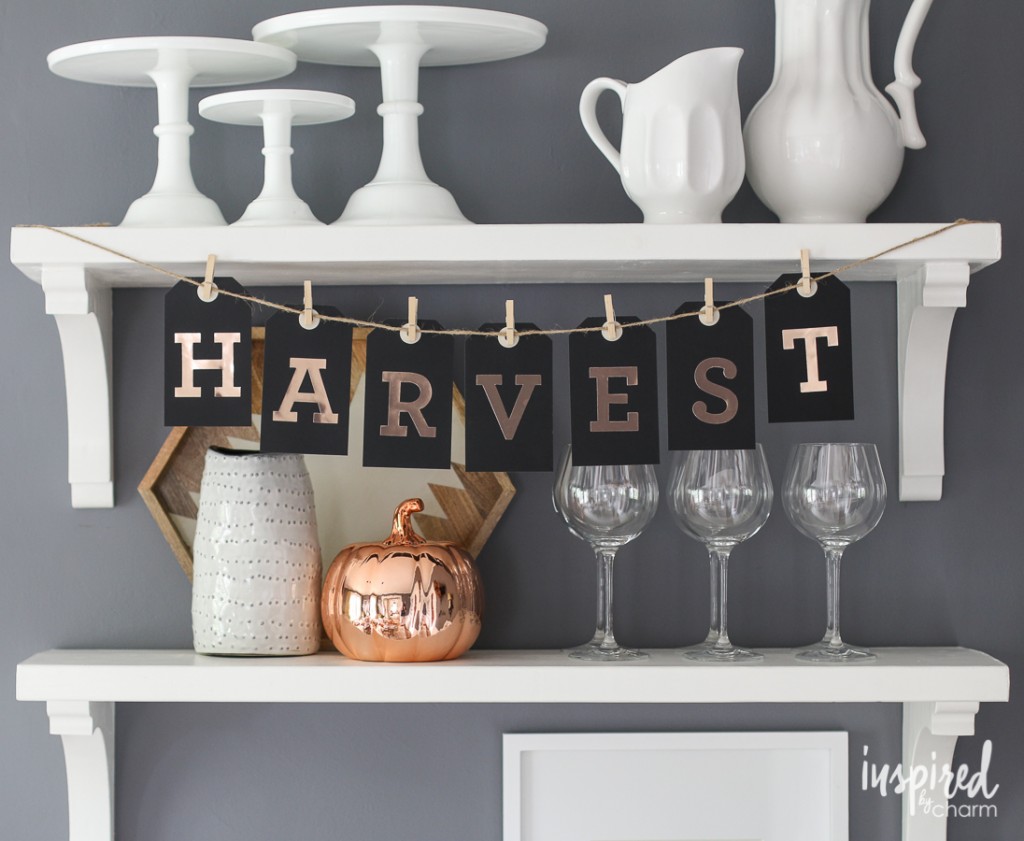
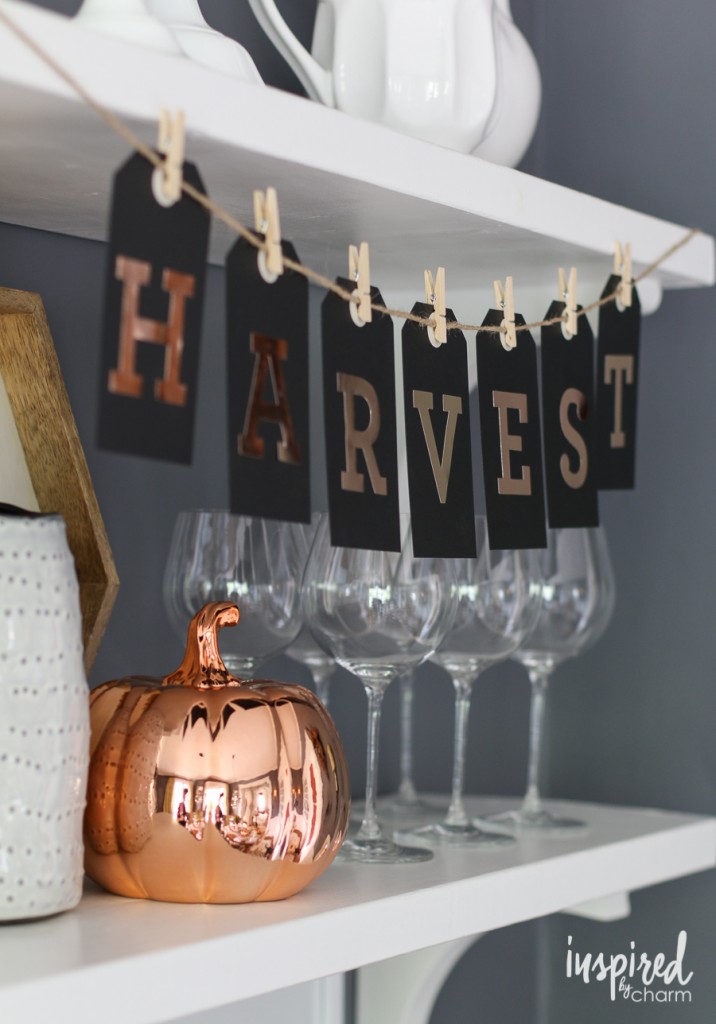
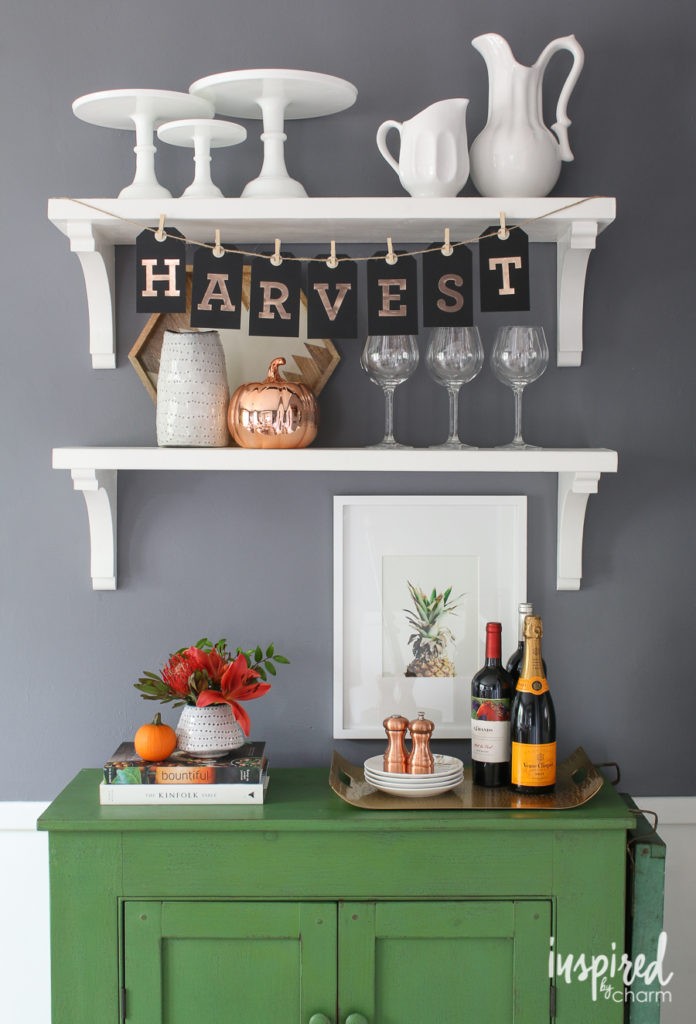
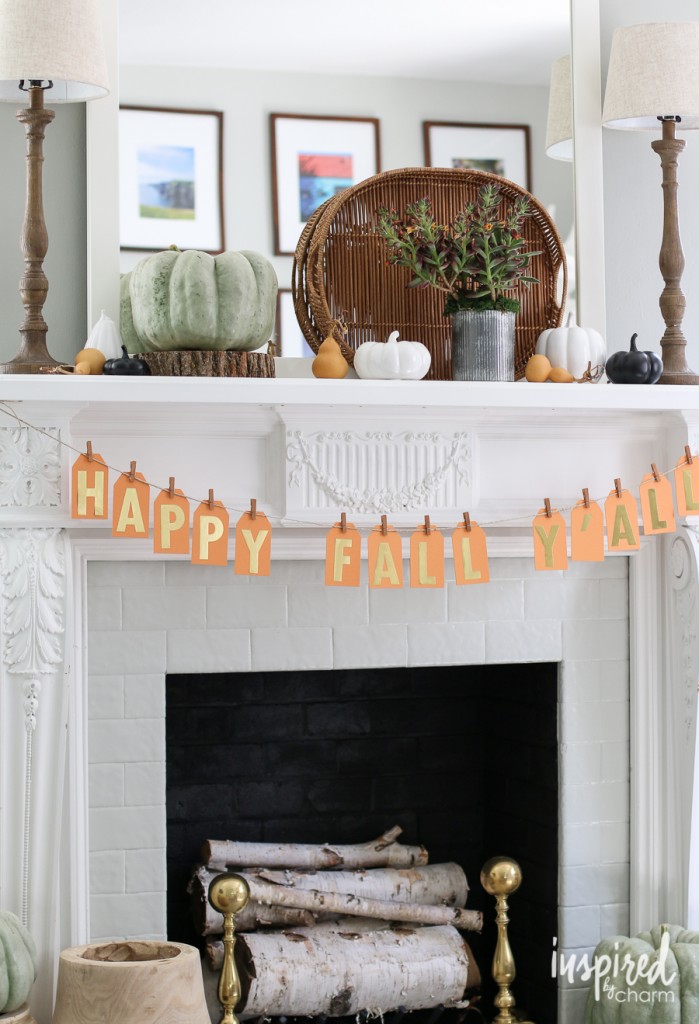
I created two banners for my home. The one across my mantel reads, “Happy Fall Y’all” The other one on my dining room shelves simply says, “Harvest.”
I’ve seen a few of these types of banners for sale at stores, but the saying or the colors didn’t suit my style, so I got the idea to create my own. The best part about this project is that it’s completely customizable. You choose the colors and word or phrase to make a banner that’s unique and suited to your space and a particular event, holiday, or season.
Let me show you how easy these are to make.
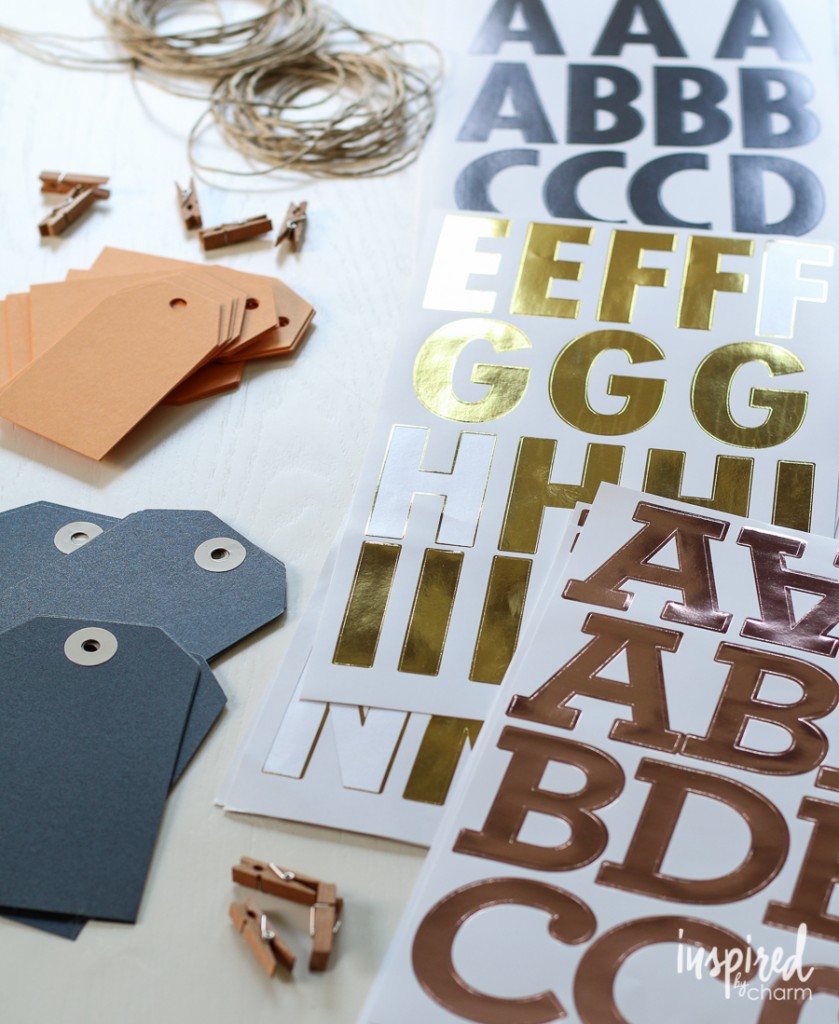
For this project, you will need:
- Large hang tags
- Alphabet stickers
- Twine
- Mini clothespins
- Ruler, optional
Given that no tools are required, I’m sure you realize the steps are pretty straightforward. But let me walk you through them and share a few tips along the way.
First, purchase hang tags and alphabet stickers. I found my supplies at Walmart, Michael’s, and Amazon. When you’re picking these two items, pay attention to the sizes so that the letters will fit the tag, and the finished banner will be the right size for the space where you plan to hang it.
Next, figure out what you’d like your banner to say. Feel free to use my ideas or come up with your own. Even something as simple as “Happy Halloween” would be perfect! If you have extra tags and letters you could also spell out “Thanksgiving” and swap out the tags after October 31.
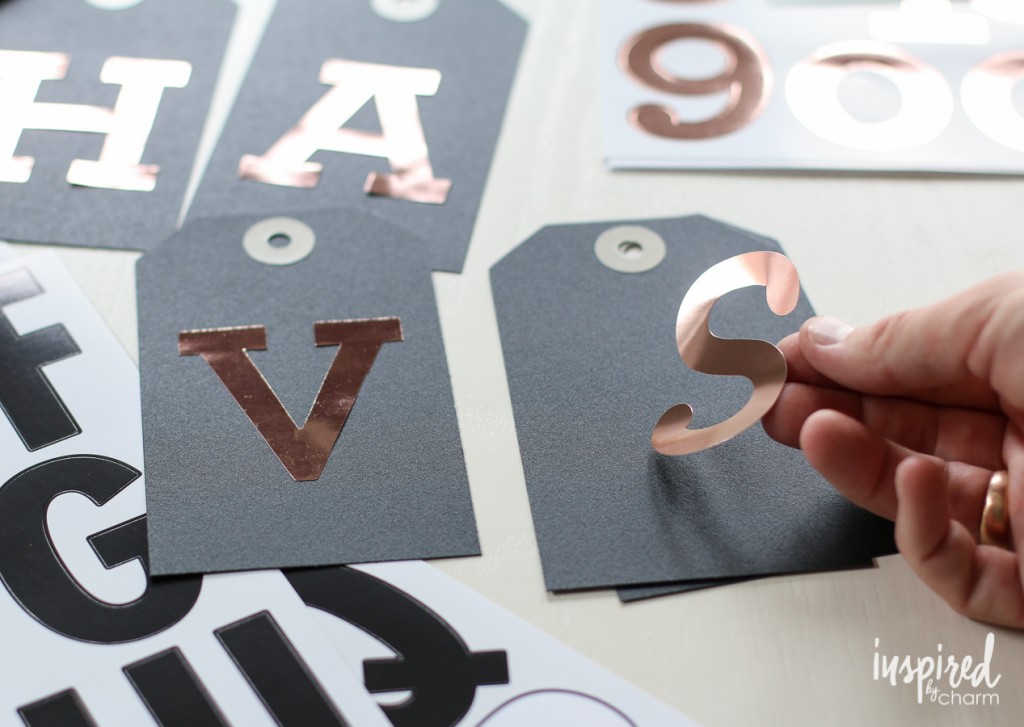
Now add your letters to the tags. I just eyeballed the letters, but you might want to use a ruler for exact placement.
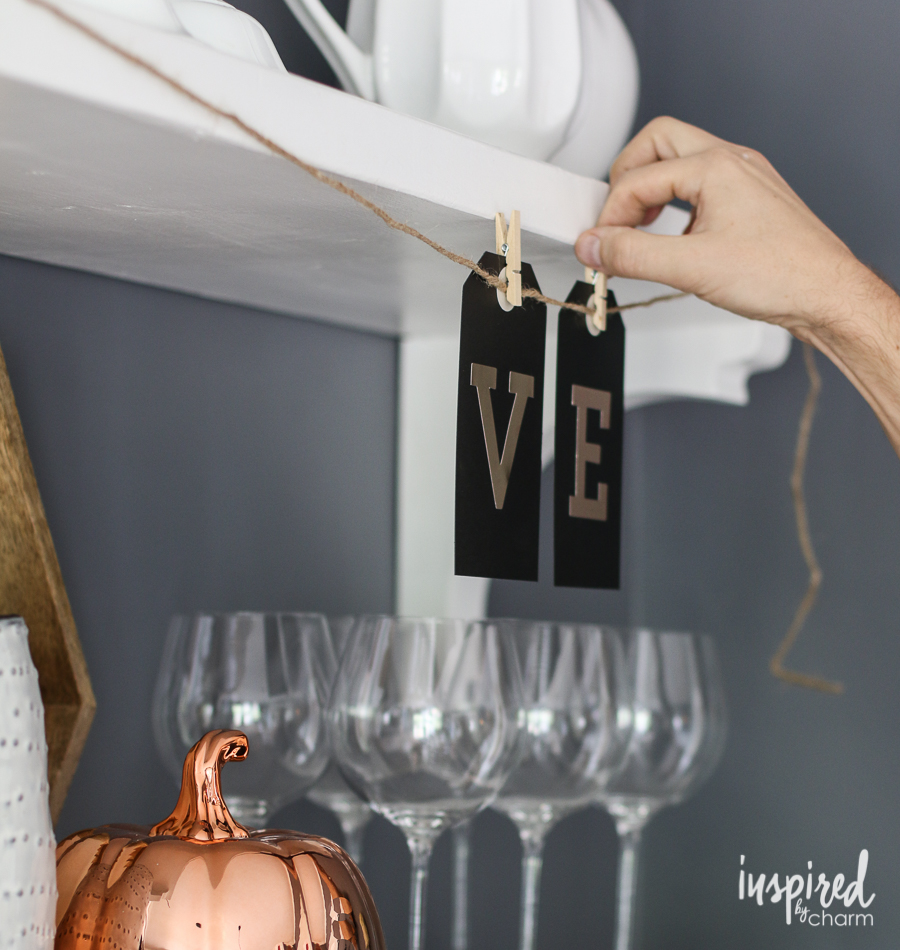
Once your lettered tags are ready, attach the ends of a length of twine where you want to hang the banner. Pushpins work great for this.
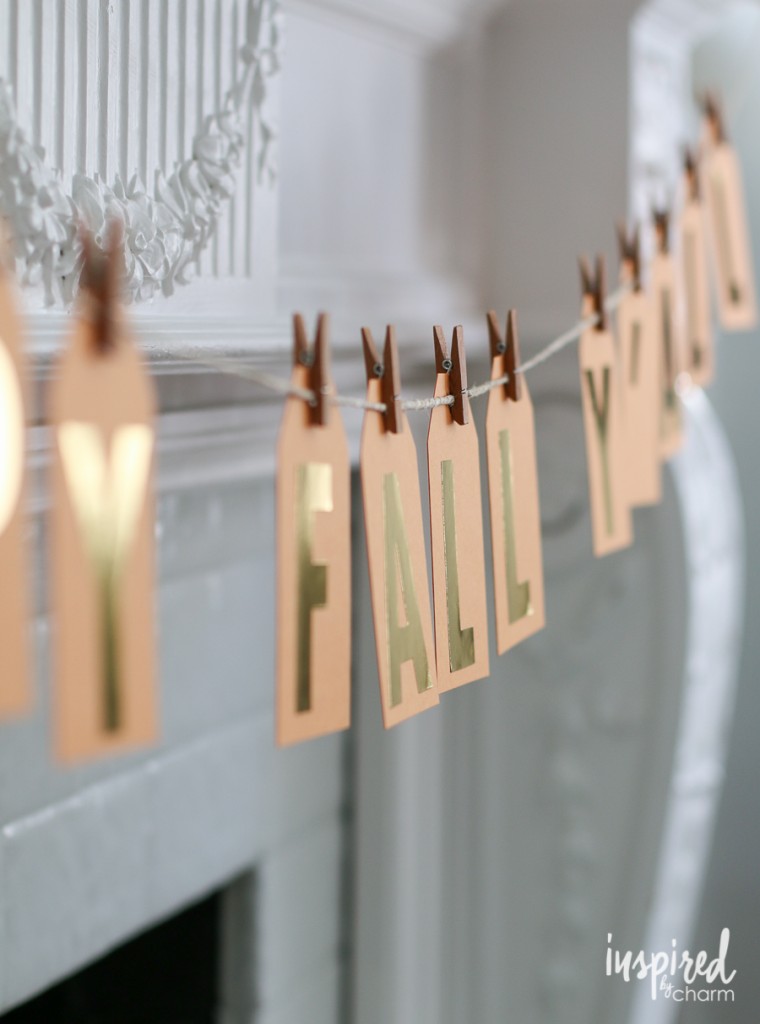
Then, use mini clothespins to clip the letters to the twine. I find it easiest to start in the middle with the middle letter and work out from there.
And that’s it.
Custom and seasonal decor in no time. Aren’t they cute?
And, if you know me well, you know I have a fondness for the metallic gold and rose gold letters. I’m a firm believer that every design needs a little bling.
Have fun with whatever colors, letters, twine, and clothespins you decide to use. The options are practically endless.
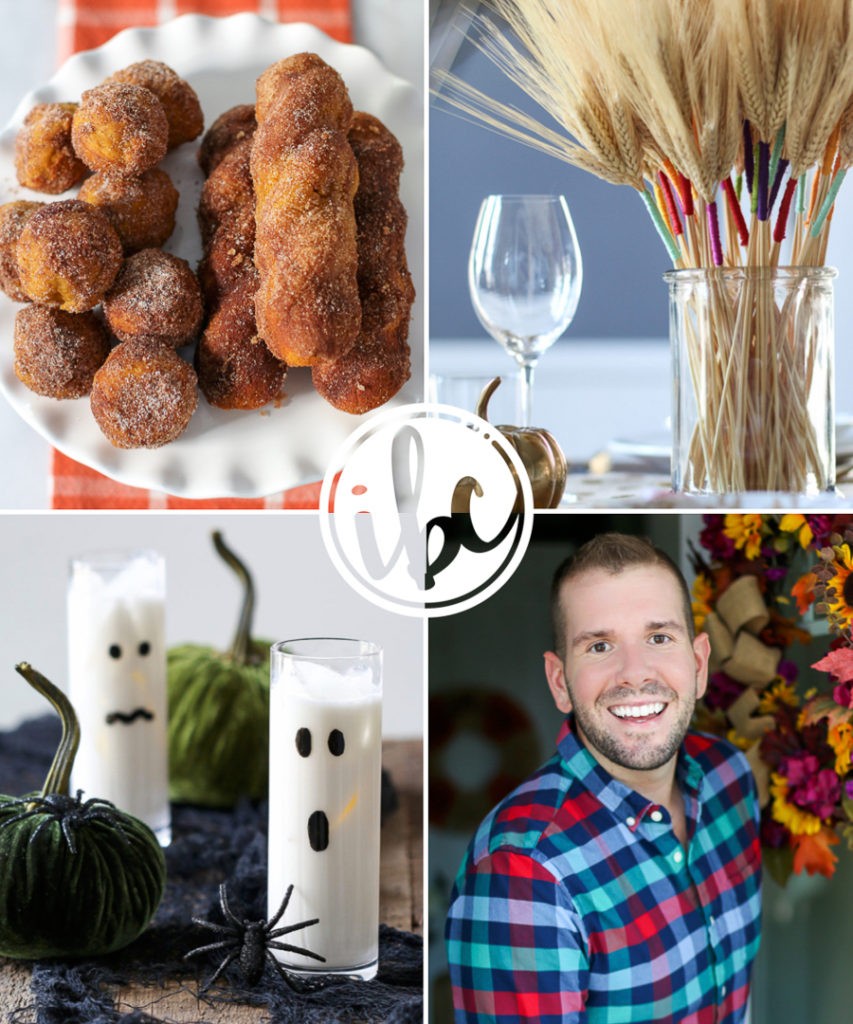
I hope you enjoyed this simple-to-make home decoration. Be sure to swing by Inspired by Charm for more DIY ideas for the season. Find out how to make delicious baked pumpkin donuts, beautiful color wrapped wheat, and haunted Halloween cocktails.
Before I head out, thank you again to the gals at Eighteen25 for allowing me to share this easy DIY project with all of you!
Visit Michael on his BLOG | FACEBOOK | INSTAGRAM | PINTEREST
Here are a few more awesome Halloween posts you can find on Eighteen25:


Leave a Reply