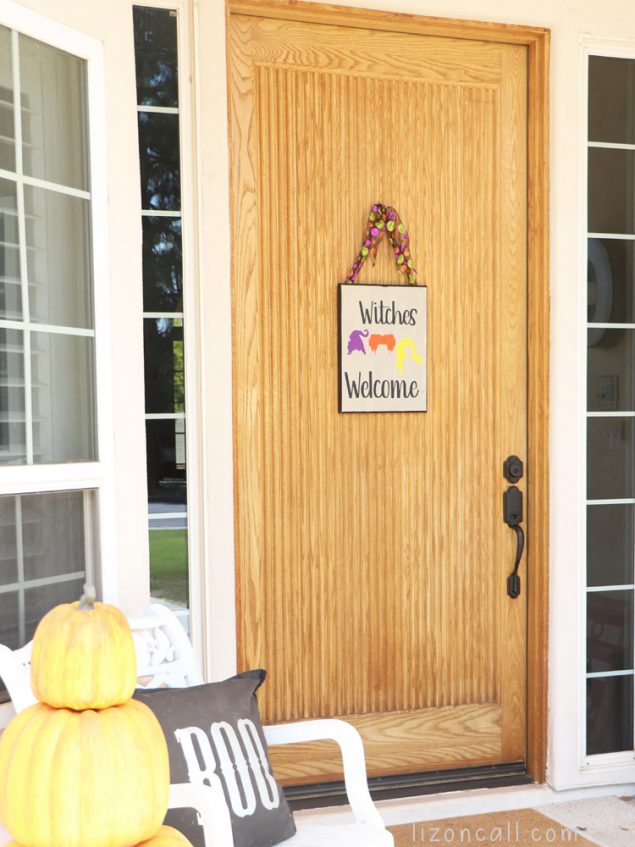
Welcome all the ghosts, goblins and witches to your home this Halloween with this DIY Hocus Pocus Sign.
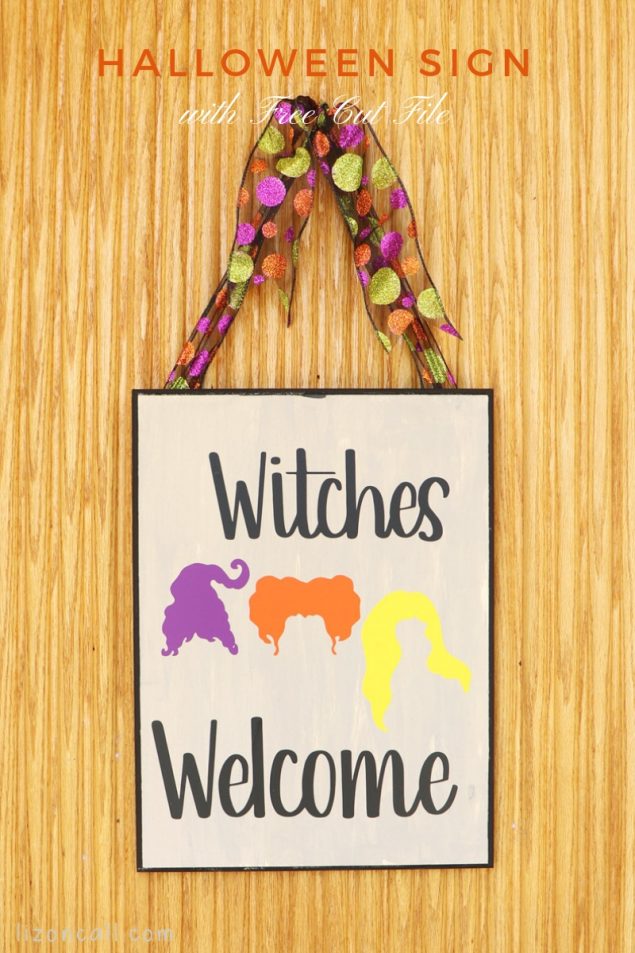
Hey there Eighteen25 friends! Liz here from Liz on Call. I’m excited to be sharing in all the Spooktacular September fun found here this year. I don’t know how many years I’ve been a part of this fun series, but I’m happy to be back.
I am a huge Disney fan and I know the gals at Eighteen25 are Disney lovers as well. Due to our shared love of all things Disney, I knew I needed to create a project this year that included a bit of Disney fun.
I have been a bit uninspired by Halloween this year, but adding in a bit of Disney, really helped me create some fun Halloween projects. Starting with this Hocus Pocus Witches Welcome Sign. I thought it’d be great on my front door instead of a traditional wreath. But this sign would certainly look good on a mantel too.
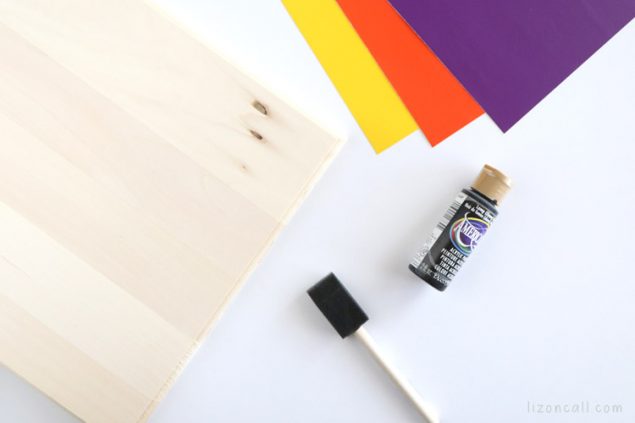
First thing you will need to make this project is a wooden plaque. That will determine the size of your project. I found mine at Michael’s. In fact, you can find all the supplies you need at Michael’s if you need. Here’s a list of the supplies:
- Wooden Plaque
- Paint
- Paint Brush
- SVG Cutting machine
- Vinyl – Black, Purple, Orange, Yellow
- Transfer tape
- Ribbon
- Stapler
Hocus Pocus Witches Welcome Sign
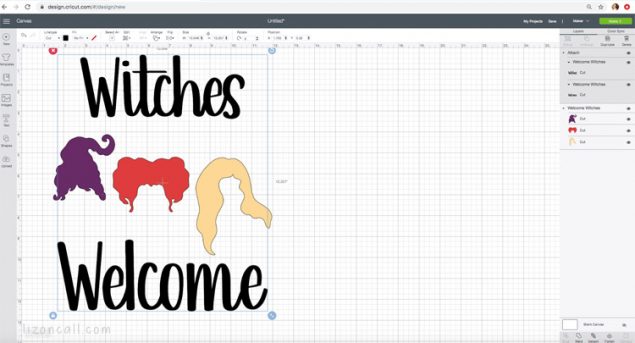
Once you have your supplies gathered, upload the free Witches Welcome Cut File and upload it into your cutting machine software. Resize the design to fit your project. You can ungroup the design if needed to adjust the spacing between the words and images. Once you have it the size/dimensions you like, cut the design out of removable or permanent vinyl. Make sure to cut the right design out of the right color.
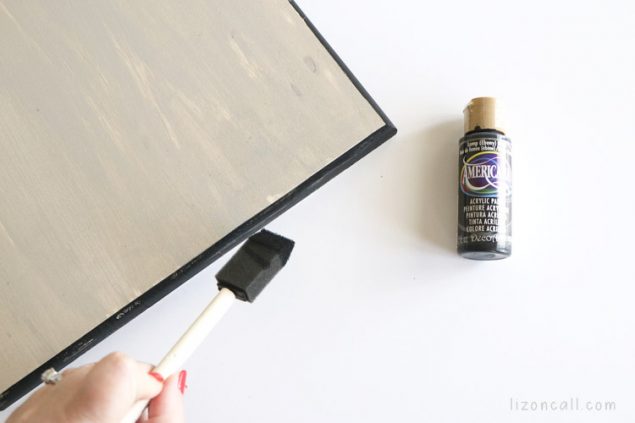
While the vinyl is cutting, paint your wooden plaque. You can really use any colors you like. I decided to not go with white, but with a light grey instead. It needed to be more distressed looking than bright and new. I used the black paint on the edges to create a frame look.
Weed the cut vinyl while the wood plaque dries. Make sure to remove all the excess vinyl, just leaving the words or hair designs on the paper.
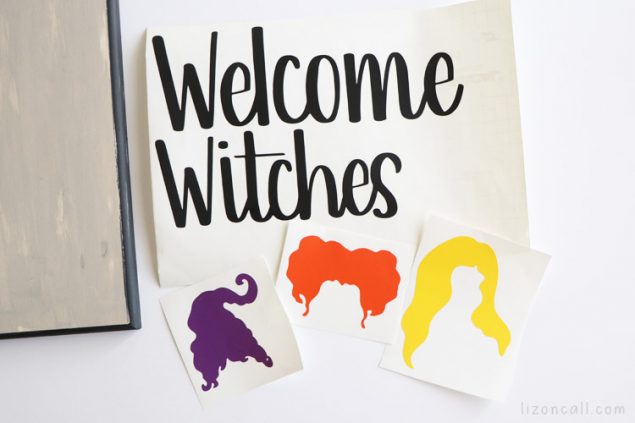
Use the transfer tape with the sticky side up, and place the pieces of vinyl onto the transfer tape face down. This part can be a bit difficult since it’s backwards, but the grided transfer sheet does help to line things up.
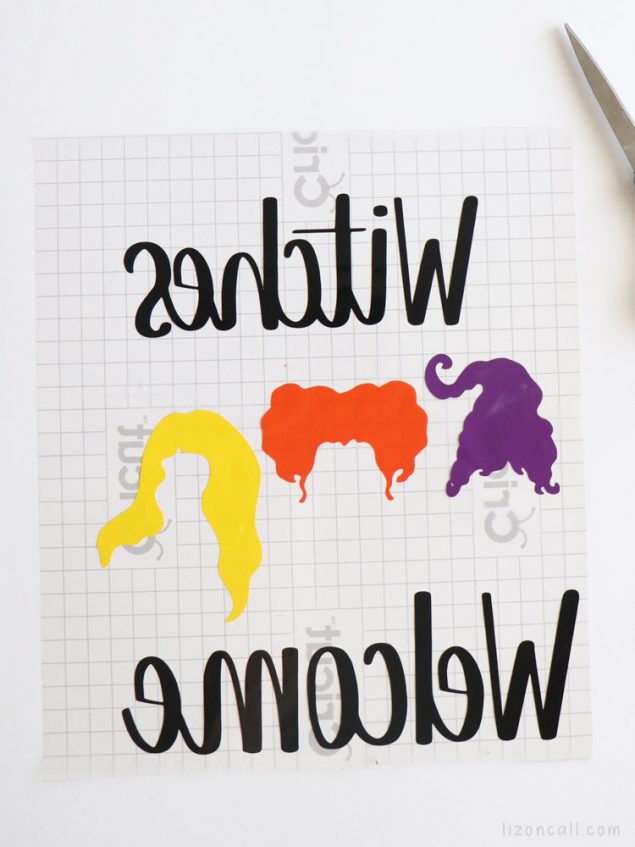
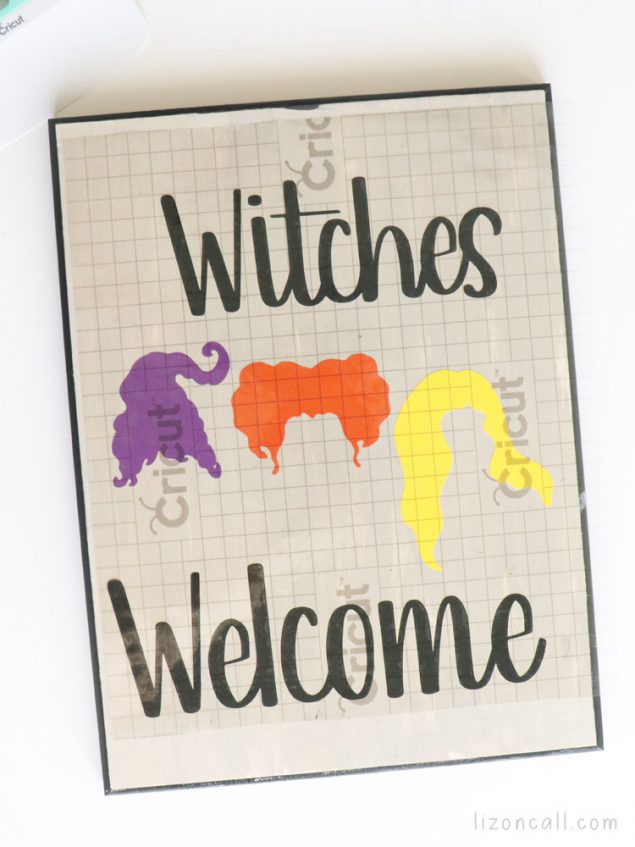
Once all the pieces are on the transfer sheet, place it onto the wood plaque and use the scraper to smooth it out and get the vinyl to attach to the painted wood. Carefully remove the transfer tape leaving the design on the wood.
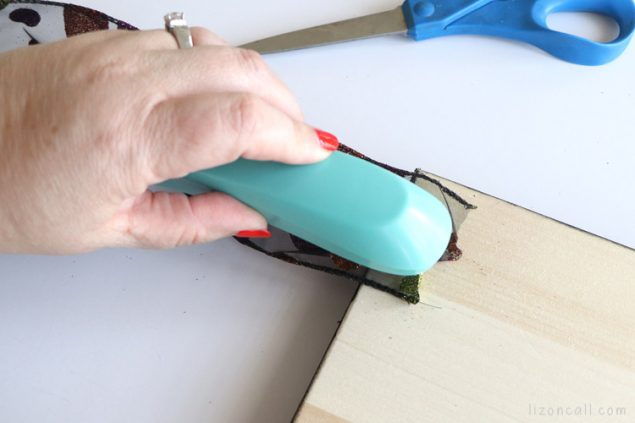
Since I wanted to hang this on my front door, I used a stapler to attach a ribbon the back of the wood plaque. I put about 3 staples in each side to make sure it wouldn’t fall down.
I used another bit of ribbon to help secure it to my door.
This sign has me wishing my front door was painted black. 🙂
Even though this year I decided to go a different route with my front door decor, I do love a good wreath. Check out the DIY Halloween Wreath I made last year. I still have it and love! I wish I could find a place for both on my front porch.
Thanks for letting me share some spooky, Disney, crafty fun with you. I hope you’ll stop by Liz on Call and see my other Halloween crafts, Spooky recipes and Disney projects. I’m sure you’ll find something you’ll love. And tell me what it is!
Happy Crafting!
Liz

Visit Liz on her BLOG | INSTAGRAM | FACEBOOK | PINTEREST
Here are a few more Halloween crafts for your to check out:
Leave a Reply