• About
  • Advertising
  • Contact
  • Meet the Team
  • Blog
    • Bloglovin
    • Facebook
    • Instagram
    • Pinterest
    • Twitter

Eighteen25

Create A Life You Love.

  • Home
  • Printables
  • DIY + Crafts
  • Holidays
  • Recipes
    • All Recipes
    • appetizers
    • salads/side dishes
    • main dishes
    • Desserts
  • Misc.

Today’s Guest: Lil Luna

Sep182011 posted by Jamie 14 Comments

Hi there Eighteen25 readers!My name is Kristyn and I blog over at Lil’ Luna. Come on over and say HI!
I’m so EXCITED to be a part of Spooktacular September again.Last year was so fun, and this year has been even MORE fun!
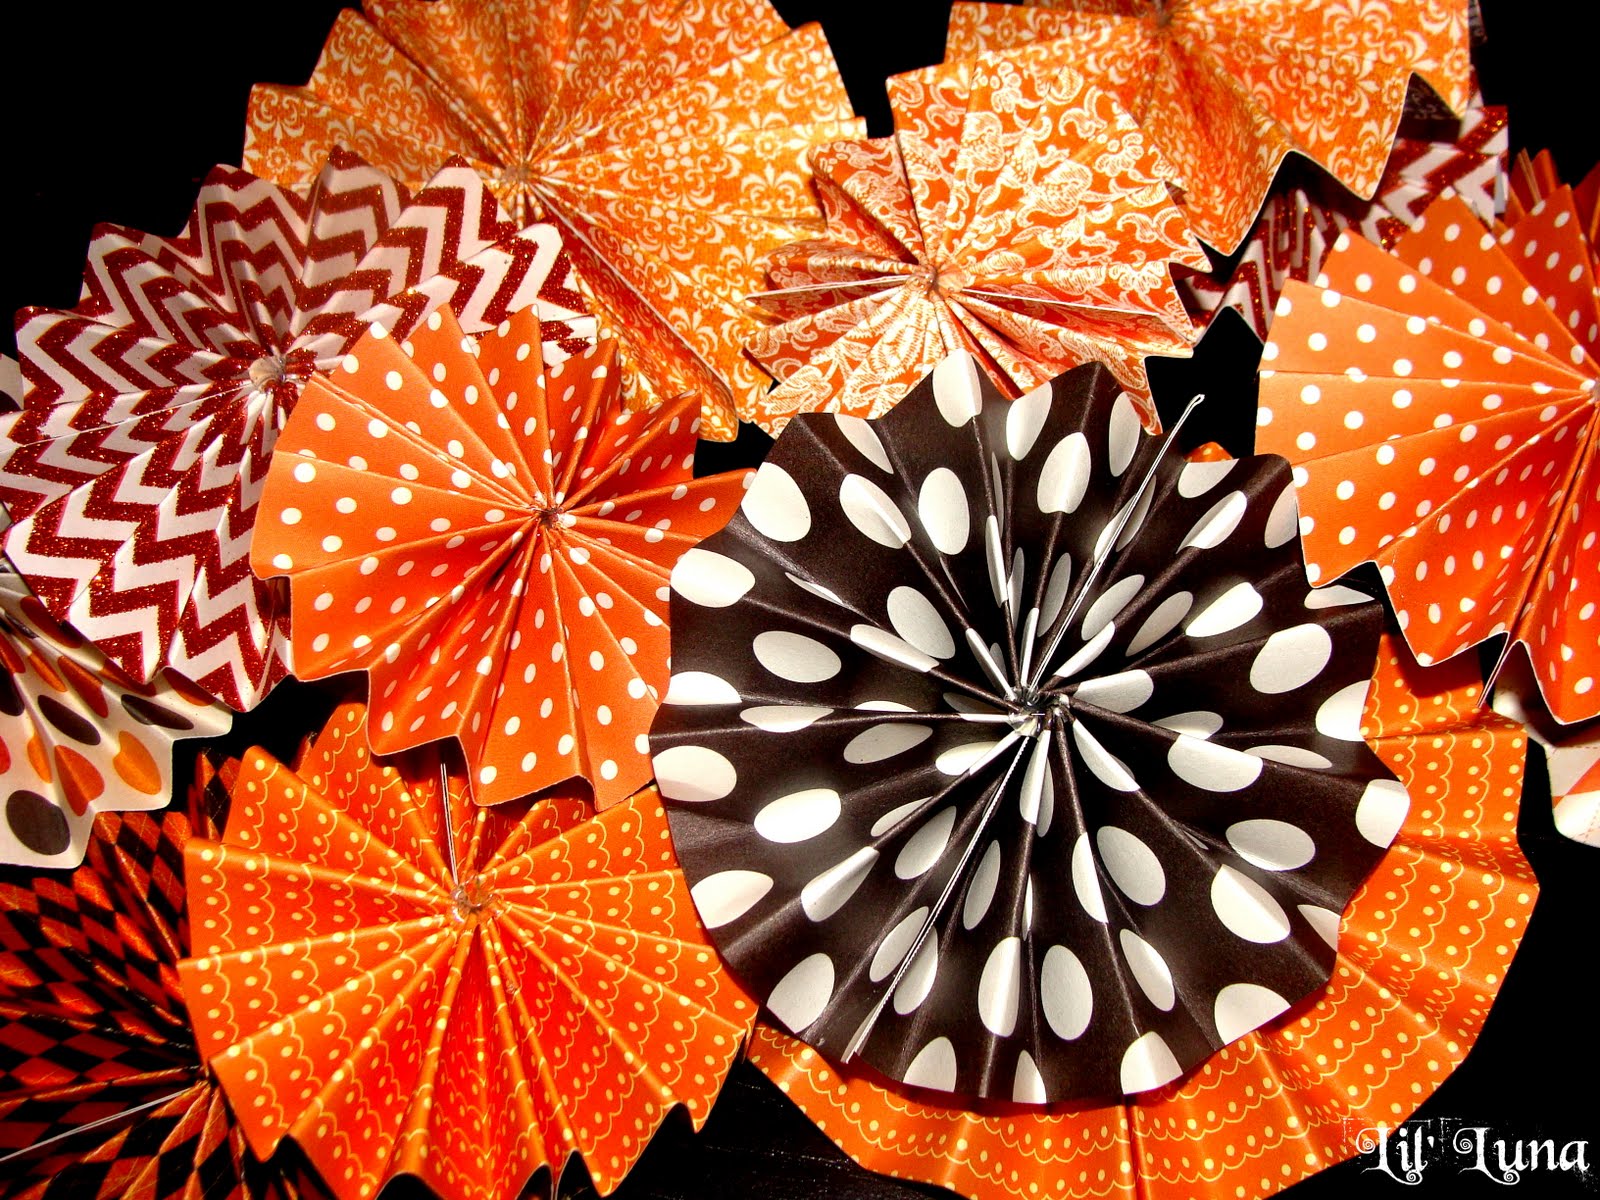
I’ve had Halloween on the brain since the beginning of summer, and have been dying to start busting out some new decor.
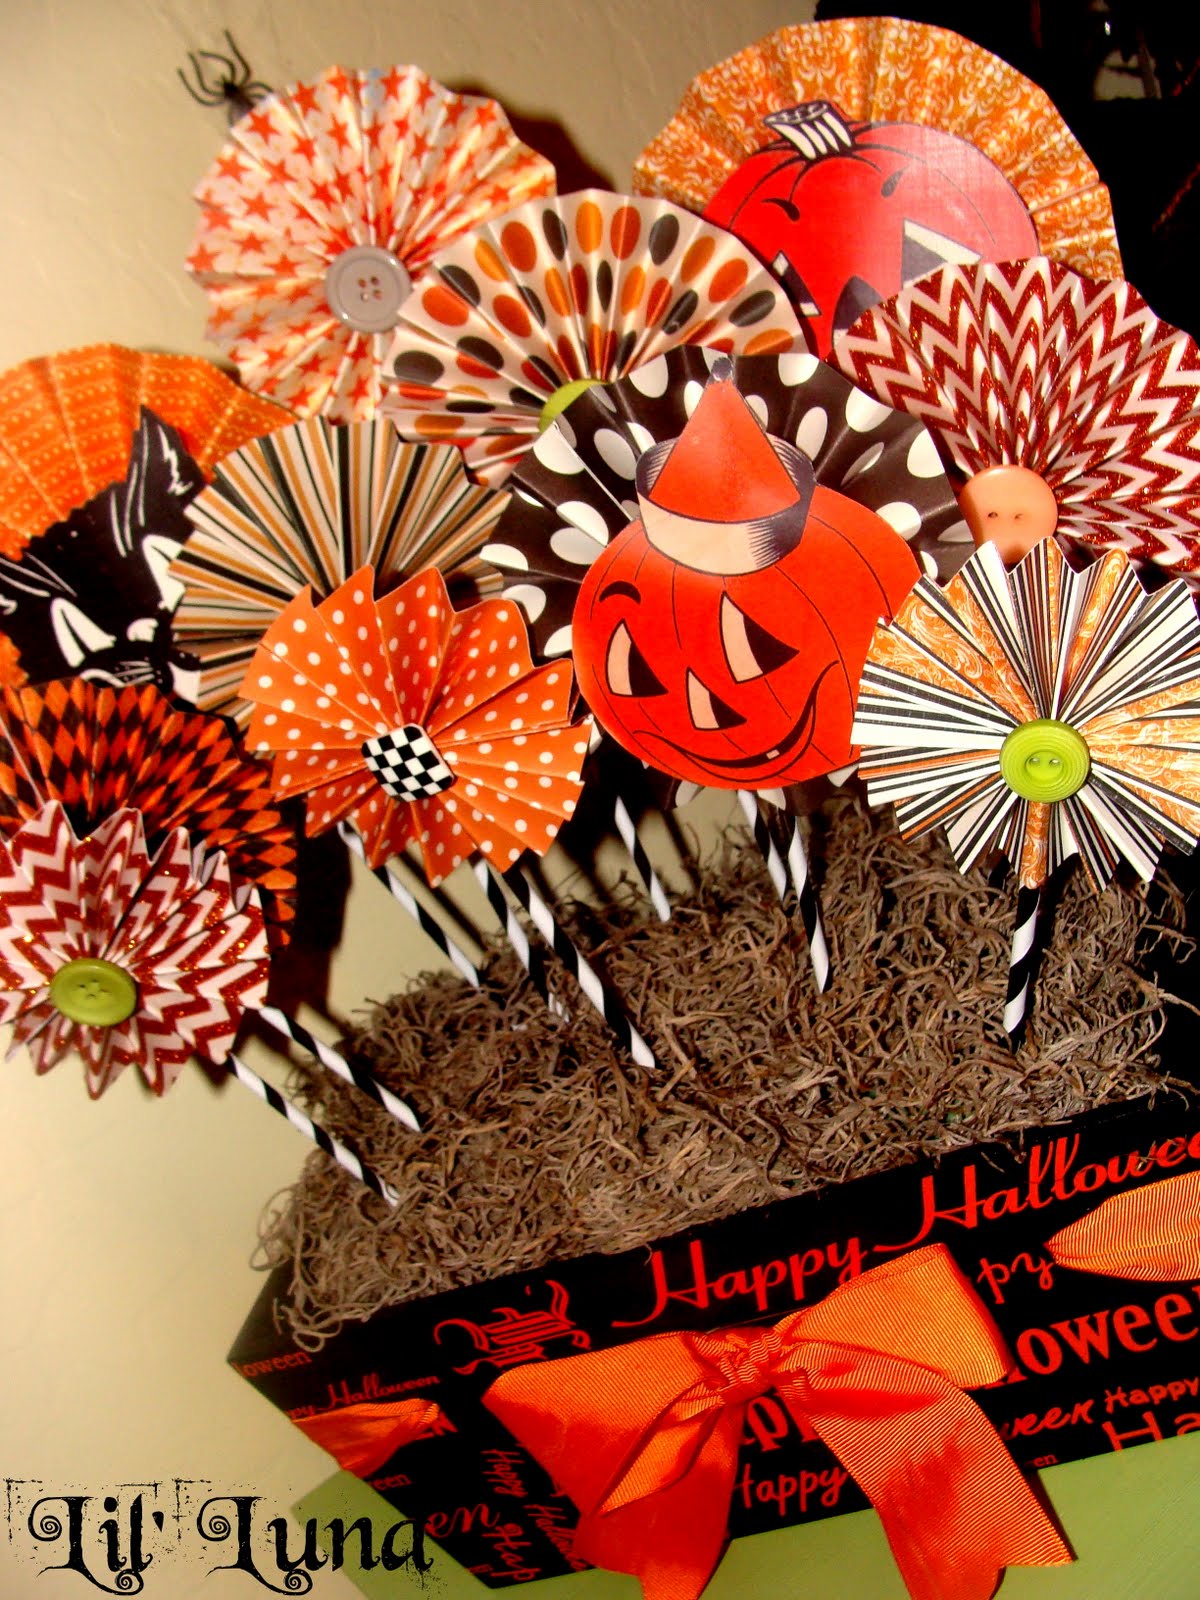
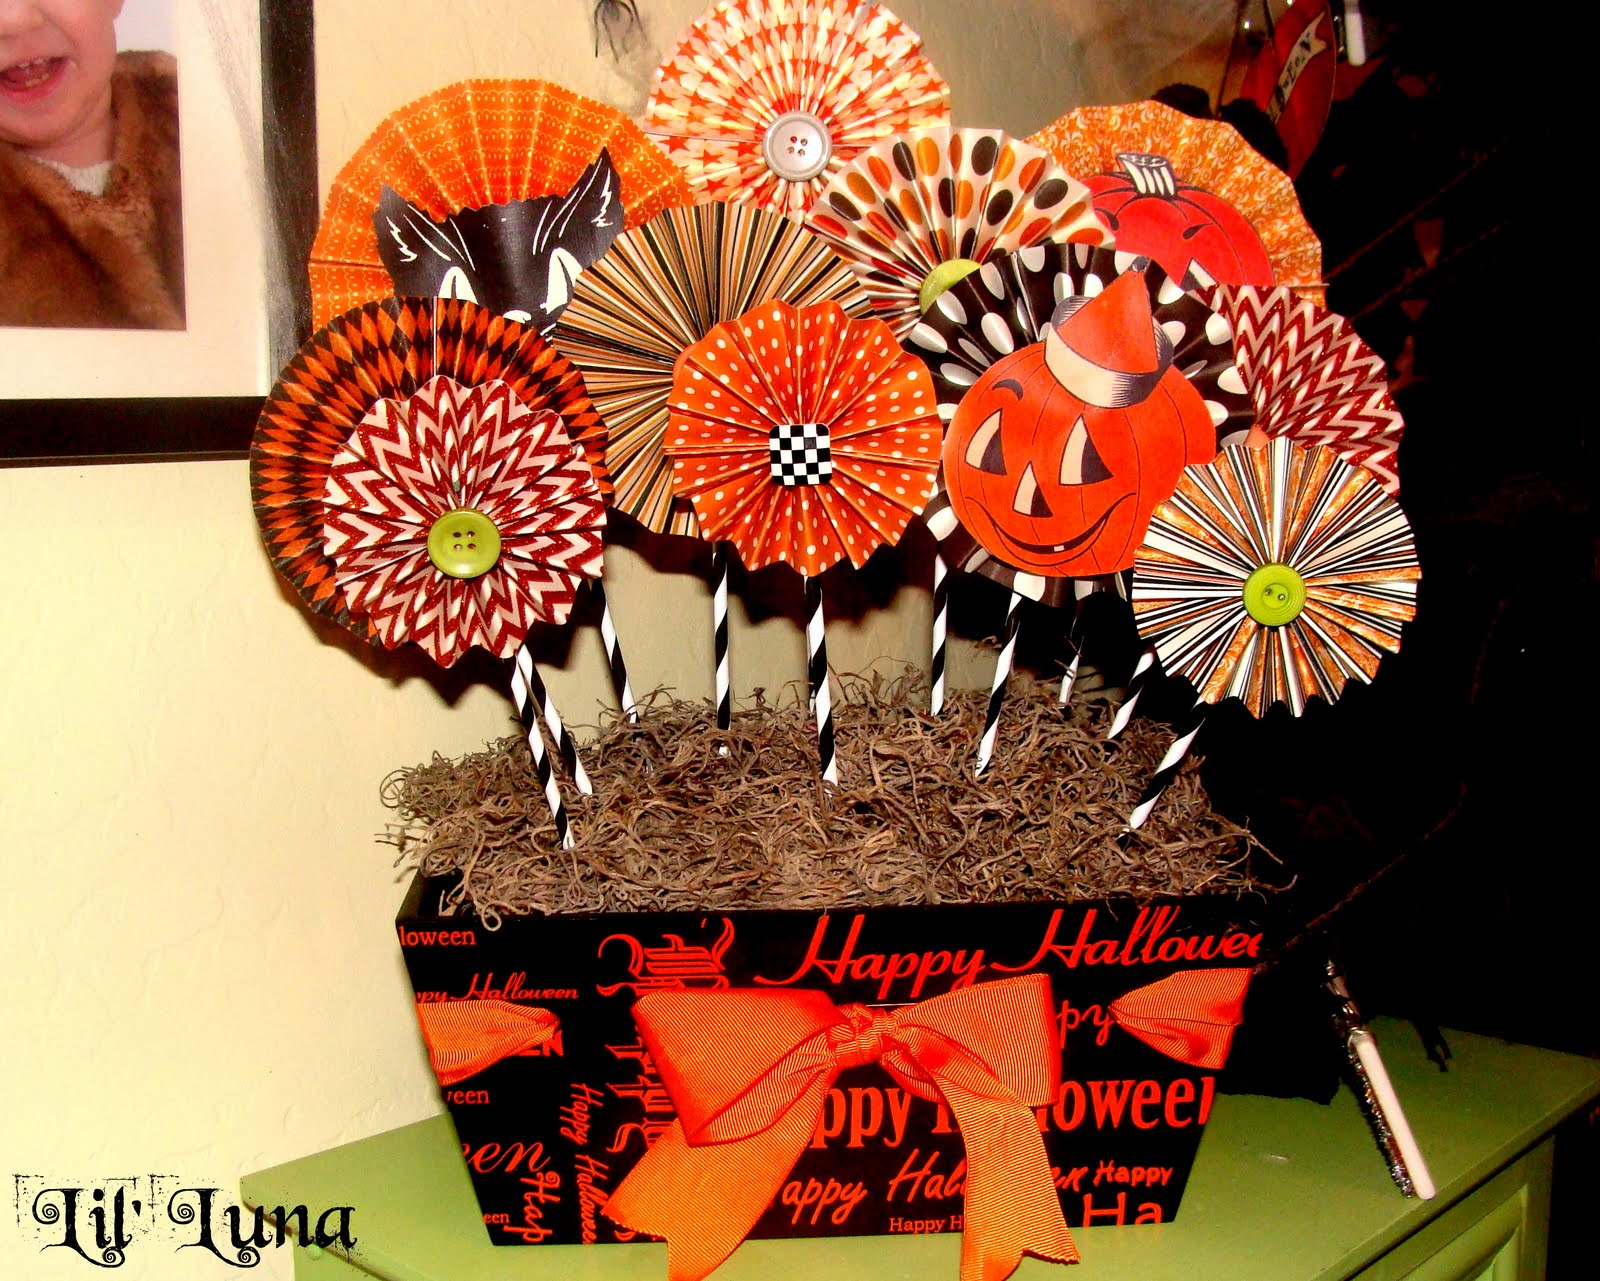
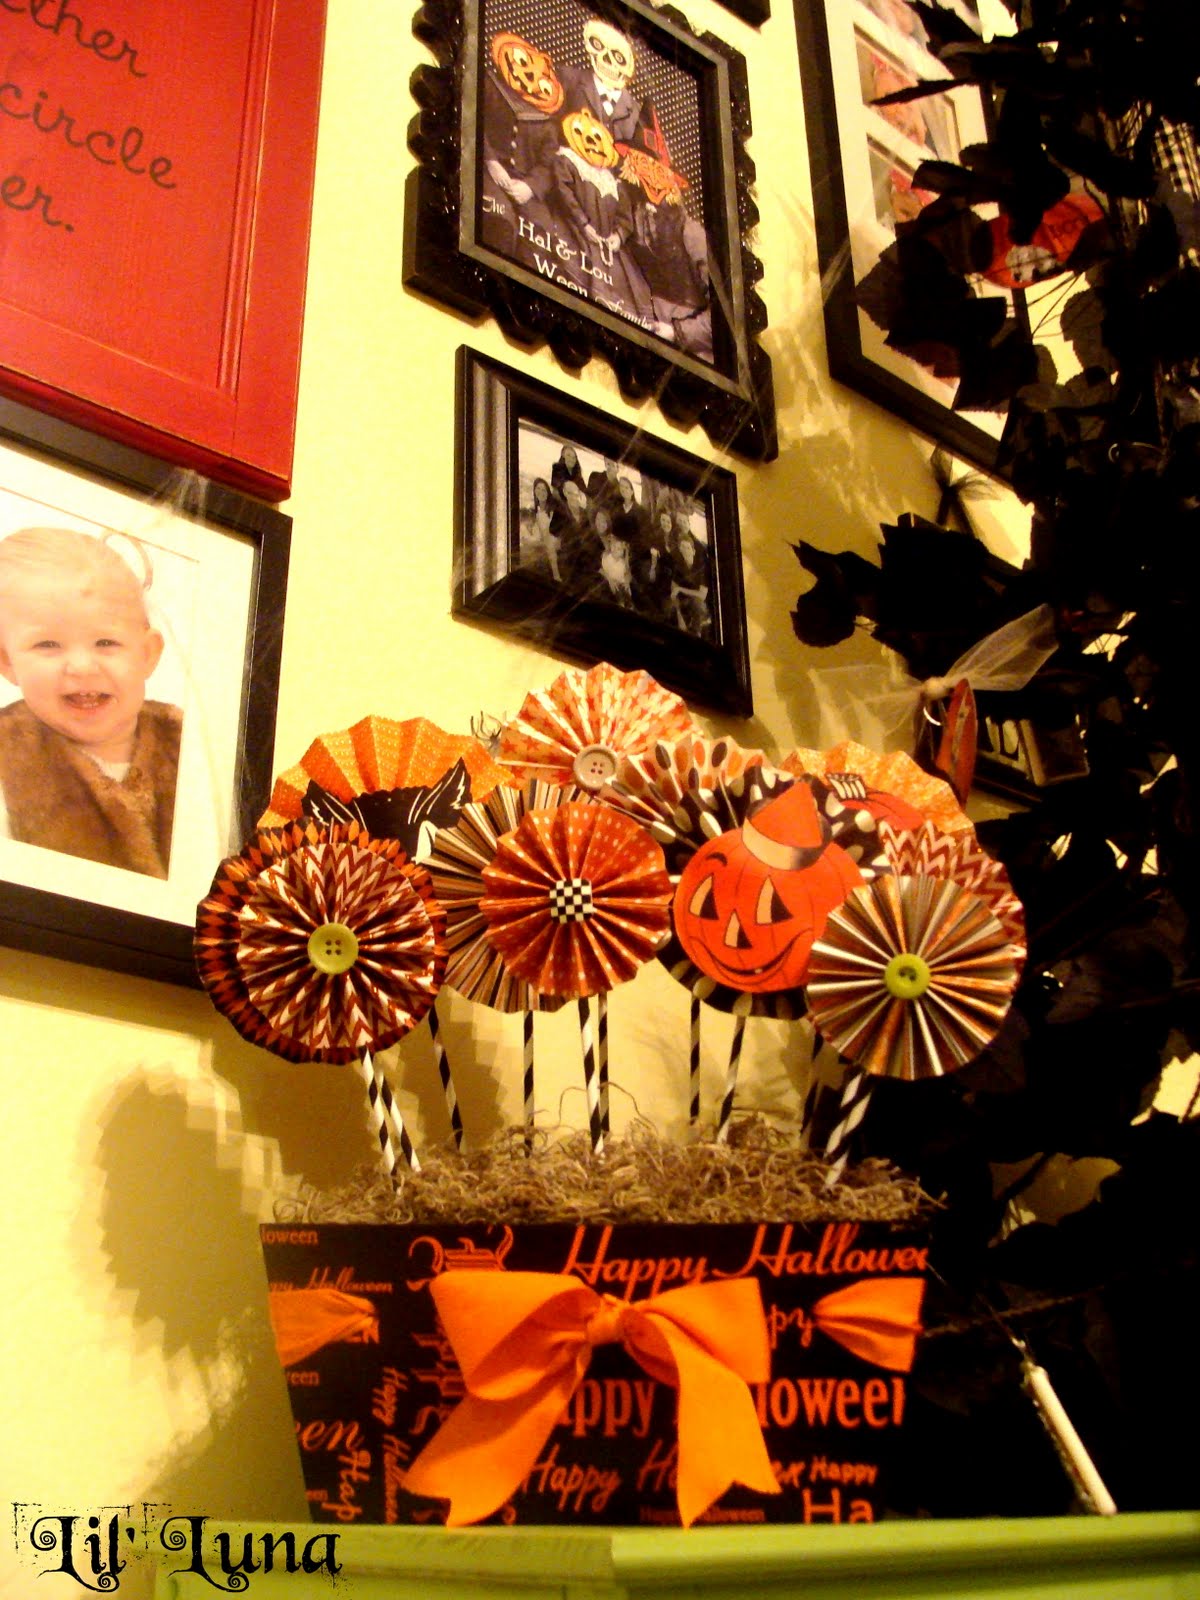
Last year, I showed you how to make a fun and simple Halloween Centerpiece.

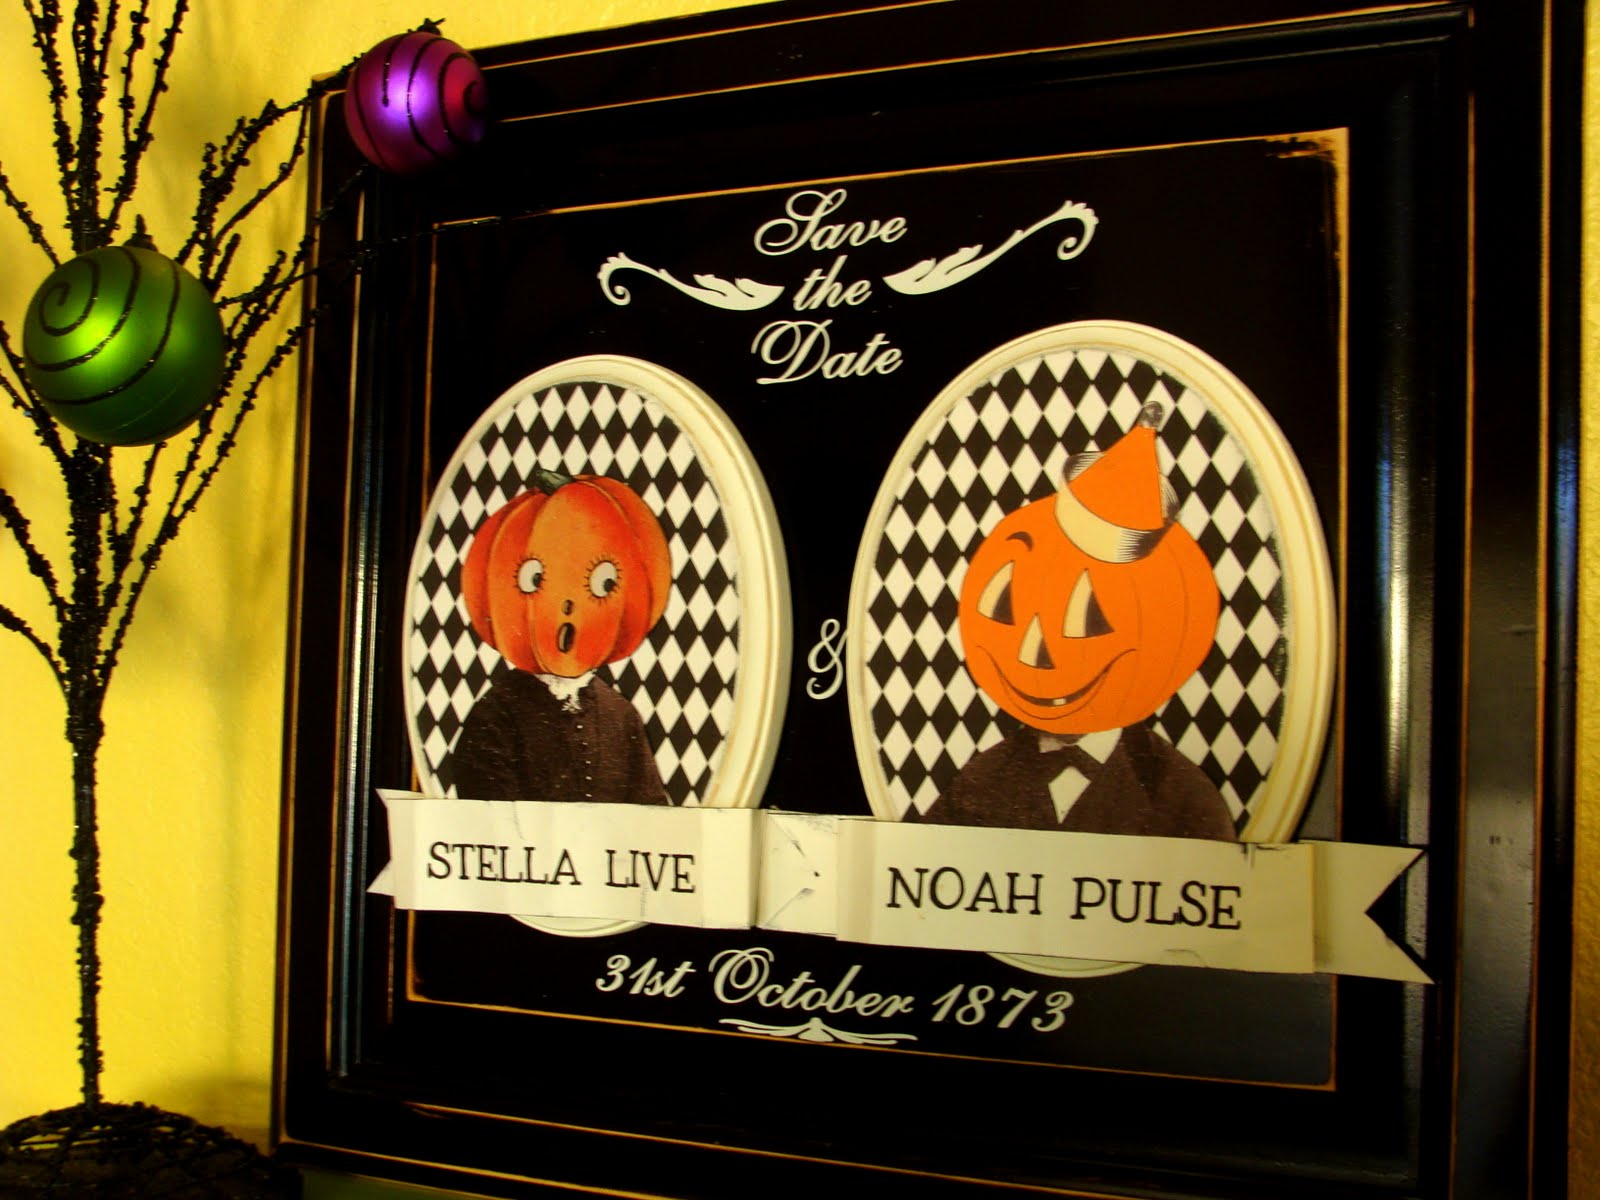
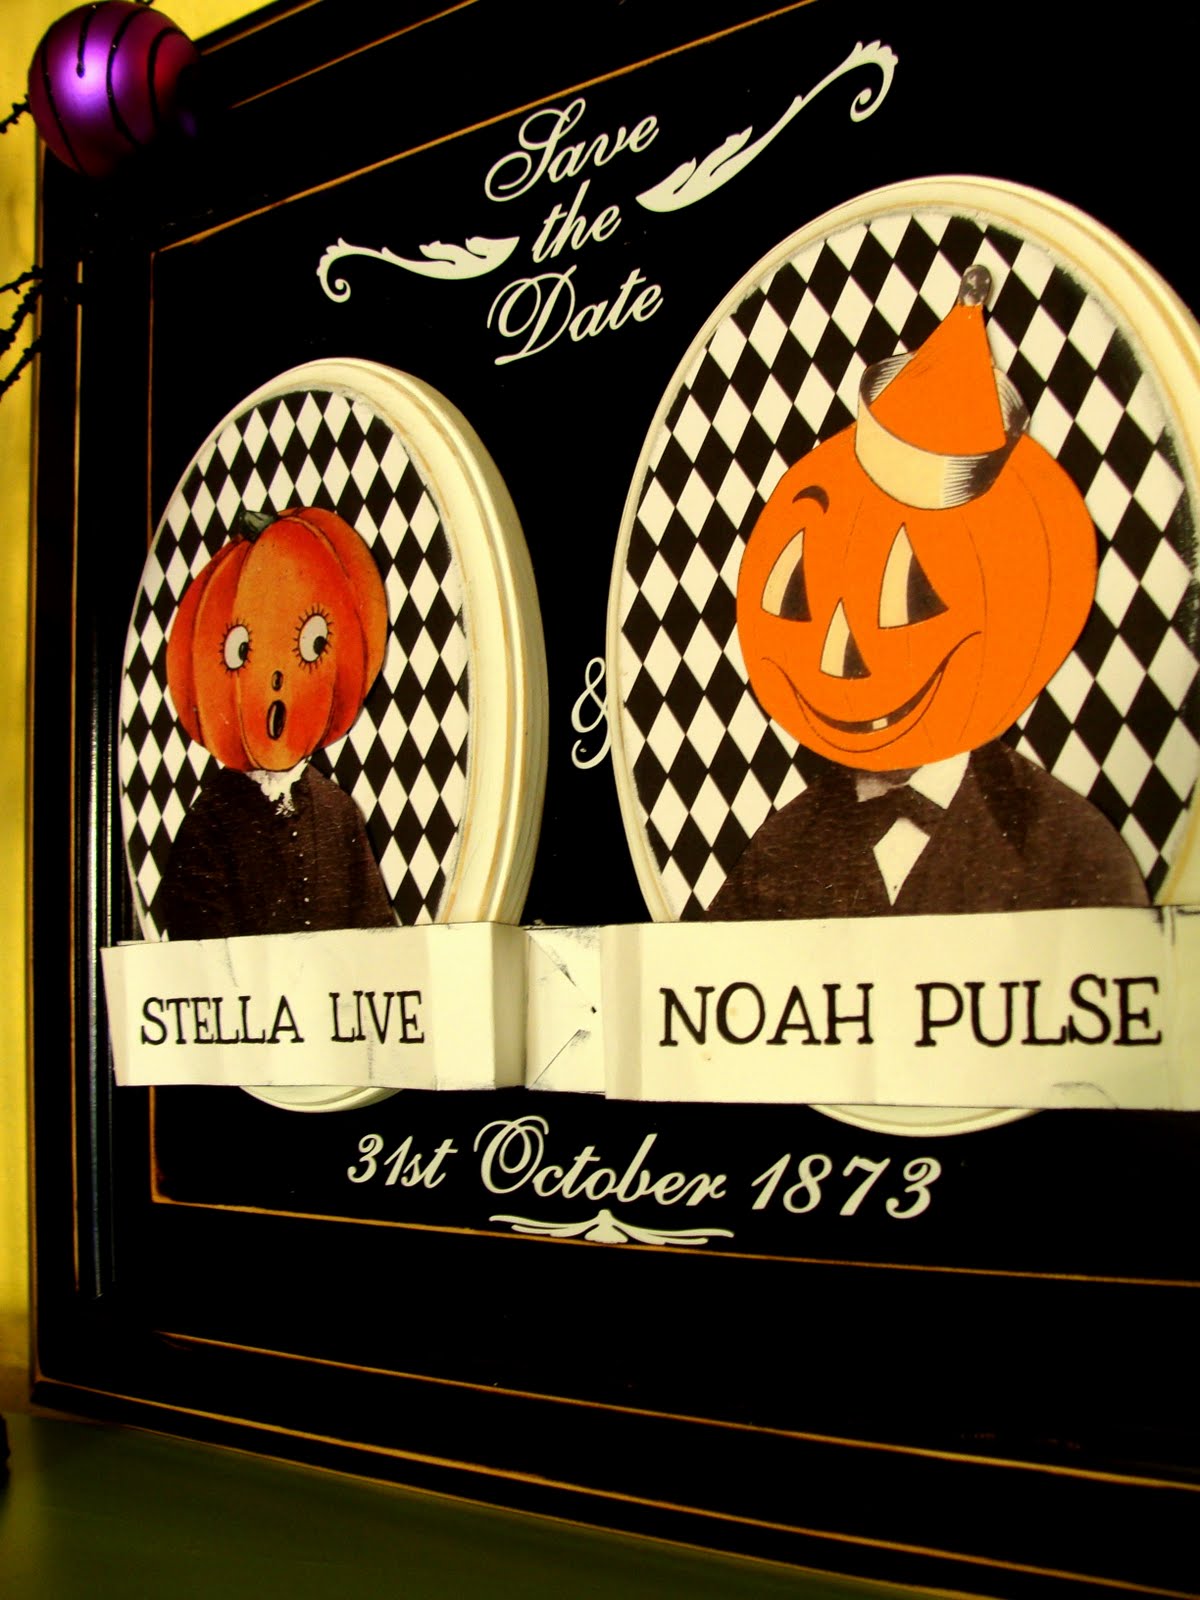
This year, I am going to show you how to make an AWESOME Sign that is SPOOKY. FUN. and UNIQUE
My inspiration was found from a piece at TJMaxx… loved it so much, that I wanted to do my own version:

 SAVE THE DATE 
HALLOWEEN ANNOUNCEMENT BOARD

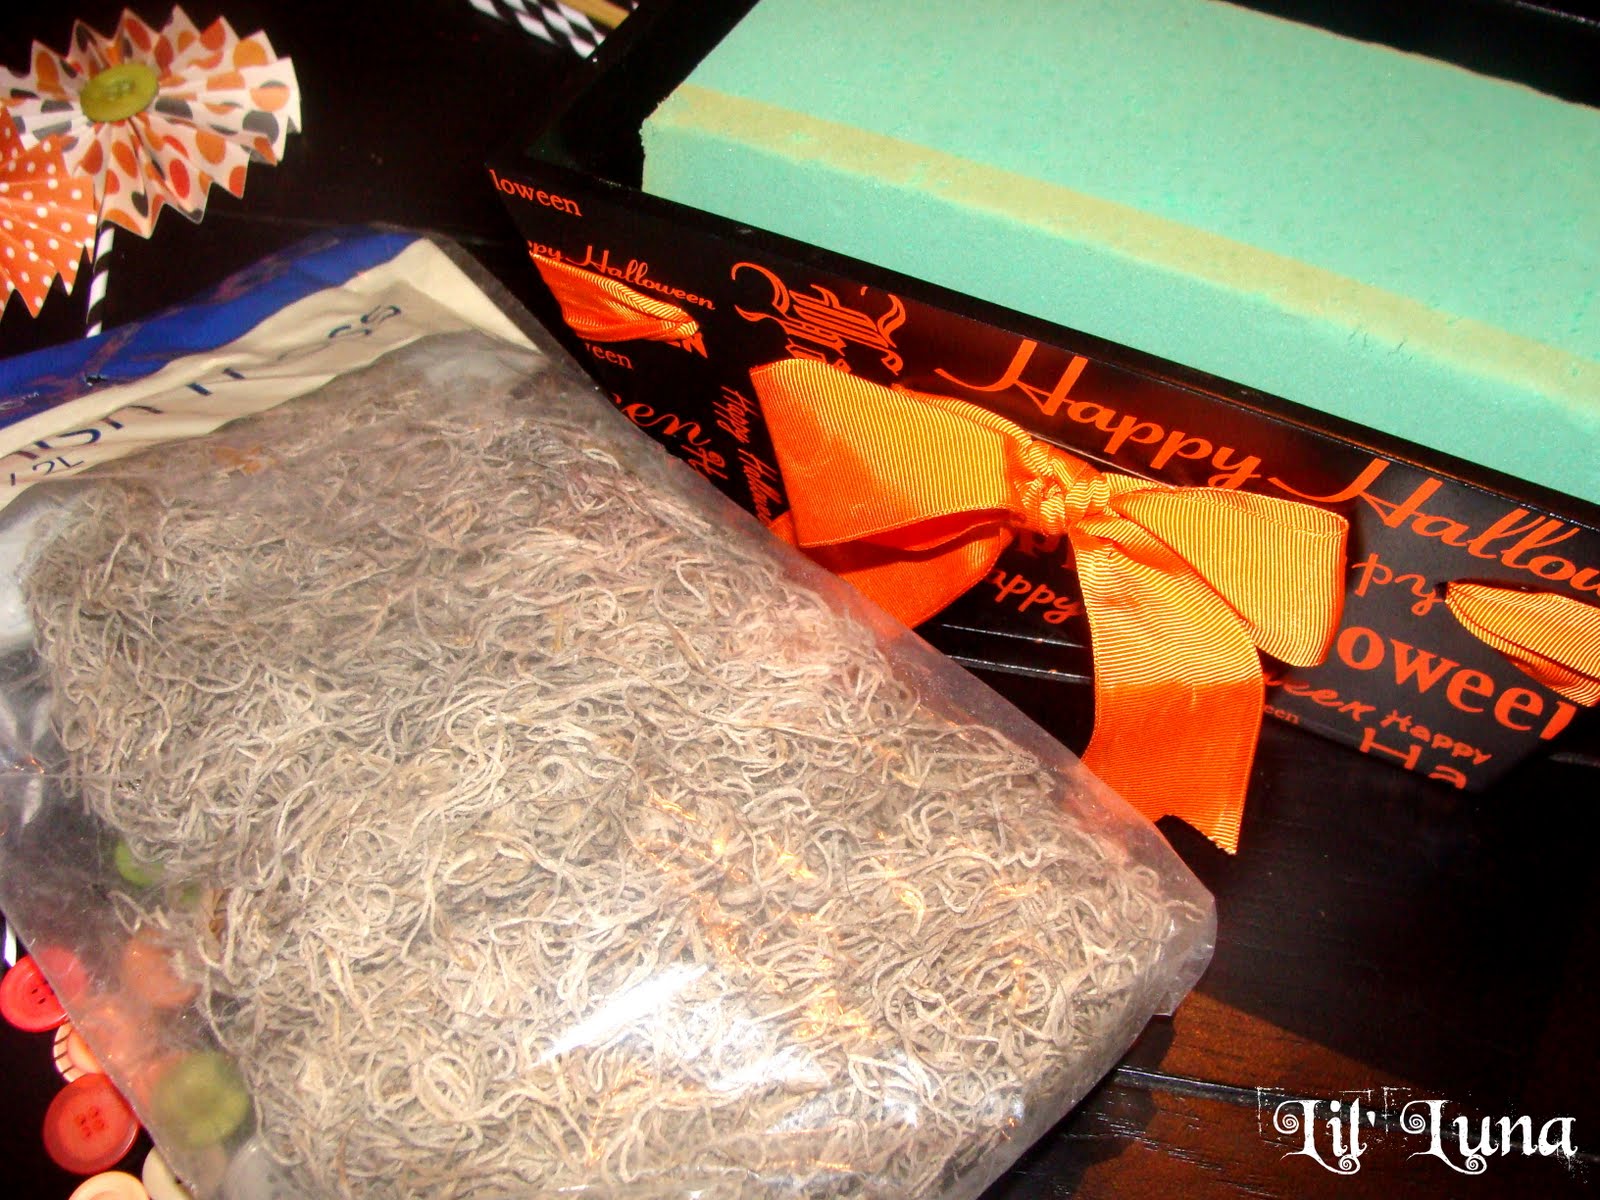
SUPPLIES:-Wood or Cabinet Door-Paint {I use Rustoleum spray paint}-Sand Paper-Oval Wood Pieces {mine are from Joann’s}-Scrapbook Paper-Mod Podge-Vinyl-Old Pics {below}-Hot Glue Gun-Mounting Tape
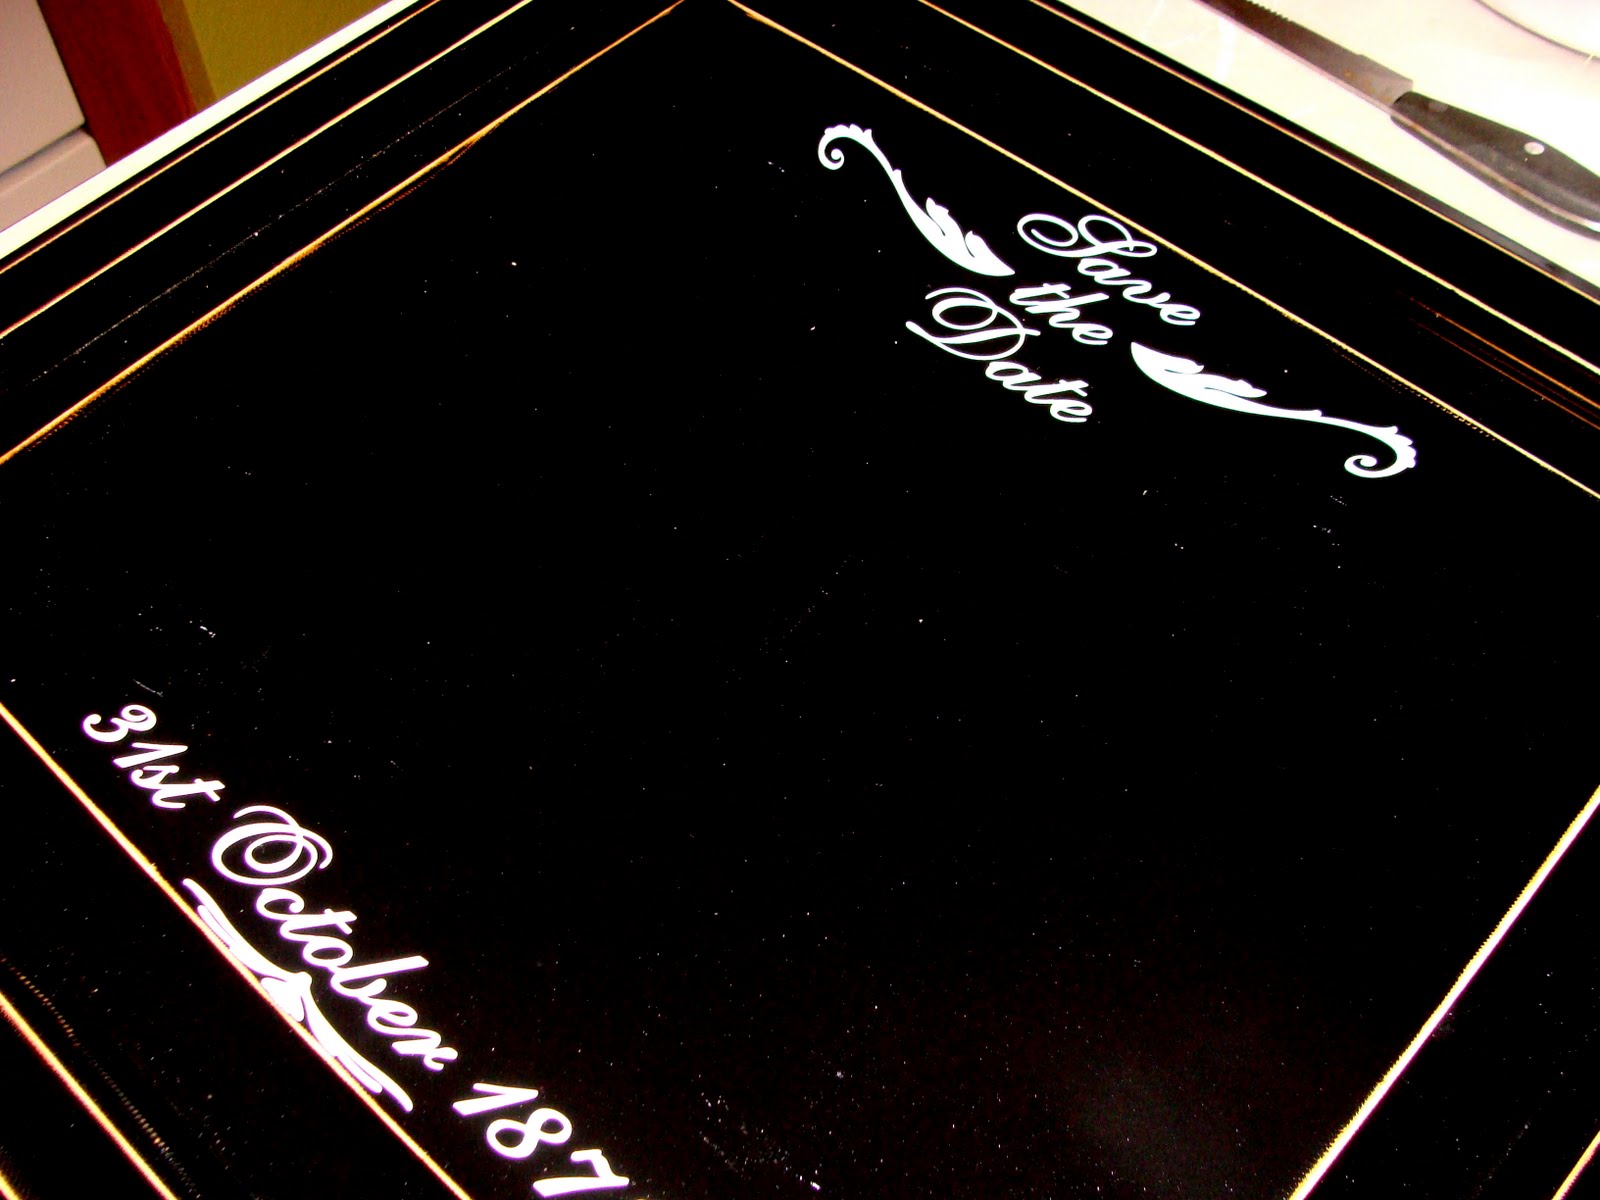
DIRECTIONS:1. Begin by spray painting your board.  Let dry.{I used a cabinet door that I got for free last year}

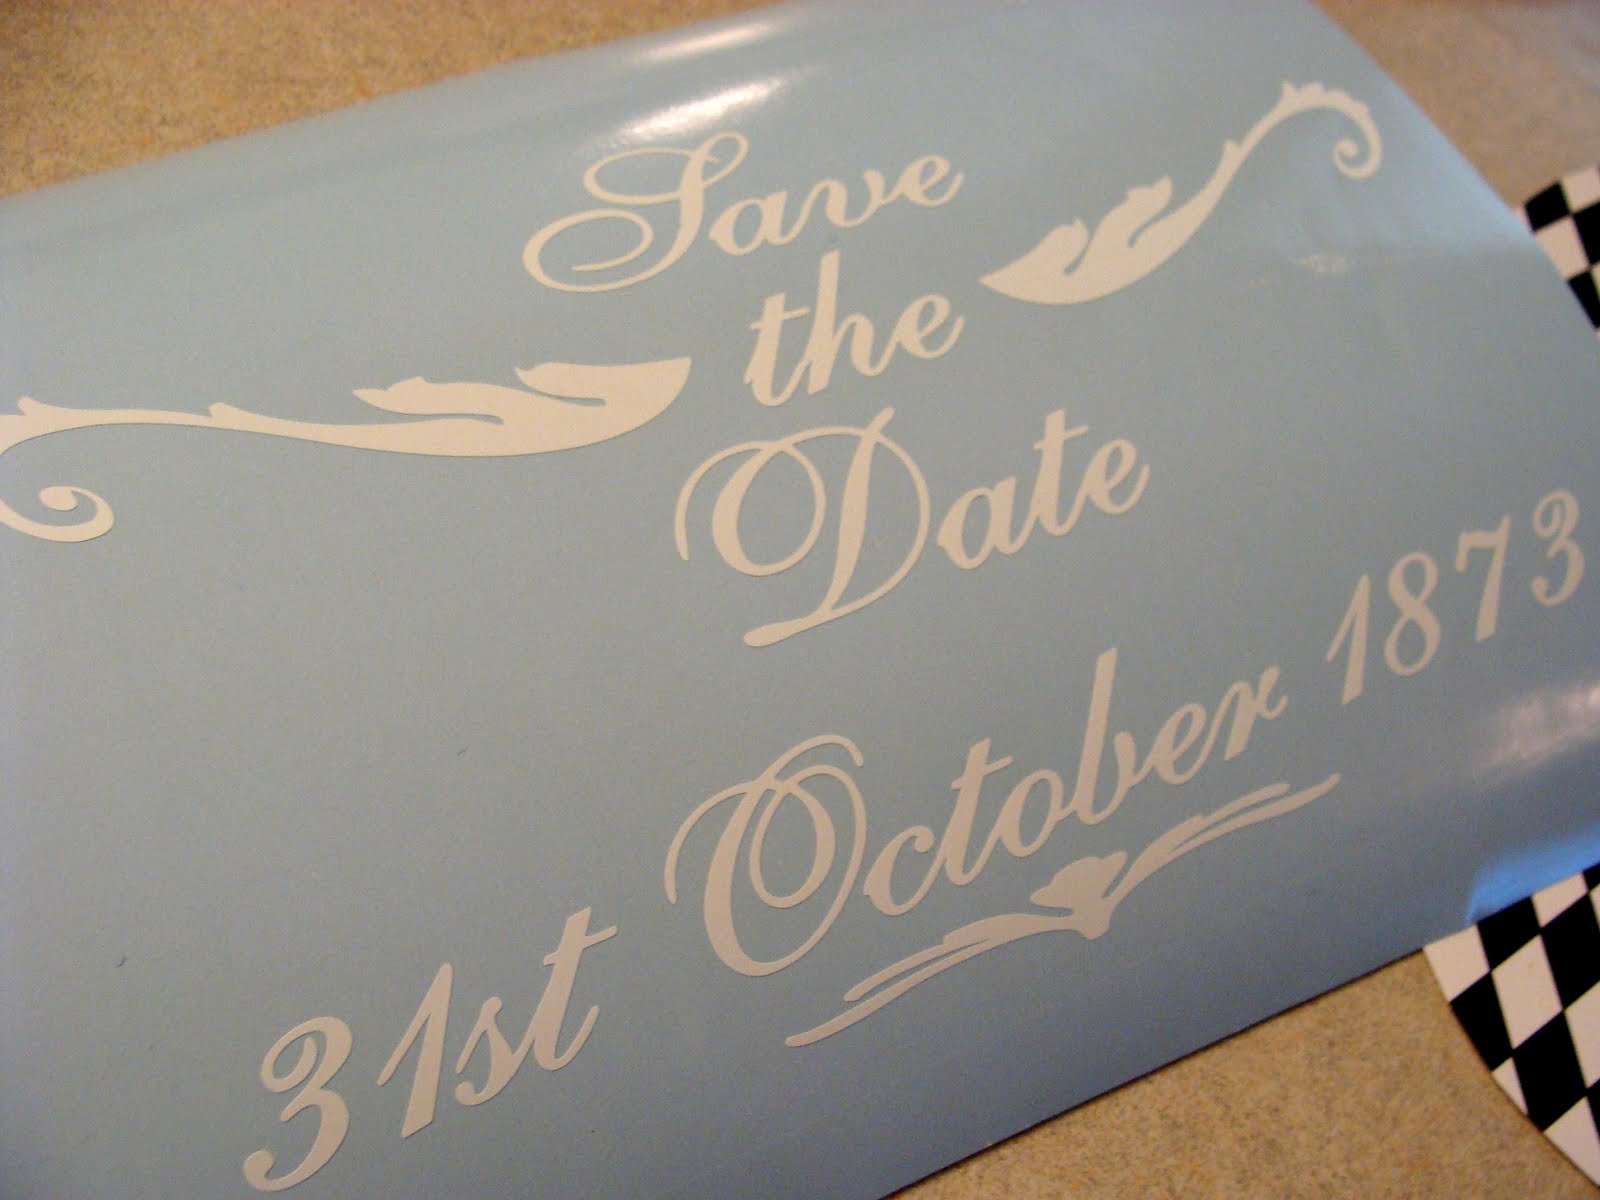
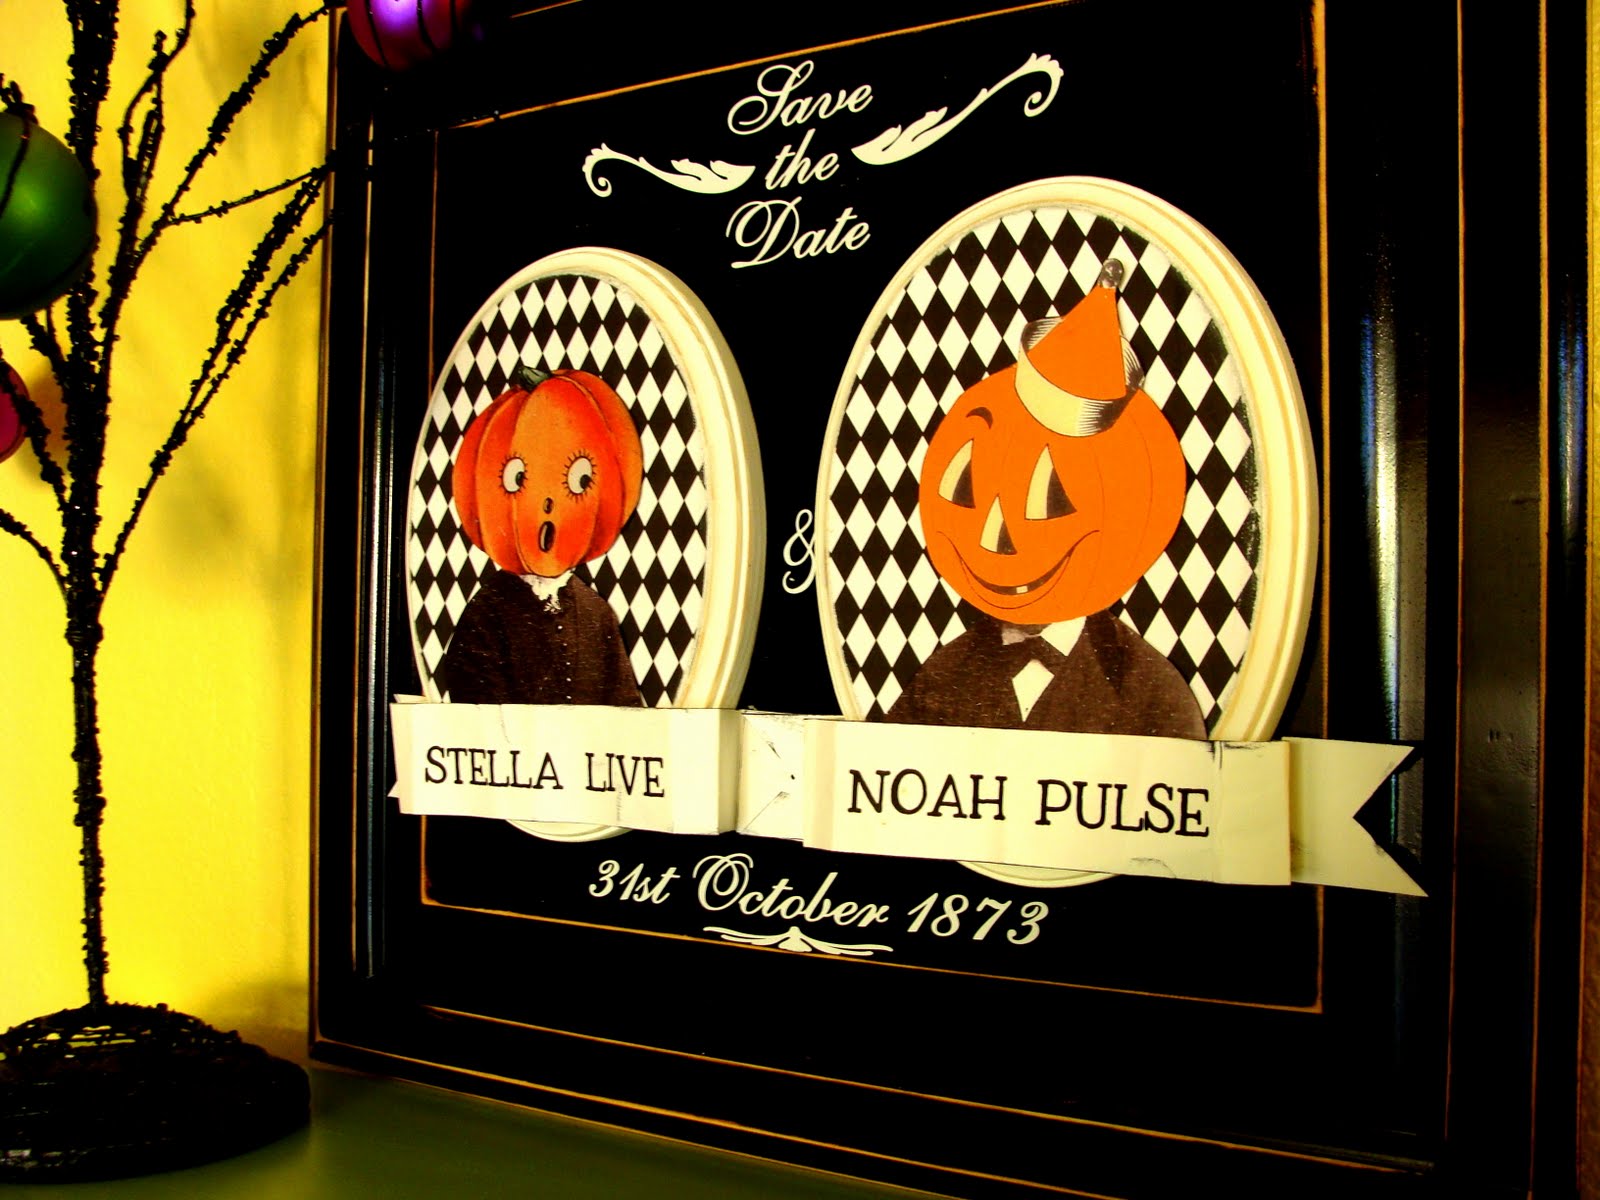
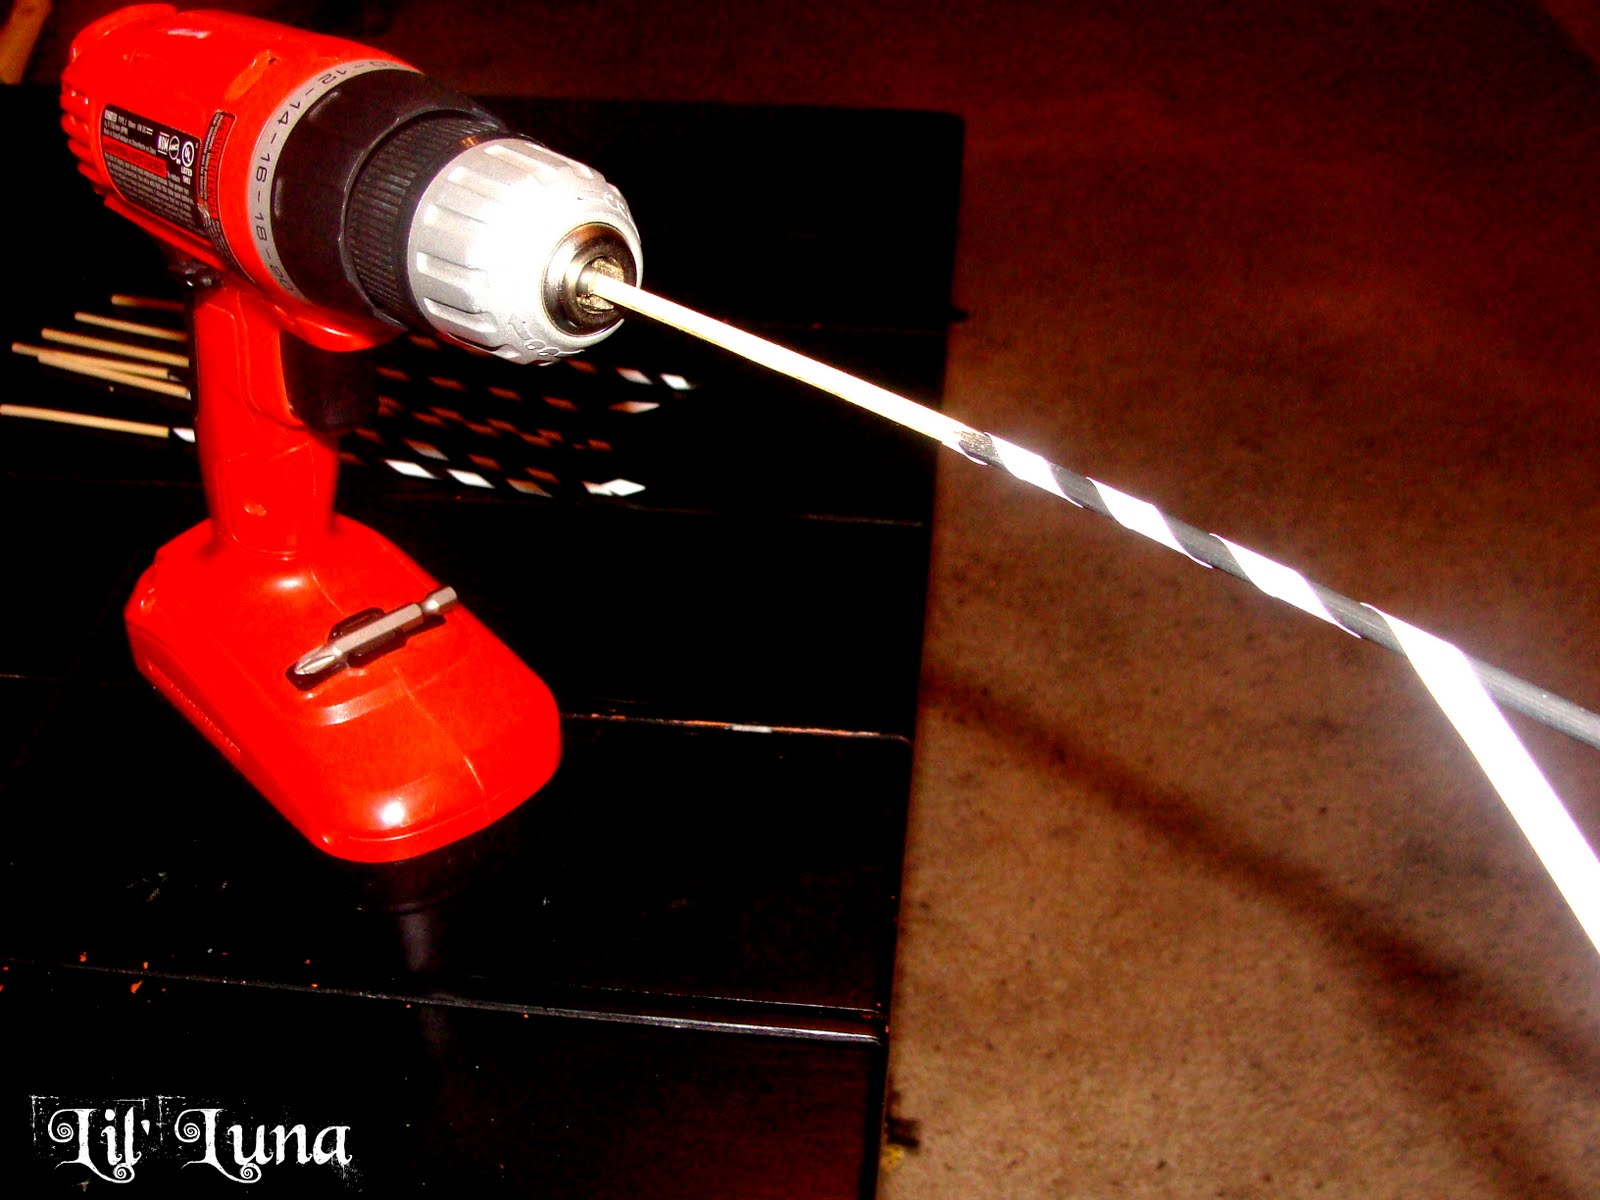
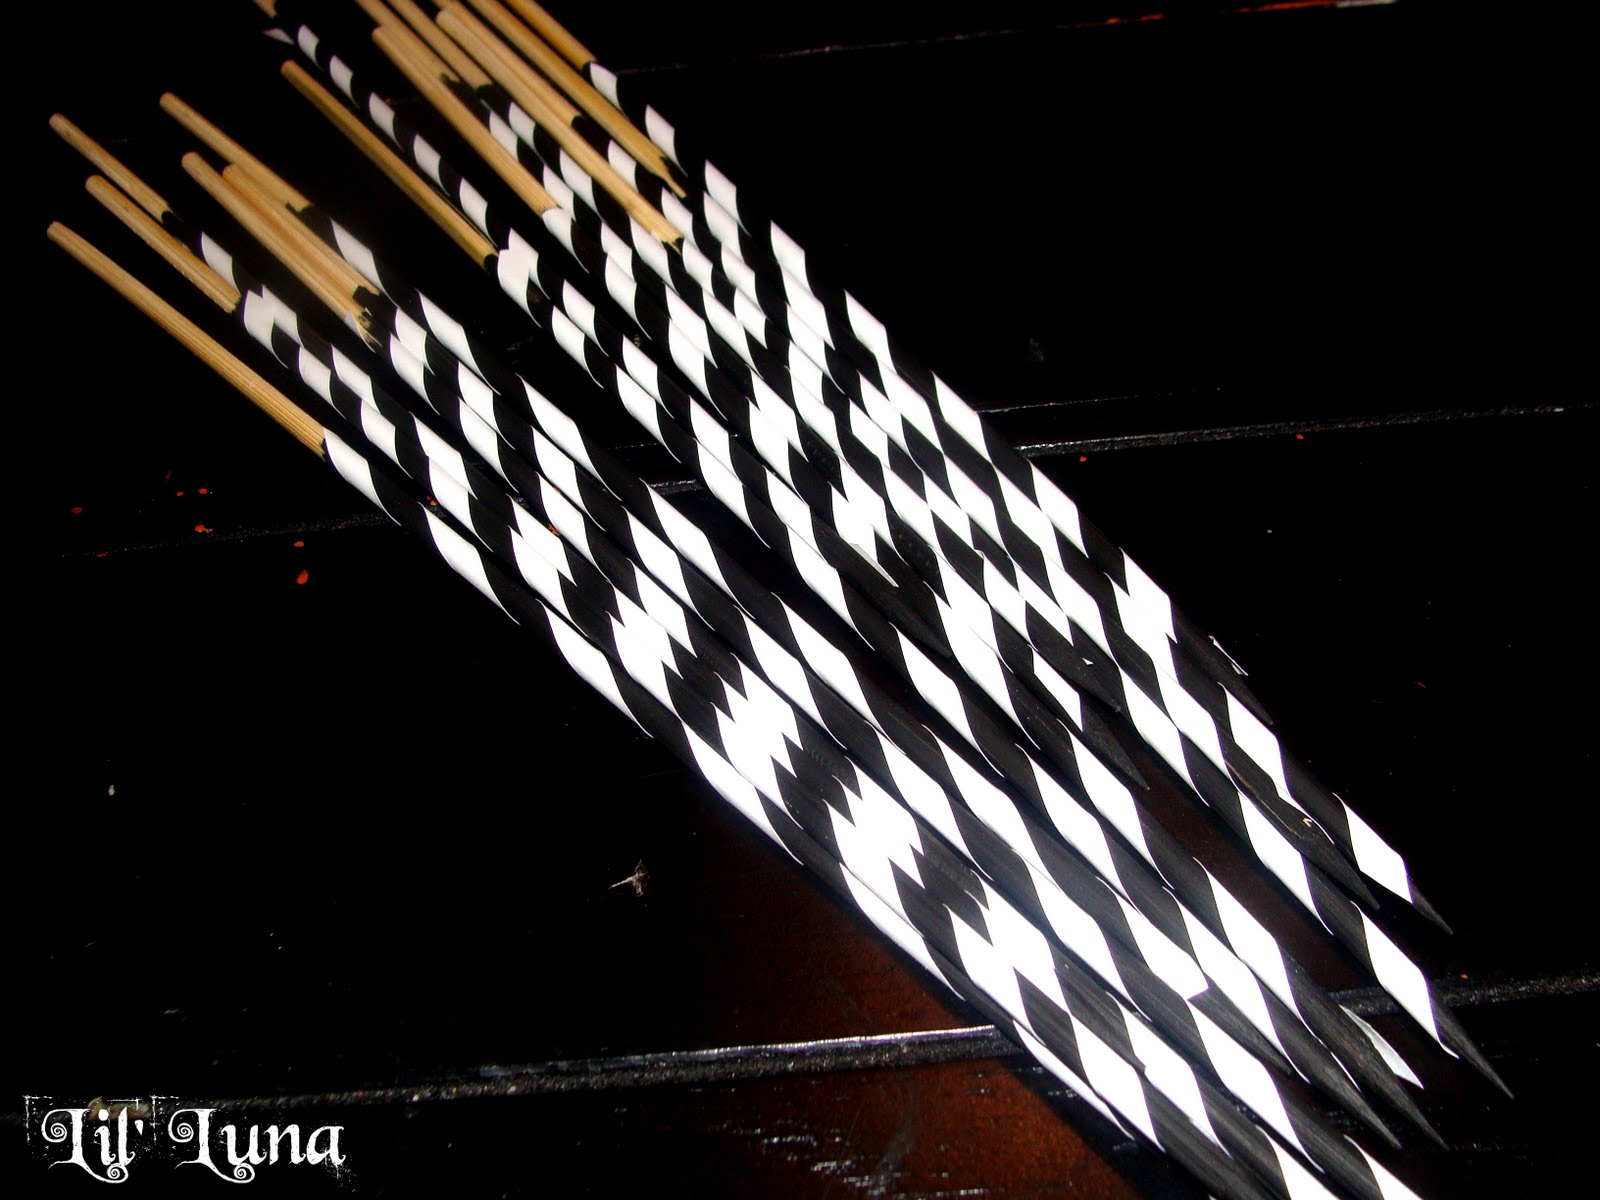
2. Cut your vinyl. I used the font Shelley Allegro, which can be downloaded HERE.I also used Damask Dings for the ornamental vinyl, which can be downloaded HERE.{Size will be dependent on the size of your oval wood and your board/cabinet door.}

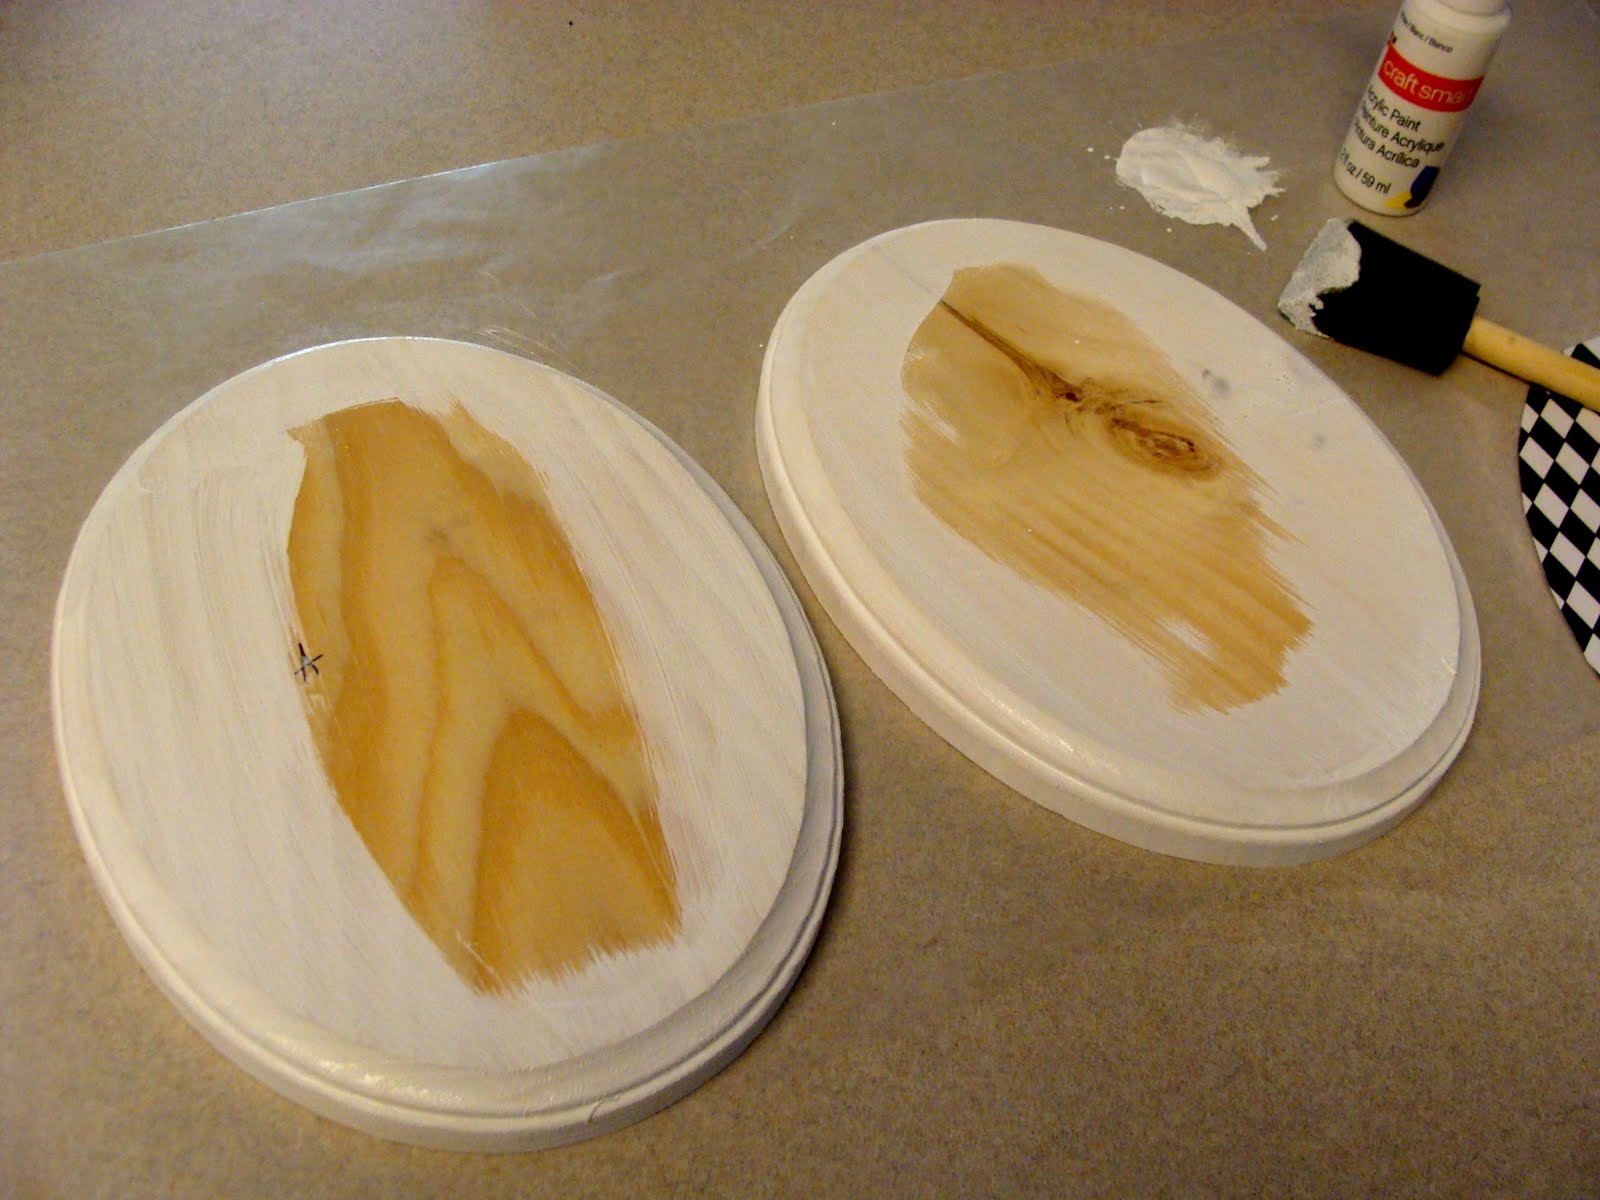
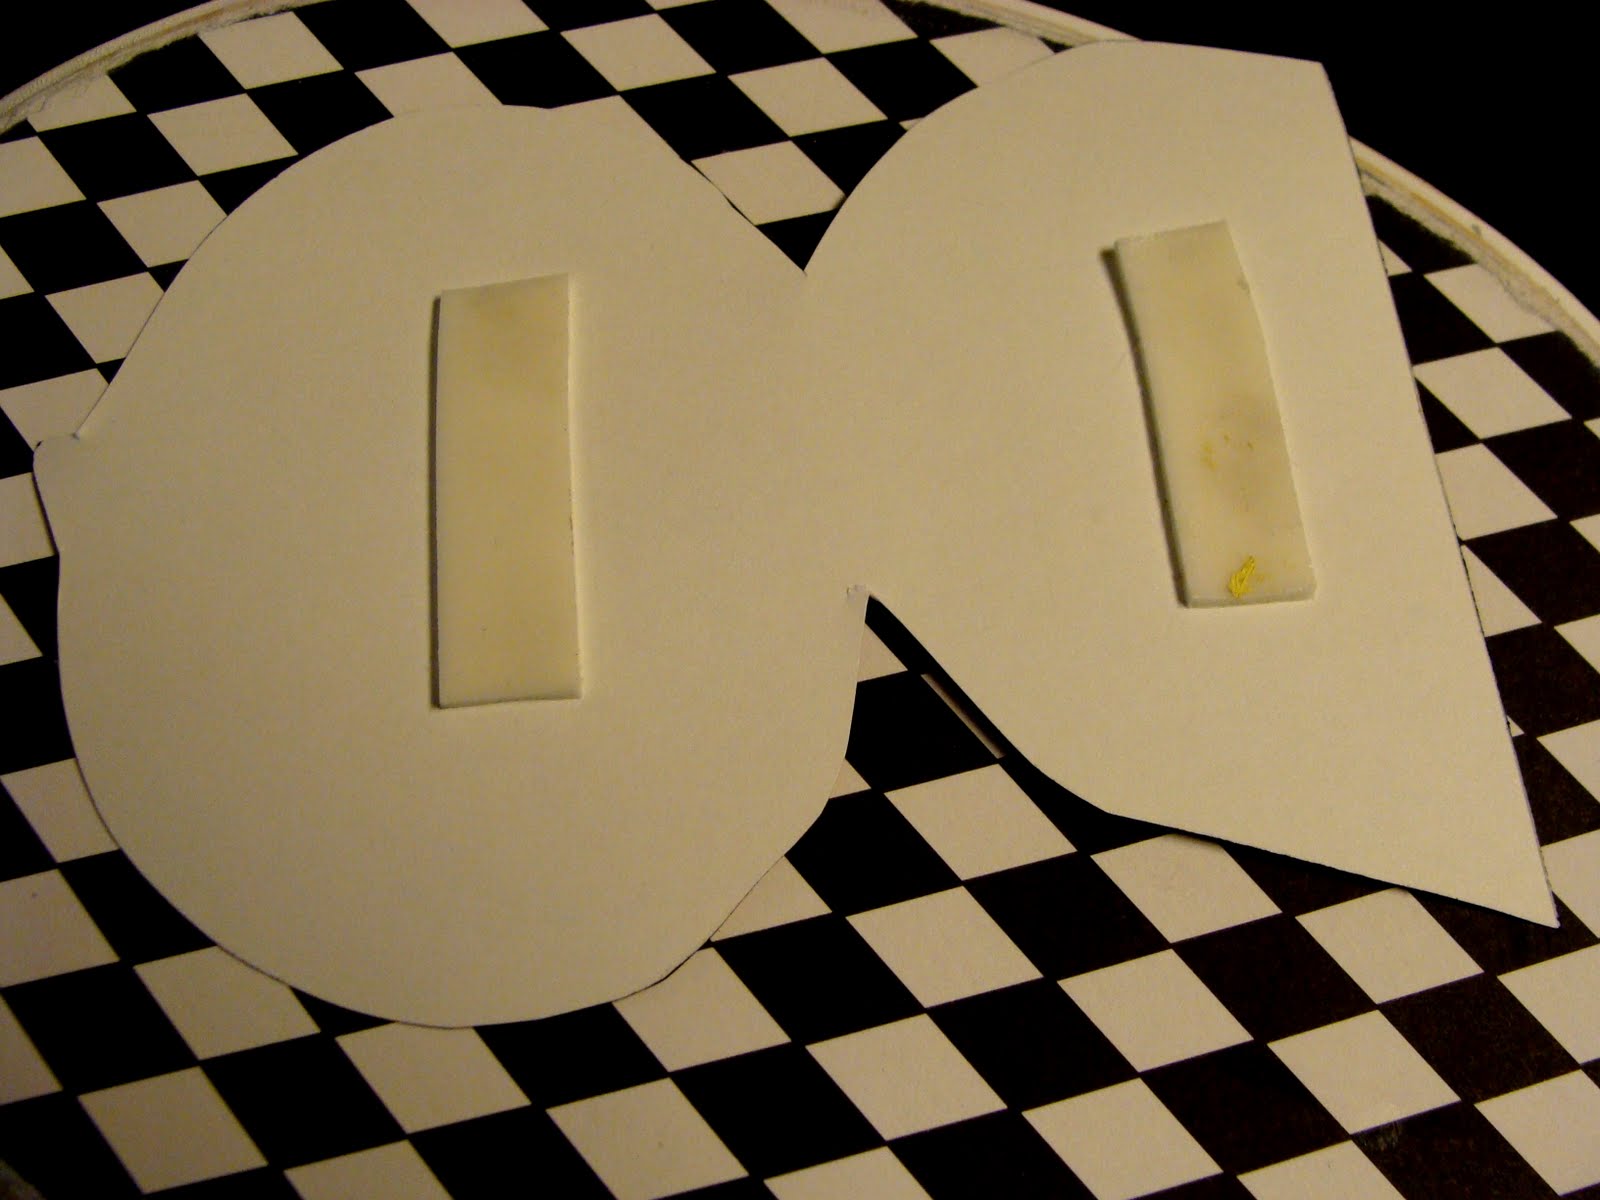
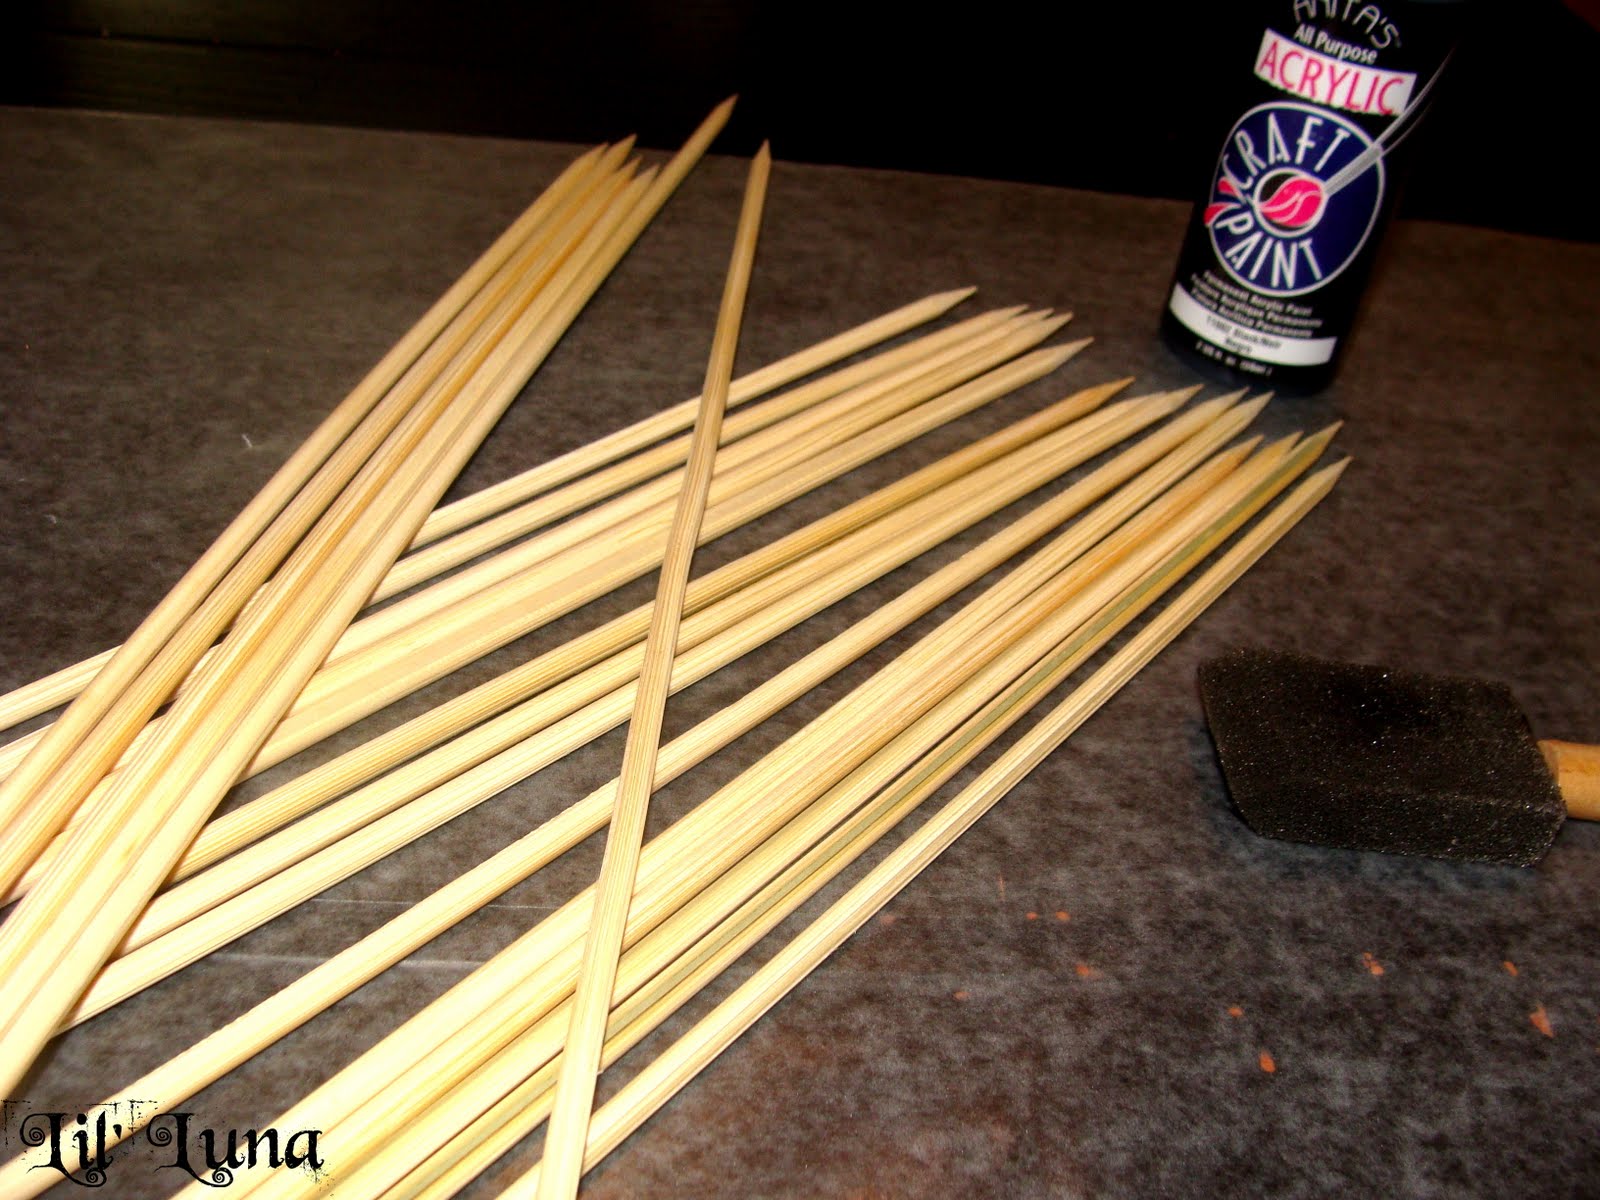
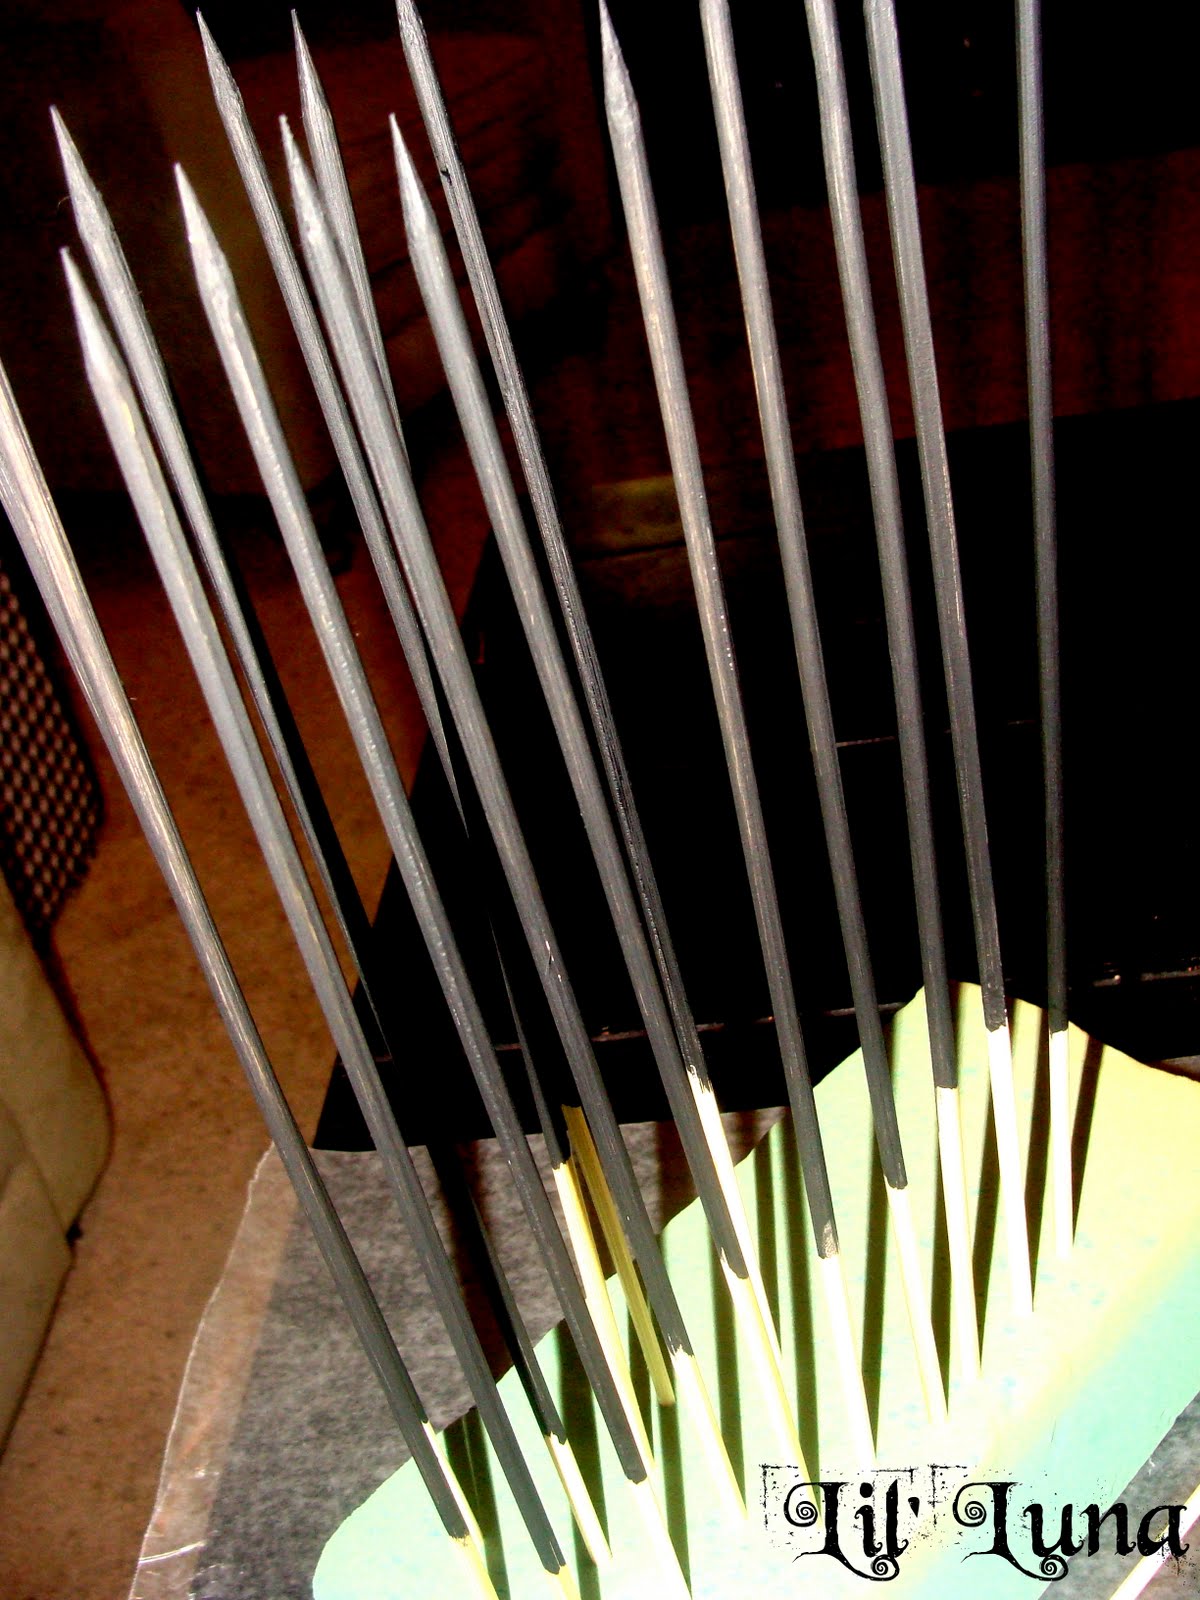
3. While your board is still drying, paint the oval wood all around the edges and onto the middle. Let dry.

4. Trace ovals onto your choice of scrapbook paper. Cut out and mod podge to the center of your ovals.{No worries, if it’s not perfect because you will sand it off.}

5. Once dry, sand edges of your board as well as the edges of your oval wood.{Sanding the paper on the wood will give it a fun, kinda old look.}

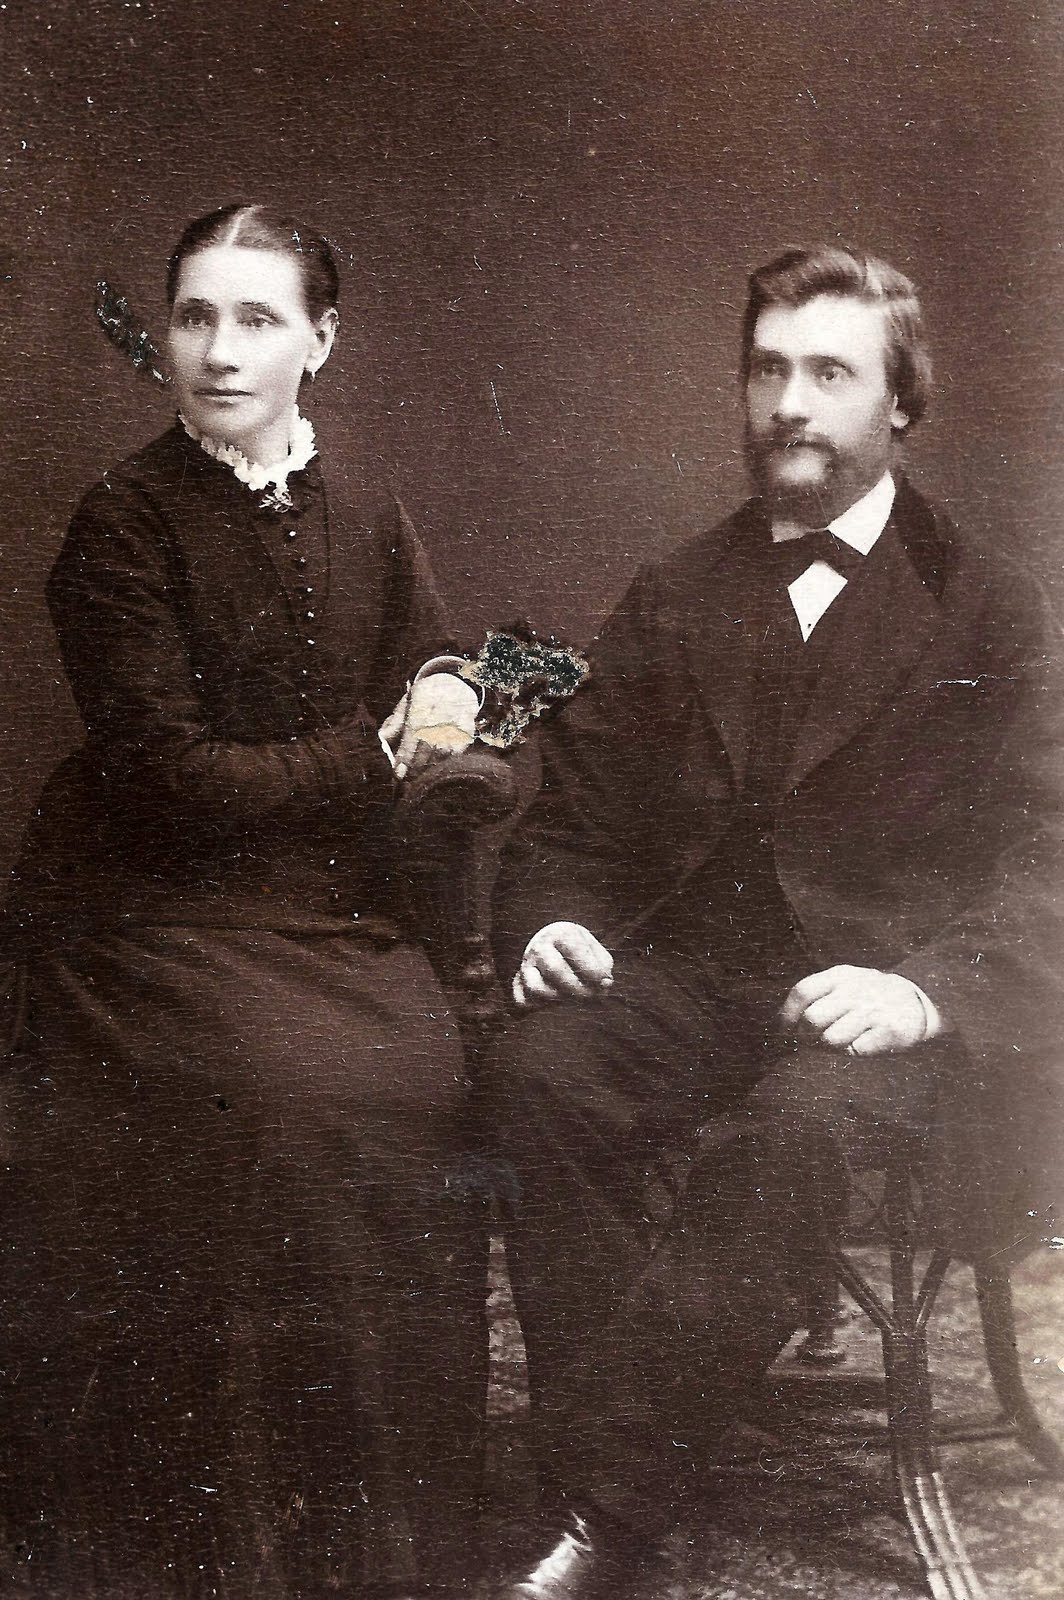
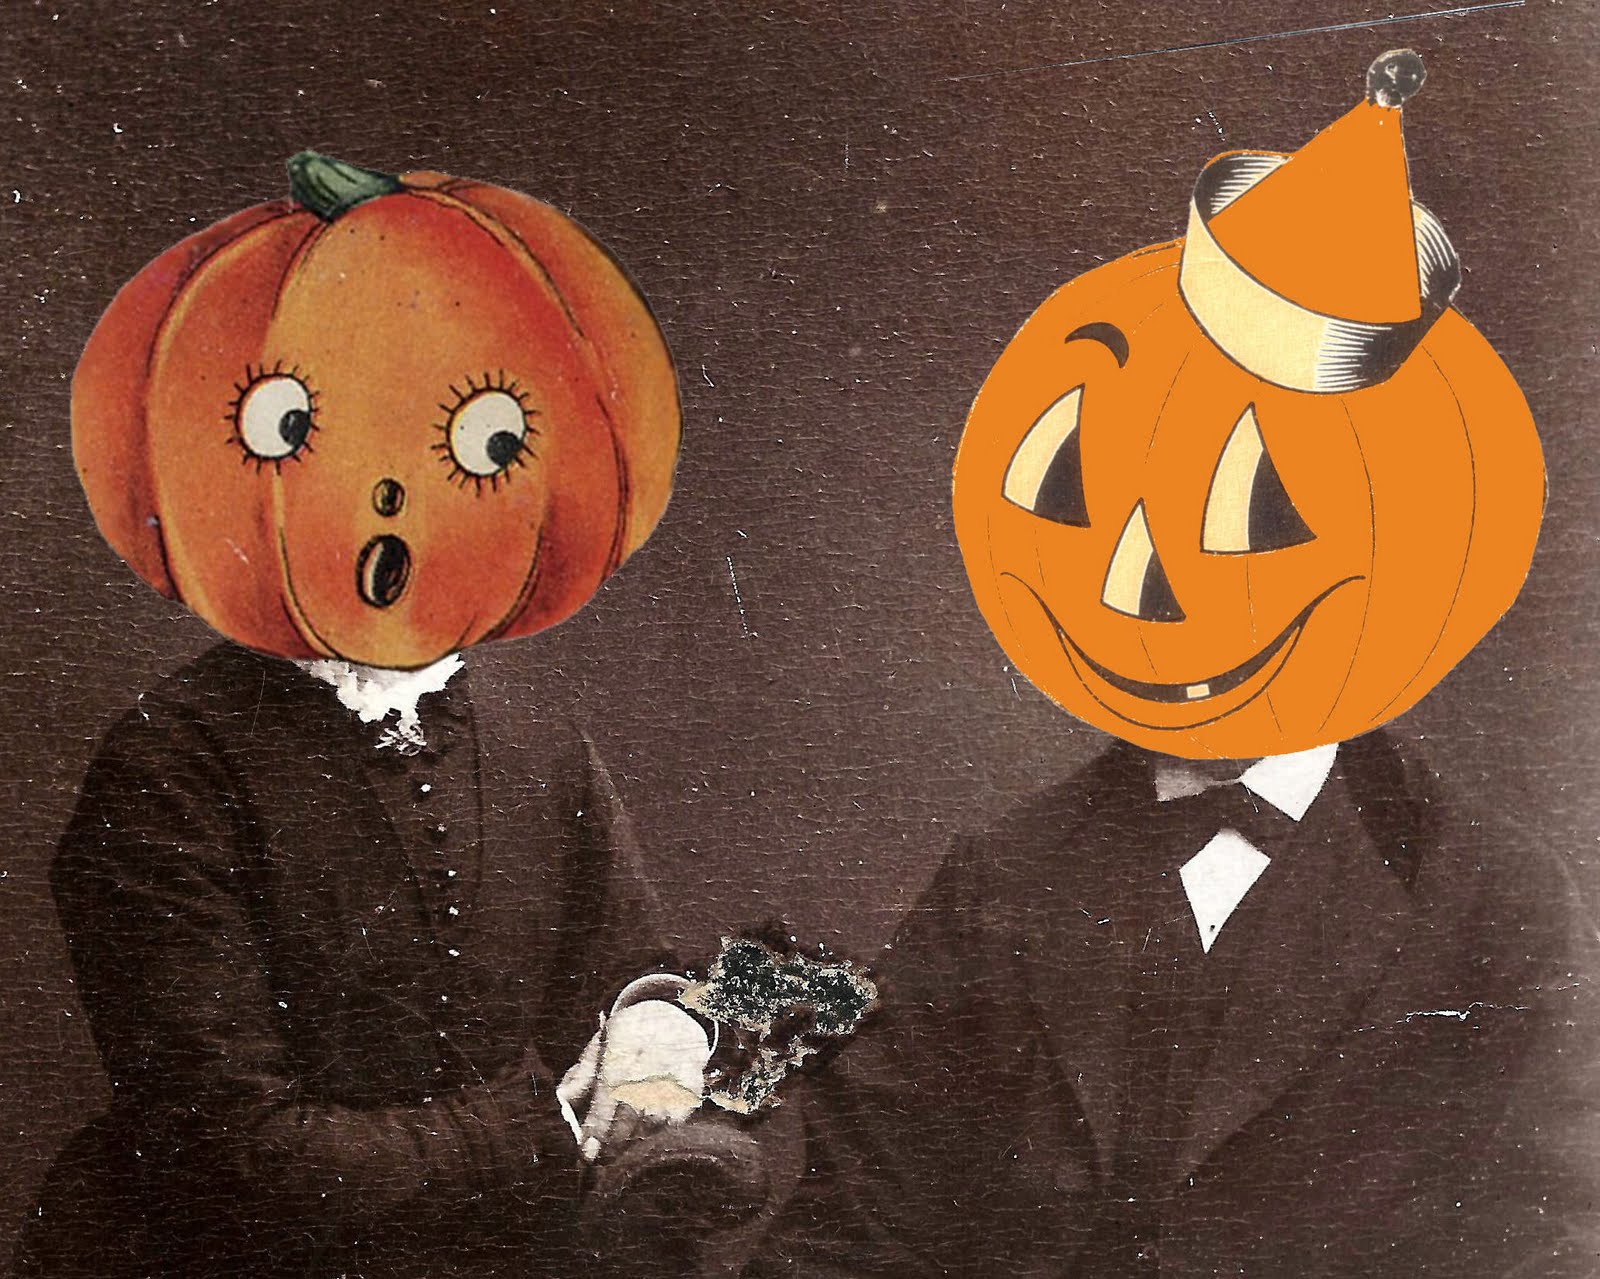
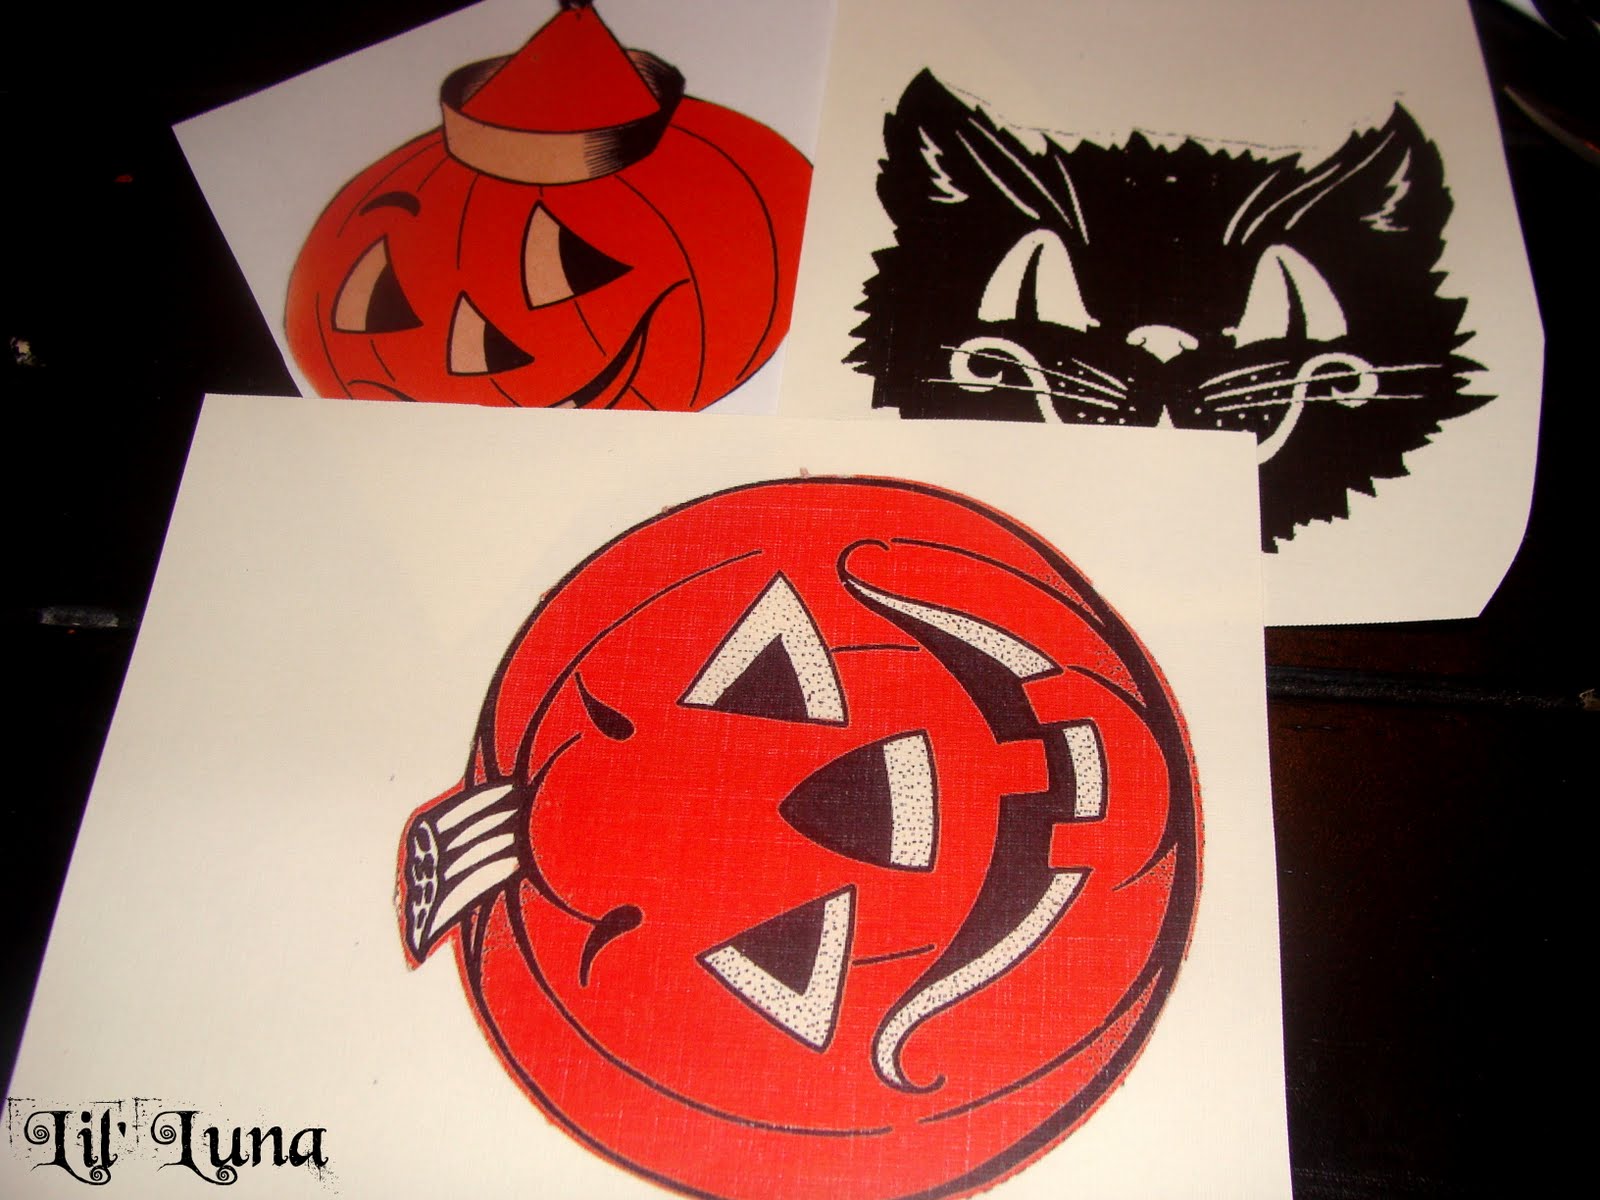
 6. Print your Old Pics by clicking on the image and then clicking once more and then right-click and save.These people are actually some of my hubby’s descendants. {I have no idea who they are, but loved the OLD-look, clothes and everything else included in the pic – sorry ancestors!}And do you recognize the boy pumpkin?YUP – I used him last year and wanted to use him again this year – thanks to Matthew Mead.

7. Cut out your pics and add to your oval pieces using mounting tape for a little 3-D effect.
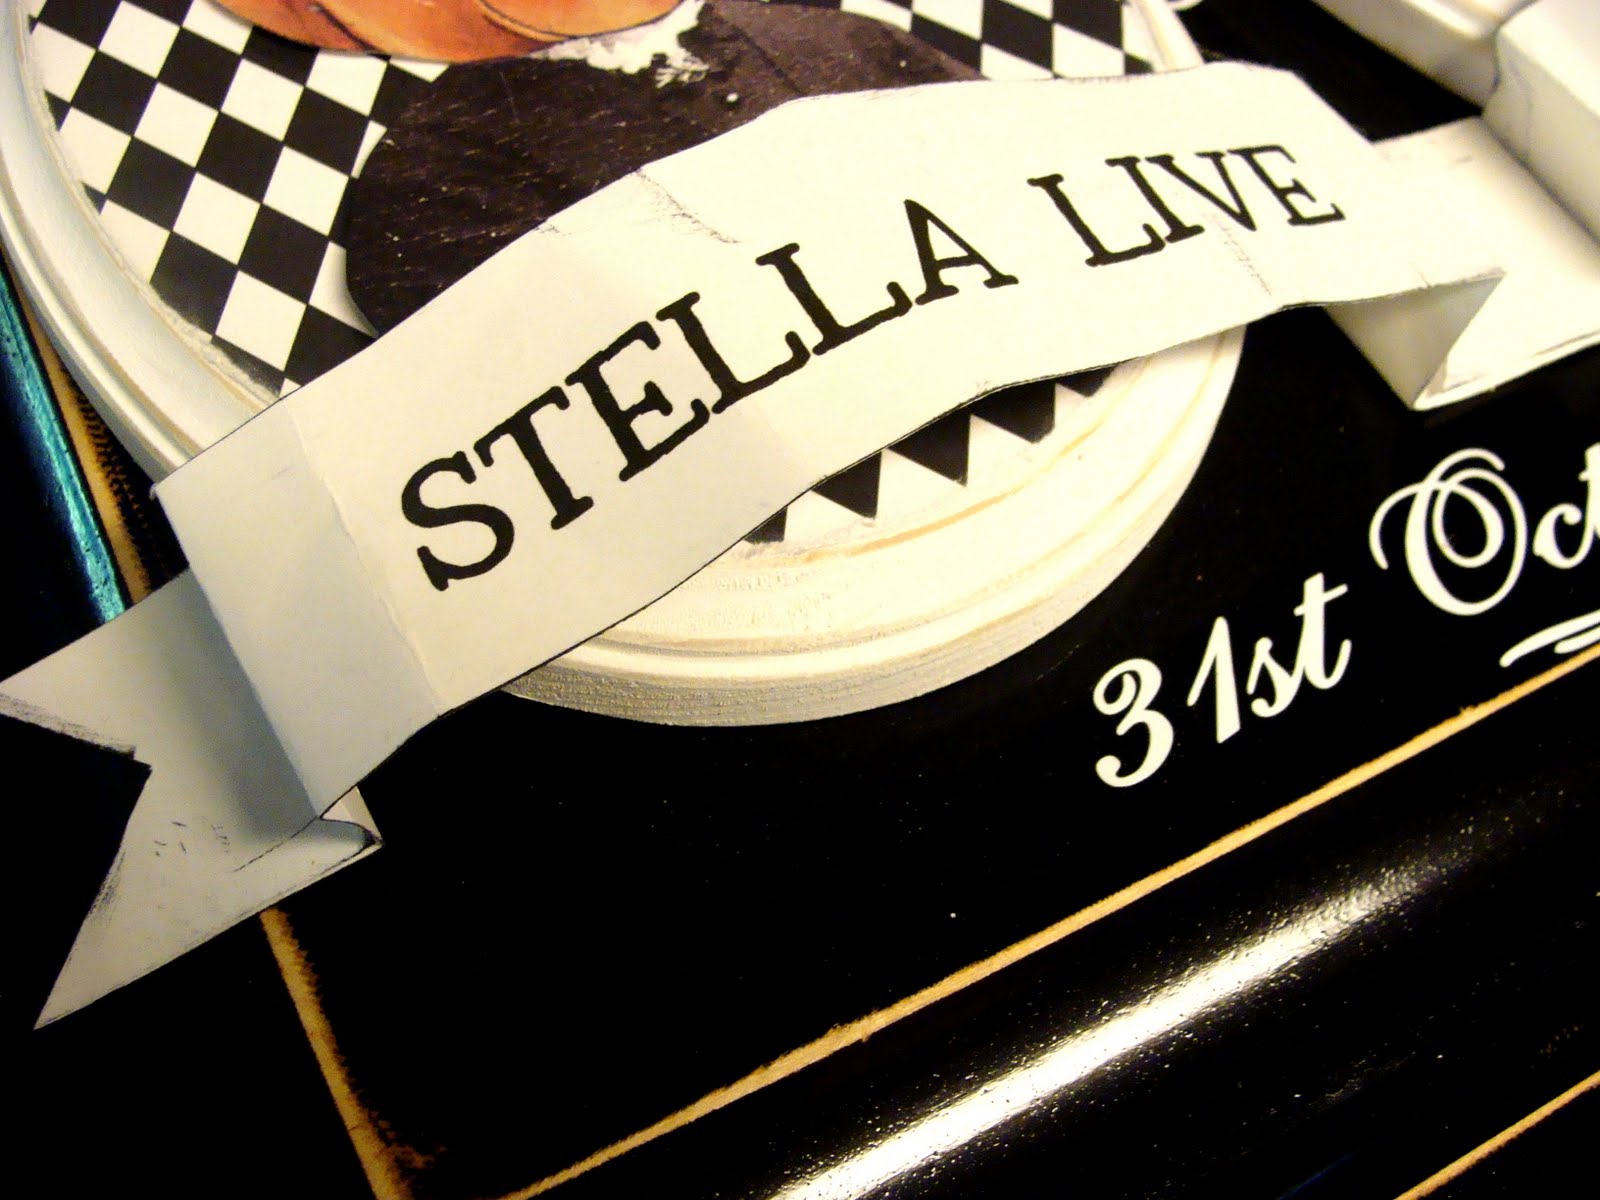
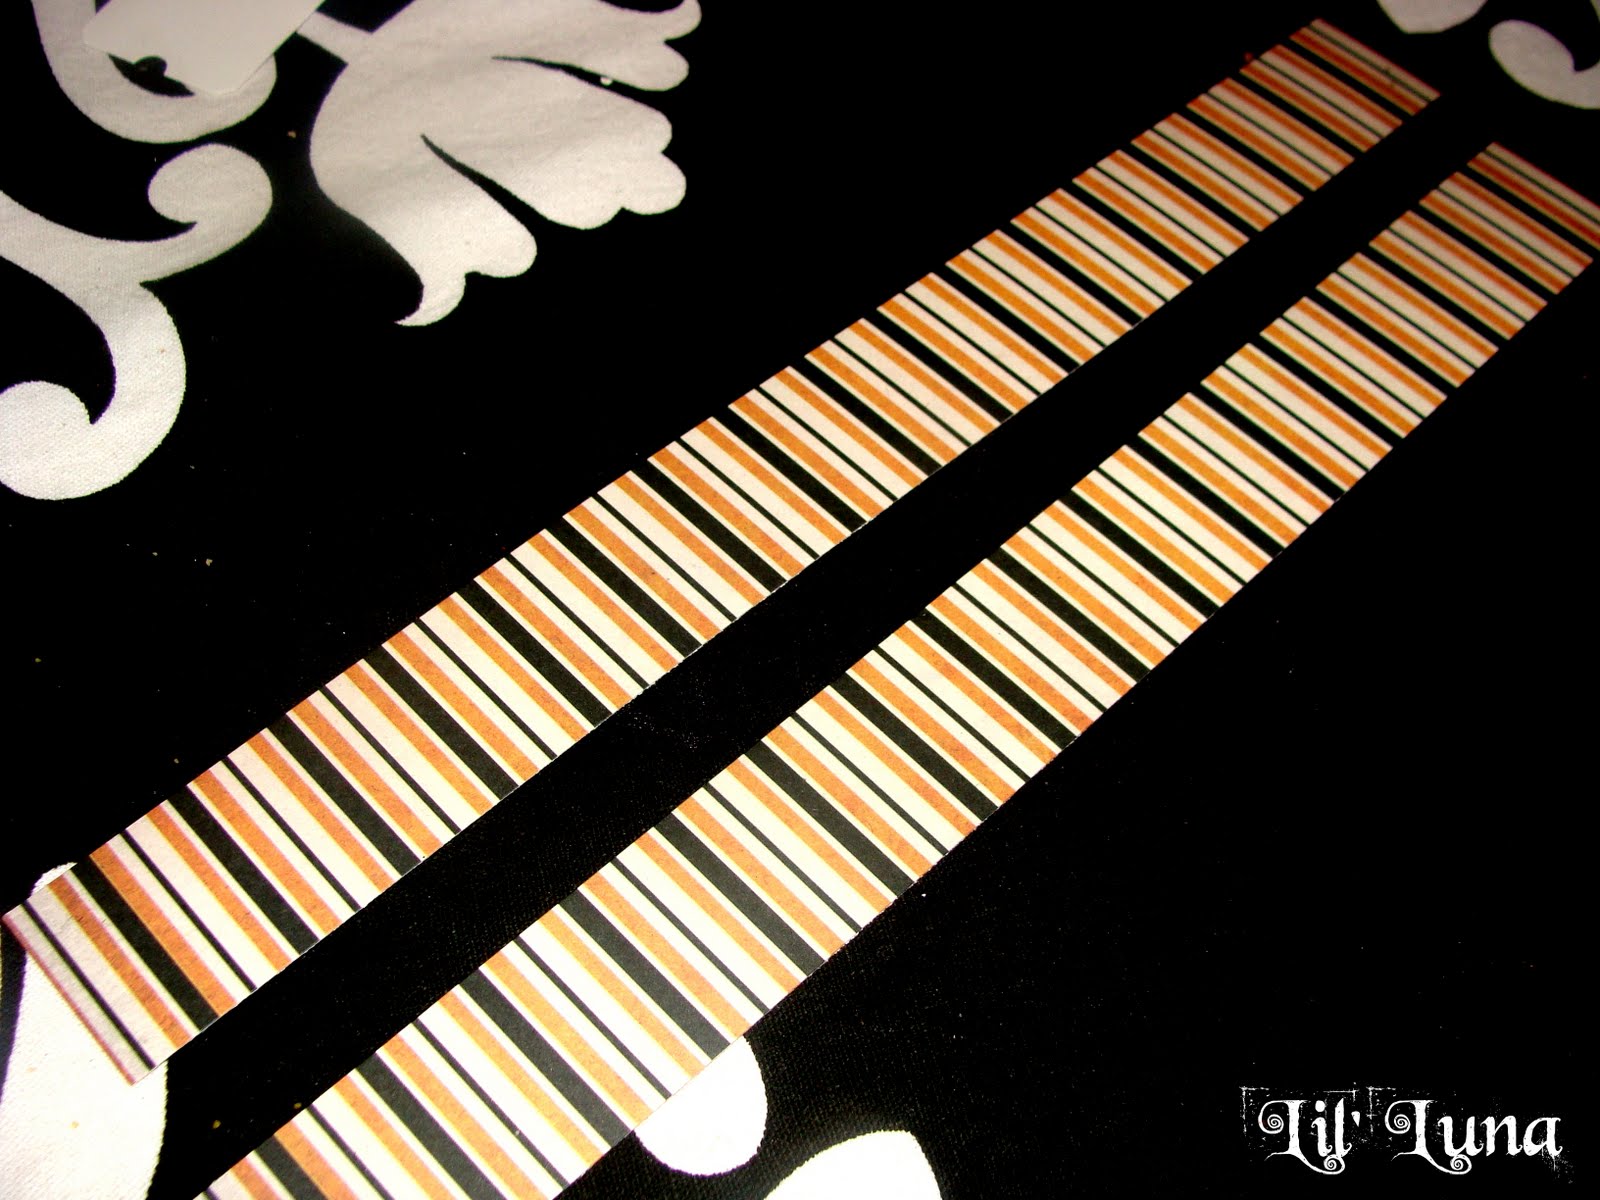
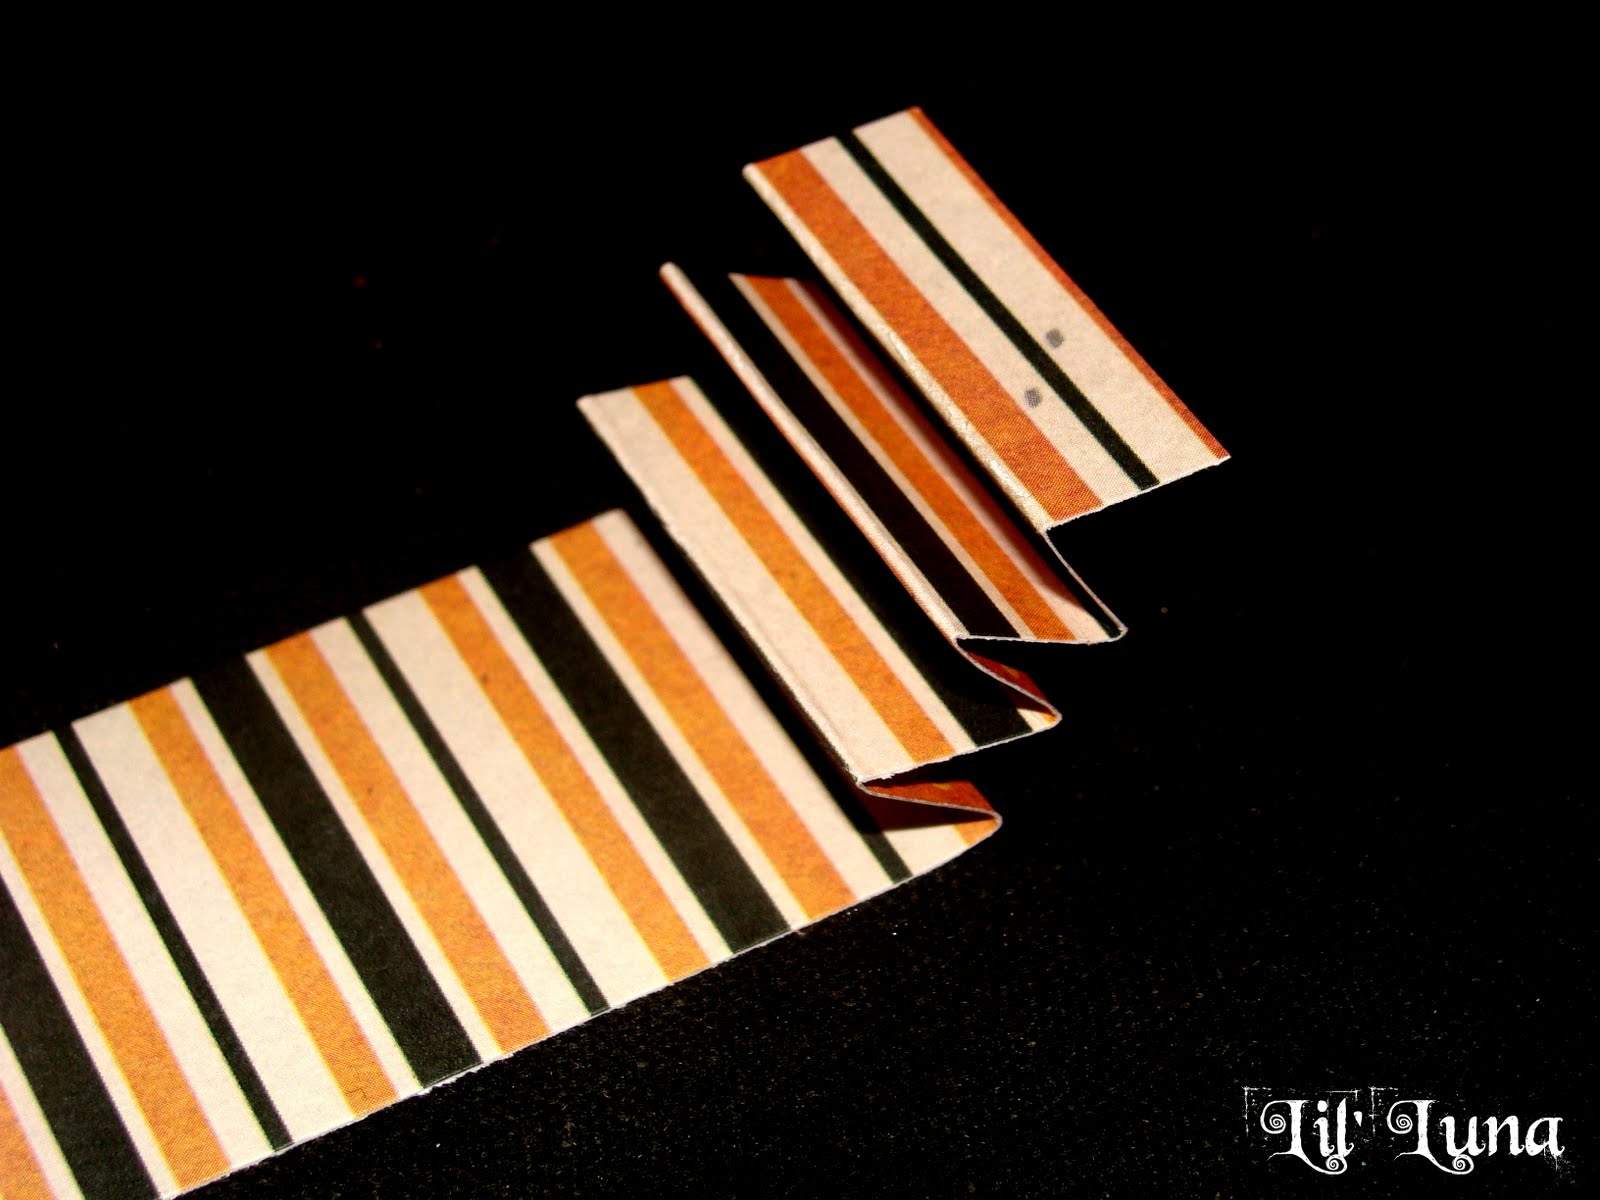
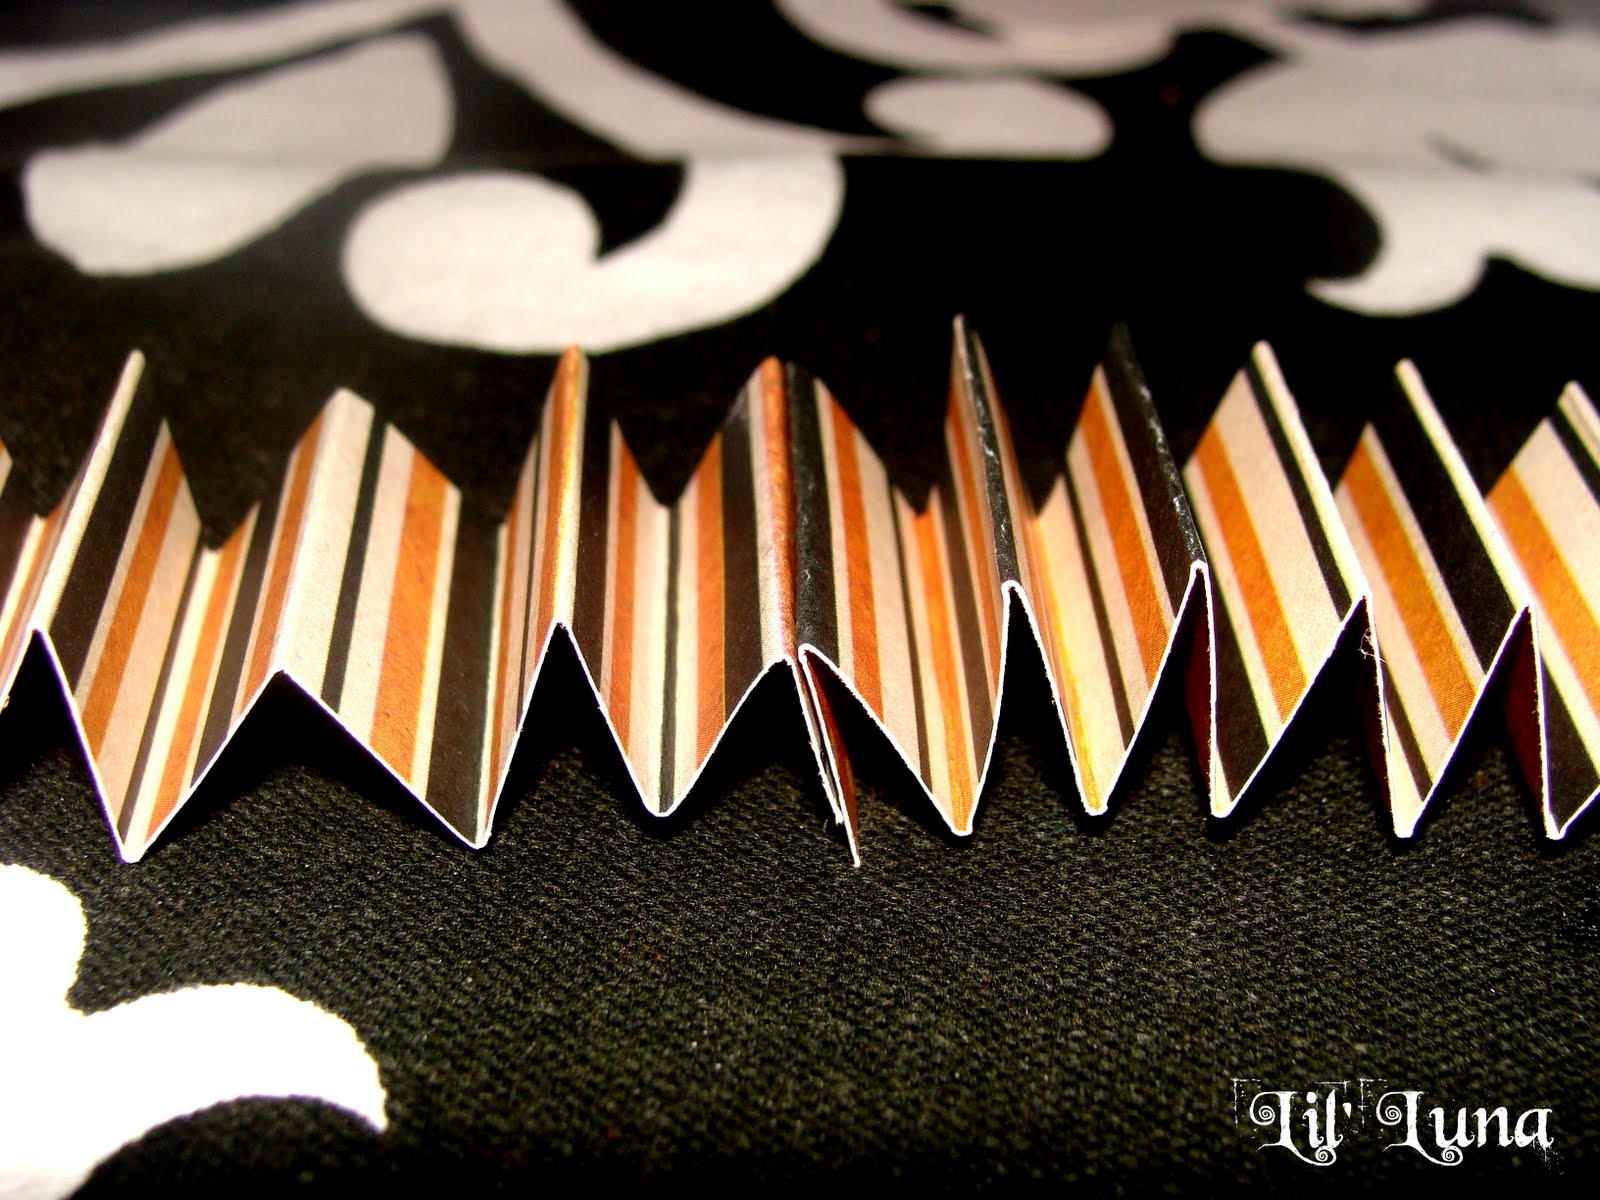
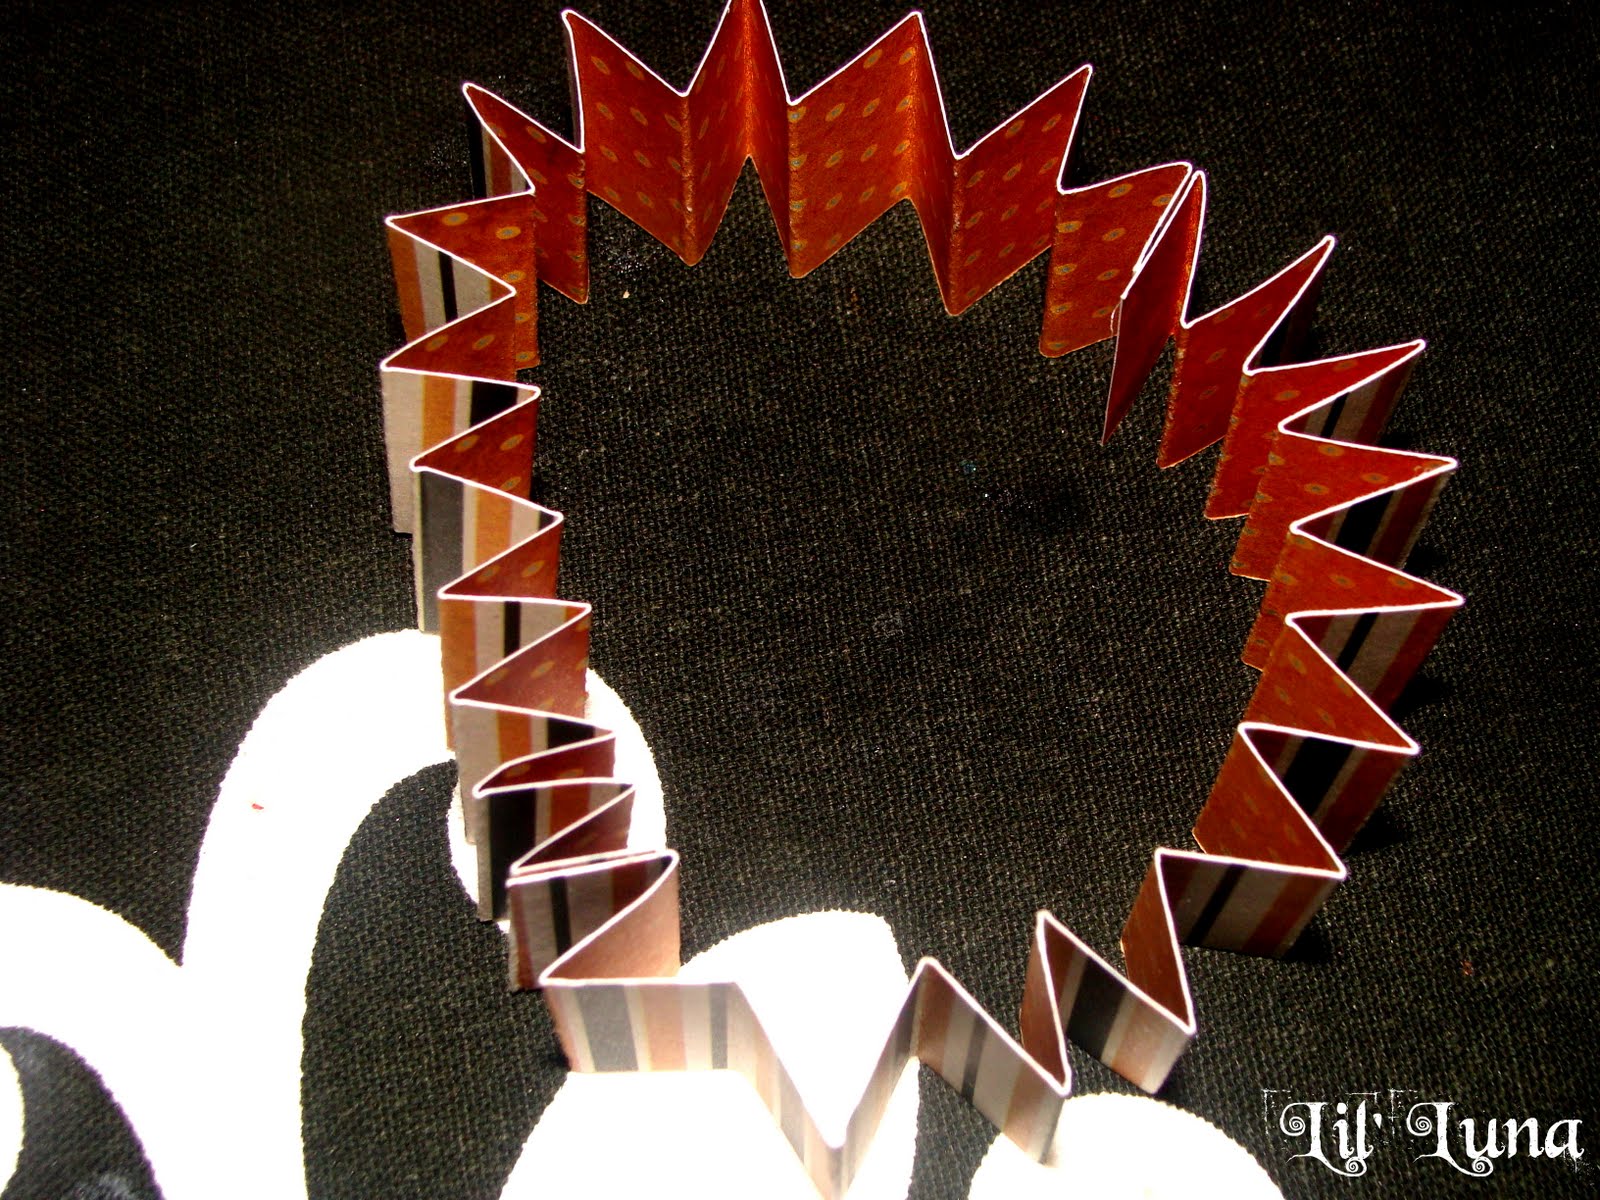
8. Print and Cut out your names {I used the font My Own Topher from Kevin and Amanda and printed at a size 36 font}, and fold on the edges and cut slits out of to make it look like an old banner. I also distressed the edges with an ink pad just for a cool effect.


9. Now you’re ready to add everything to your board. Add your vinyl. Begin by hot gluing your oval pieces.  Then add your Name Banners under each oval piece.


Thanks again for having me awesome ladies!It was a BLAST!Be sure to come on over to Lil’ Luna and drop a note.
XO - Kristyn
. . . . . . . . . . . . .
WOW!! i LOVE it. thanks for sharing such a fun and original halloween decoration kristyn!! head over to lil’ luna and check out all the fun stuff kristyn has going on….  and be sure to check out all the great halloween posts while you are over there!!
. . . . . . . . . . . . .
this post is sponsored by:

  • Bio
  • Latest Posts
Jamie

Jamie

Jamie

Latest posts by Jamie (see all)

  • Bird Feeders - May 24, 2019
  • [2014 WISHlists] Jamie’s List - December 12, 2014
  • Avery Custom Photo Gift Tags - December 2, 2014


14 Comments

« Today’s Guest: Craftaholics Anonymous
Today’s Guest: Kiki Creates »

Comments

  1. Dixie Mom says

    September 18, 2011 at 1:13 pm

    That was seriously so cool. Looks like something you would buy from the store and yet the tutorial made it look so easy. Bravo!

    Reply
  2. Karen says

    September 18, 2011 at 3:14 pm

    I love it! Kristyn did such a FABULOUS job:) Love the vintage look!!

    Reply
  3. Lolly Jane says

    September 18, 2011 at 3:41 pm

    We ♥ this- it turned out SO much better than the original! You are a rockstar Kristyn!!

    xoxo

    Reply
  4. Aimee says

    September 18, 2011 at 4:42 pm

    That is seriously adorable!

    Reply
  5. Sims Family says

    September 18, 2011 at 10:29 pm

    That is SO cute! Love it!

    Reply
  6. Jessabells says

    September 18, 2011 at 11:50 pm

    Love it!! Thanks so much for the tutorial!

    Jessica

    Reply
  7. jamie @ [kreyv] says

    September 19, 2011 at 2:17 am

    Your blog is one of my faves, so I nominated it for "The "Versatile Blogger" award. Please see my blog on Monday for details! Thanks for being one of my favorite reads!

    Jamie
    http://tocrave.blogspot.com/

    Reply
  8. SoSoBella says

    September 19, 2011 at 3:43 am

    Love this!!!

    Reply
  9. Stacey says

    September 19, 2011 at 4:21 am

    Great craft! I can't wait to try it. How did you do the girl pumpkin face?

    Reply
  10. Lil' Luna says

    September 19, 2011 at 4:58 am

    The girl pumpkin face was a free clipart image from Dover Publications. It's on google. 🙂

    Reply
  11. Fork says

    September 20, 2011 at 3:53 am

    Oh I love this! Great project!

    Reply
  12. the cape on the corner says

    September 20, 2011 at 5:46 pm

    i LOVE this! the perfect retro halloween vibe that is my favorite. so fabulous!

    Reply
  13. Katie says

    September 21, 2011 at 3:22 pm

    Haha! Fun project. 🙂

    Reply
  14. Holiday Snob says

    September 21, 2011 at 9:43 pm

    I love this!! I'm doing my halloween decorating today and I'm wondering if I have room for this!!!

    Reply

Leave a Reply Cancel reply

Your email address will not be published. Required fields are marked *

This site uses Akismet to reduce spam. Learn how your comment data is processed.

Today’s Guest: Lil’ Luna

Sep162010 posted by Jodie and Jen 15 Comments

Hi there Eighteen25 readers!
I’m Kristyn, and I blog over at Lil’ Luna. Today, I wanted to show you how to make a fun, unique, and CUTE Halloween Paper Centerpiece! Here is what you’ll need:

SUPPLIES:
-Box/Vase/Cart to use as Centerpiece Base
-Floral Foam (Found at the Dollar Store)
-Spanish Moss (Found at the Dollar Store)
-Skewers
-Paint
-Foam Brush
-Scrapbook Paper
-Hot Glue
-Embellishments

INSTRUCTIONS:
1. Begin by picking out your Halloween Paper (BEWARE: there are so many stinkin’ cute ones at the Scrapbook stores right now!!), and cut TWO 12 inch strips that are 1 inch – 2.5 inches wide (per accordion flower).


2. Put two strips together and fold back and forth until you are all the way through. Then, hot glue the two ends together as well as the other ends so it makes a circle.
 
3. Push edges of strips IN to make an accordion flower. Hot glue center and hold, and do the same on back. For another tutorial on these flowers, I used one HERE.


4. Paint skewers the desired color you’d like and let dry. I stuck mine into the floral foam to dry.


5. I wanted to add a little something to the skewers, so I cut out .2 inch white strips of vinyl and twisted them along the skewer. My hubby is super smart and suggested I stick them in his drill, turn it on, and let the drill do the twisting. It takes seconds (isn’t he smart?).


6. Add buttons or other embellishments to your flowers. I used some of these FREE vintage Halloween Prints from Matthew Mead found HERE.


7. Hot glue skewers to backs of flowers. Set aside.
 
8. Add floral foam and moss to your centerpiece base. I got my Halloween Box at Hobby Lobby for $7. Not too bad. 🙂


9. Stick skewers through the moss and foam into your base and arrange as desired.


So fun, huh? Plus, it’s easy to make, unique, and could be made very inexpensively! What more could you ask for? 🙂 Thanks again Eighteen25 for letting me guest post on here, and be sure to come on over to Lil’ Luna to say hi! ENJOY!
 Photobucket
*************************************
thanks so much kristyn for this fun idea!!
i love those accordian flowers… i’ve been wanting to make some for a long time!
you’ve inspired me to give them a try!!

be sure to head over and check out all the fun projects Kristyn has to share at Lil’ Luna!

  • Bio
  • Twitter
  • Facebook
  • Pinterest
  • Latest Posts
Jodie and Jen

Jodie and Jen

I'm Jen Sedillo, one of the bloggers behind Eighteen25. I love creating and crafting, reading good books, visiting new places and being with family!
Jodie and Jen

@eighteen25girls

Jodie and Jen
Jodie and Jen

Jodie and Jen

Jodie and Jen

Latest posts by Jodie and Jen (see all)

  • Our Friday Five 9.30 - September 30, 2022
  • Our Friday Five 12.3 - December 3, 2021
  • Composition Book Christmas Planner - November 28, 2021


15 Comments

« Today’s Guest: Sisters Stuff
Today’s Guest: Just a Girl »

Comments

  1. Amy says

    September 16, 2010 at 2:16 pm

    Oh my GOSH!!! That is so darn cute!!! I might run out today and get the stuff to do this… if I can get outta my jammies on a miserable Michigan day 😛

    thanks for the idea,
    amy

    Reply
  2. Suzanne says

    September 16, 2010 at 2:24 pm

    So very cute and the instructions were fantastic! Thanks so much for sharing!

    Reply
  3. Sandra says

    September 16, 2010 at 2:45 pm

    What a cute idea. I also love the photo behind your project. I might copy that too!

    Reply
  4. Room to Inspire says

    September 16, 2010 at 3:13 pm

    What a cute idea – I love the twisted skewers! Great instructions.

    Chelsea

    Reply
  5. Kelley says

    September 16, 2010 at 4:53 pm

    Mahvelous, dahling! So spooctacular!

    Reply
  6. Susan says

    September 16, 2010 at 4:58 pm

    Oh I just love the Holloween center piece. You are very talented. Thank you so much for letting me visit. Every blog has so many wonderful things to offer. I just love reading them. It's been a pleasure.
    Susan
    http://amazingcouponanddiscountdeals.blogspot.com
    http://www.squidoo.com/going-green-and-saving-the-environment

    Reply
  7. ellie g says

    September 16, 2010 at 5:30 pm

    Ummmm….THESE ARE AMAZING! I love the vintage Halloween stuff. (something about vintage Halloween makes me happy) And I think the combos with the papers are so great! It's such a cute and realistic idea….my table might get a Halloween centerpiece this year. Hmmmm……

    Great idea and GREAT post!

    Reply
  8. Jen @ tatertotsandjello.com says

    September 16, 2010 at 6:00 pm

    adorable! That is just up my alley! Love it!

    xox
    Jen

    Reply
  9. Kristen Maier says

    September 16, 2010 at 7:47 pm

    I just love your blog! I have an award for you 🙂

    Kristen
    http://alltheproofineed.blogspot.com/2010/09/i-won-my-first-award.html

    Reply
  10. Lindsayb-mo says

    September 16, 2010 at 10:00 pm

    Hi! I'm a new follower and I've given your blog and award. Check out the details on my blog:

    http://bomanpartyof5.blogspot.com

    Reply
  11. brown paper packages says

    September 18, 2010 at 9:58 pm

    I love it, Kristyn!! Darling idea!

    Reply
  12. Cathy says

    September 22, 2010 at 5:40 am

    Love this idea….this would be a great project to do with children!! Thanks for sharing!

    Reply
  13. loveanddust says

    September 30, 2011 at 4:57 pm

    This is so cute for fall. Love this idea! It would be presh in my apartment!! Thanks!

    jenny
    loveanddust.com

    Reply
  14. Britney Jean says

    September 4, 2012 at 11:11 pm

    MUST MAKE THIS!

    Reply
  15. Evie_Gnz says

    October 2, 2012 at 6:55 pm

    These are so cute, I wish I found out how to make these before it was too late. LOL

    Reply

Leave a Reply Cancel reply

Your email address will not be published. Required fields are marked *

This site uses Akismet to reduce spam. Learn how your comment data is processed.

welcome!

We are Jodie & Jen, born & raised in Vegas, in a little brick house. The number hammered onto our mailbox was 1825. Visit us often & be inspired to create a life you love. Read More…

  • Bloglovin
  • Facebook
  • Instagram
  • Pinterest
  • Twitter

Subscribe by Email

Get our latest & greatest posts straight to your inbox.

featured posts

Bird Feeders
Instant Pot BBQ Chicken Sliders
Free Printable Watercolor Notebook Covers
DIY Disney Ideas
Disney Trip Fun Bags
Printable Recipe Binder

eighteen25 loves

Disney banner 350

Privacy Policy

stay updated on latest
posts on Facebook

The Girls at Eighteen25
  • Bloglovin
  • Facebook
  • Instagram
  • Pinterest
  • Twitter

Copyright © 2025 · All rights reserved · Site by Melissa Rose Design