i have a slight wood-sy theme going on with my fall decorations this year.
i’m loving the owls and birch candles i picked up at world market and thought i’d add one more little piece of the outdoors.
a
w o o d p l a n k c h a l k b o a r d
all you need is:
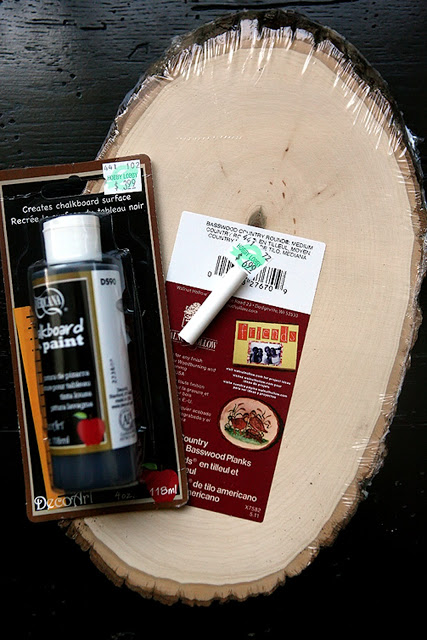
-a wood plank. i found mine at hobby lobby, but i know they carry them at Michael’s & Jo-ann’s too.
-chalkboard paint
-paint brush
-chalk
the how-to:
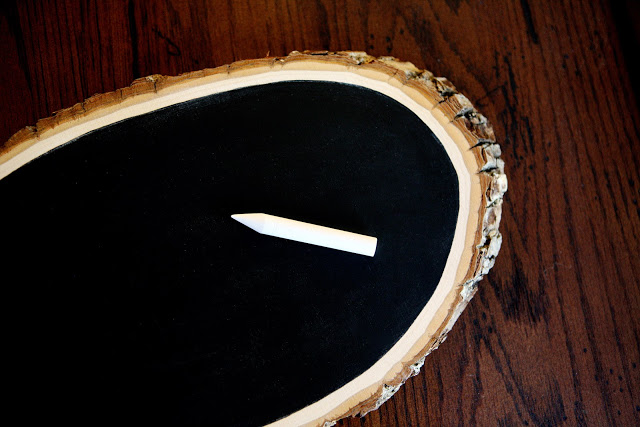
– i left a border of wood around the edges and followed the directions on the paint bottle.
– i painted 4 coats of the chalkboard paint to get a nice even look.
– after drying for 24 hours i was ready to go.
here’s a quick tip for you… sharpen your chalk with a pencil sharpener. it works great!
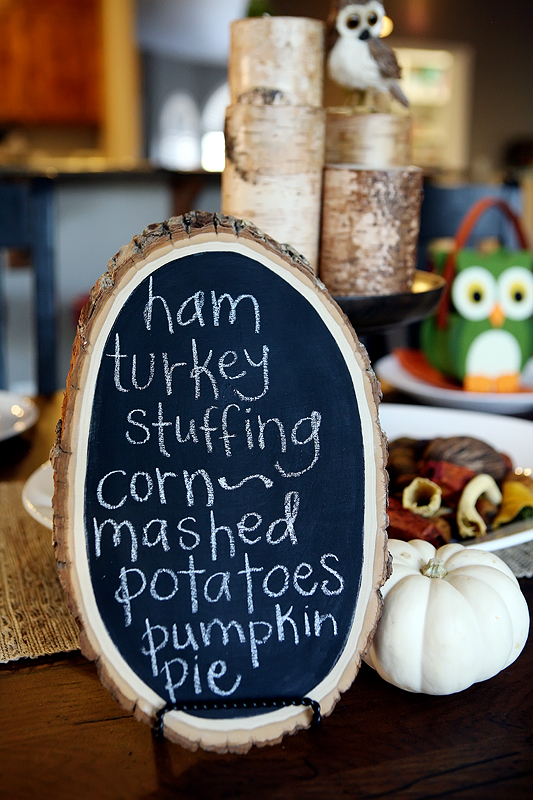
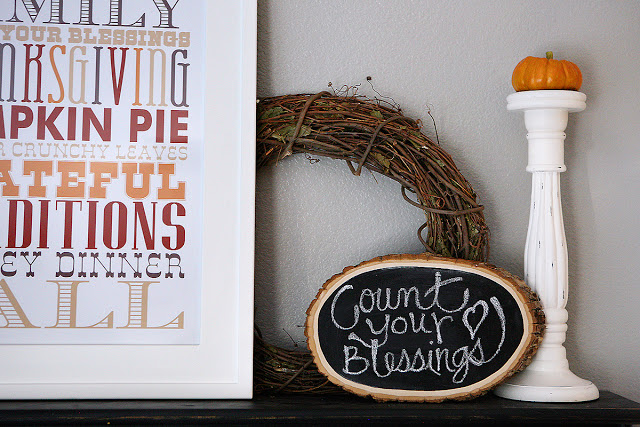
write your thanksgiving menu or just a little reminder to be thankful
and you are done and it’s ready to be displayed. 🙂
. . .
This is the CUTEST thing! I am going to do this for my sister in law for Christmas!
Emily
emilyp711.wordpress.com
Oh I love this so much!!
Super cute! They really sell those wood planks? I have to go look at Joanne's!
How freakin awesome is this!
How gorgeous!! I'm going to desperately find me a wood plank now 🙂 Thank you!
OMG. Love! Such a great idea!!
I love it!
Seriously in LOVE!!!! Didn't know they sold chalkboard paint like that either!!!!
Awesome, pinned you!
I always get something from your posts even if they are not the "main point" of them. Sharpening my chalk? Brilliant! Small bottles of chalkboard paint? Who knew? I thought I would have to invest in a gallon… I know, I should come out from under my rock.
This is awesome! I love the sharpening your chalk tip. Smart!
so cute! love all the wood with the owls.:)
Love this! Did you "season" your board before writing on it? My friend Rhonna from http://www.Rhonnadesigns.blogspot.com she wrote this on a fab chalk tutorial in October:
1. Prep your board. This is called seasoning. Once you've got a newly painted or brand new chalkboard, it's all black & purdy, right? Well, if you took your chalk & started creating your art….it would make a ghost impression & no matter how much you erase…you will see those lines. Not cool, huh? So….Season your chalkboard surface by taking a chalk piece on its side & chalking the entire surface. Erase. & you are ready to go.
Thanks for sharing this fab idea! My hubby just cut down some trees for us and sure would love to use one of the slices he cut for me just as you did. Hugs from Conroe, TX
My husband is a logger and I have kept several chunks of wood that look just like this. I had no idea why..but I knew I could do something crafty with them. Haha…and this is it! Thanks for proving my husband wrong. 😉
I love it! As much as I am in HL as a fellow blogger, I can't believe I've never noticed the wood plank!
so clever, my friends!
It turned out so cute! Thanks for sharing the steps!
What a FAB idea! I love all things chalkboard! The idea to sharpen the chalk with a pencil sharpener is genius, however it gave me chill bumps just thinking about it! (don't really like the feel of chalk!–weird, I know.) Anyway, have a super day!! sus
I love this idea! Thanks for sharing!
We made these at a craft cabin weekend….fun and simple
This is new one on me. Love it!