• About
  • Advertising
  • Contact
  • Meet the Team
  • Blog
    • Bloglovin
    • Facebook
    • Instagram
    • Pinterest
    • Twitter

Eighteen25

Create A Life You Love.

  • Home
  • Printables
  • DIY + Crafts
  • Holidays
  • Recipes
    • All Recipes
    • appetizers
    • salads/side dishes
    • main dishes
    • Desserts
  • Misc.

Today’s Guest: Jen Johnson

Sep52011 posted by Jodie and Jen 19 Comments

We are so excited to have our friend Jen Johnson back this year!
She has great style and it seems like everything she makes just turns out adorable!
(including her kids!)
K-june24web
see what i mean?
. . . . . . . . . . . . .
B O O !
I love eighteen25. LOVE. So, I’m really honored to share a little project here today. I have two super simple, super easy decorations… they almost don’t need any instructions!
IMG_1757web
First, let’s talk about the B O O letters.
Materials needed:
IMG_1751web
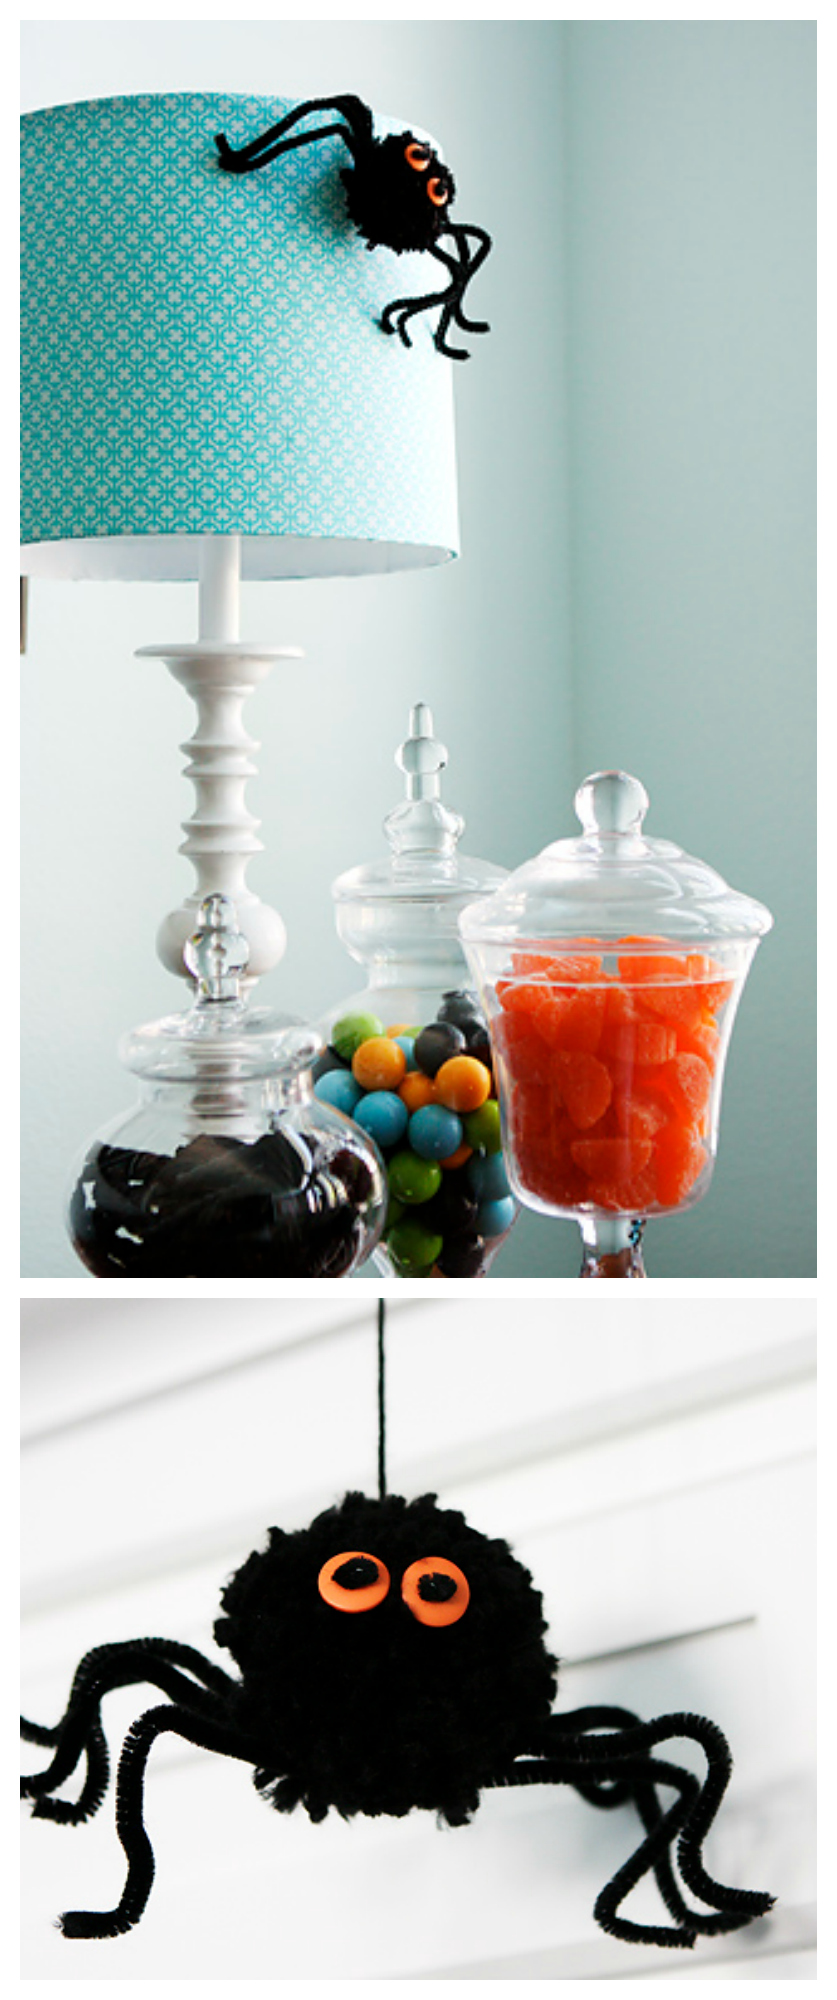
I got the big paper mache letters (24″) and the green yarn at Joann’s. The spiders were from Michael’s.
1.  I started by hot gluing the end of the yarn to the back of the letter. And then comes the fun part! Wrap the yarn around the letters. Wrap, wrap, wrap. It’s a good thing to do while you watch a few shows you’ve DVR’d.  It takes a little while to cover those big letters!
2.  The “B” was a little tricky. It takes some creative wrapping and hot gluing to get the yarn in a few places. My “B” is definitely not perfect. Don’t look too close 🙂
IMG_1756web
3.  It took 3 skeins of yarn to cover all three letters.
4.  I tied a piece of ribbon to the leg of the spider and tied it to a piece of yarn at the top of the “O.”
IMG_1759web
After I put the letters on the ledge in my kitchen, they looked a little lonely. A banner to the rescue! This one took less than 5 minutes. I love fast 🙂
IMG_1764web
I got the streamers at Party City. They had a great selection of colors.
All I did was cut a length of the streamer, fold the top over a ribbon, and staple. Easy.
IMG_1761web
I love how the streamers move when the air conditioner is on. Which is a lot, since it’s still 105 degrees here 🙂
Happy Halloween decorating!!
IMG_1752web
. . . . . . . . .
you’ll want to stop by jen’s blog… including some of my favorite posts… kate’s adorable nursery… her Christmas trees… and her frames that she switches out for the holidays!
 
  • Bio
  • Twitter
  • Facebook
  • Pinterest
  • Latest Posts
Jodie and Jen

Jodie and Jen

I'm Jen Sedillo, one of the bloggers behind Eighteen25. I love creating and crafting, reading good books, visiting new places and being with family!
Jodie and Jen

@eighteen25girls

Jodie and Jen
Jodie and Jen

Jodie and Jen

Jodie and Jen

Latest posts by Jodie and Jen (see all)

  • Our Friday Five 9.30 - September 30, 2022
  • Our Friday Five 12.3 - December 3, 2021
  • Composition Book Christmas Planner - November 28, 2021


19 Comments

« {we have a winner} Jo Totes & Tea Collection
[come and see us] kristen duke »

Comments

  1. Michelle {Daydream Believers} says

    September 5, 2011 at 1:22 pm

    Very cute idea and I am swooning over that beautiful kitchen! 🙂

    Reply
  2. Charlene says

    September 5, 2011 at 1:23 pm

    Very cute idea…

    Reply
  3. Suzanne says

    September 5, 2011 at 1:37 pm

    Love the lime green!

    Reply
  4. A Pretty Life in the Suburbs says

    September 5, 2011 at 2:16 pm

    So simple and pretty!
    Jo-Anna

    Reply
  5. liz says

    September 5, 2011 at 2:56 pm

    So simple, but so stunning!

    Reply
  6. Kristen Duke Photography says

    September 5, 2011 at 3:28 pm

    LOVE this simple but bold look! Fun to have a ledge to decorate in your kitchen…

    Reply
  7. Christie @ A Lemon Squeezy Home says

    September 5, 2011 at 3:29 pm

    This is so great!!! I totally love it and love that it's so simple. Must go check out Jen's blog right now! Thanks for sharing!

    Reply
  8. Tasha says

    September 5, 2011 at 7:17 pm

    So cute and clever!! I love that it is in her kitchen

    Reply
  9. Emily @ RemarkableHome says

    September 5, 2011 at 8:42 pm

    Jen,
    So fun to see you posting here! You do the cutest things! Love the Boo letters!
    Emily:)

    Reply
  10. Rachel says

    September 6, 2011 at 12:14 am

    I'm totally doing this, maybe with smaller letters…I pinned it!
    Rachel
    asartiparty.blogspot.com

    Reply
  11. dawn says

    September 6, 2011 at 12:30 am

    I love this idea but don't have anywhere in my house for this?? boo hoo for me.

    Reply
  12. Lisa says

    September 6, 2011 at 3:04 am

    I adore this post and just found your site through Tatertots and Jello! I have already forwarded to my girlfriends who are Mom's….so many good ideas for them! Keep up the good work!

    -Lisa
    thiswomansquest.blogspot.com

    Reply
  13. Janette says

    September 6, 2011 at 5:52 am

    love this! Jen so glad to see that you are sharing all your awesome skills with us. You are so inspiring!

    Reply
  14. eljah*B says

    September 6, 2011 at 4:12 pm

    I LOVE your site! I'll be using it often to share with people on my fanpage. Thank you for all of the inspiration you give to others. I'll be here often:)

    Reply
  15. feelincrafty says

    September 6, 2011 at 6:11 pm

    Love this! I've done yarn wreaths and have thought about letters. But these are huge! I love them. But I bet it took a long time wrapping the yarn around! I always forget how long it will take to wrap the yarn! Well worth it though. Will have to do this!

    Reply
  16. Lissette says

    September 7, 2011 at 3:09 am

    I am so going to do this for my apt! Perfect focus piece!

    Reply
  17. Amy says

    September 8, 2011 at 4:59 am

    love how easy this is! even I could do it! thanks for sharing 😉

    Reply
  18. Heather {Simply Cottage Love} says

    September 14, 2011 at 3:17 pm

    I just loved this crepe paper bunting! I think my kids will love it and will look cute hanging up for several days; we have four birthdays to celebrate in nine days! I featured Jen's bunting here:

    For the Love of Pinterest {Birthdays} @SimplyCottageLove

    Thanks for the inspiration!

    Reply
  19. Amy says

    November 14, 2012 at 3:13 am

    I'm in the middle of doing a 'B' for my friends daughters birthday & found this after googling 'how to wrap a 'B' in yarn?' because it is really hard to get it right! I'm still trying to cover the tricky bits. Haven't used glue yet but think I'll have too! Yours looks great!

    Reply

Leave a Reply Cancel reply

Your email address will not be published. Required fields are marked *

This site uses Akismet to reduce spam. Learn how your comment data is processed.

Today’s Guest: Jen Johnson

Sep32010 posted by Jodie and Jen 37 Comments

Adorable Halloween decor ideas including these super fun Yarn Pom Pom Spiders!

Yarn Pom Pom Spiders to make for Halloween

A few years ago, while browsing Hallmark magazine (wish it was still being published!!), I tore out some instructions on how to make fluffy spiders.  I just found those pages and decided to give them a try. These little spiders are quick, easy, and really cute!

You’ll need:
1 skein black yarn (not shiny or metallic)
5 pipe cleaners per spider
Scissors
1/2-inch to 3/4-inch green or orange buttons for the eyes

1.  WRAP YARN around 3 fingers until you have a large ball (about 2 inches thick on each side).

IMG_5590web

2.  Lay 5 pipe cleaners parallel to the loops.

IMG_5593web

3.  Tie the ball of yarn and the pipe cleaners together with a double piece of yarn, as tightly as possible. Cut the loops and trim the pom-pom into the shape of a globe. I had to trim more than I thought I would… and it makes a bit of a mess 🙂

IMG_5598web

4.  Create the legs using 4 of the pipe cleaners. On each side of the body of the spider, bend the pipe cleaners in the center to make knees and then again at the end to create feet.  (Leave the remaining pipe cleaner unbent to attach the eyes in the next step).

5.  Make the eyes by cutting each of the ends of the last pipe cleaner so they extend an inch beyond the body. Take a button and thread a pipe cleaner up through 1 hole and down the other so the center of the eye is black. Twist the pipe cleaner behind the button to secure. Repeat with another button and the remaining pipe cleaner. Move the eyes wide apart for a startled look, or close together for a more goofy expression.

6. Decorate with them! The best part!

IMG_5609web

IMG_5614web

IMG_5618web

IMG_5579web

IMG_5622web

IMG_5578web

Yarn Pom Pom Spiders | Fun Halloween Crafts
****************
Don’t you just love em’?  We’ve already bought all the supplies to make our own friendly spiders.
You know you want some too, right?
  • Bio
  • Twitter
  • Facebook
  • Pinterest
  • Latest Posts
Jodie and Jen

Jodie and Jen

I'm Jen Sedillo, one of the bloggers behind Eighteen25. I love creating and crafting, reading good books, visiting new places and being with family!
Jodie and Jen

@eighteen25girls

Jodie and Jen
Jodie and Jen

Jodie and Jen

Jodie and Jen

Latest posts by Jodie and Jen (see all)

  • Our Friday Five 9.30 - September 30, 2022
  • Our Friday Five 12.3 - December 3, 2021
  • Composition Book Christmas Planner - November 28, 2021


37 Comments

« Today’s Guest: How Does She?
Today’s Guest: TidyMom »

Comments

  1. Jennie Callahan says

    September 3, 2010 at 1:03 pm

    Adorable! I can see these scattered all over for Halloween. Thanks for the great idea!

    Reply
  2. TidyMom says

    September 3, 2010 at 1:09 pm

    OMG how CUTE!!! and SO easy!!
    Thanks for sharing!

    Reply
  3. Chocolate Mousie says

    September 3, 2010 at 1:29 pm

    Cute and easy, but I really like the idea of just framing a piece of Halloween scrap paper and hanging it on the wall behind the spider!

    Reply
  4. Alicia says

    September 3, 2010 at 2:06 pm

    So cute…seriously…super cuteness goin on!! Loving the spooky craft marathon, too! Keep it up, girls!

    Reply
  5. Mauna says

    September 3, 2010 at 2:15 pm

    Thanks for sharing. These are sooo cute. I see some spiders showing up at my house.

    Reply
  6. Andersen Family says

    September 3, 2010 at 3:12 pm

    I can't wait to make these with my kids! They are so CUTE!

    Reply
  7. Michelle says

    September 3, 2010 at 3:17 pm

    Those are cute, what a wonderful addition to the decor!

    Reply
  8. Jilly Bean says

    September 3, 2010 at 4:07 pm

    How cute is her house! Holy cow! Thanks for sharing.

    Reply
  9. Kathy@DandelionsandDustBunnies says

    September 3, 2010 at 4:35 pm

    These are adorable. I can't wait to make some. These look easy enough that I can enlist the help of my son. I love that lampshade too.

    Reply
  10. Jensamom23 says

    September 3, 2010 at 4:43 pm

    Super cute!

    Reply
  11. Teresa says

    September 3, 2010 at 4:53 pm

    Well now!
    If that's not a cute little spider I don't think there is one!
    Cute and such a FUN little project!
    I am LOVIN the idea of all this HALLOWEEN action over here!
    Delighted to find you through TidyMom…
    who I adore!
    And that button for your SPOOKY celebration…
    is ROCKIN!
    Just added it to my side~bar under HOLIDAY!
    Have a BALL celebrating Halloween!
    xo

    Reply
  12. Sandwich Cookies&Cakes says

    September 3, 2010 at 4:59 pm

    Sooooo adorable! I just have one question…when you tie the yarn loops and pipe cleaner with a double string of yarn, do you tie over the whole bundle of yarn, or through the middle? Just wanted to check before I go cutting and end up with nothing. I love your spooktacular september!

    Reply
  13. Simply Me... says

    September 3, 2010 at 5:14 pm

    How cute is this… love you blog 🙂

    Reply
  14. kris says

    September 3, 2010 at 6:22 pm

    Adorable!! I've got to know what kind of Halloween scrapbook paper that is! So cute!

    Reply
  15. Kim Fromberg says

    September 3, 2010 at 6:41 pm

    Love this….and love the decor in the house, maybe she will tell you how she made the bunting and the spooky letter!!! Love all the festive ideas…

    Reply
  16. Megan @ Megity's Handmade says

    September 3, 2010 at 7:49 pm

    Love the spiders, adore the house!! Such a fantastic mantel to work with.

    Reply
  17. Mormishmom says

    September 3, 2010 at 8:18 pm

    My little boy is going to love making these!

    Reply
  18. Jenn says

    September 3, 2010 at 10:24 pm

    I wasn't completely sold until I saw them in your fabulous house! Makes me want to pain everything white. SO fun!!!

    Reply
  19. Katy says

    September 4, 2010 at 1:11 am

    SO stankin' CUTE!!! I can't wait to try this!!!

    Reply
  20. Whitney says

    September 4, 2010 at 1:50 am

    Soo cute!!

    I would LOVE to know how to make the SPOOOKY blocks!!

    Thank you 🙂

    Reply
  21. Jenny @ Embellishing Life says

    September 4, 2010 at 3:29 am

    Yes, LOVING those spooky blocks!

    Reply
  22. crazigirl80 says

    September 4, 2010 at 4:04 pm

    I am having a hard time visualizing how to make the eyes…how does the 5th pipe cleaner get to the center where the eyes are at? Also, when you wrap yarn around the body, is it horizontal or vertical way? Thanks-these are super cute and I am totally challenged when it comes to figuring out directions! 🙂

    Reply
  23. Valerie Lee says

    September 4, 2010 at 6:37 pm

    I just made my first spider – LOVED how cute it turned out! Also I had just bought some adorable halloween fabric – now I know what to do with it – frame it! I think I may do some squares and then some in circles with embroidery frames that I spray paint black! Thanks for the great halloween ideas! Can I post this cute idea on my blog with a link to you?

    Reply
  24. Jen @ tatertotsandjello.com says

    September 4, 2010 at 9:46 pm

    What a cute project! I need to make some of those right away!!

    xoxo
    Jen

    Reply
  25. Sandy (Helping you store what matters most!) says

    September 5, 2010 at 12:34 am

    These are so very cute!
    I can't wait to make them to surprise the kids next week!

    http://www.aboutone.com
    Helping you store what matters most!

    Try it FREE
    https://app.aboutone.com/select_plan/?r=homepromo_btn

    Reply
  26. Melissa + Tiffany @ Home Grown Families says

    September 5, 2010 at 12:35 am

    I LOVE him! So darn cute!
    We're following you now! Check us out and follow back! 🙂
    Tiffany

    Reply
  27. Rachel@oneprettything.com says

    September 6, 2010 at 3:50 am

    AWW! I'm in love. It's darling! Thanks so much, I'll be linking.

    Reply
  28. Amy H. says

    September 6, 2010 at 10:50 pm

    Loved this posted. It inspired me to make these:
    http://buggieandjellybean.blogspot.com/2010/09/it-getting-batty-around-here-diy.html

    xo thanks!
    Amy

    Reply
  29. ellie g says

    September 7, 2010 at 12:05 am

    Well….that one on the lamp needs to come to my house this minute!! How cute is that entire display? And while my mantle is not cute and white like that….it IS very similarly shaped….and would be a lovely home to a 'lil spider dude.

    I really like these! Simple. And totally do-able. YAY!!

    Reply
  30. Kristen Duke Photography says

    September 7, 2010 at 6:07 pm

    loving your spooktacular september! cute spiders and decor!

    Reply
  31. Allyson says

    September 8, 2010 at 12:40 pm

    Super cute idea! Is there a tutorial on how to make those cute pumpkins set on the candle holders?

    Reply
  32. Becky says

    September 9, 2010 at 9:17 pm

    I love this and those Spooky letters…I need those!!!

    I'm loving the fun scary projects here.

    Reply
  33. Sally says

    September 10, 2010 at 10:43 pm

    Love the pretty candy dishes. Can anyone tell me HOW you have the will power to have all that candy around though? Our family would have that gone in no-time-flat, and then they'd be sending Mom out to get more! I guess I can dream.

    Reply
  34. Cristin @ Simplified Bee says

    September 12, 2010 at 5:54 pm

    Love this spider project so much, I included it in a Halloween decorating post:
    http://simplifiedbee.blogspot.com/2010/09/halloween-decorating-ideas-for-your.html

    Thanks for inspiring us!

    Reply
  35. Amy (naptimecrafters) says

    September 16, 2010 at 2:36 am

    So cute! Definitely going to make some up for little girl. She loves yarn:)

    Reply
  36. Aimee says

    September 24, 2010 at 5:35 am

    I LOVED this little pom spider and featured it here. So cute!

    Reply
  37. Ashley says

    October 2, 2010 at 9:07 am

    These are so cute, I can’t wait to make them! I just posted about them and included the link to this post on my blog. I’d love it if you’d check out my post at http://veaterfam.blogspot.com/2010/10/halloween-on-my-mind.html

    Happy October!

    Reply

Leave a Reply Cancel reply

Your email address will not be published. Required fields are marked *

This site uses Akismet to reduce spam. Learn how your comment data is processed.

welcome!

We are Jodie & Jen, born & raised in Vegas, in a little brick house. The number hammered onto our mailbox was 1825. Visit us often & be inspired to create a life you love. Read More…

  • Bloglovin
  • Facebook
  • Instagram
  • Pinterest
  • Twitter

Subscribe by Email

Get our latest & greatest posts straight to your inbox.

featured posts

eighteen25 loves

Disney banner 350

Privacy Policy

stay updated on latest
posts on Facebook

The Girls at Eighteen25
  • Bloglovin
  • Facebook
  • Instagram
  • Pinterest
  • Twitter

Copyright © 2026 · All rights reserved · Site by Melissa Rose Design

Copyright © 2026 · EighteenTwenty Theme on Genesis Framework · WordPress · Log in