My name is Amy and you can normally find me over at The Idea Room (a DIY blog full of family fun, home décor and crafts). I am really excited and honored to be a part of The Spooktacular Fun over here with The Girls of Eighteen 25. These ladies are amazing (I obviously don’t have to tell you that right?)!
Today I would love to share with you how to make these super easy and fun
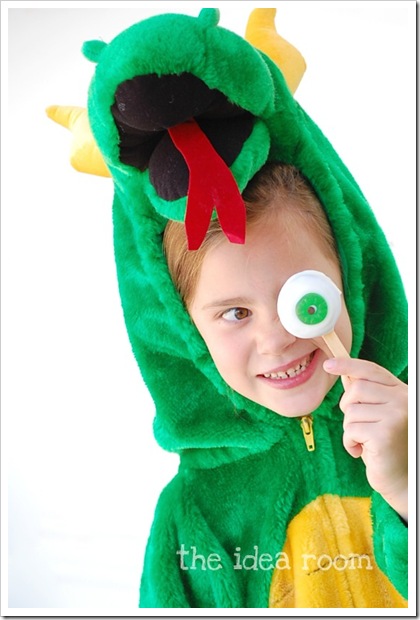
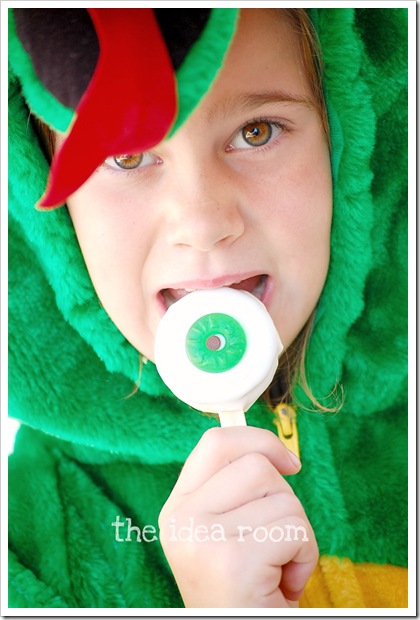
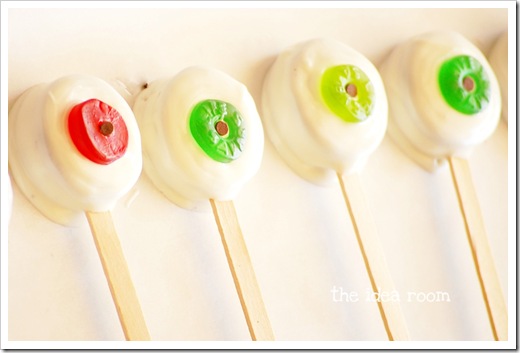
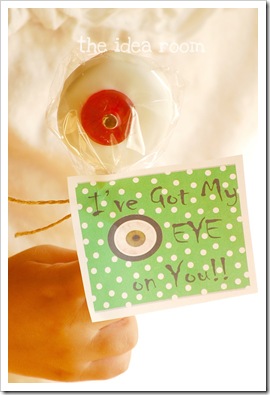
OREO EYEBALL POPS!!
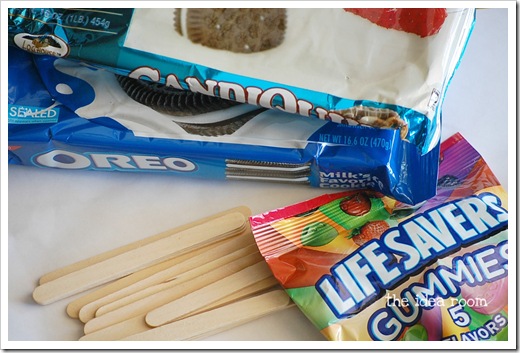
All you need are a few easy to find supplies:
CandiQuik (Almond Bark or White Chocolate)
Double Stuff Oreos
Gummy or Regular Life Savers (preferably in common eye colors)
Mini Chocolate Chips (not pictured)
Popsicle Sticks (can be found at most craft stores or by caramel apple supplies in grocery stores)
Wax or Parchment Paper
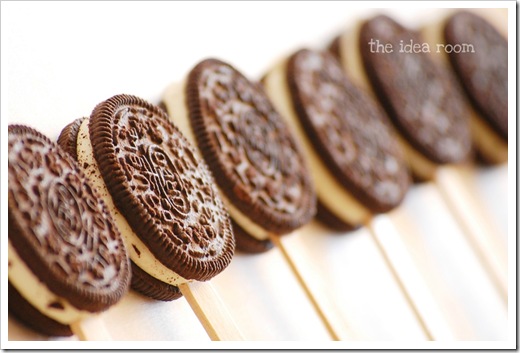
Simply take your popsicle sticks and gently insert them into the middle of the Double Stuff Oreos.
Make sure the stick is up towards the top of the Oreo so that it will stay on the stick better.
Melt your CandiQuik (Almond Bark or White Chocolate) in the microwave in short intervals. I like to heat it for 20 seconds and check it each time to see if it can be stirred into a nice smooth consistency. Otherwise you may run the risk of burning the chocolate which will make it stiff and clumpy and not the pretty and smooth finish you desire.
Dip each Oreo into the chocolate. I like to spoon the chocolate over the Oreo so that the black crumbs do not get mixed into your pure white chocolate. After the entire Oreo has been dipped and you have made sure to cover the base of the Oreo (where the stick has been inserted) set the dipped Oreo onto your parchment paper. Add a lifesaver to the middle so that the Life Saver logo is face down. This will be the iris of the eye. As you can see…I didn’t think about doing that until I had already made a couple of them. Then take one mini chocolate chip and place it in the center of the Life Saver. This is the pupil.
Pop the eyeballs into the freezer so that they will harden quickly. After about 20 minutes you should be able to pull them out and trim off any excess chocolate from where the Oreo sat on the parchment paper. I usually just use my clean kitchen shears for this process. That’s it people! Isn’t that easy?
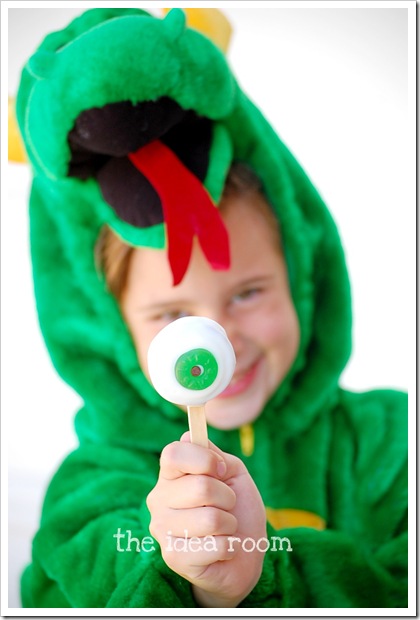
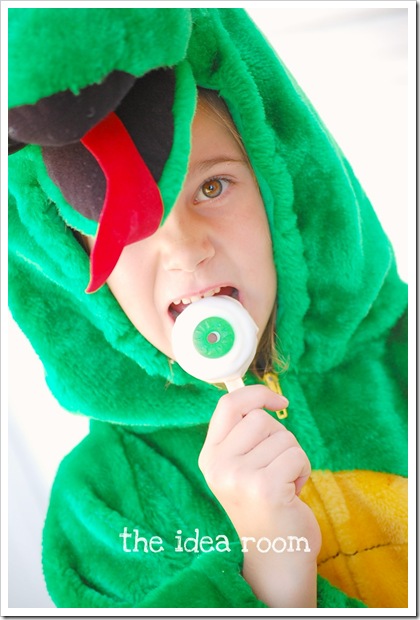
Now go and make some for your little goblins, dragons, or princesses…You know you want to!
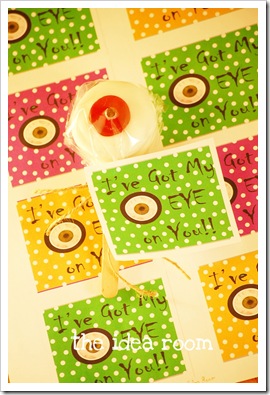
I also made some fun gift tags to go along with these if you decide that you need to share them with the kids friends or classmates. These would be a fun take home gift as well for a Halloween or classroom treat if your schools allow that! To get the free printable…simply follow this link:
Thanks for having me Jamie, Jodie and Jen! I hope you will stop by The Idea Room and see the other fun ideas that I share with my readers! We would love to have you join us!
. . . . . . . . . . . . . .
We are totally going to be making these at our next get together.
Thank you for sharing such a cute (and yummy) idea Amy!!
Be sure to visit The Idea Room or browse through the many great
Halloween ideas Amy has shared in the past!!
. . . . . . . . . . . . . .
this post is sponsored by:

i love how the printable tags are available to go with the eyeball pops – great idea!!!
Love, love, love the Idea Room! These little treats are absolutely fabulous!! Halloween is my favorite holiday. So making these!
What a cute idea. I love it.
I think I may make these for my class this year! I also love the idea of adding the tags. Another thought I had was addding red gel squiggles on the cookie to make them look bloodshot. Just a thought. Thanks for this cute idea! :o)
such a fun idea!
So cute! And it seems pretty easy (right?). I may have to surprise my kids' classes with a whole bunch of these. 🙂
Are you guys planning on doing a Halloween and Thanksgiving subway art? Please say yes!
so cool!! thanks for sharing!
xo dana
thewonderforest.com
TOTALLY cute!!
spooctacular, indeed!
THIS IS SO DARN CUTE. "EYE" Love it. winks-jen