• About
  • Advertising
  • Contact
  • Meet the Team
  • Blog
    • Bloglovin
    • Facebook
    • Instagram
    • Pinterest
    • Twitter

Eighteen25

Create A Life You Love.

  • Home
  • Printables
  • DIY + Crafts
  • Holidays
  • Recipes
    • All Recipes
    • appetizers
    • salads/side dishes
    • main dishes
    • Desserts
  • Misc.

[silhouette] project + promotion

May92012 posted by Jamie 16 Comments

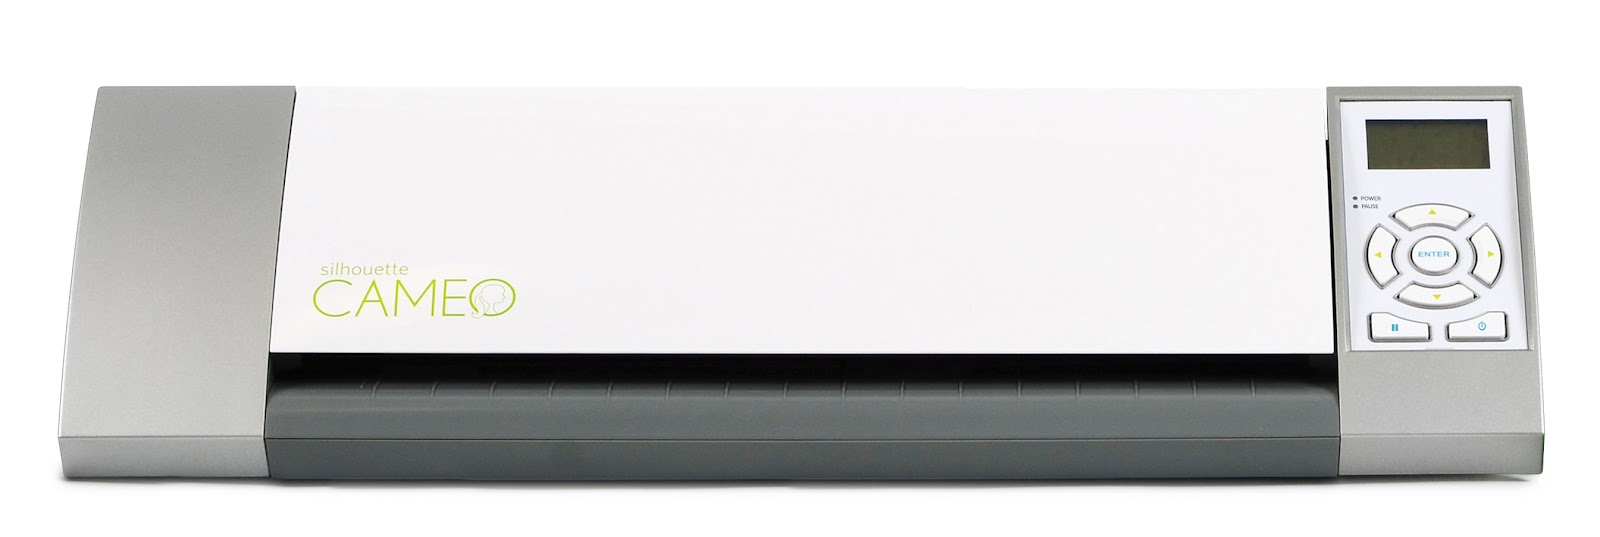
Those awesome people at Silhouette have a new promotion going on
from now until May 16th.
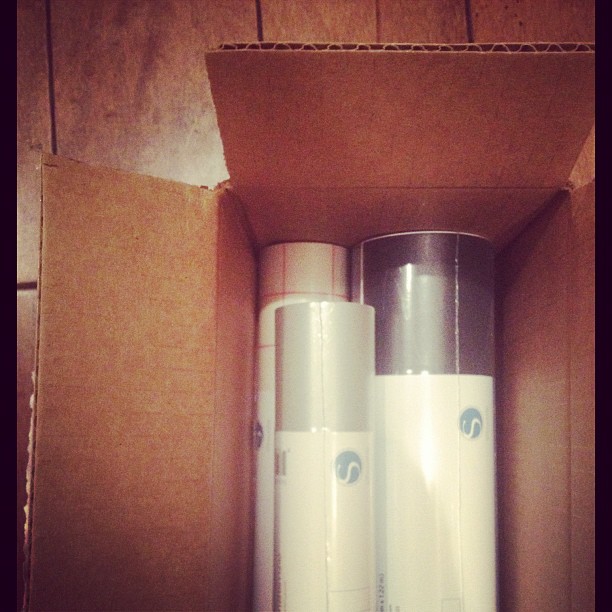
HERE’S THE DEAL
• 1 Silhouette CAMEO™
• 1 roll 12-inch Black Premium Vinyl
• 1 roll 12-inch White Premium Vinyl
• 1 roll 12-inch Transfer Paper
All for $269.99
(MSRP: $344.96 – that’s almost $75 in savings)
Go HERE to take advantage of this great deal
And for those of you that already own a CAMEO…
you can get 40% off all vinyl until May 16th.

Just enter eighteen25 at checkout.
and now it’s time for a project!!
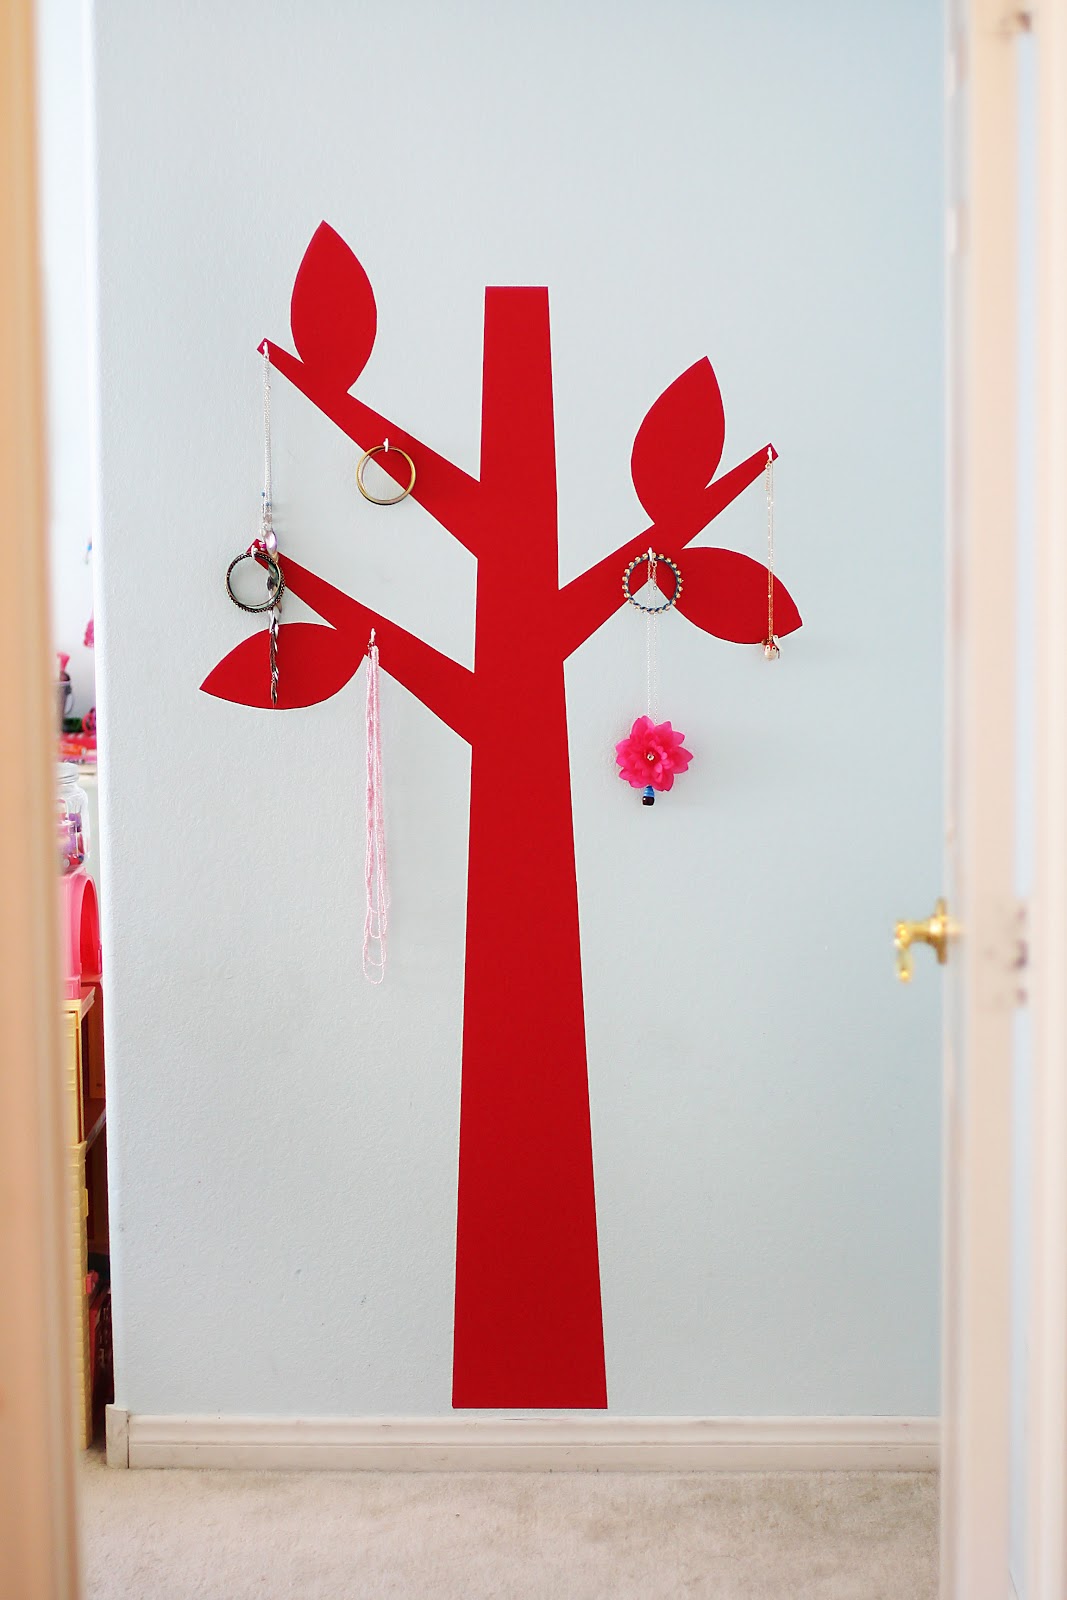
The Vinyl Jewelry Tree
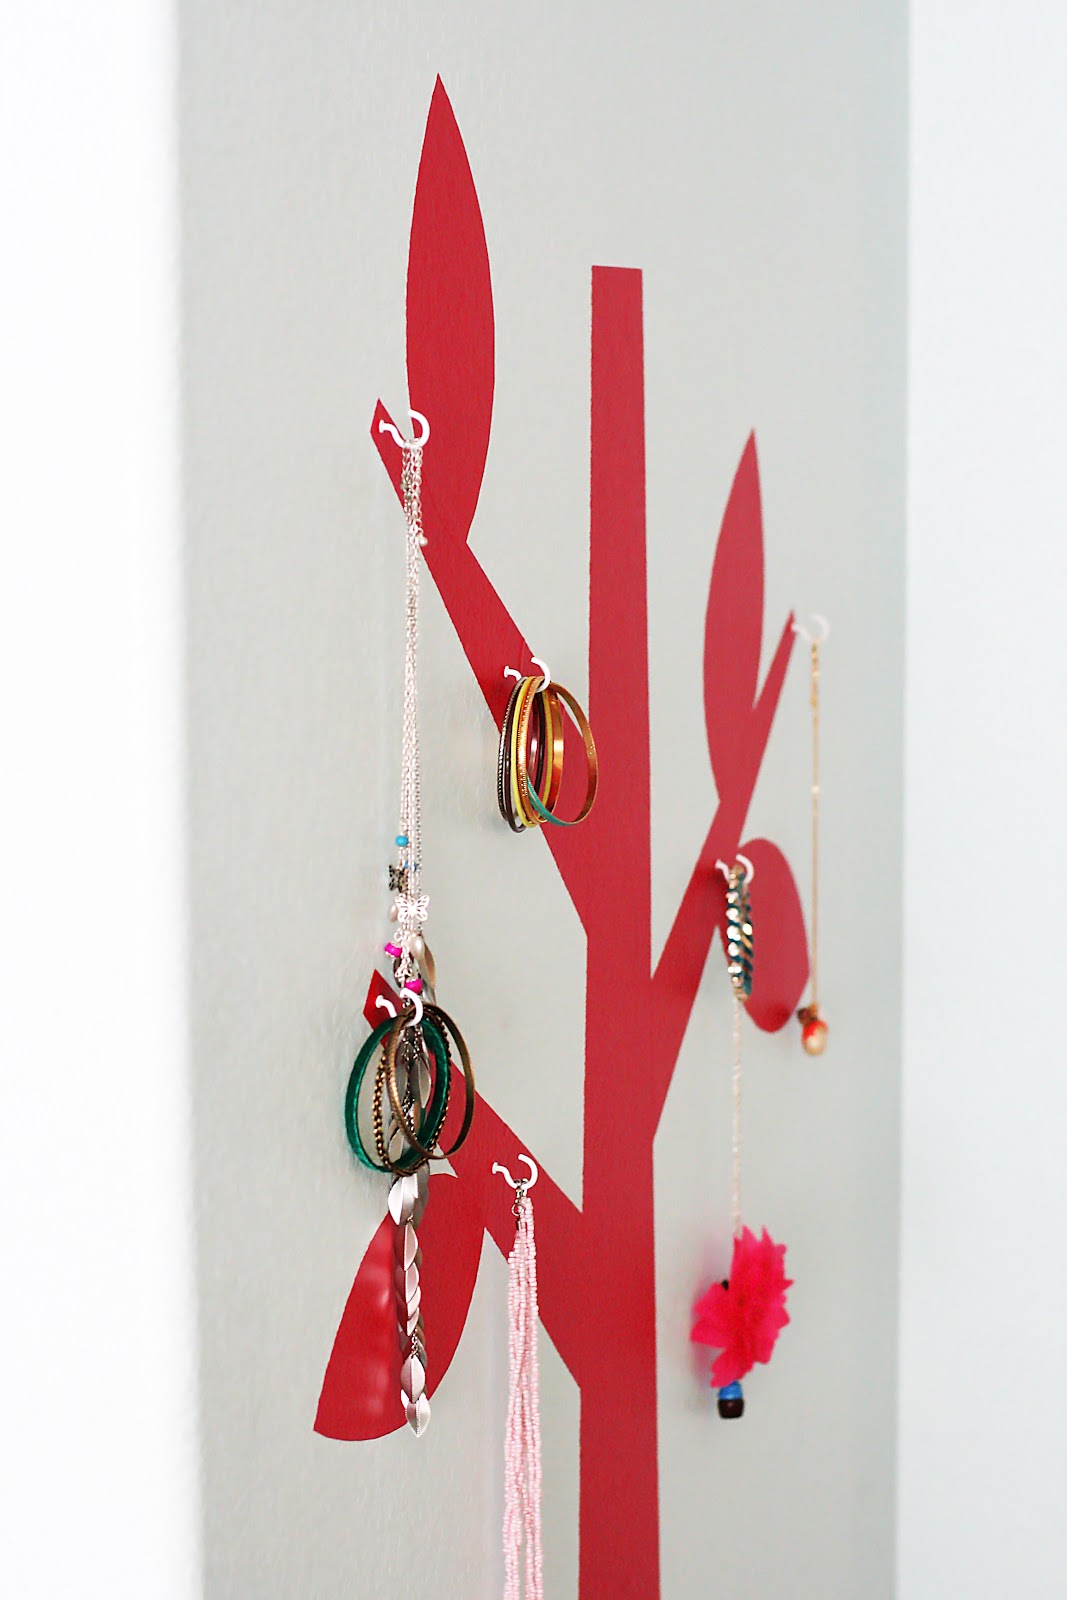
I had fun putting together this vinyl tree for my daughter’s room. After adding some hooks, that i just screwed right into the wall, she now has a place to keep all of her necklaces, bracelets and other girly things.
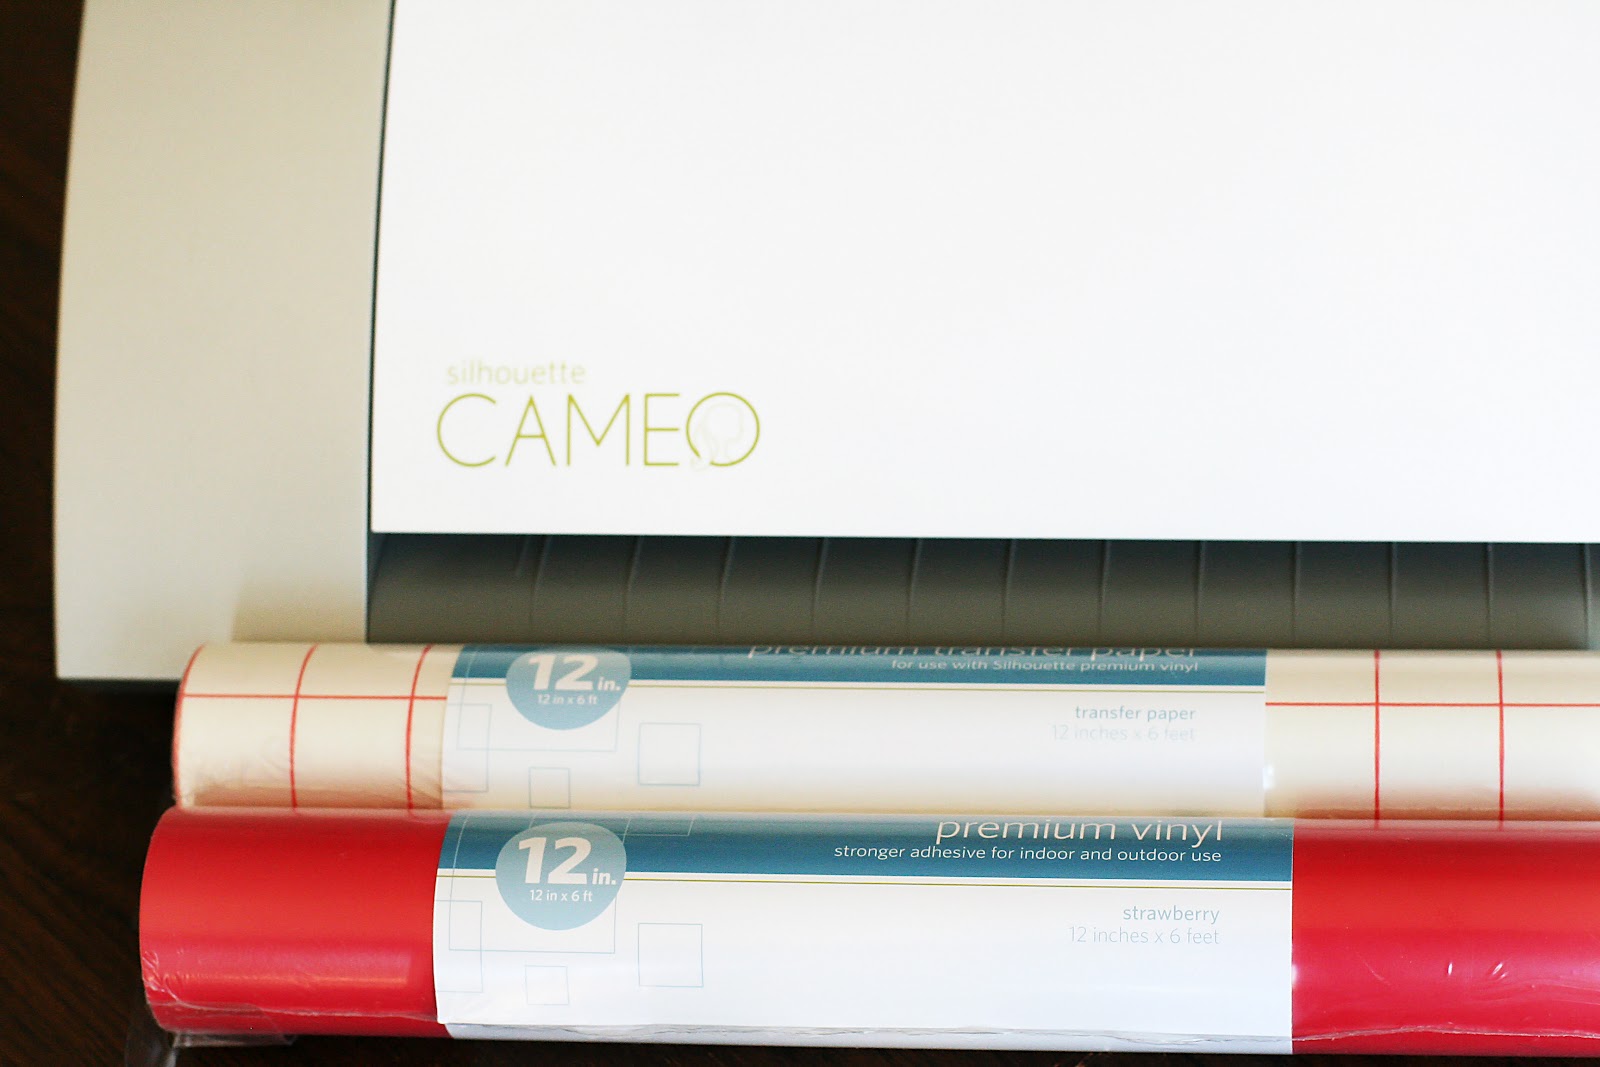
SUPPLIES
• 12 in x 6 ft strawberry Premium Vinyl
• 12 in x 6 ft Premiun Transfer Paper
• 7/8 in cup hooks (found at target)

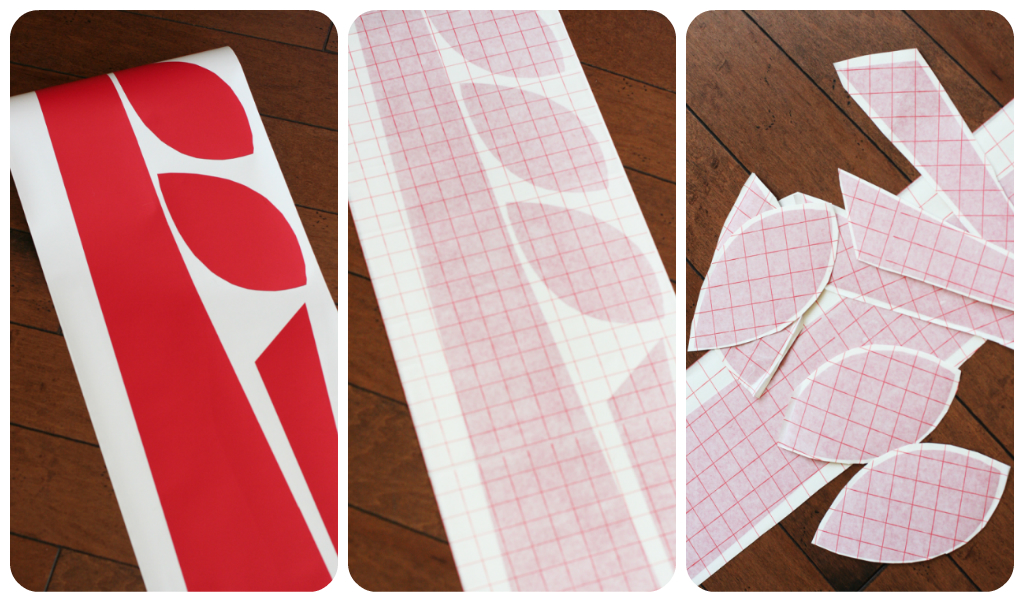
I opened a 60 in x 12 in page in the Silhouette Studio® and then opened the 3 Branch Tree shape from the online store. I wanted my tree to be at least 5 feet tall, but when I re-sized it, most of the branches went off the page. So I ungrouped the shape and deleted the circles and some of the leaves. I only wanted to use the smaller leaves so I had to duplicate a couple on there. Then I used the Knives feature (found in the Silhouette Studio® Designer Edition) and sliced off the branches so I could fit those and the leaves on the same page as my tree trunk.
Next, I cut my shape out with the vinyl. Turning the speed way down and keeping a very close eye on it so nothing messed up. Then I placed the transfer paper on, cut around all of the shapes and adhered it to the wall using the scraper tool. Once everything was put together, I screwed in a few of the hooks and hung the jewelry. 

 Now I’m thinking I need to do something like this in the boy’s room.
He needs a place to hang all of his baseball caps.
  • Bio
  • Latest Posts
Jamie

Jamie

Jamie

Latest posts by Jamie (see all)

  • Bird Feeders - May 24, 2019
  • [2014 WISHlists] Jamie’s List - December 12, 2014
  • Avery Custom Photo Gift Tags - December 2, 2014


16 Comments

« [past projects] mother’s day gifts
Mother’s Day Print »

Comments

  1. Suzanne says

    May 9, 2012 at 12:19 pm

    That is SUCH a neat idea!

    Reply
  2. Ruth Shanahan Allmart says

    May 9, 2012 at 1:37 pm

    That is really cool! Nice job 🙂

    Reply
  3. Jamielyn@iheartnaptime says

    May 9, 2012 at 3:41 pm

    Okay now that is CUTE! Such a fun idea! xo

    Reply
  4. Amanda @ Ninth Street Notions says

    May 9, 2012 at 4:40 pm

    Neat idea! I love the unique concept of it.

    Reply
  5. Sunny Jane says

    May 9, 2012 at 6:56 pm

    Super cute! I love it!

    Reply
  6. Shanda says

    May 9, 2012 at 7:00 pm

    Is there anything the silhouette can't do?

    Reply
  7. cindi says

    May 10, 2012 at 1:04 am

    I picture a whole forest 🙂

    Reply
  8. Kathryn says

    May 10, 2012 at 2:18 am

    What a great idea! Super cute!

    Reply
  9. Kristen Duke Photography says

    May 10, 2012 at 4:29 am

    How clever are you (wish I knew which one)! A silhouette seems like one of those daunting crafty items (like that puncher), but there are so many things I would like to use it for!

    Reply
  10. Kristina Wing Plattner says

    May 10, 2012 at 5:14 am

    Cute idea! I so need to just buckle down and buy one. Need to save my pennies. 🙂

    Reply
  11. Sankat says

    May 10, 2012 at 2:17 pm

    <3 it. Very cute

    Reply
  12. Carrie says

    May 10, 2012 at 2:40 pm

    Love you project!

    Reply
  13. Vicky says

    May 10, 2012 at 4:14 pm

    So wish they shipped to Canada 🙁 I would even get an educator discount but no luck 🙁

    Reply
  14. ReaderWoman says

    May 10, 2012 at 5:28 pm

    Totally kewl! This is my dream machine – everyone in my family is tired of hearing me rant about how much I want one! Thanks for the opportunity to win one… (PS – your project is fantastic!)

    Reply
  15. Landeelu says

    May 11, 2012 at 10:44 pm

    Wha? How do you think of this stuff? Love it! My Silhouette needs to *branch* out more… get it? BRANCH out? Like a vinyl tree? Ah… you get it. 🙂

    Reply
  16. Kate @ Songs Kate Sang says

    May 12, 2012 at 4:54 am

    Oh that is cute!

    Reply

Leave a Reply Cancel reply

Your email address will not be published. Required fields are marked *

This site uses Akismet to reduce spam. Learn how your comment data is processed.

Silhouette Project + Promotion

Mar12012 posted by Jamie 5 Comments

We recently got a box of goodies from Silhouette to play with…
And here’s what we ended up making…


What we used:
  • 11×14 frame
  • 8×8 instagram photo (we had printed at Costco on an 8×10 sheet)
  • Washi Tape (found at Michaels)
  • hot glue gun
  • Silhouette Frosted Vinyl
  • Silhouette Transfer Paper
How we made it:
  • Remove the back off of your frame and hot glue around the edge of the glass to keep it in place.
  • Attach your photo using Washi Tape.
  • Type your word in the Silhouette Studio® and cut it out with your Silhouette electronic cutting tool using the Frosted Vinyl.
  • Follow the directions on the Transfer Paper to attach your vinyl to the glass.
Now you can switch out the photo as often as you’d like!!
. . . . . .
Ready for that awesome promotion now?

You can get…
a Silhouette CAMEO™
+ 1 roll of Chalkboard Vinyl
+ 1 roll of Premium Transfer Paper
+ 1 roll of Frosted Glass Vinyl
All for just $299.99!!

this promotion is good from now until March 7, 2012
enter the code eighteen25 at checkout.
and for those of you that already have a Silhouette CAMEO™
you can get the vinyl and transfer paper bundle right HERE!!
(make sure to use the eighteen25 code at checkout)
  • Bio
  • Latest Posts
Jamie

Jamie

Jamie

Latest posts by Jamie (see all)

  • Bird Feeders - May 24, 2019
  • [2014 WISHlists] Jamie’s List - December 12, 2014
  • Avery Custom Photo Gift Tags - December 2, 2014


5 Comments

« Today’s Guests: My Sister’s Suitcase
[our friday five] jodie edition »

Comments

  1. eddy says

    March 1, 2012 at 5:18 pm

    Nice

    Reply
  2. Shaela says

    March 1, 2012 at 5:45 pm

    love it!! I really like the see-through aspect of the frame 🙂

    Reply
  3. Btrflywmn says

    March 1, 2012 at 6:10 pm

    Would REALLY LOVE to upgrade to the Cameo sometime.

    Reply
  4. Shelby says

    March 2, 2012 at 12:55 am

    If you stop by my blog, Chasing Birdies, you can enter to win a $50 shopping spree!

    Have a great day!:)
    Shelby xoxo

    Reply
  5. Jess says

    March 2, 2012 at 1:01 am

    I LOVE that you used washi tape on a frame! I haven't seen that yet. Love my silhouette too 🙂 what a cool project.
    x0 Jess
    {www.CraftyNonsenseNoted.com}

    Reply

Leave a Reply Cancel reply

Your email address will not be published. Required fields are marked *

This site uses Akismet to reduce spam. Learn how your comment data is processed.

welcome!

We are Jodie & Jen, born & raised in Vegas, in a little brick house. The number hammered onto our mailbox was 1825. Visit us often & be inspired to create a life you love. Read More…

  • Bloglovin
  • Facebook
  • Instagram
  • Pinterest
  • Twitter

Subscribe by Email

Get our latest & greatest posts straight to your inbox.

featured posts

Bird Feeders
Instant Pot BBQ Chicken Sliders
Free Printable Watercolor Notebook Covers
DIY Disney Ideas
Disney Trip Fun Bags
Printable Recipe Binder

eighteen25 loves

Disney banner 350

Privacy Policy

stay updated on latest
posts on Facebook

The Girls at Eighteen25
  • Bloglovin
  • Facebook
  • Instagram
  • Pinterest
  • Twitter

Copyright © 2025 · All rights reserved · Site by Melissa Rose Design