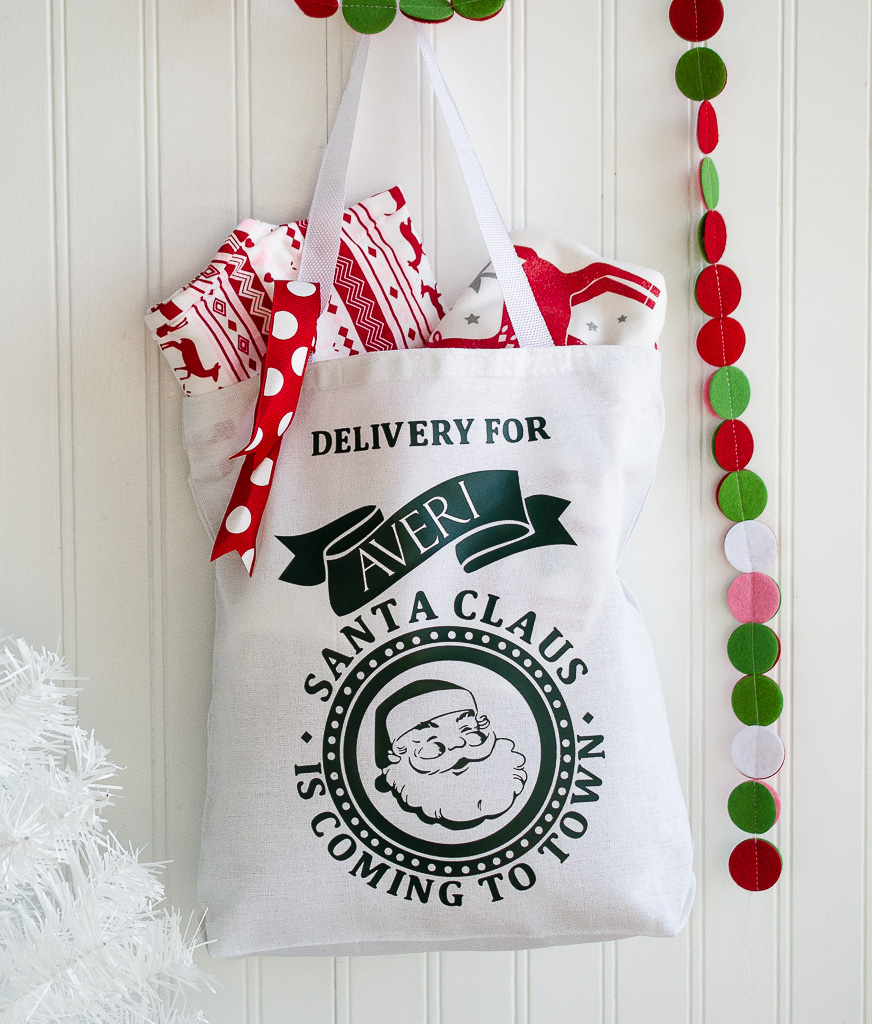
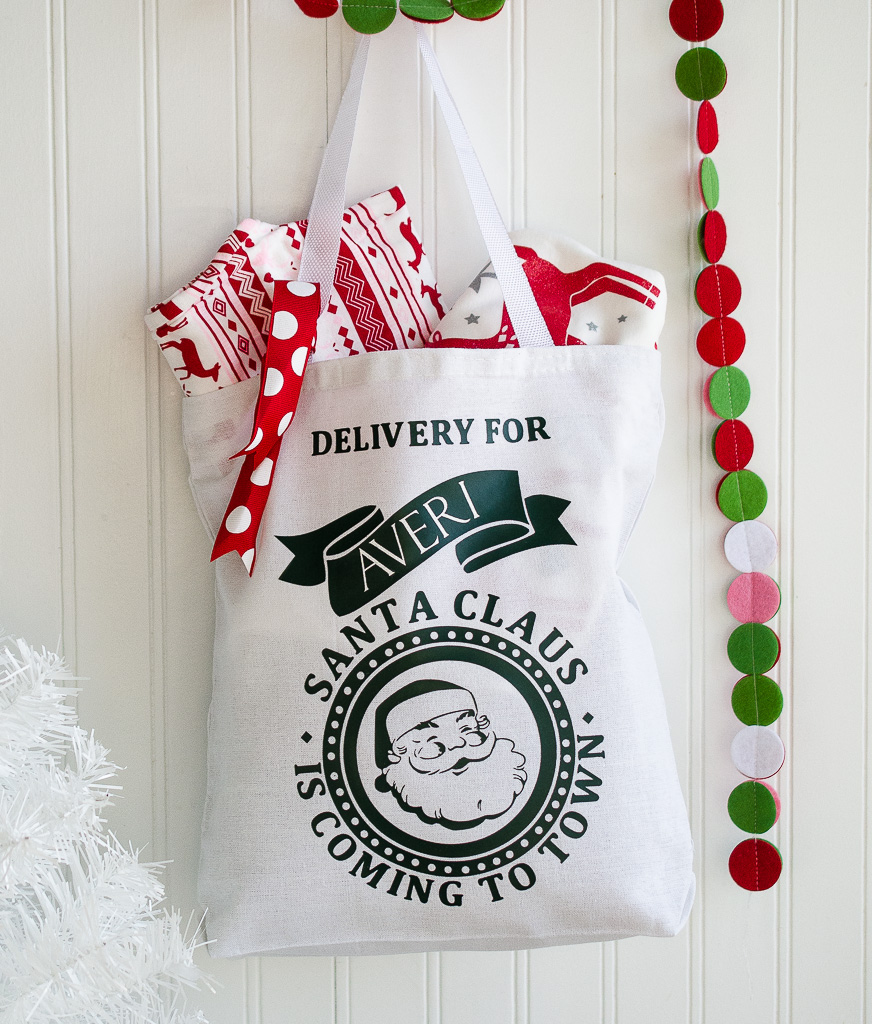
Hi friends! Rachel from Fawn here with you today and I’ve got a fun and easy Santa Claus Delivery Sack project to share. One of our family’s favorite holiday traditions is our North Pole Breakfast. Beginning on the first Saturday in December, little elves ( shhhh…it’s actually me) make a yummy, festive breakfast and bring Christmas pajamas for our little girl to wear throughout the Christmas season. This year I thought it would be fun for the elves to bring a special delivery sack straight from Mr. Claus himself!
.
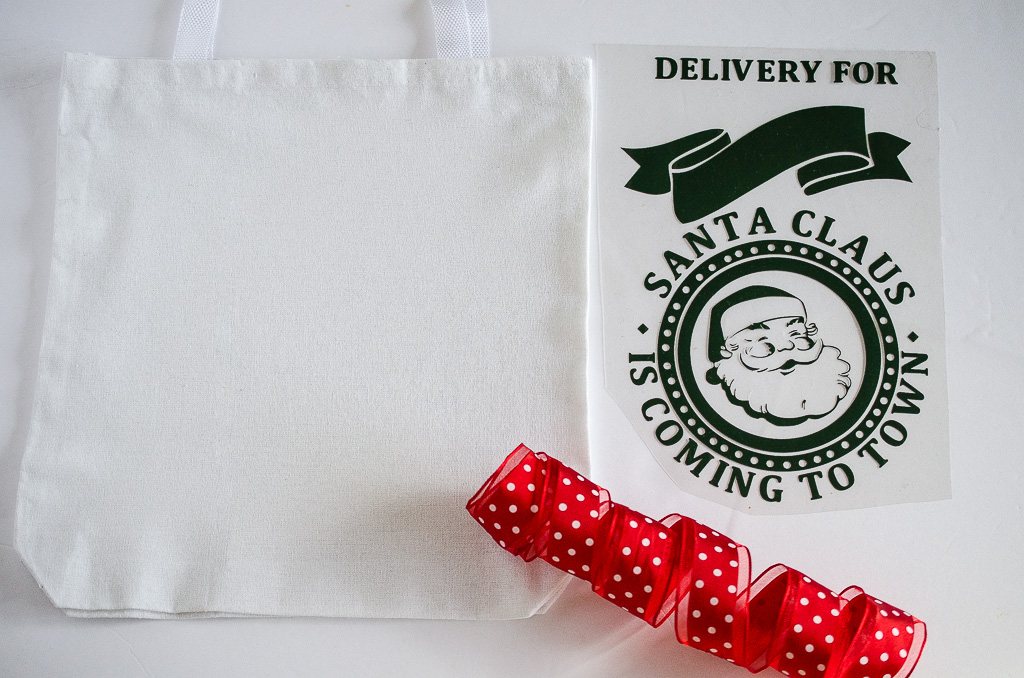
Here’s what you’ll need: (affiliate links are included)
- Plain canvas bag
- Green heat transfer vinyl
- White heat transfer vinyl
- Santa sack SVG cutting file
- Iron or EasyPress
- Ribbon
- Cricut Design Space
- Cricut
Directions:
I thought this Santa SVG image was adorable but you can use any santa sack image you want….or even design your own!
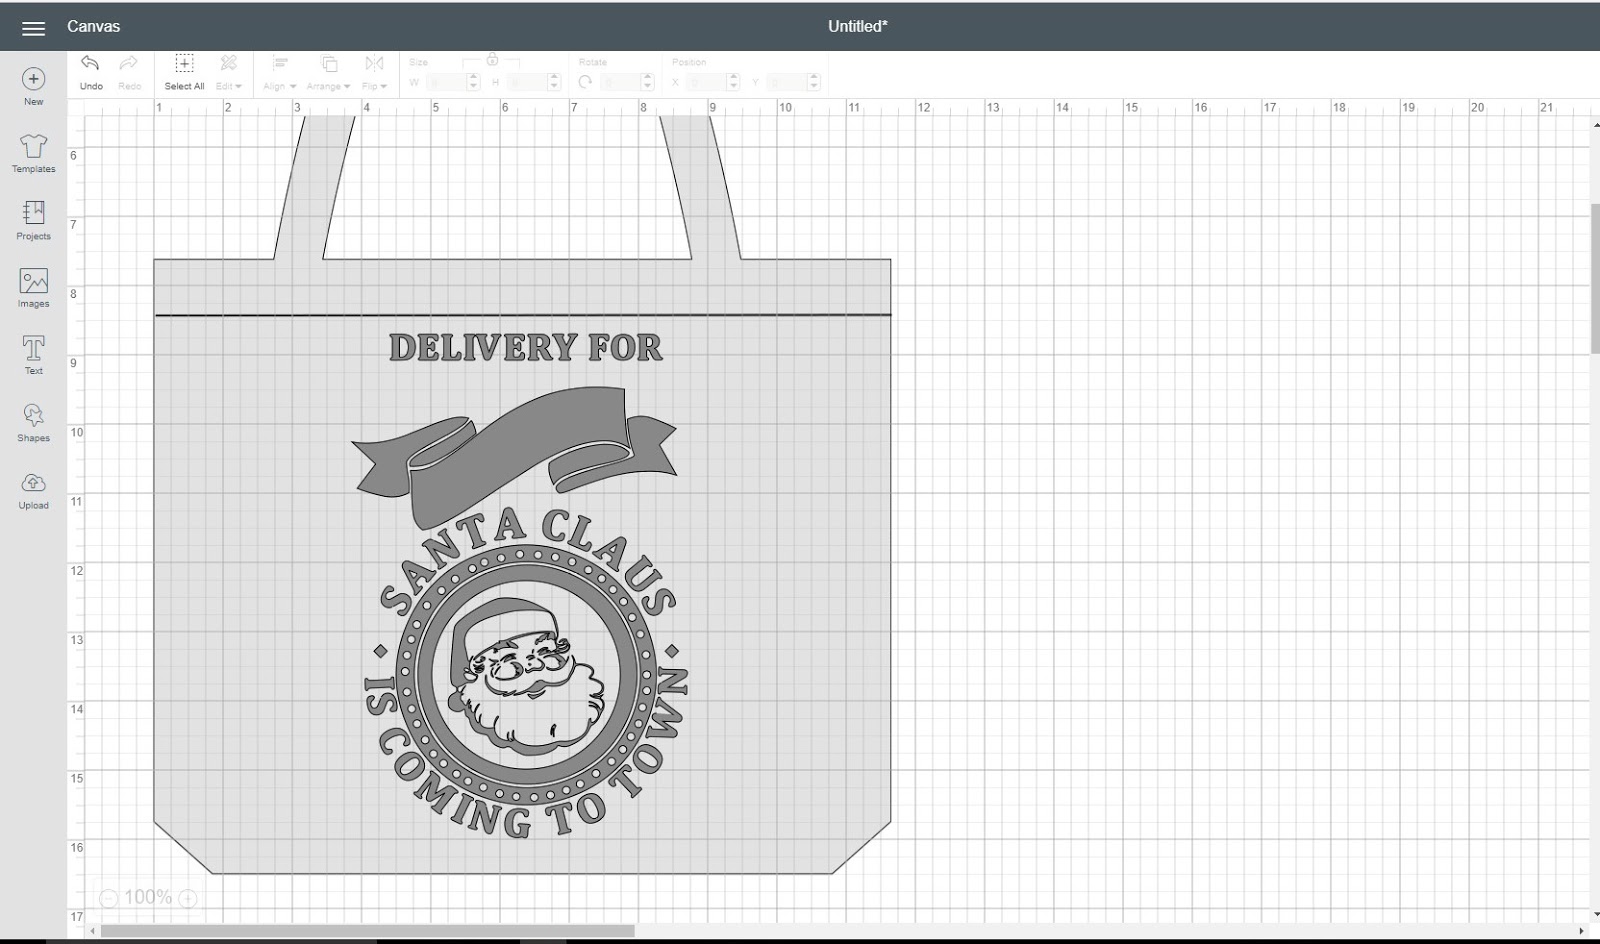
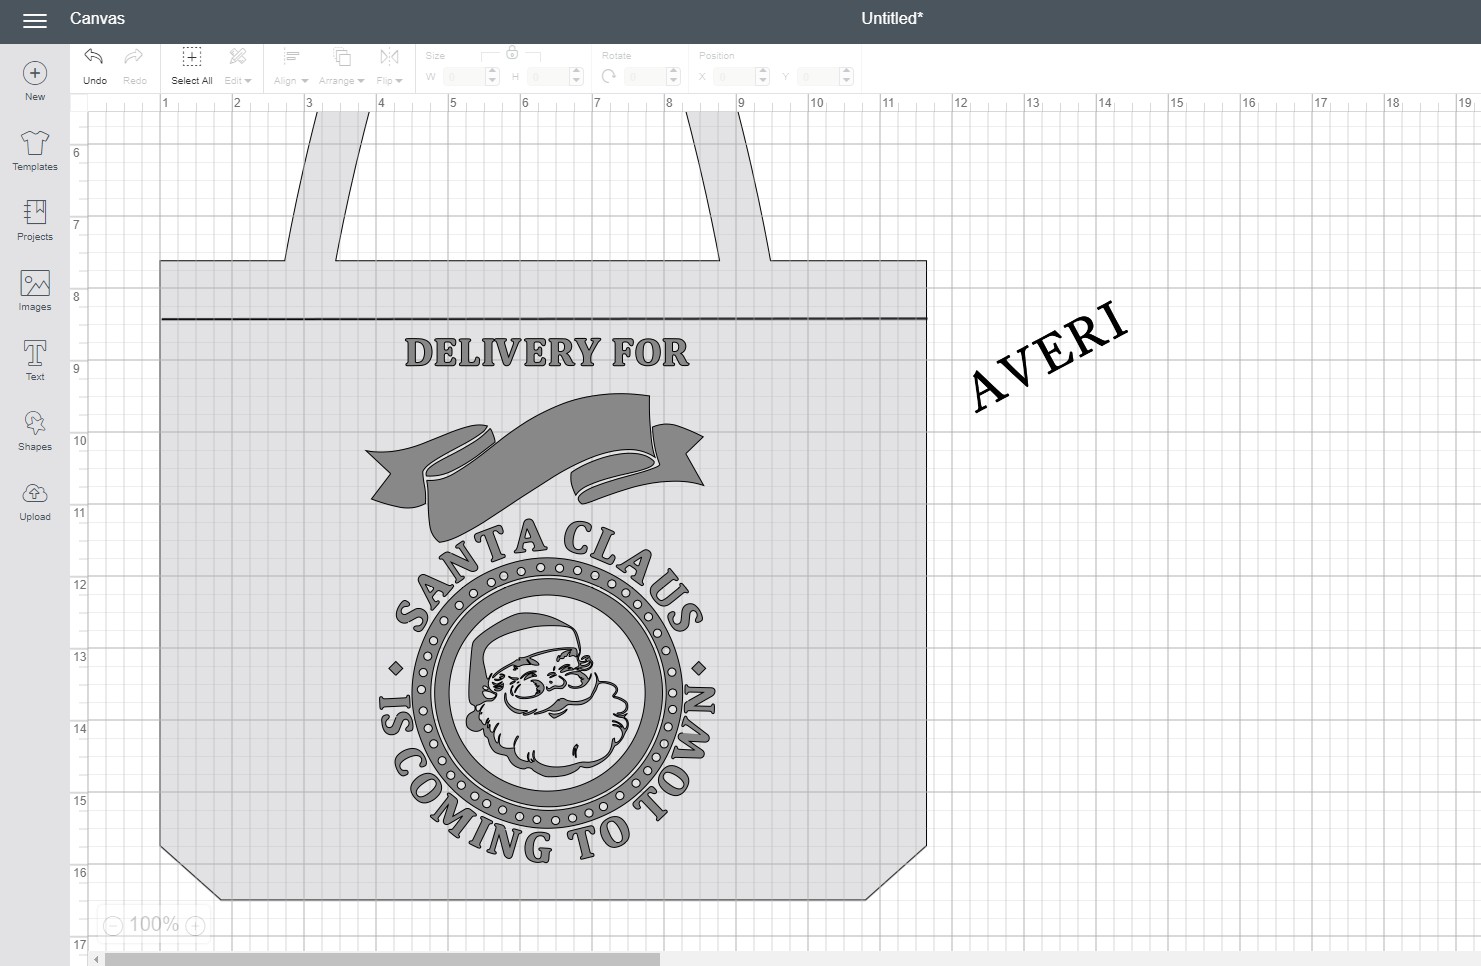
Using the tote bag template, position your santa sack image over the tote until you achieve the desired size.
.
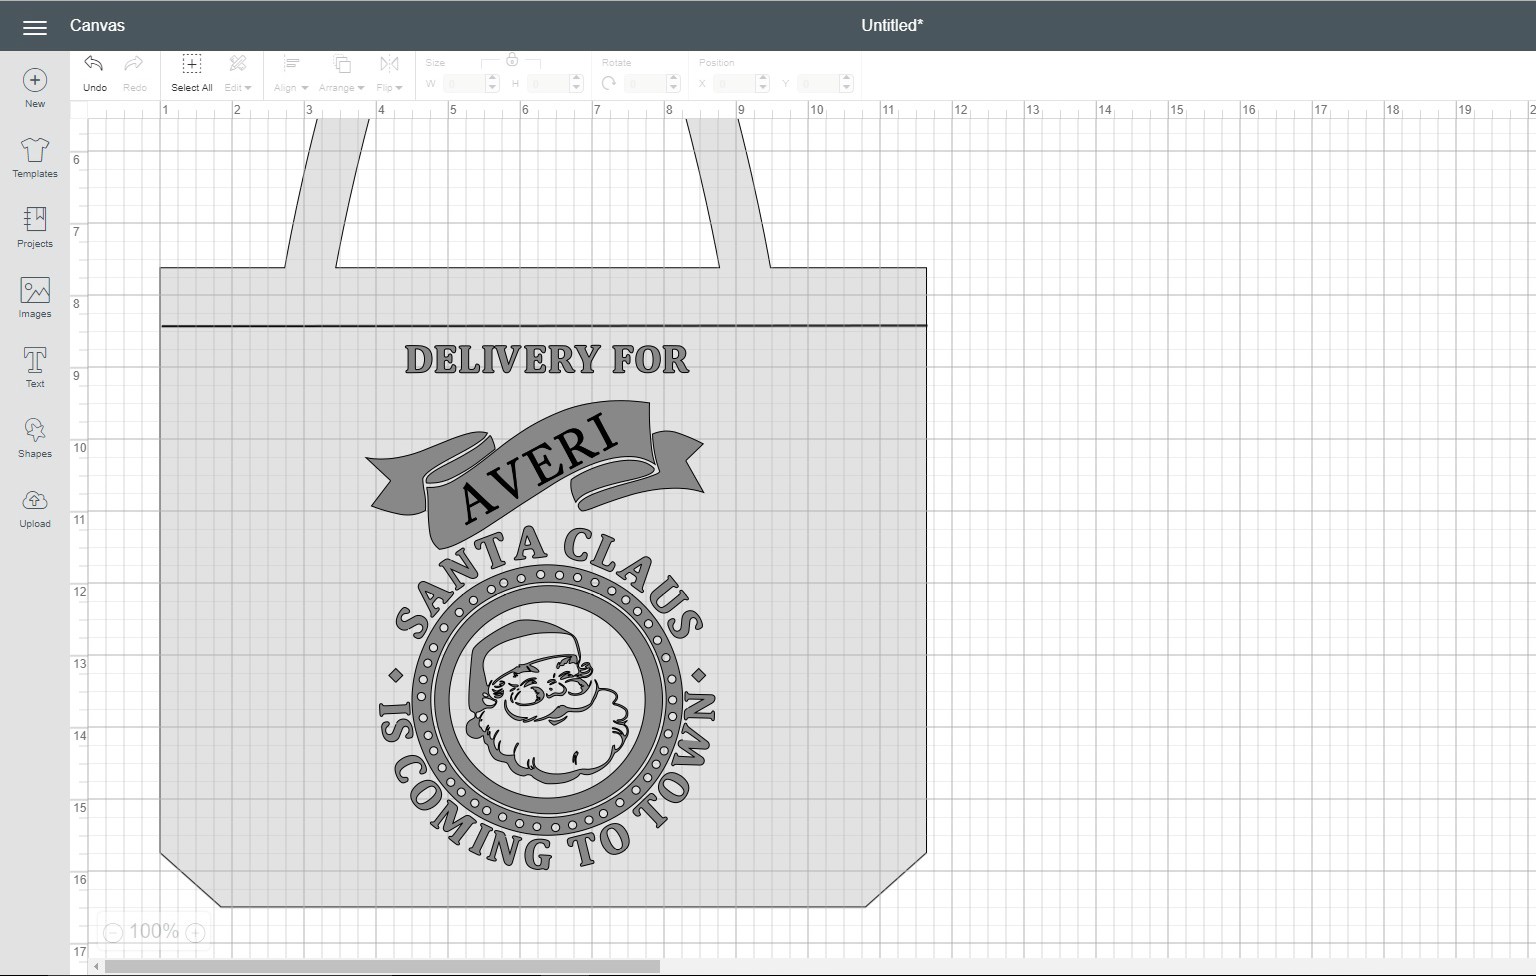
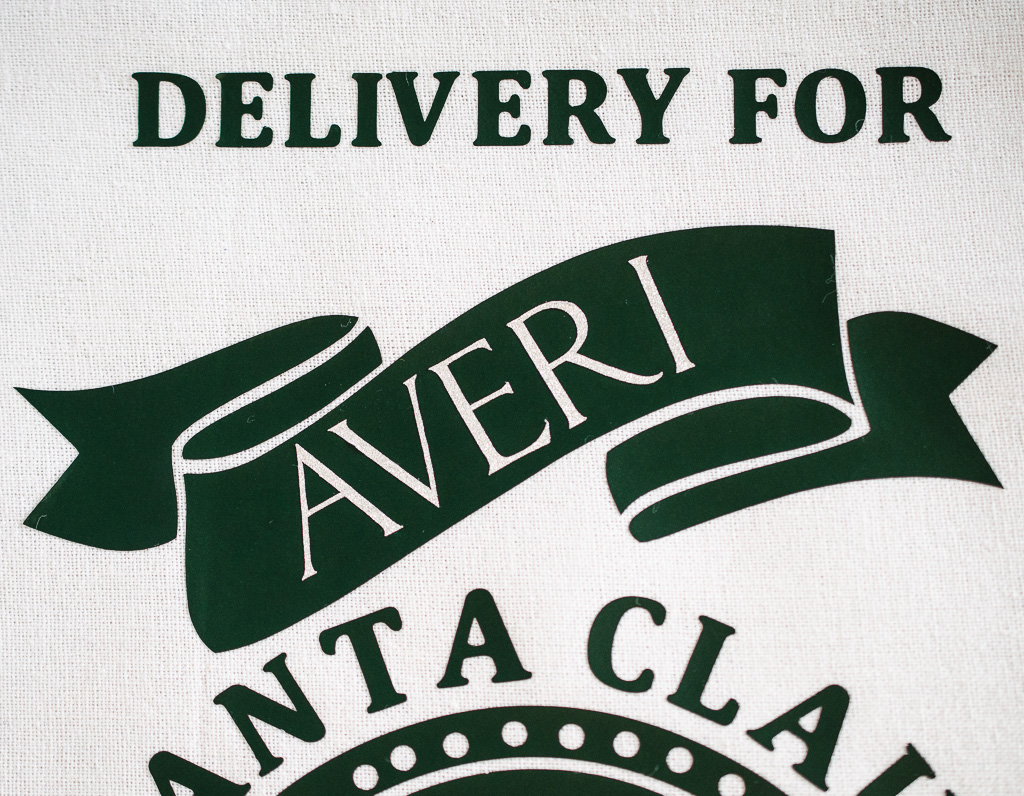
Next, using the text feature, type your child’s name and place it over the banner to achieve the correct size.
Once you have positioned your child’s name over the banner and achieved the size you’ve desired, remove the name and place it to the side of the canvas.
Cut the Santa sack image in green heat transfer and your child’s name in white heat transfer.
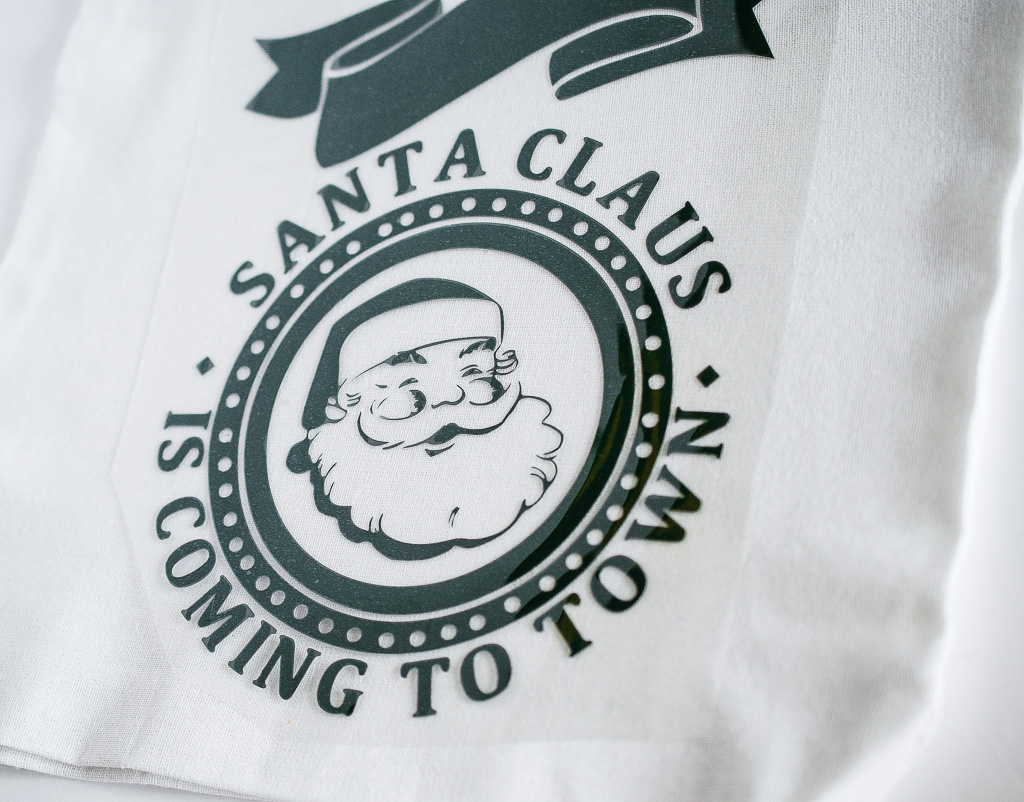
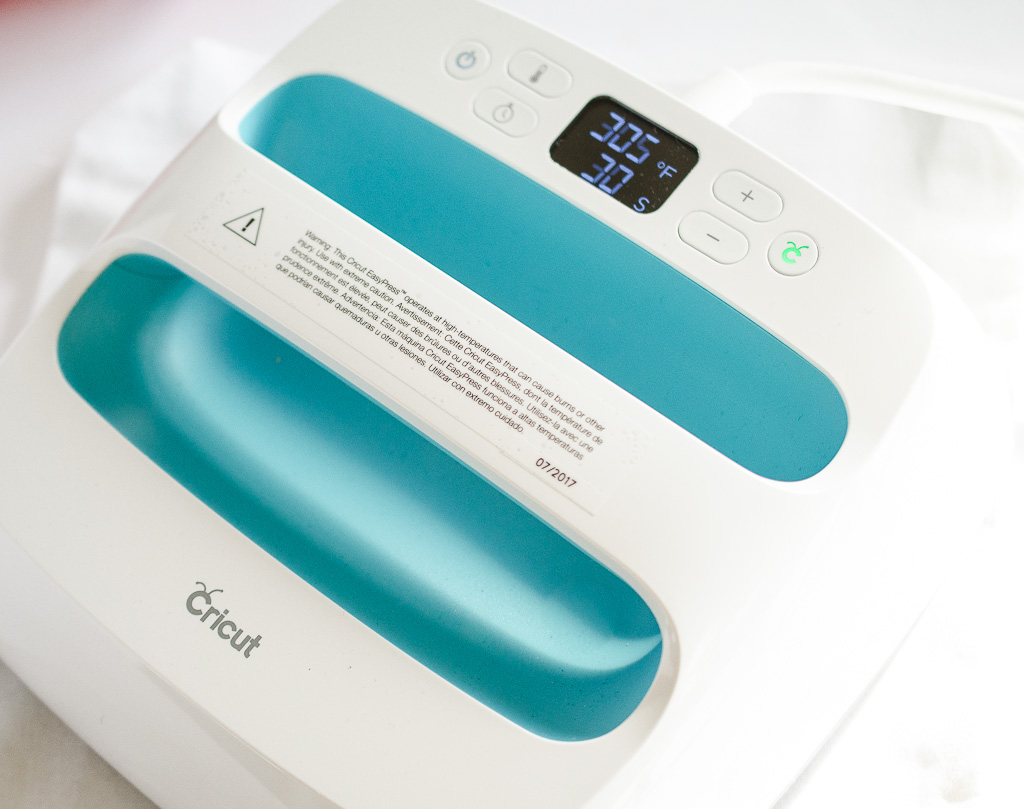
Place the cut image on top of the tote sticky side down and iron the image on to the tote for 30 seconds.
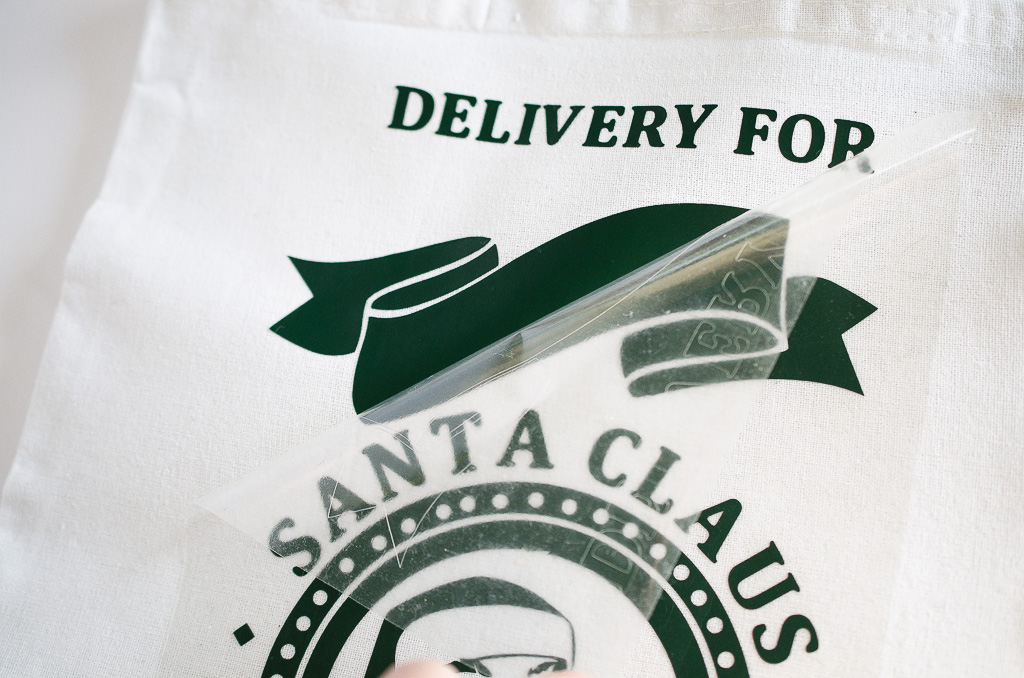
Carefully peel and remove the top layer of plastic.
Next, iron on the child’s name on top of the banner.
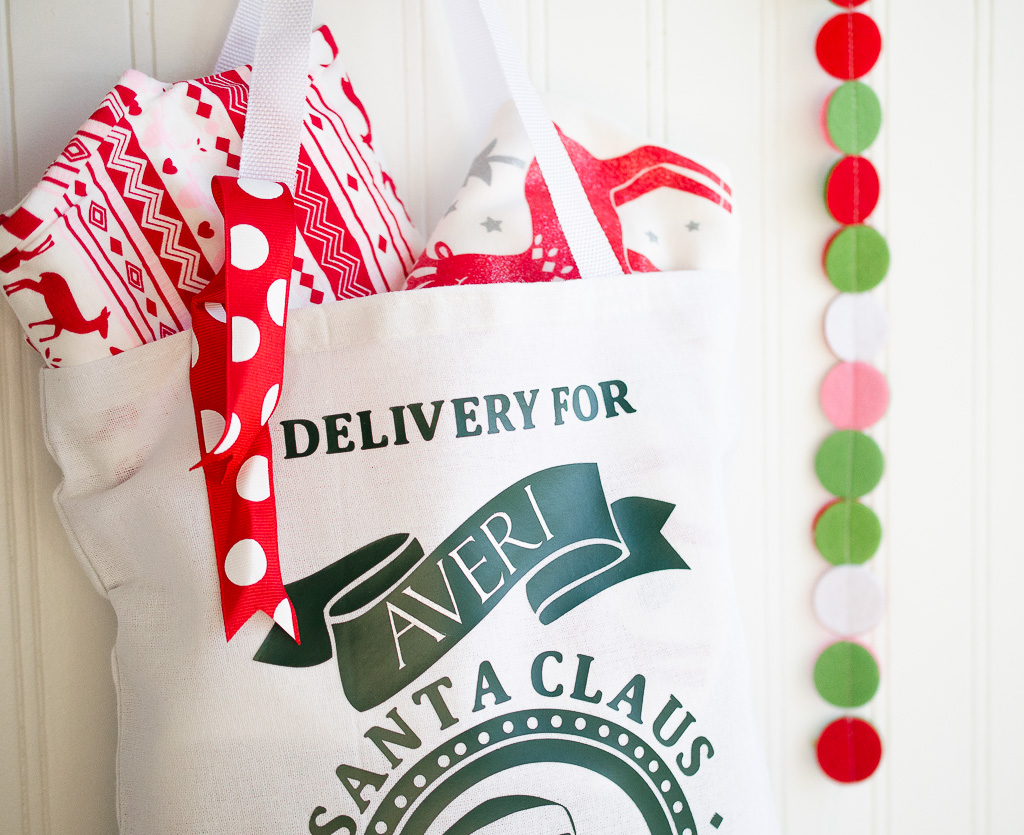
Tuck in a pair of new Christmas jammies and you’re all set! I can’t wait to see my daughter’s face when she sees her special delivery straight from the North Pole!
Thanks so much for stopping by and have a wonderful holiday season!
Follow along with me on my Blog and Instagram and check out these posts for more Christmas inspiration!
Here are some more Christmas crafts you can find on Eighteen25:


Leave a Reply