Hello Eighteen 25 Readers, I am so excited to be here! My name is Bev and I blog over at Flamingo Toes. Decorating for Halloween is one of my favorite things so I am loving all these fun projects for Spooktacular September!
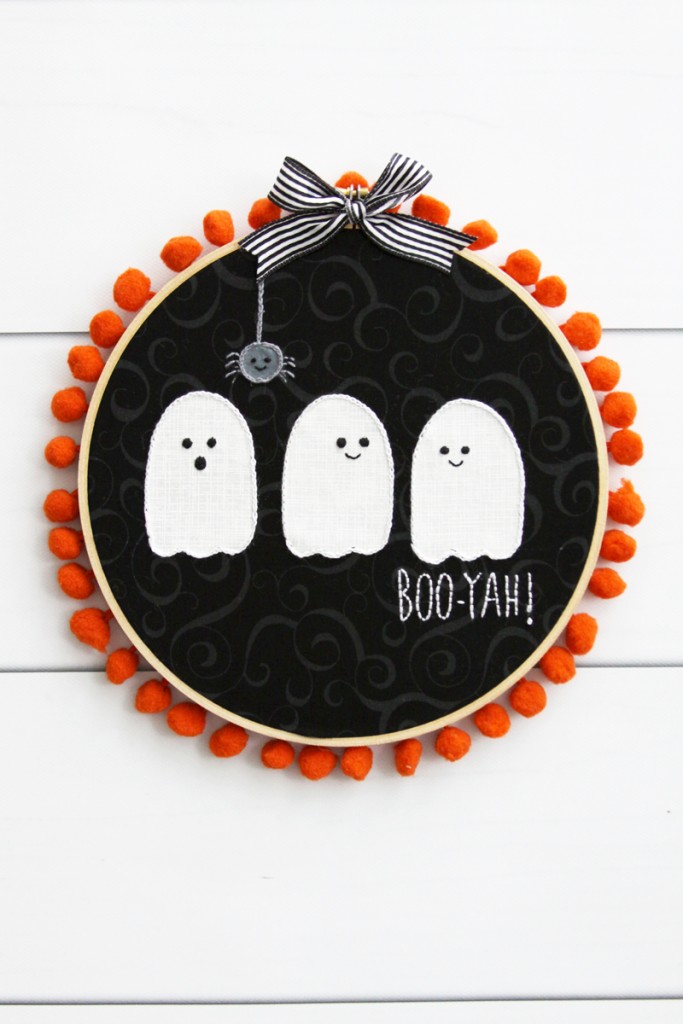
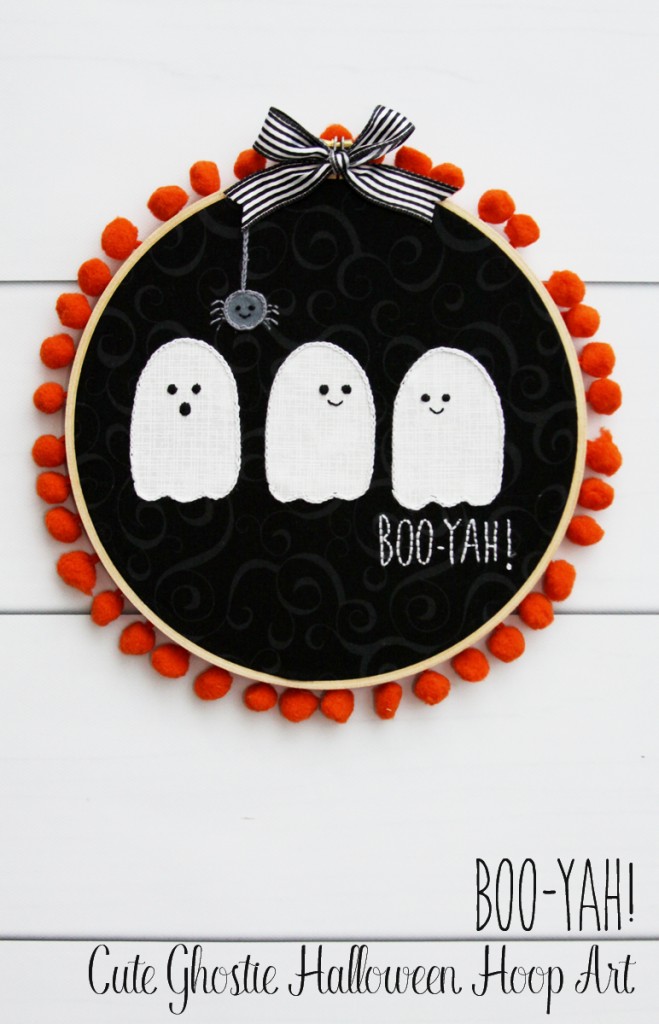
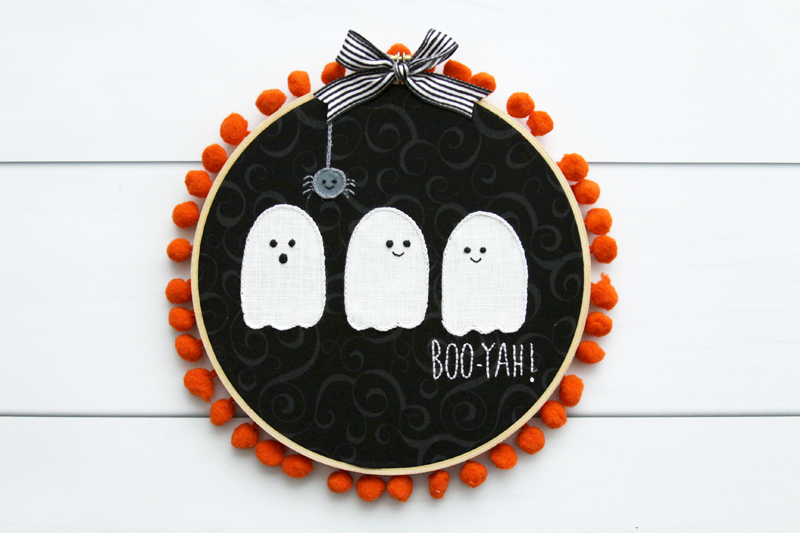
I love creating fun embroidery hoop art and that’s just what I have for you today! This Boo-yah! Cute Ghosties Embriodery Hoop Art is so easy to stitch up – it’s perfect if you’re just starting out with embroidery or have been doing it for years!
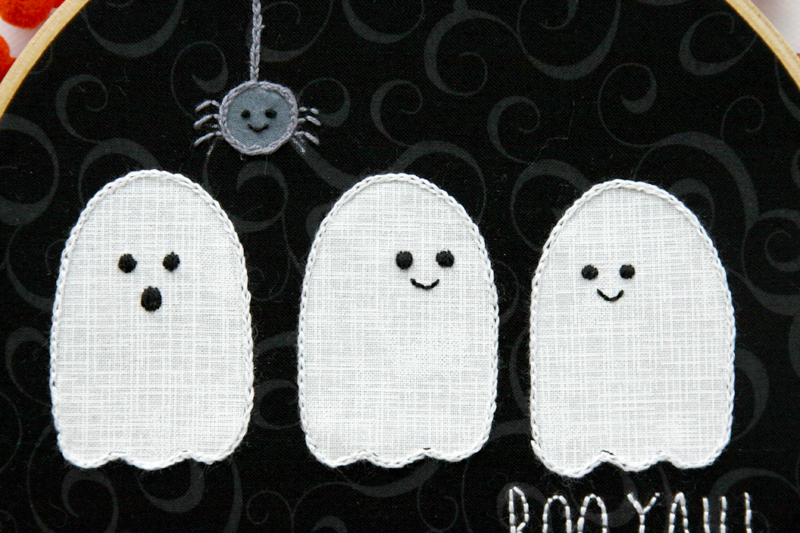
These cute little ghosts are playing a trick on their friend with the little spider – though he doesn’t look all that scary to me. 🙂
I’ve added a little pom pom border too, as I do with most of my hoops. It just adds such a fun touch I think!
Here’s what you’ll need to make your own Halloween Embroidery Hoop Art:
Materials:
- 7″ embroidery hoop
- 10″ square of black fabric
- 5″ square of white fabric
- small circle of gray fabric
- fusible webbing
- marking or transfer pen
- DMC Embroidery Floss in white, black and gray
- Orange pom pom trim
- Ribbon for bow
- Hot glue
- Ghosties Embroidery Hoop Art Pattern
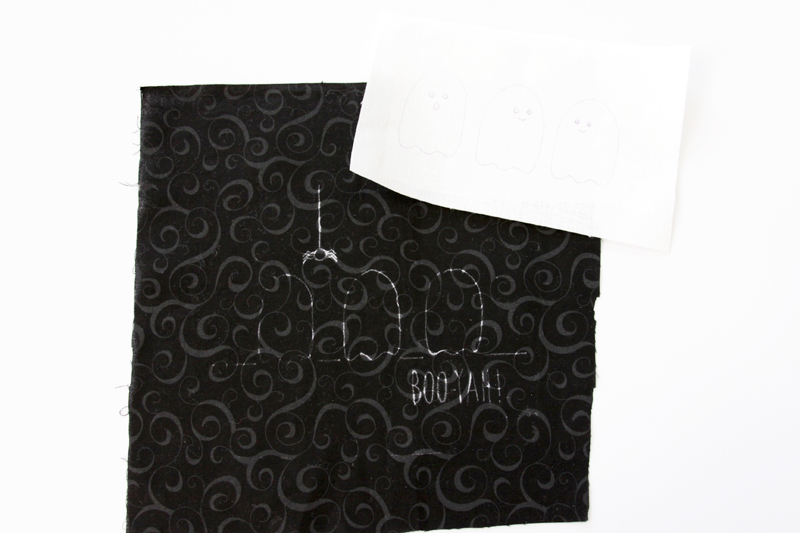
Begin by transferring the design to your white and black fabrics. The ghosts and their faces should be on the white and everything else is on the black.
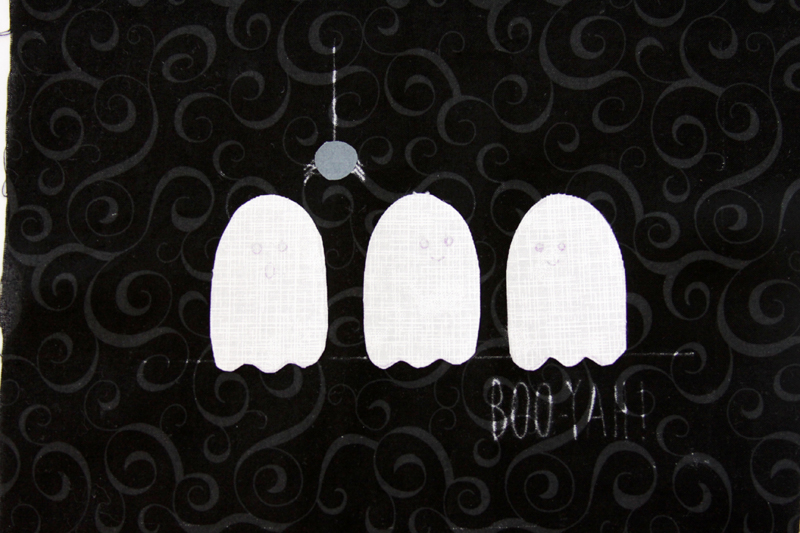
Iron fusible webbing on the back of the white fabric. Cut out the ghosts and fuse them in place on the black fabric. Fuse the small gray circle in place as well.
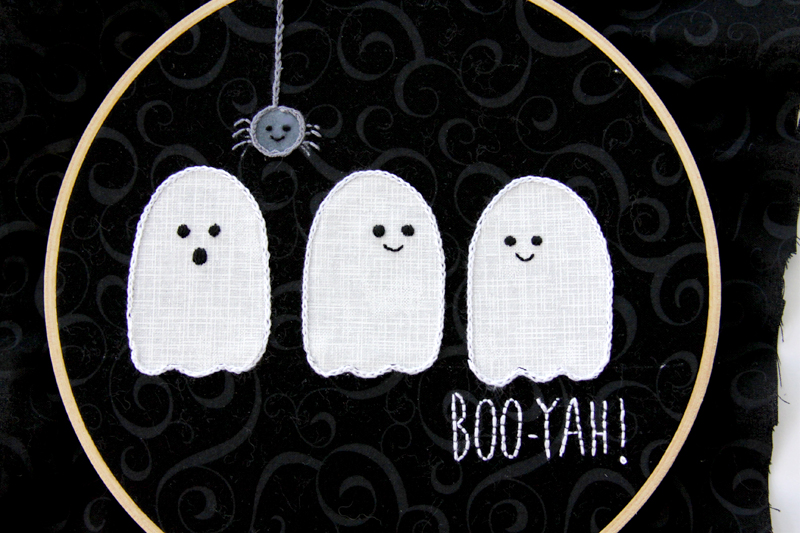
Put your fabric in the hoop – it’s time to start stitching! If you need help with any of these stitches, check out my Embroidery Tips page.
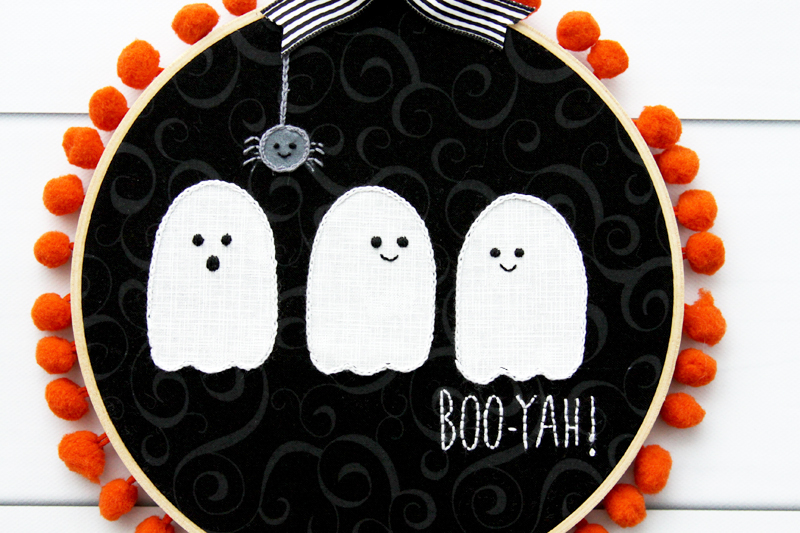
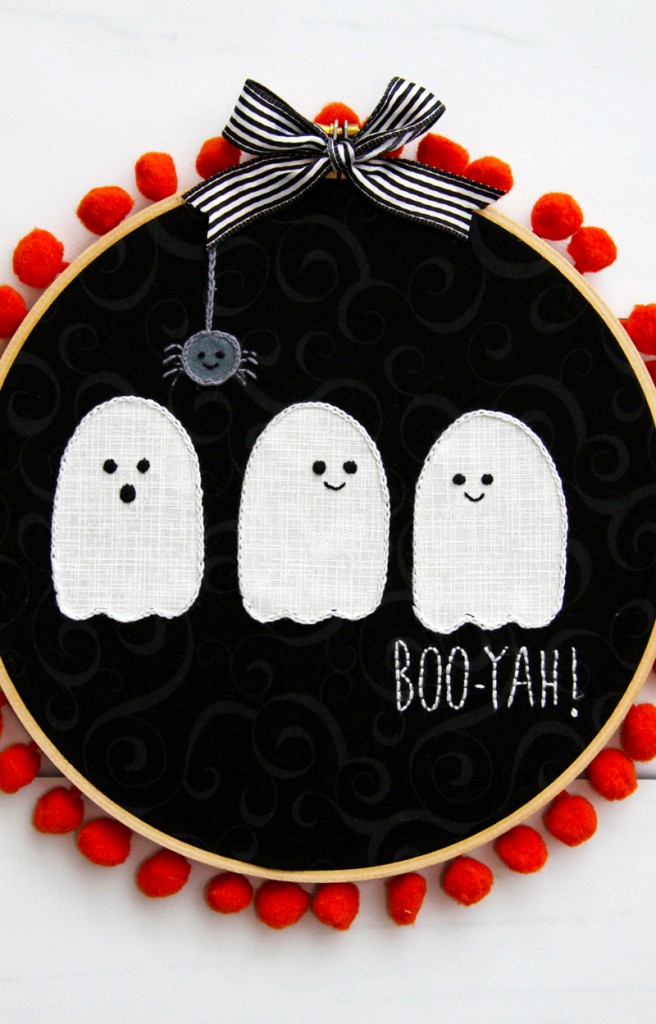
For outlining the spider, the spider web line, and ghosts, use a chain stitch. Use gray on the spider and white on the ghosts. Use a back stitch for the spider’s legs (in gray) and the lettering (in white). Embroider the faces with black floss using satin stitch for the eyes of the ghosts, back stitch for the smiles, and french knots for the spider’s eyes. That’s it! It stitches up pretty quickly!
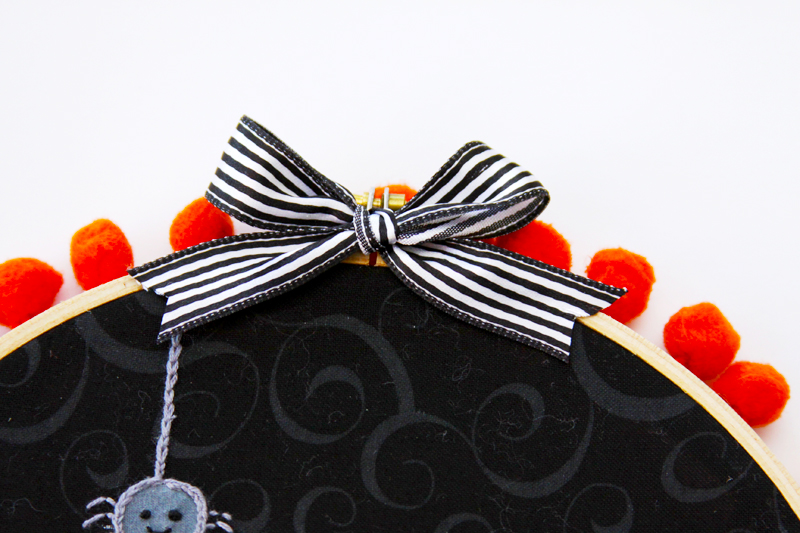
Finish off the back of the hoop and glue on your pom pom trim. If you need help with that, check out my embroidery finishing tutorial. Cut a small length of ribbon and glue a bow on the front of the hoop at the top.
Now is a good time to use a piece of tape and remove all the fuzz from your black fabric. That’s a little crazy right there.
And you can show off your cute new Halloween hoop art!
I just love how cute these little ghosts turned out!
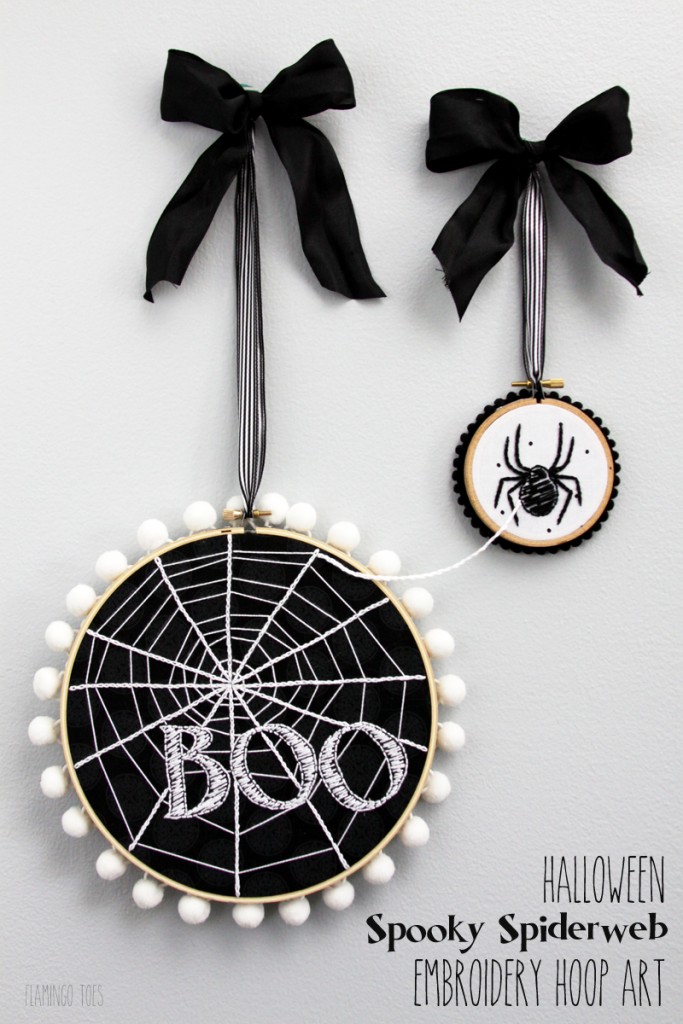
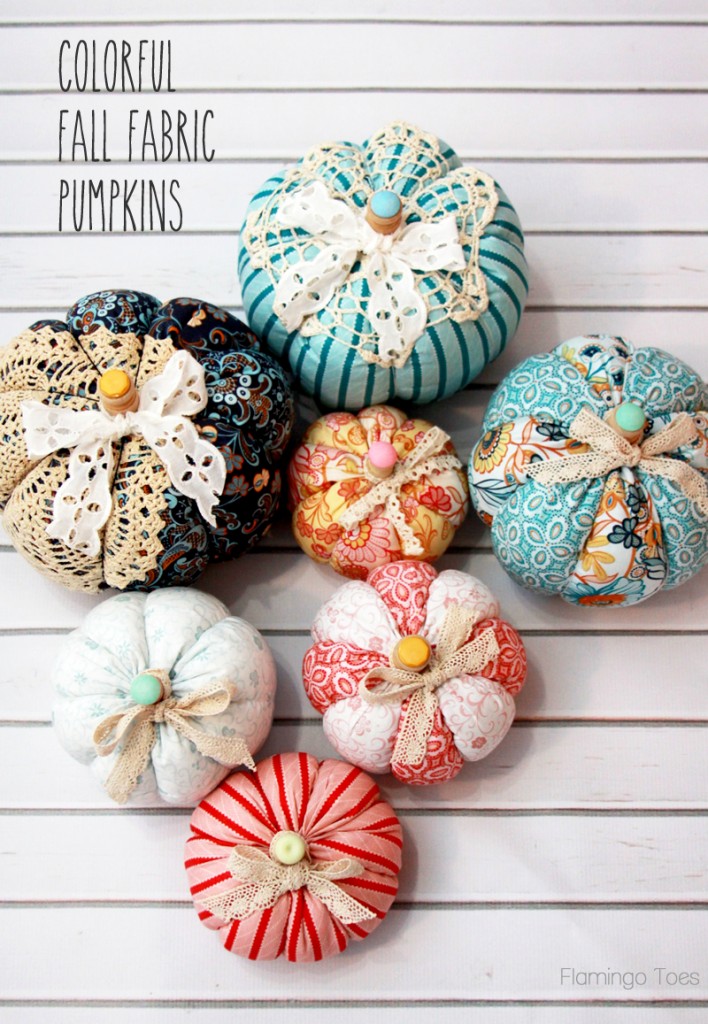
Thanks so much for reading along! I’d love for you to come visit me at Flamingo Toes – I have lots more Halloween inspiration for you! These are a few of my favorites:
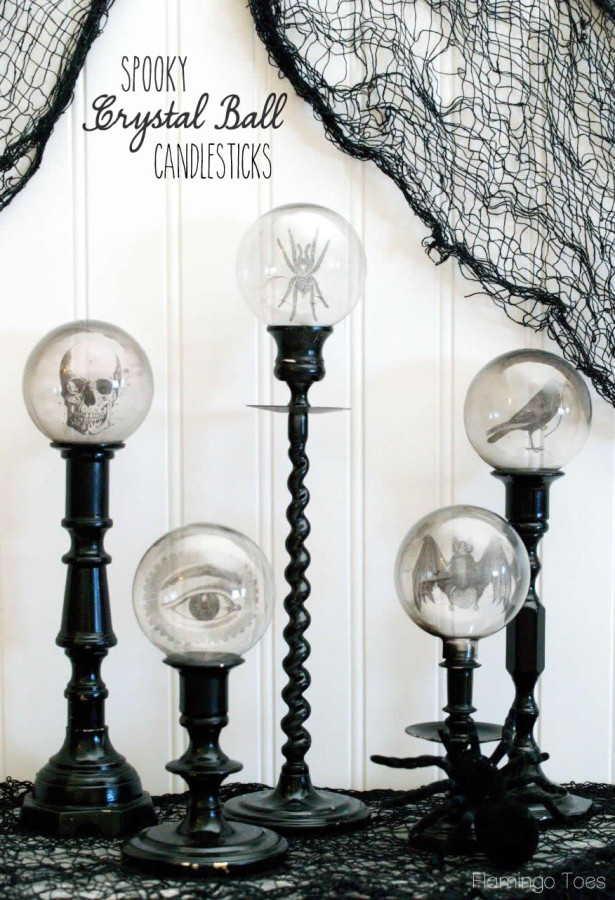
Spooky Crystal Ball Candlesticks
Thanks so much for including me in the series ladies!
Visit Bev on her BLOG | FACEBOOK | INSTAGRAM | PINTEREST
Here are a few more Halloween posts you can find on Eighteen25:


This is SO DARN CUTE!! Love it mucho!