
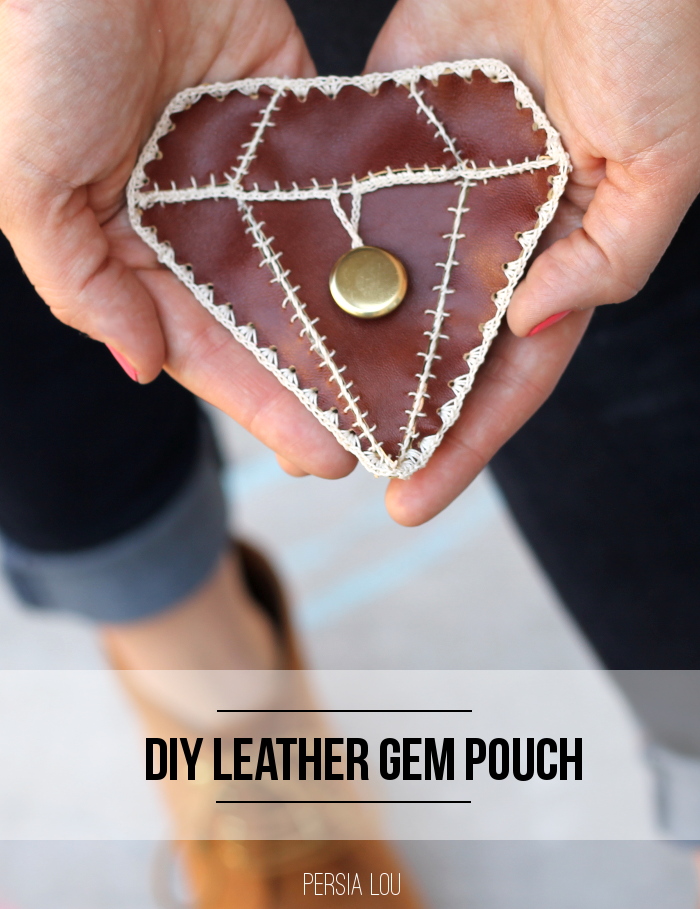
Hey there, friends! I’m excited to be at Eighteen25 today sharing my new little leather gem pouch! I have been itching to try out a leather project, and I had so much fun making this little project that I know there will be many more leather projects to come!
To make this little pouch you will need:
- leather scraps
- cotton crochet thread (I used size 3)
- a small crochet hook (I used 1.3 mm)
- needle
- mini leather punch and hammer
- button

I didn’t want to leave pin holes in my leather, so I used washi tape to keep the pattern pieces in place while I cut.
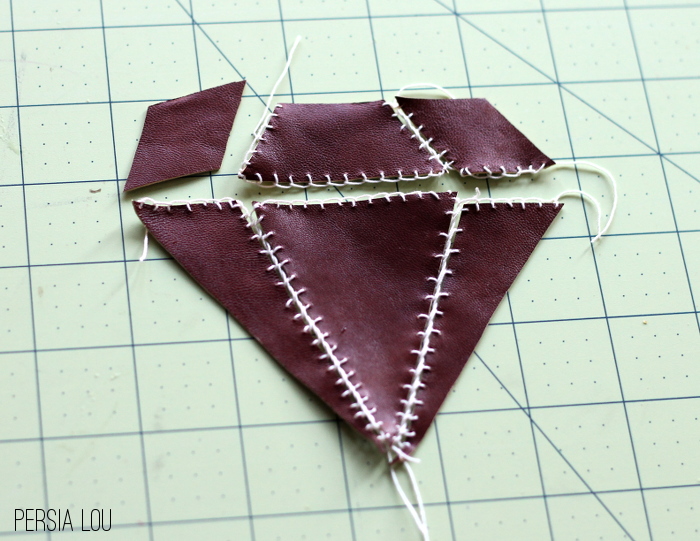
When I had my six little pieces cut out, it was time to piece them together. The plan here is to piece the top three together and the bottom three together, and then have the pouch open between the top and bottom halves.
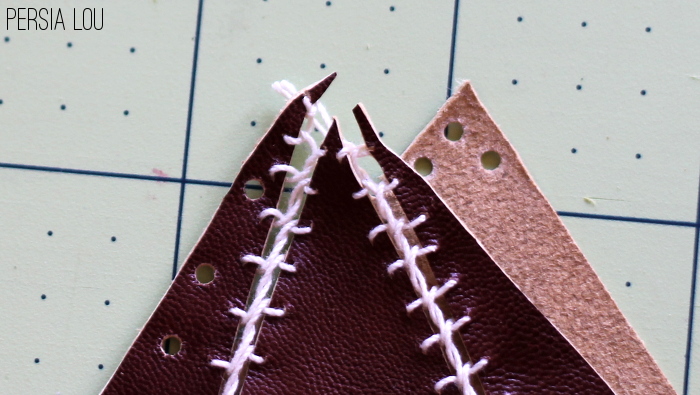
Using the crochet thread and needle, I started off by working a blanket stitch around each of the two middle pieces (remember, blanket stitch is worked left to right!). I did not want any stitching around the outside of the gem because that is where the front of the pouch would be connected to the back.
To attach the side pieces to the middle piece, I worked used a blanket stitch worked through the blanket stitch on the middle piece. You can see what I mean in the picture below.
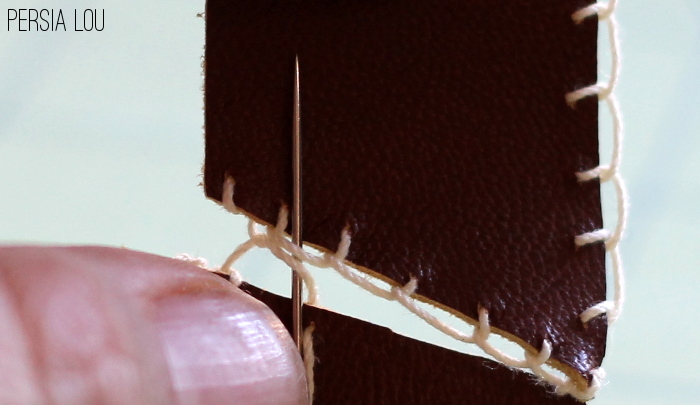
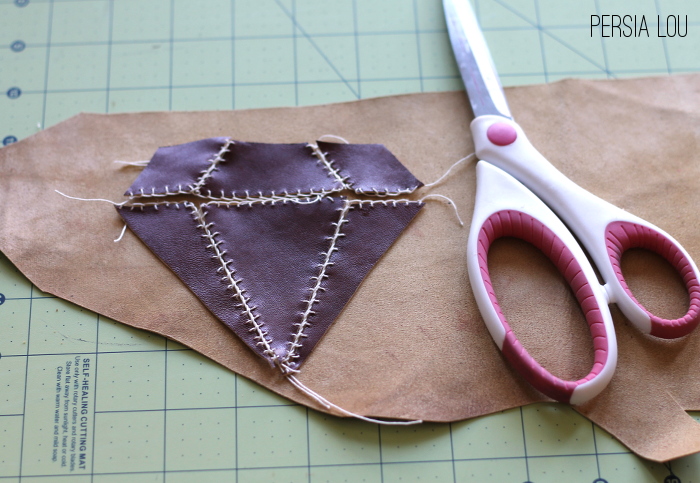
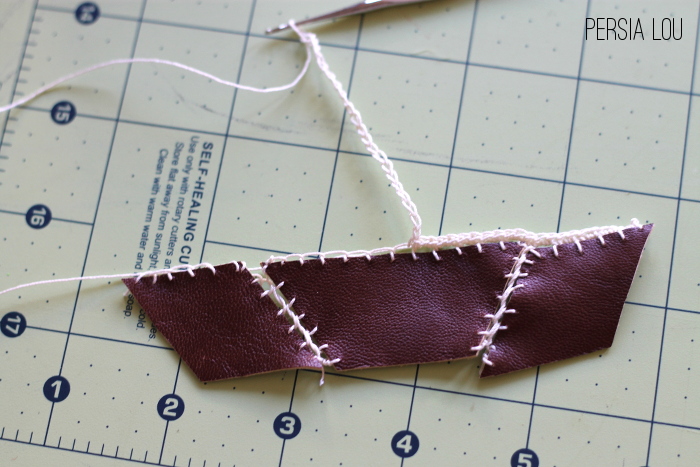
I pulled the needle up through the blanket stitch on the other piece before working the next stitch. Pretty soon my top three pieces and my bottom three pieces were stitched together, and it was time to cut out a piece of leather for the back. I used my stitched together front pieces as a template to make sure the front and back matched up.
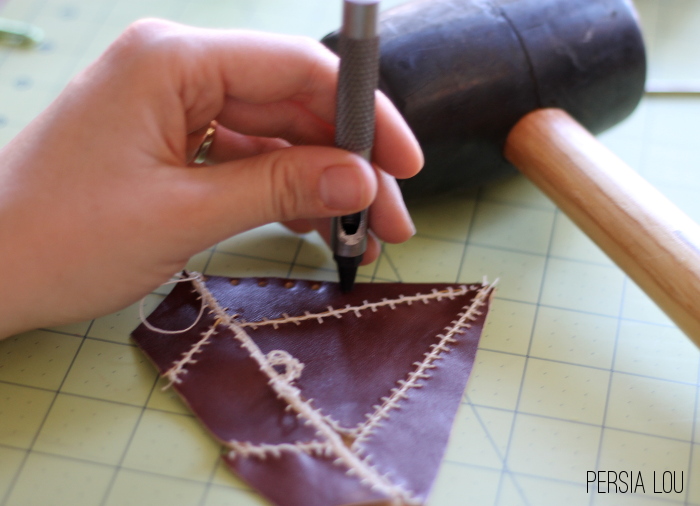
Next it was time to give my new leather punch a try! Punching holes around the outside of the punch allowed me to crochet the front and back together. Using the punch, a hammer, and a cutting mat, I spaced my punches about a quarter of an inch apart.
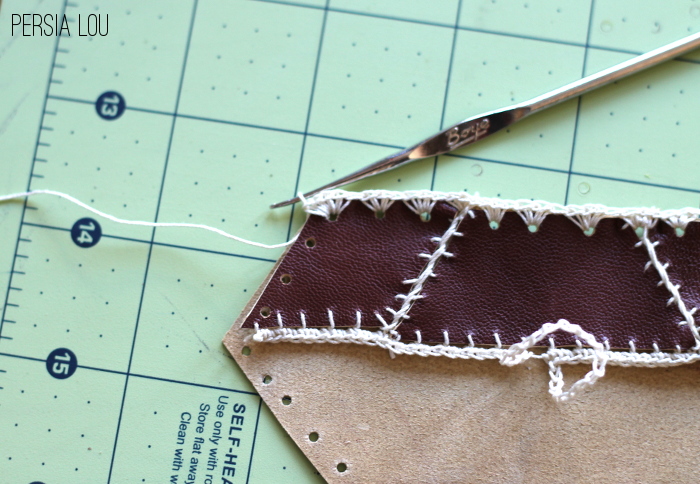
The bottom of the pouch was a bit tricky because with the small tips, there wasn’t any place to punch holes. My solution was to punch through the back piece only with the plan being to work the crochet stitches through the blanket stitches between the front panels.
When I had punched holes all the way around the pouch, I grabbed my crochet hook to finish up this little pouch. I started crocheting on the bottom of the top half of the front. I worked about two single crochet stitches in each of the blanket stitches I had previously worked along that edge.

When I got to the middle of this top panel, I worked 20 chain stitches and then continued working single crochet all the way across. This created the button loop to close the pouch.
When I reached the end of the top panel, I just kept crocheting around the pouch, but now I worked my single crochet stitches through the holes I punched around the edges. I worked three single crochet stitches into each hole, except for holes on the corners, which got five.
Pretty soon I was done crocheting, and all that was left to do was sew a button onto the front of the pouch. And… Voila!
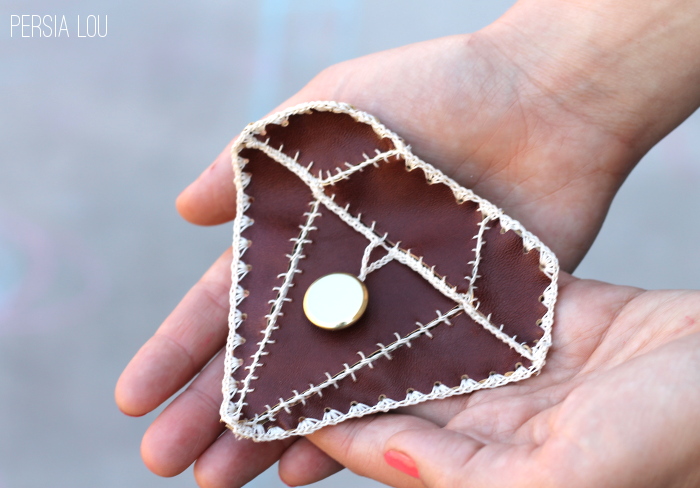
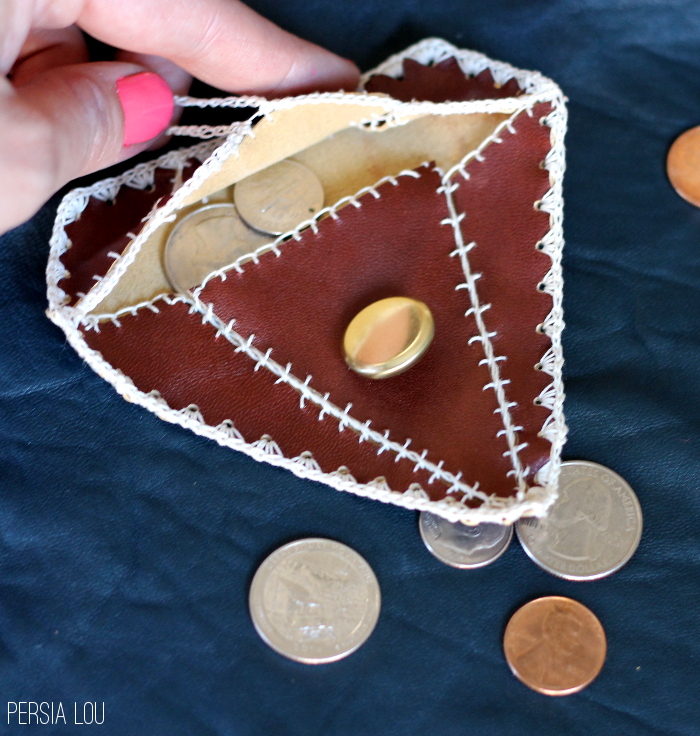
It’s a perfect little pouch for coins, lip balm, or any other small little treasures that need a special place to hang out.

Latest posts by Jodie and Jen (see all)
- Our Friday Five 9.30 - September 30, 2022
- Our Friday Five 12.3 - December 3, 2021
- Composition Book Christmas Planner - November 28, 2021
cuuuuute!!!
Omg! That's amazing! Serious skill!
Wow! Your creativity is really amazing!