
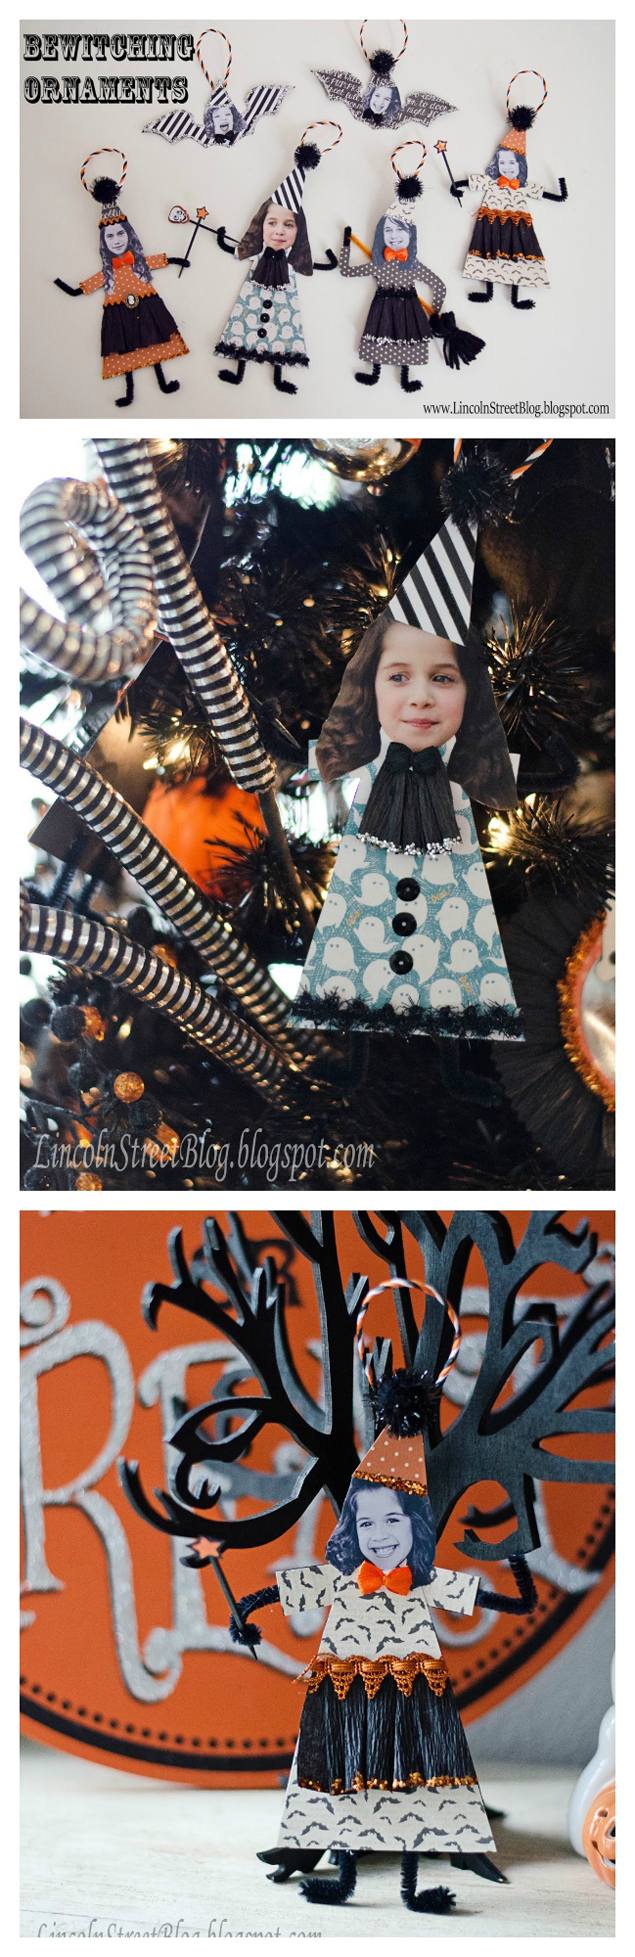
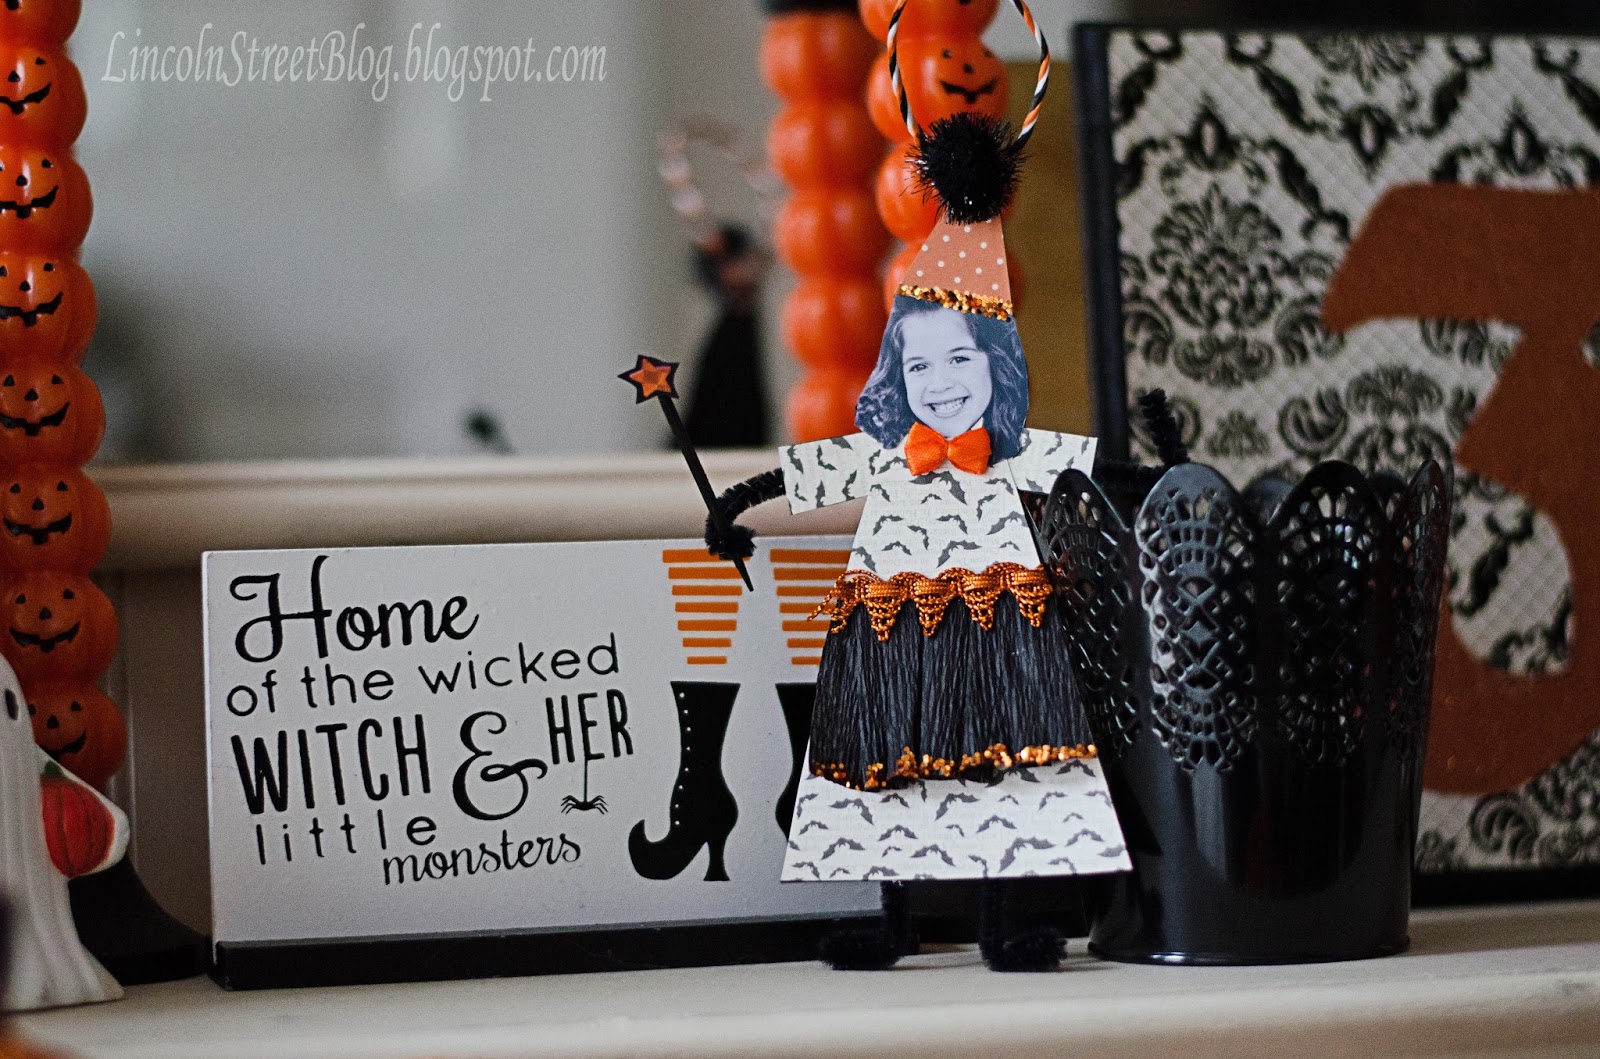
 Hey, Hey, Hey Eighteen25 readers!! Christina here with Lincoln Street Blog and I am as pumped up as ever to be a part of another SpoOoOoOoOoktacular September! This year I decided to take the plunge and purchase a black tree to set-up for Halloween. Which led to countless hours of questions like, “What should I put on it? Where will it go? Will my husband think I’ve officially gone off the deep end?”;) I knew I would definitely be buying store bought ornaments, but I love to incorporate a bit of homemade into everything I do and that is how these Bewitching Ornaments came to be! I actually made little rosettes last year of just my children’s faces donning witch hats and this year I had the idea to take it one step further and give them bodies…you know, so they can dance a little jig and hold wands and fun stuff like that! If you’re ready to get witchy with it—>let’s begin!
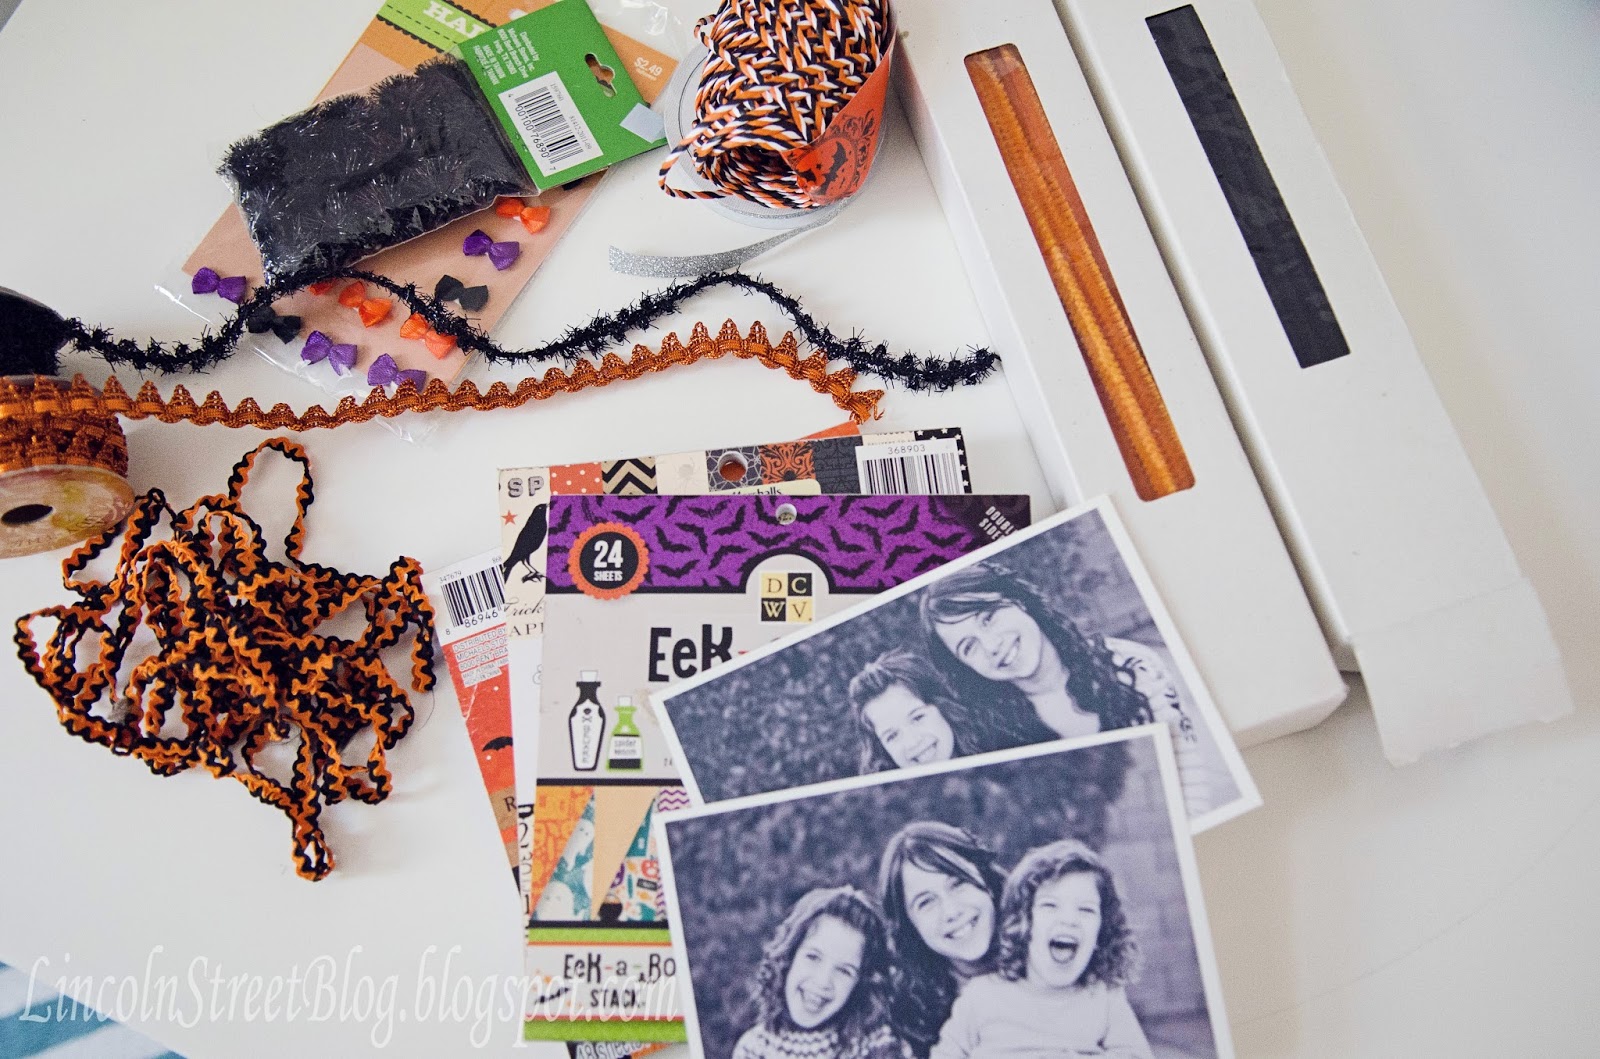
-Photos of your children, which you will be cutting the heads off of (more on that later)
-Paper in various patterns/colors
-Adhesives of choice (I used glue sticks and a glue gun)
-Chenille Stems
-Buttons, stickers, trims, sequins, glitter, crepe paper, yarn, twine or string
How-To
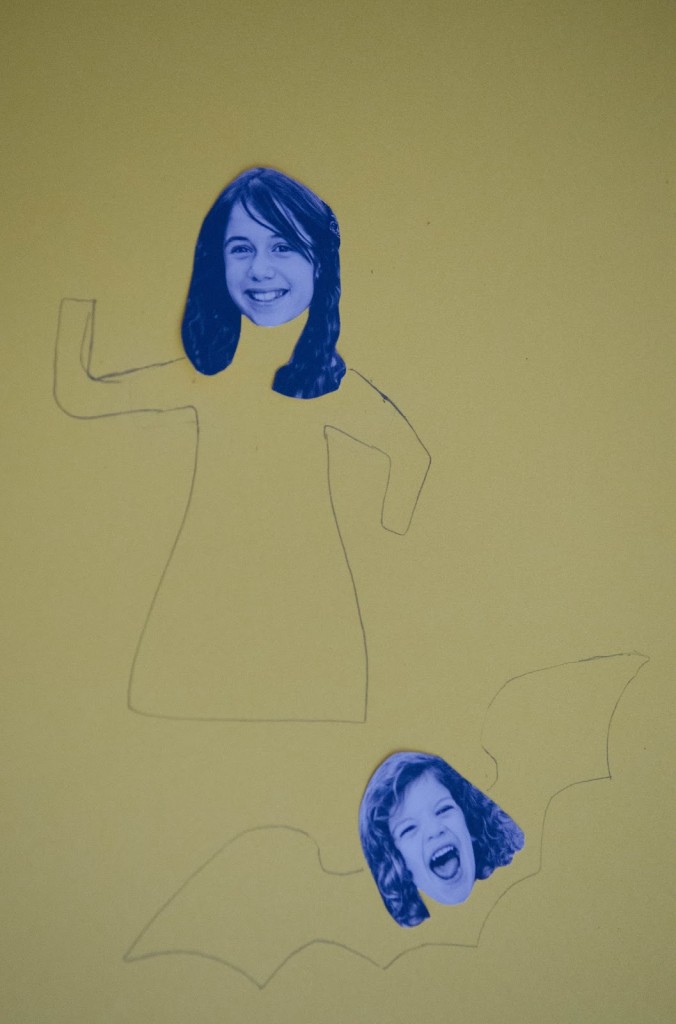
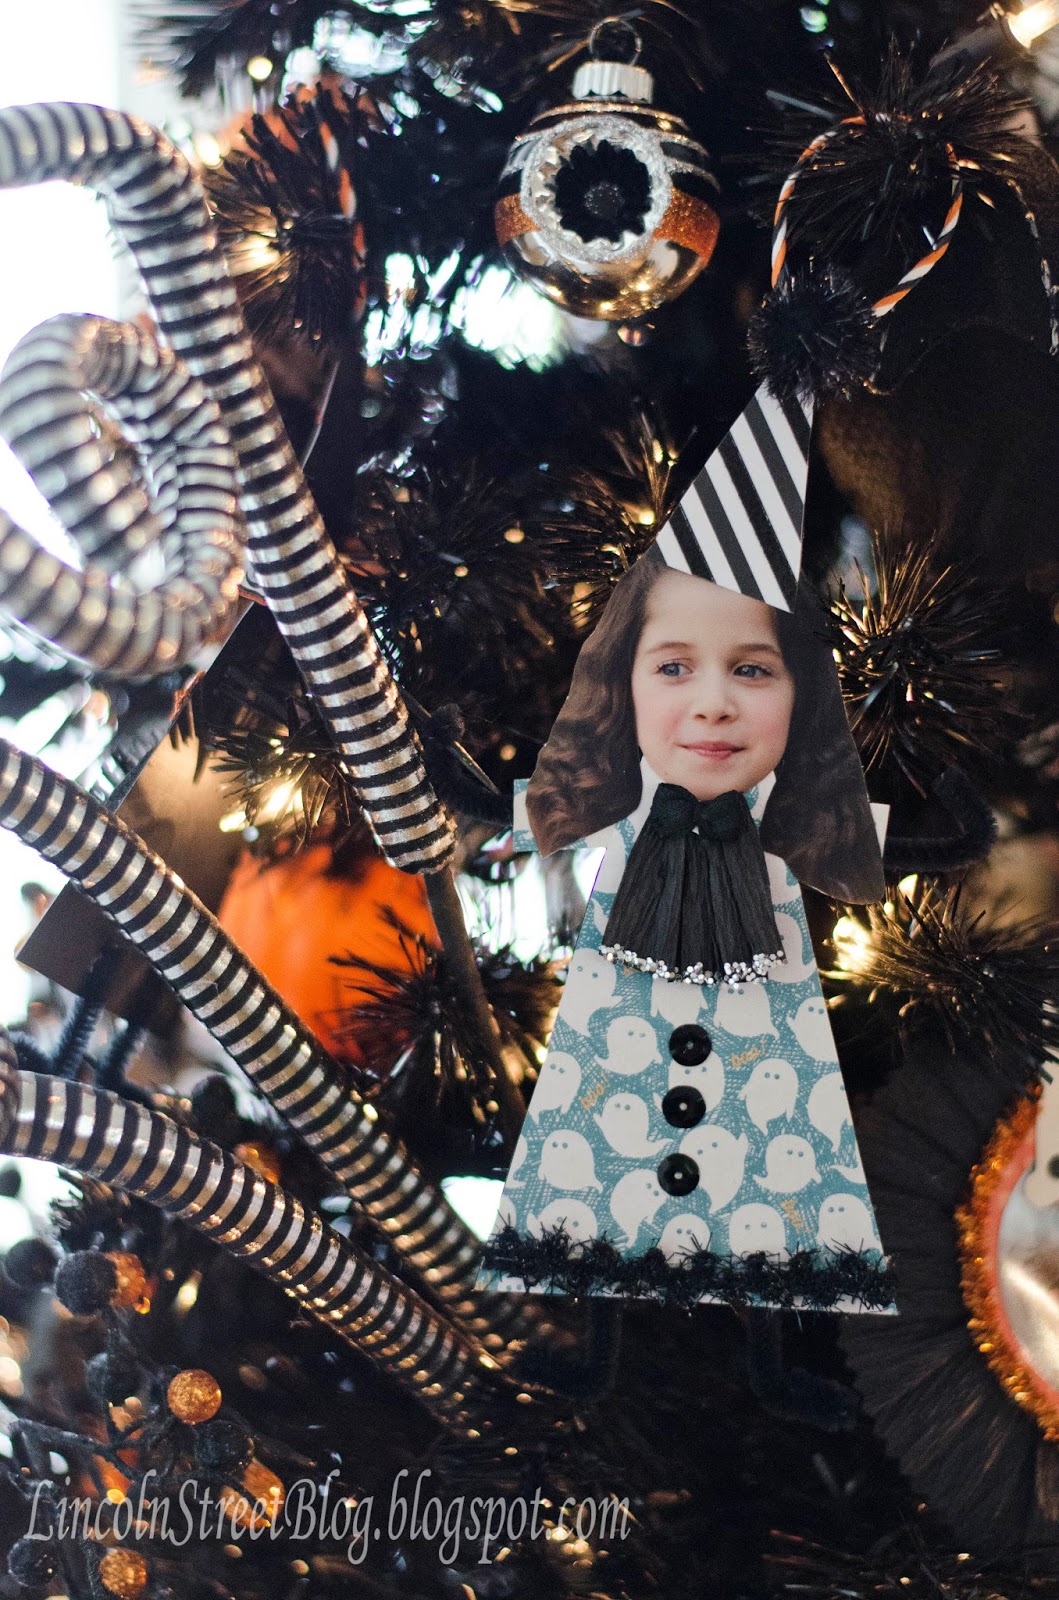
First, you need to find photos of your children to behead. This was my favorite part because I was able to use old photos I already had that were just collecting dust. If you don’t though you could just snap a few and print them from your home computer or local printing lab! Now—>the fun part!

Removing your sweet children’s heads!! I know–>I am a sick, sick woman. After you have done this you have a couple of options. 1. You could go ahead and just cut bodies out from your decorative paper or 2. you can place the heads on plain cardstock and draw outfits around them to create a template. I did both. As you can see in the picture below you don’t have to be an artist to make these ornaments work. Part of their charm is that they may turn out a bit wonky. Imperfection is awesome!
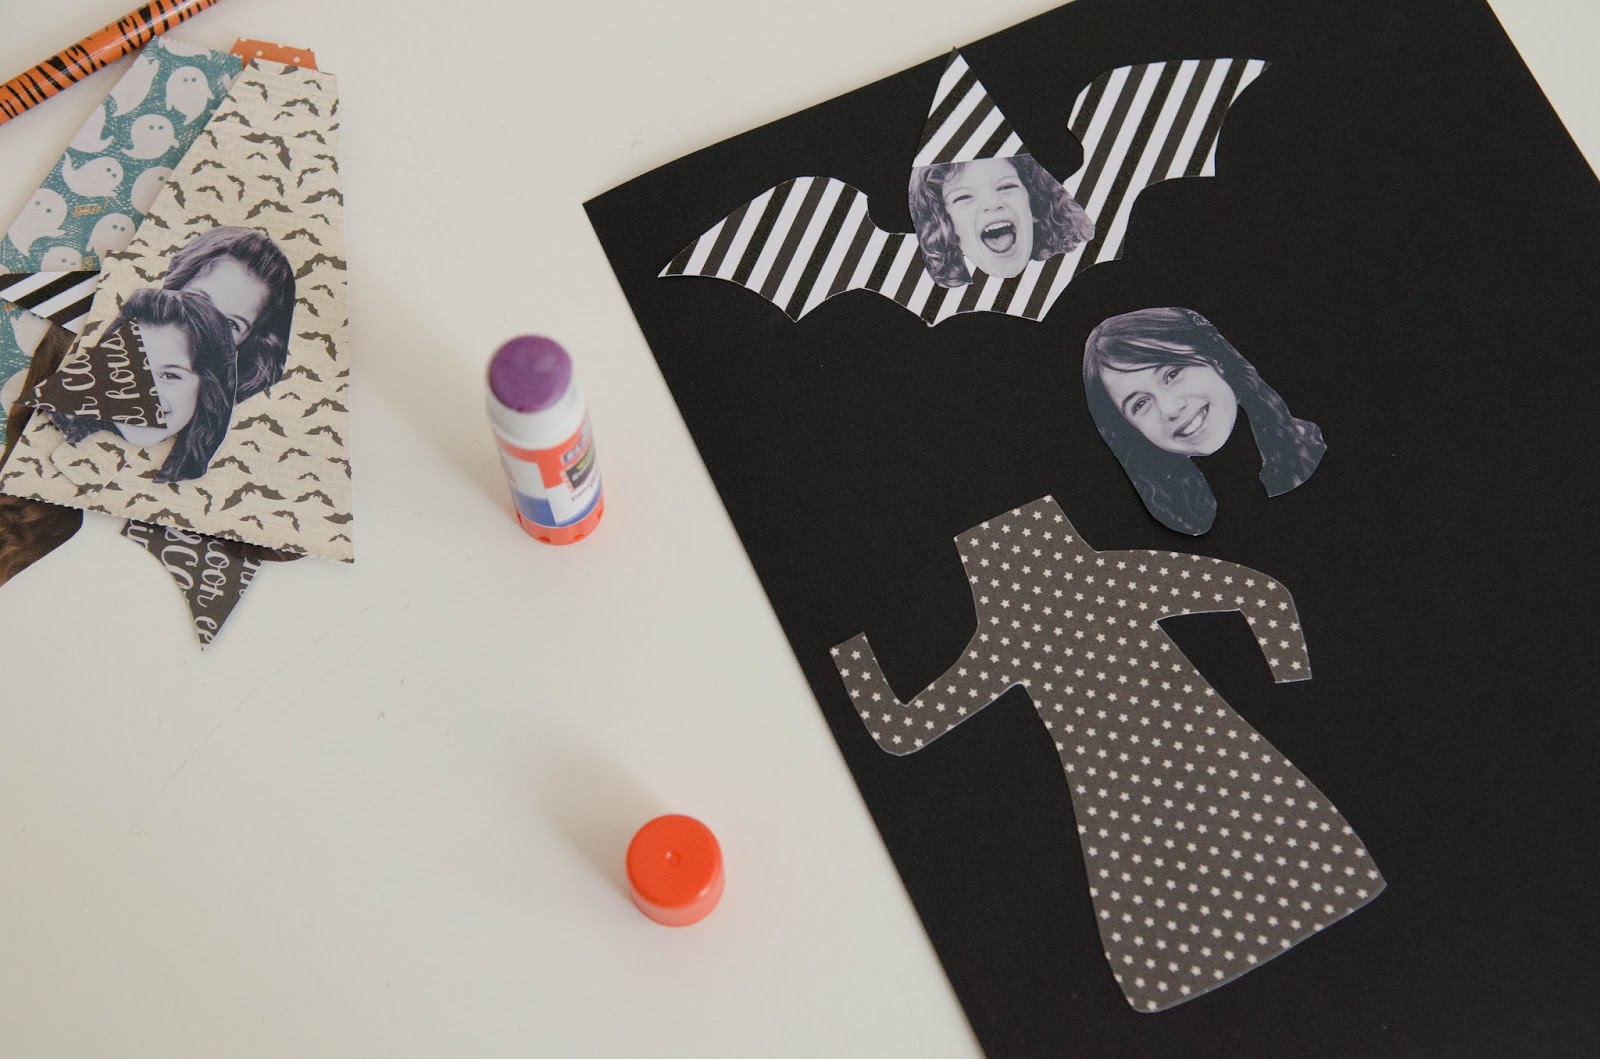
Once everything is glued down you may want to let them sit for about half an hour to make sure they are dry. You can then cut around the outside of each one and boom—>an ornament will be born. Now all that is left to do is create a hanger and attach arms, legs, and decorative touches!
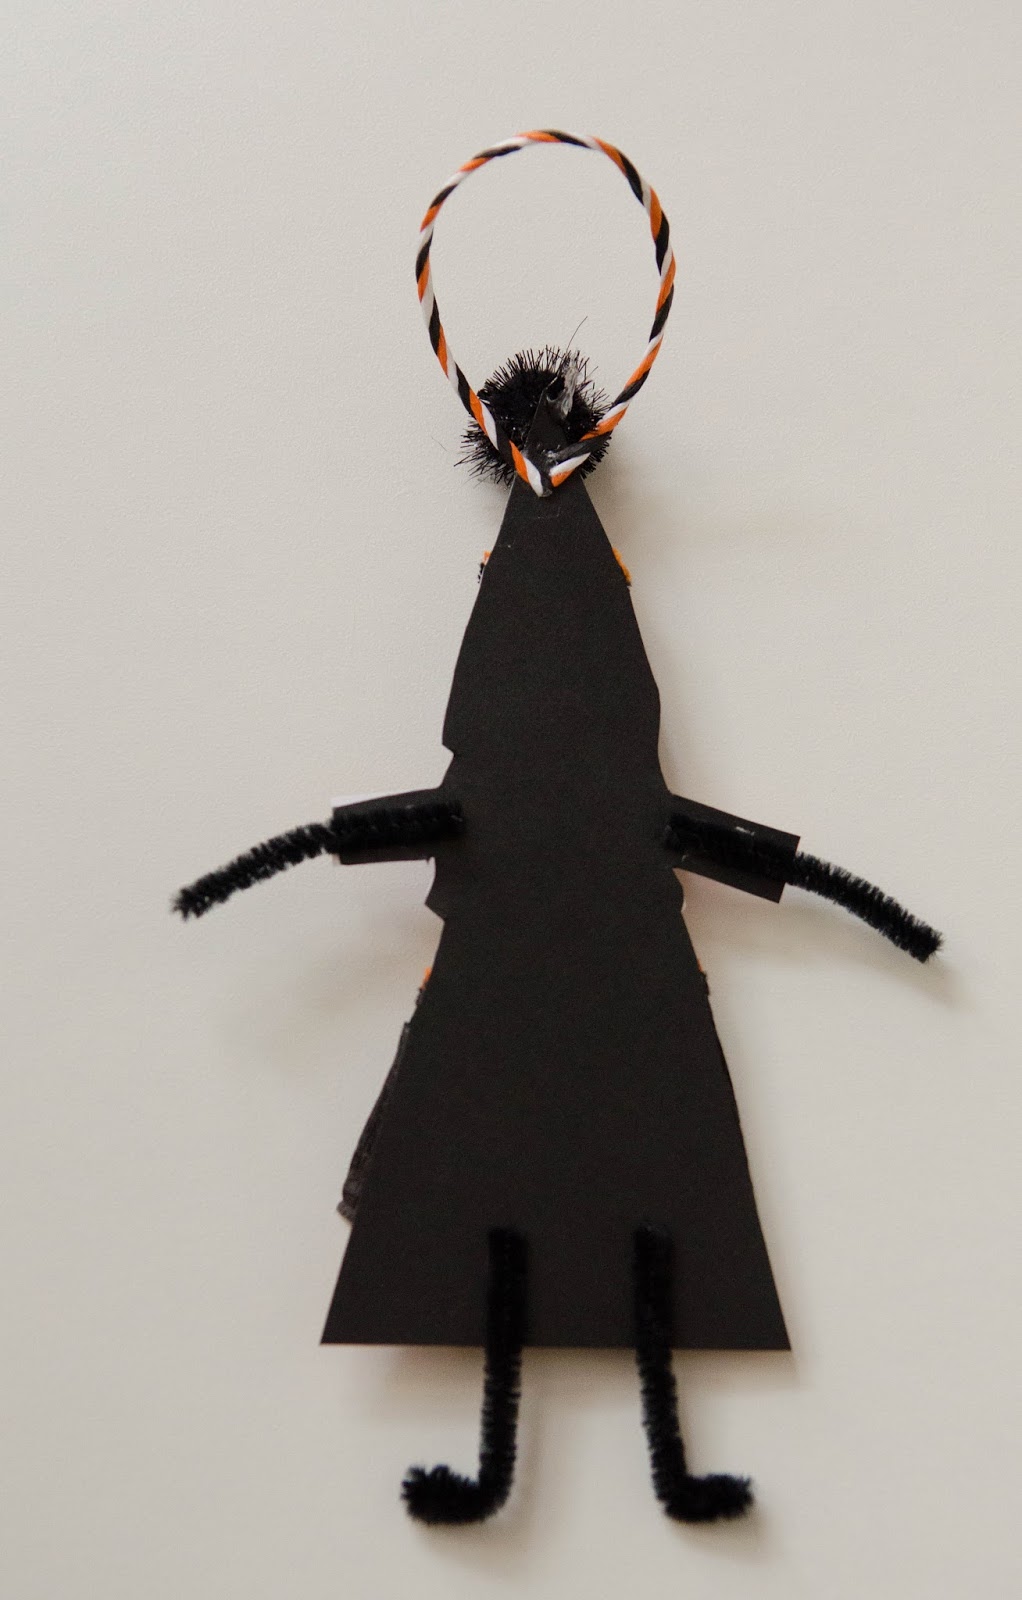
This is the backside of one of my witches so you can see I simply took twine and hot-glued it to the top for a hanger. I then cut chenille stems to create legs and arms, also attached with hot glue. I rolled the legs up twice (about a 1/4 inch) to give the appearance of shoes.

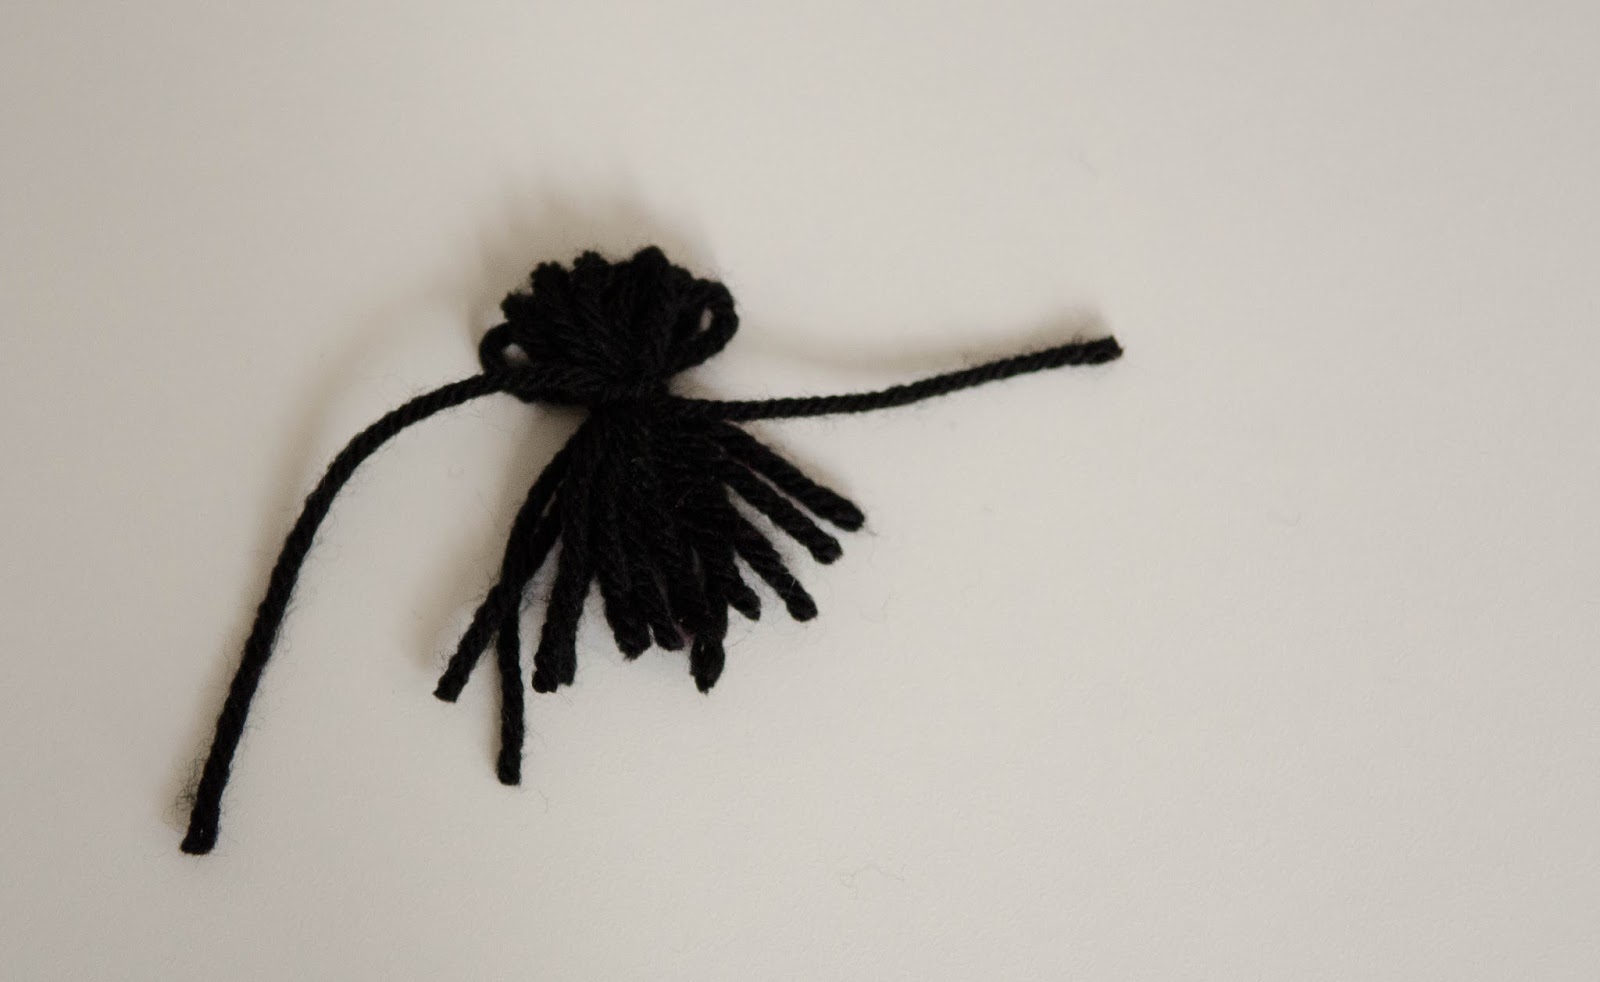
I wanted to add a broom to one so I simply cut an orange stem and bent the black chenille arms so that they could hold onto the broom. I cut six strands of yarn about five inches and then folded them in half. Using a separate piece of yarn I tied them off and created something that resembled the bottom of a broom. 🙂
Once the bases of the witches and bats are formed you really have creative freedom to add whatever you would like! I used toothpicks that I painted black to act as wands. I then attached little stars to the ends of the wands using my glue gun. I folded bits of crepe paper, accordion style, to attach as extra skirt pieces/aprons. I glued trims to hats and added little bow-tie stickers I found at Hobby Lobby last year. I did not have to run to the store for even one item. This is the perfect project for using up tiny bits of leftover trims and tidbits. The final thing I did was find the perfect spot to place each ornament on my tree!

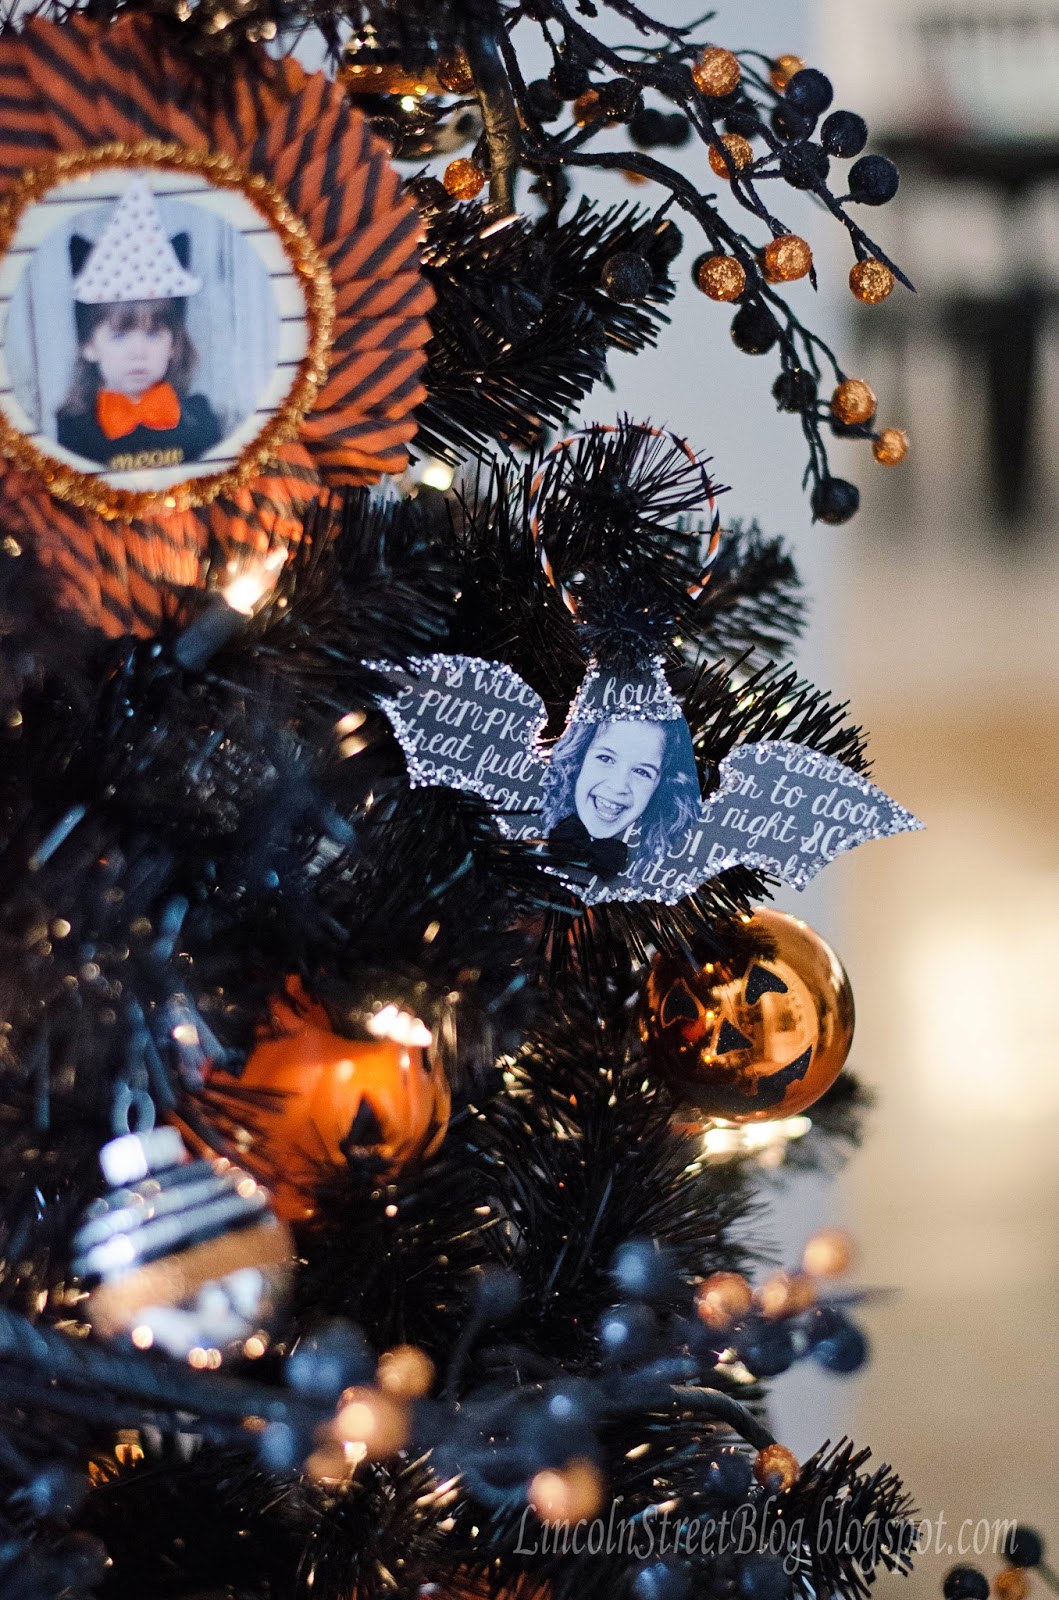
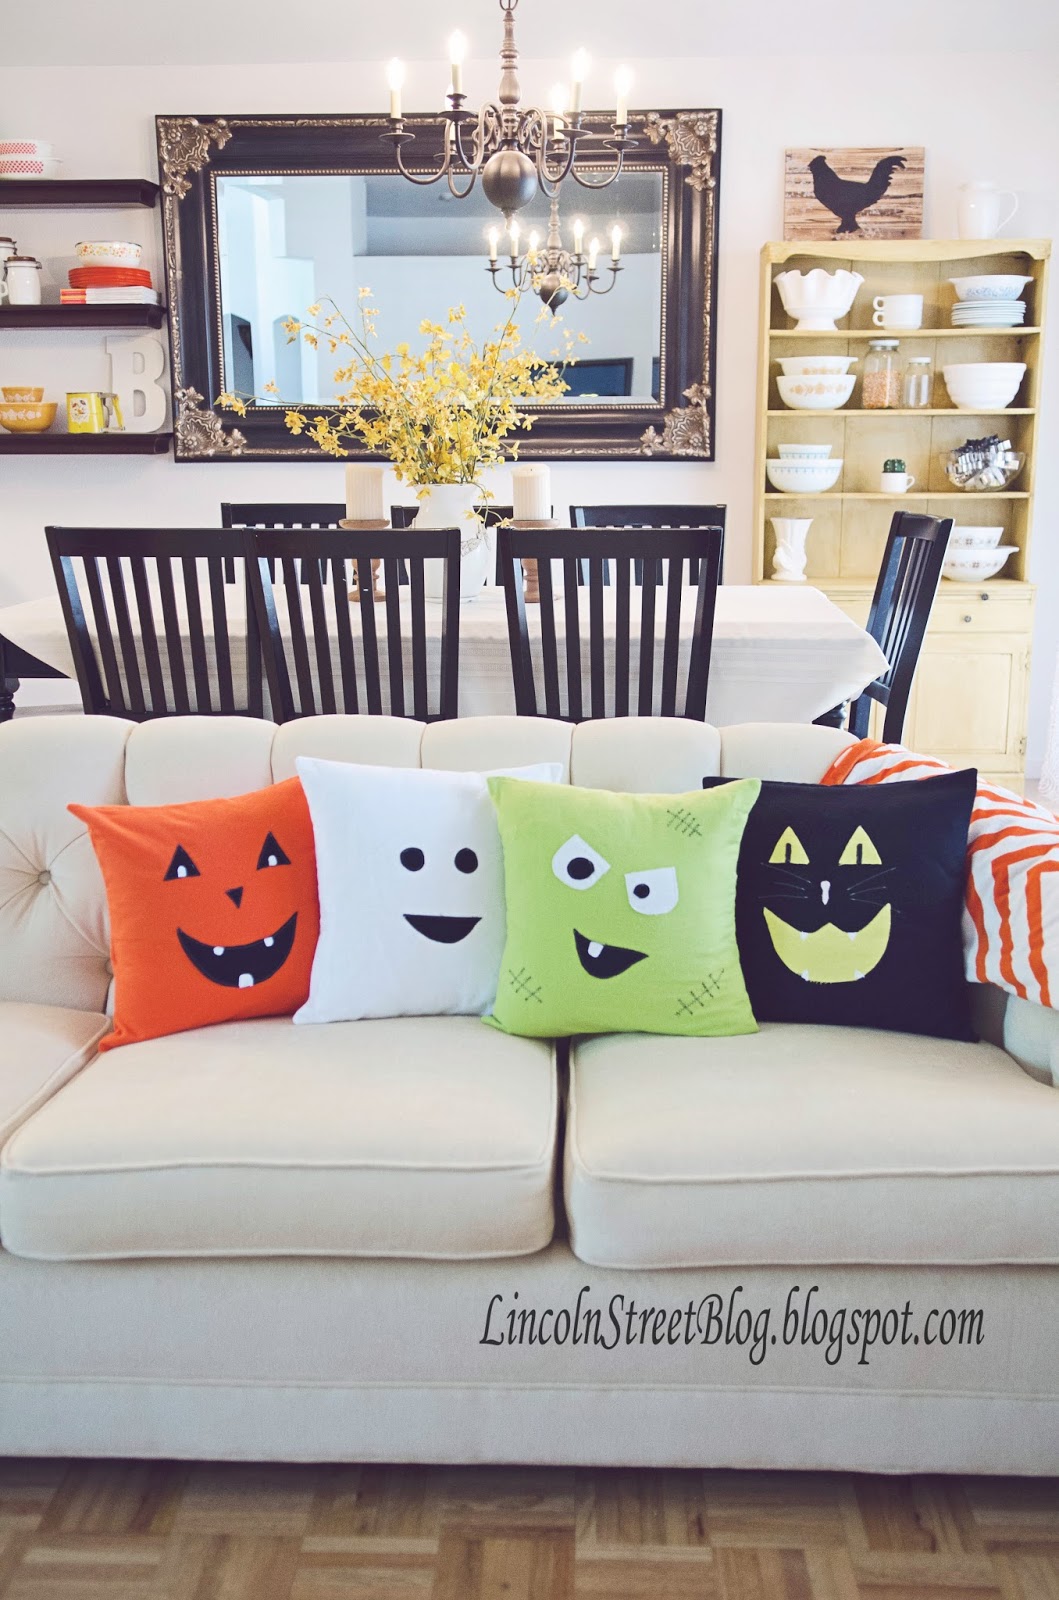
As I was decorating my tree I had the thought that perhaps….gasp….not everyone would have a Halloween tree! So, I thought I would show you how these still work around your home as a fun little way to cheer up a space, just ditch the hanger and let them stand on their own!


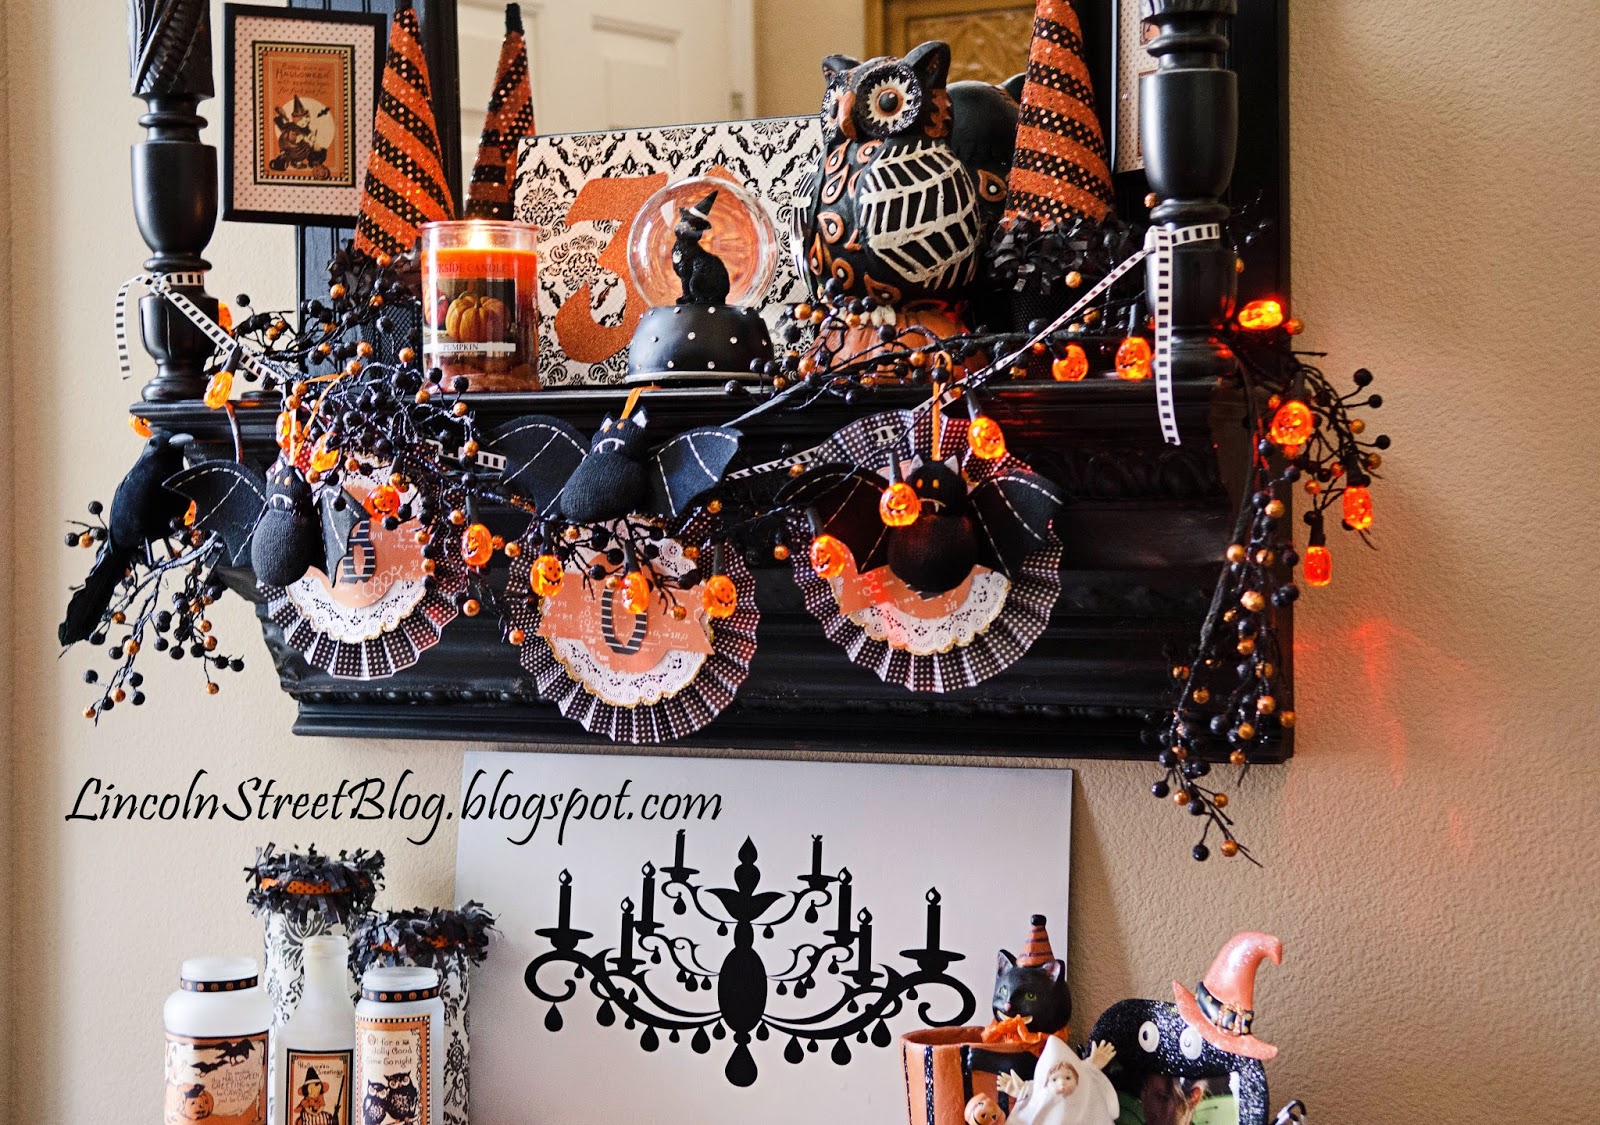
This would also be a great project to include your kids in, just be sure you are the one handling the glue gun! Thank you so much for having me here today Eighteen25 girls! It is always such a pleasure! Here are a few of the other projects I have shared throughout the years and you can also find on my blog.
 Visit Christina on her BLOG | INSTAGRAM | PINTEREST
Latest posts by Jodie and Jen (see all)
- Our Friday Five 9.30 - September 30, 2022
- Our Friday Five 12.3 - December 3, 2021
- Composition Book Christmas Planner - November 28, 2021
Very cute idea!
http://xoxobella.com