Happy October!! Thank you so much for coming to check out our little project! We are Kellie and Allison of Peabody&Sassafras and we like to call ourselves bloggers without a blog, so hopefully we won’t flounder too noticeably here with the real deal! Don’t tell anyone if we do, k?
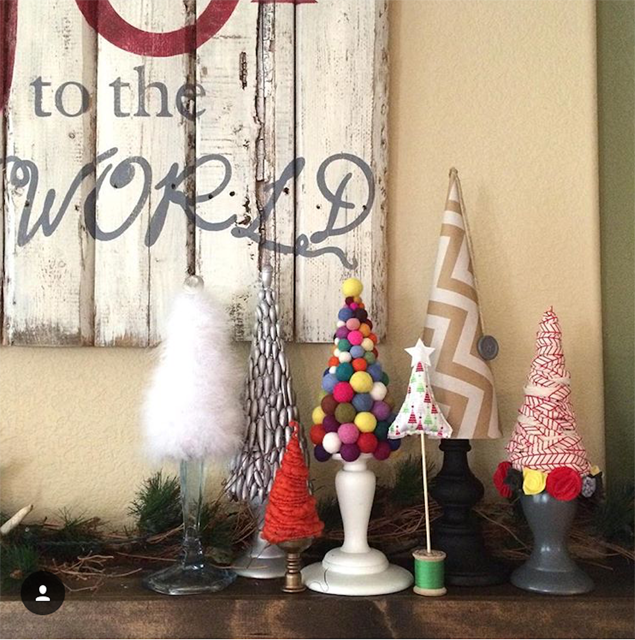
Not to throw you off too much, but let’s talk Christmas real quick. One of our favorite Christmas projects ever is the little collection of mismatched trees pictured below, all in different styles and textures.
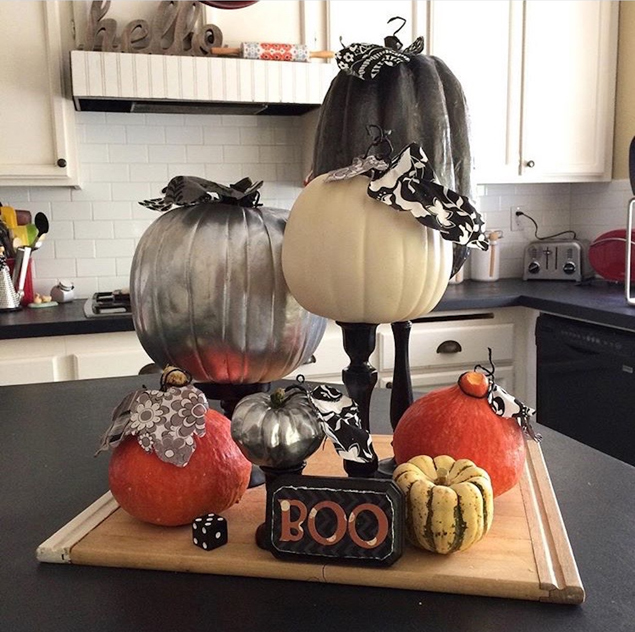
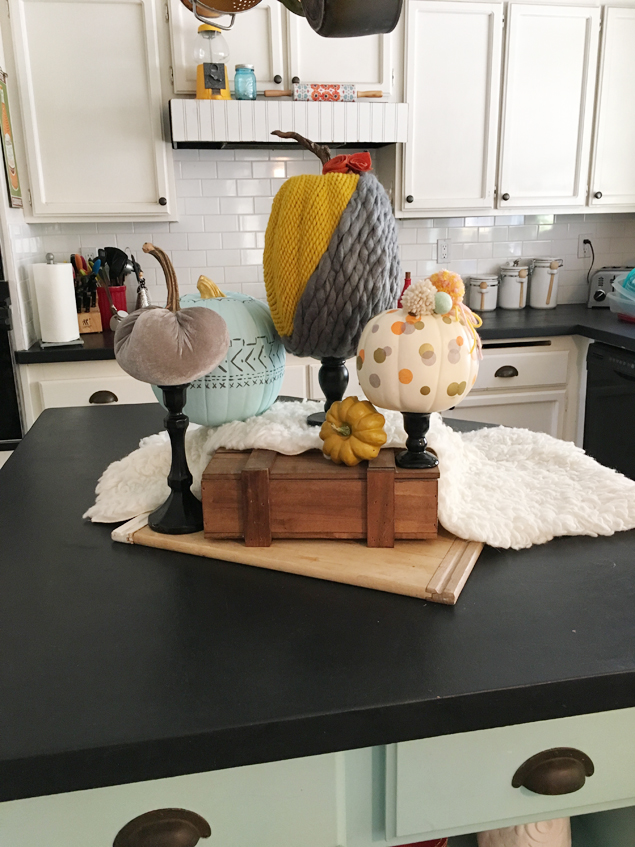
Maybe we’ll have to do a little tutorial on that another time, but for Halloween we really wanted to create something similar using pumpkins – mismatched, colorful, textured – and we’re pretty happy with hot it turned out! For the last three years or so my kitchen counter has had this arrangement on it, which I really enjoyed, but it was in need of a refresher. Cuz let’s be honest, if you’re anything like us, your house and your decor is constantly changing!
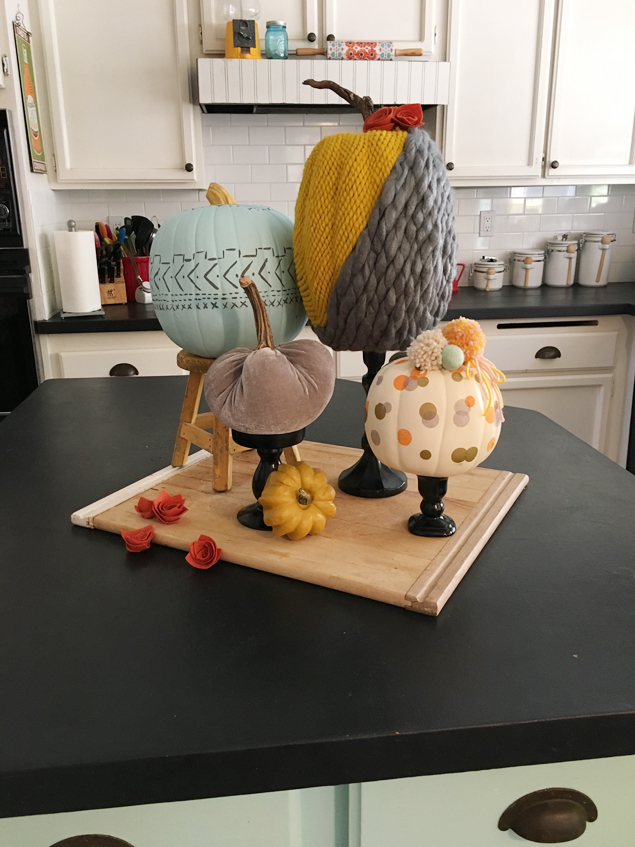
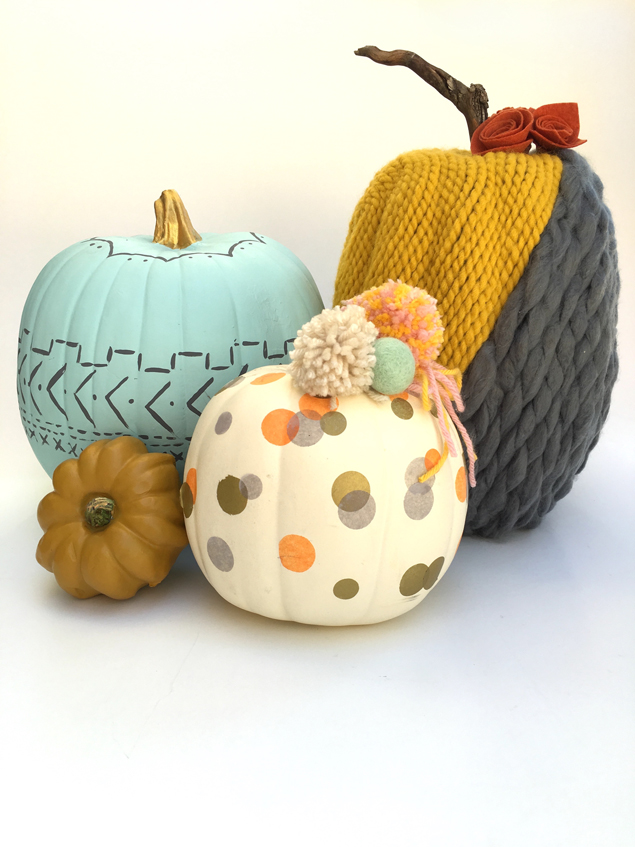
So starting with the four fake pumpkins, we did some reworking, and this is where we ended up!
So let’s get to the nitty gritty of the supplies you’ll need:
- a group of fake pumpkins
- paint in your color choices
- yarn
- felt for flowers
- a couple felt balls
- white glue
- scissors
- candlesticks (we scrounged up ours from thrift stores)
- black spray paint for the candlesticks
- a stick from your back yard for a stem
- tissue paper dots – we ordered ours from an Etsy shop called DKdelektables
- mod podge
- glue gun
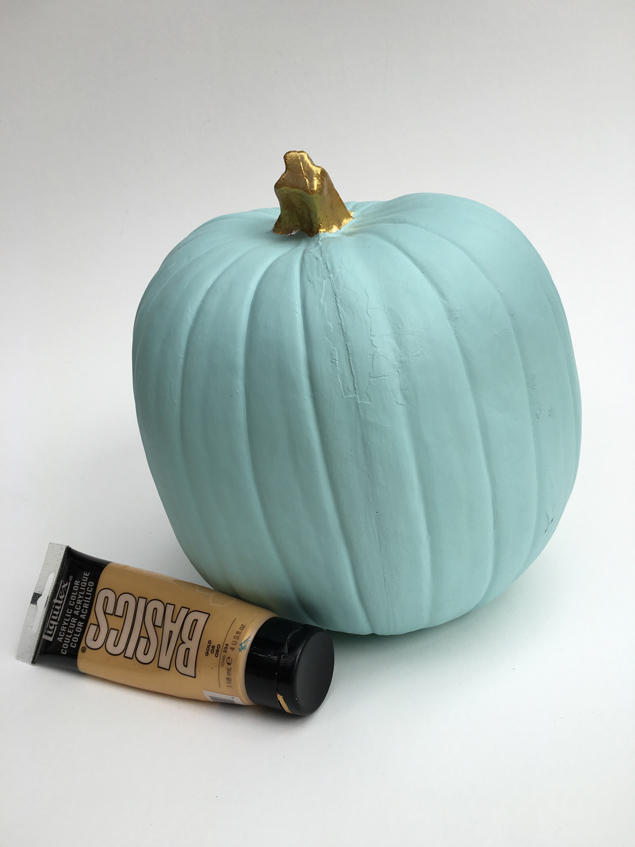
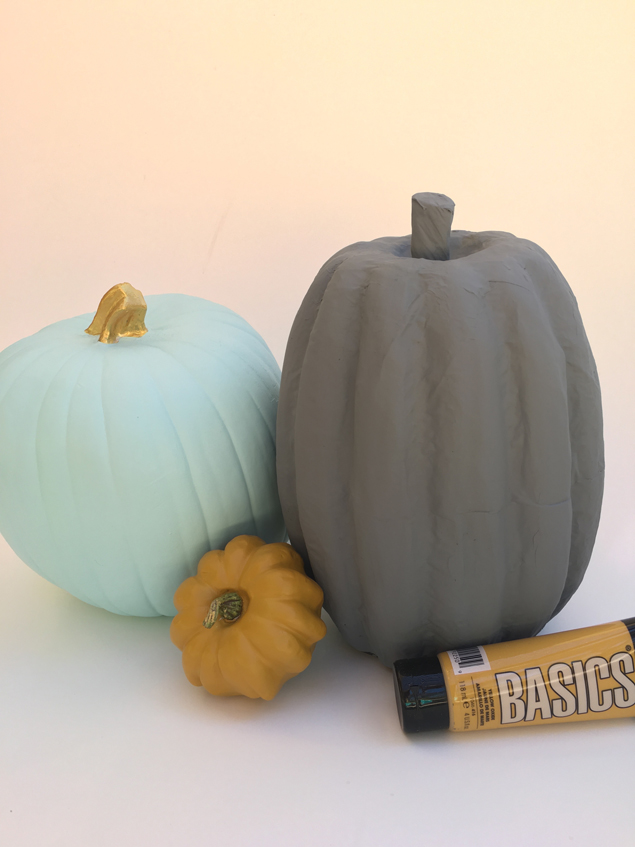
After gathering all of your supplies and spray painting your candlesticks, get to work painting your pumpkins their base color. I started with the large round one and painted it the same color as my kitchen island (Behr Wave Top). I then painted the stem a gold using the Liquitex Basics paint pictured.
Followed by grey for the tall pumpkin (that’s totally cuz at that point we didn’t have a plan for this one!) and mustard yellow for the mini. Getting us to this point…
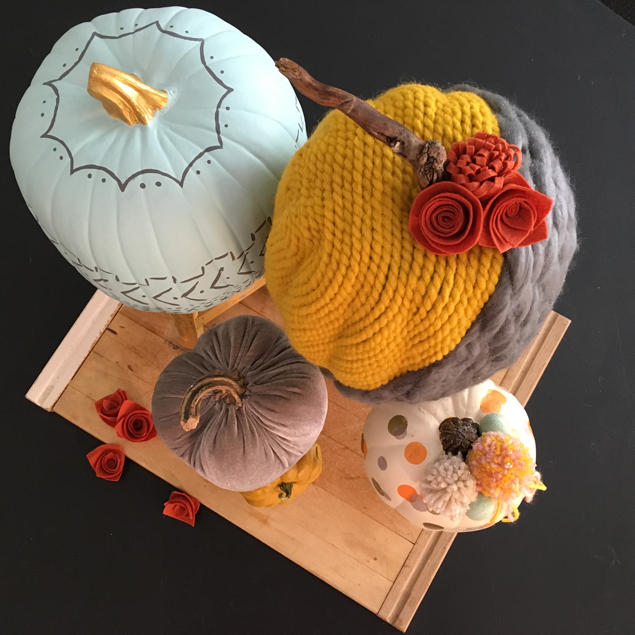
Then the fun started! We free-handed a pattern in pencil on the aqua pumpkin and painted the lines dark grey, not worrying about being perfect with it. Try to be too perfect and it’ll look like you jacked up while trying to make it really perfect!! (:
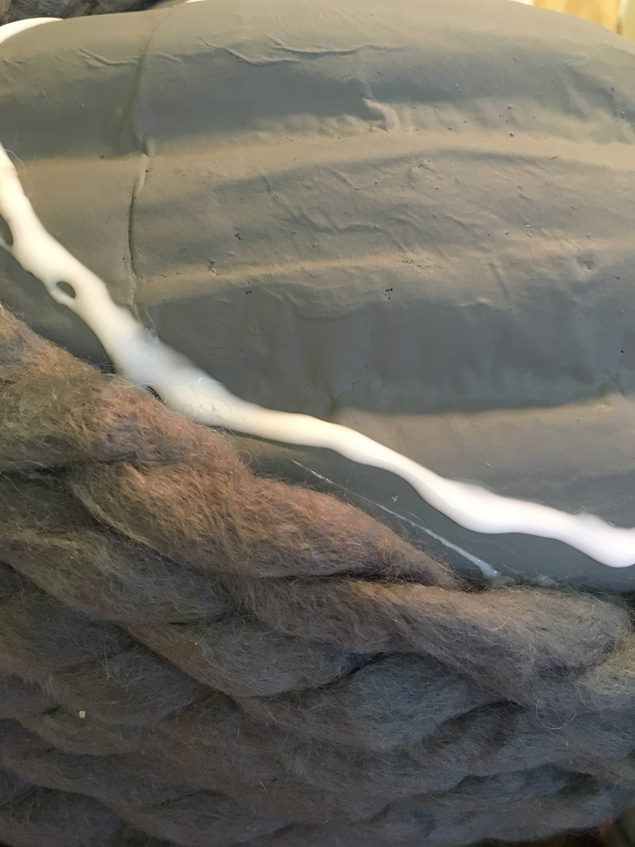
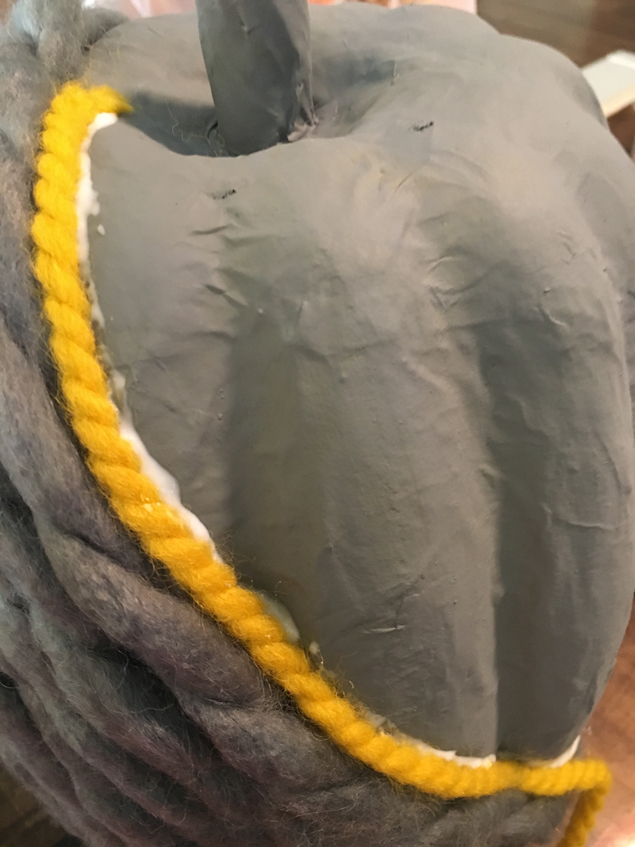
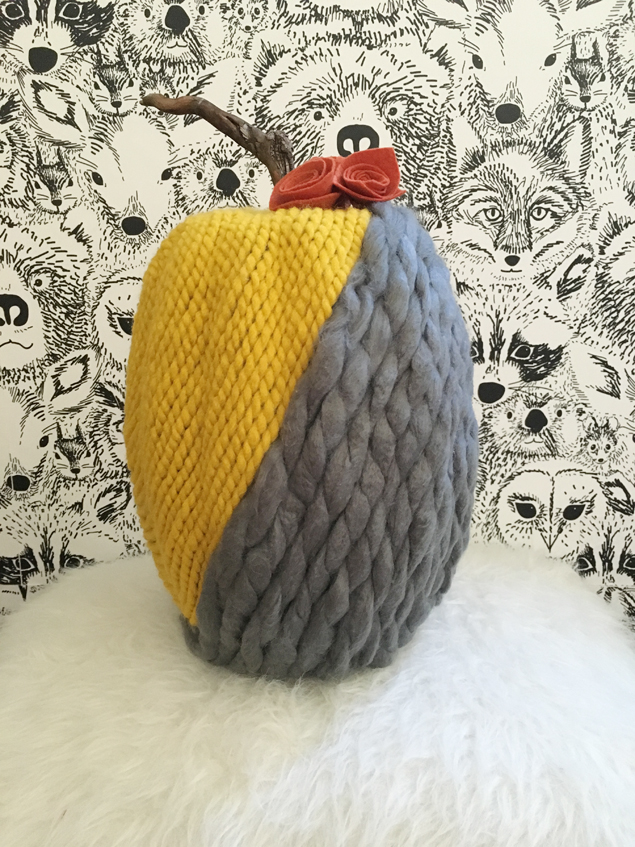
Now for the big daddy! We really wanted a modern take on a yarn wrapped pumpkin, so we went with a two color version on an angle. Cut around the stem to remove it before starting the yarn (so you don’t struggle like we did!) Starting with the grey, we wrapped from the middle down, laying down beads of good ol’ Elmers glue and pressing the yarn into it as we went. (warning! ugly picture ahead!)
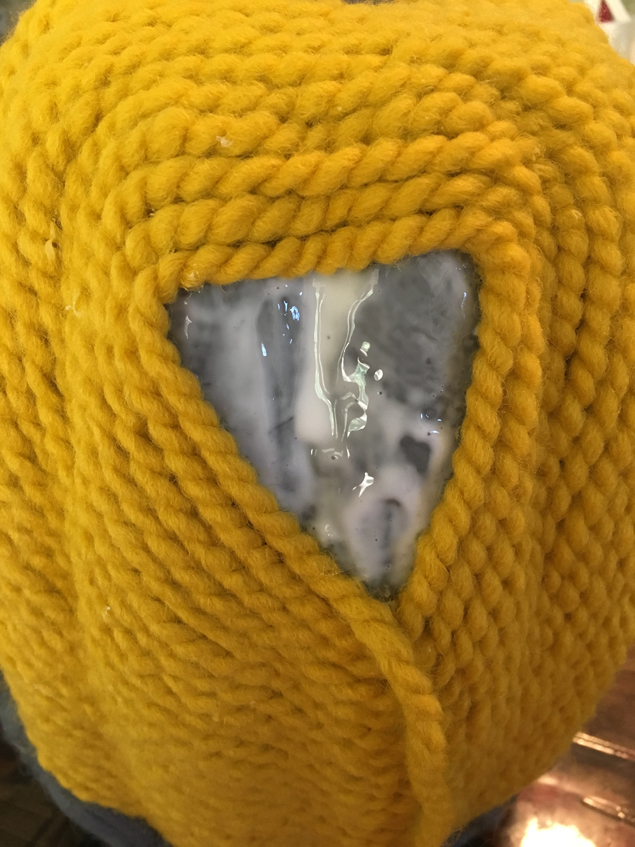
Probably would be a good idea to allow that to dry well, which we didn’t (hee hee), and then begin the yellow from the middle, working your way up.
We finished it off by gluing the stick from our yard in the hole and adding a few felt flowers we made. Need a tutorial? Check this link.
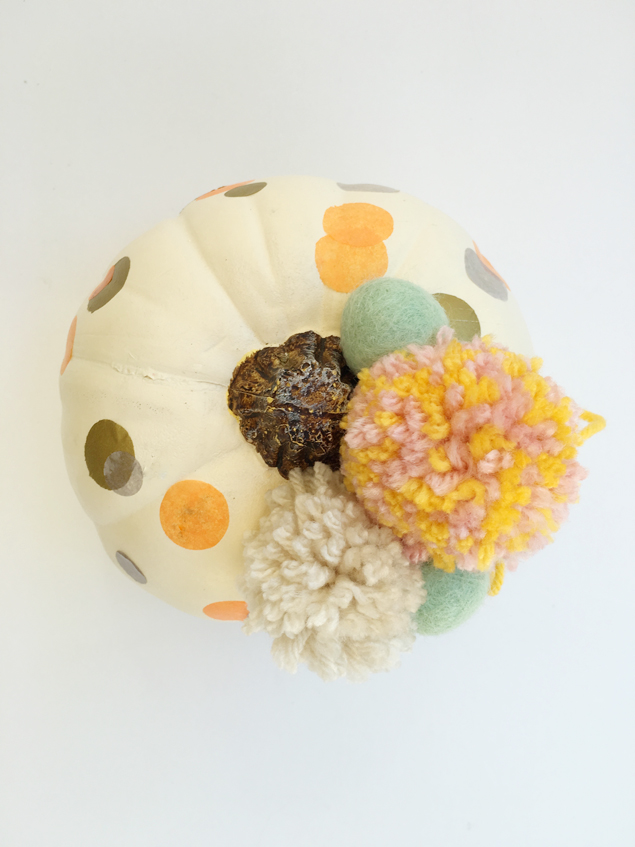
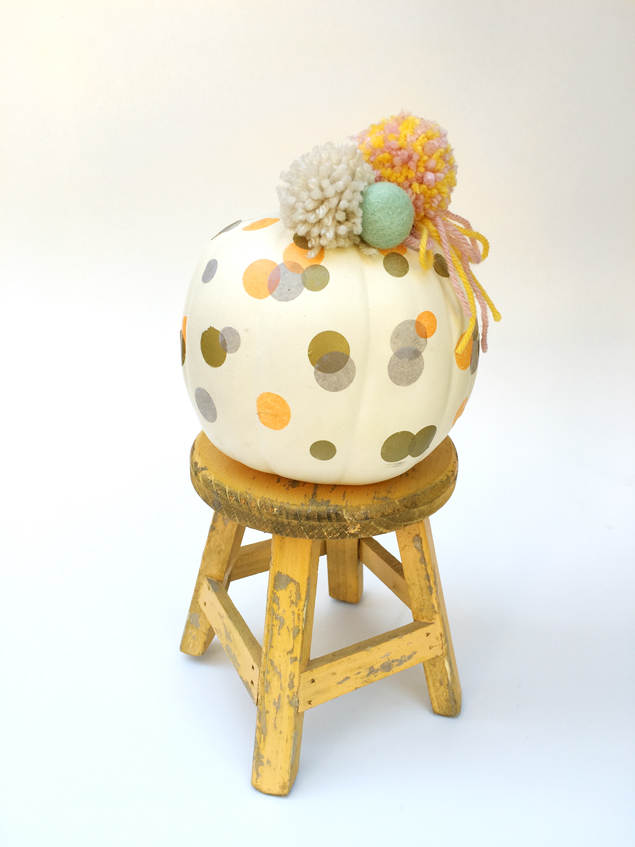
Last, but not least, we did that cute little polka dot one. We may be a little obsessed with it! All we did was Mod Podge a sprinkling of tissue paper dots on an already white pumpkin, attach two pom poms that were a gift we had received from the lovely Amanda Rydell, and glued on a couple sea foam felt balls to tie the whole grouping together. Need a pompom tutorial? Check here. Isn’t she cute?
Group them all together and you’ve got a pretty cute arrangement if we do say so ourselves!!
Thanks so much for checking out our little attempt at the blogging world! We love trying new things and sharing our successes with you. We might not have a blog, but you can still follow along with us on Instagram @peabodyandsassafras! We also own the largest handmade market in San Diego, @queenbeemarket, so if you’re in the SoCal area, make sure to follow us there too!
Follow along with Kellie and Allison on Instagram: Peabody&Sassafras | The Queen Bee Market
Here are a few more great Halloween projects you can find on Eighteen25:


I’m in love with that yarn pumpkin! Thanks for the fresh ideas!!