Hello. Laura here from Left on Peninsula Road. I’m thrilled to be here for Spooktacular September this year. What an awesome collection of Halloween DIY project ideas all in one place!
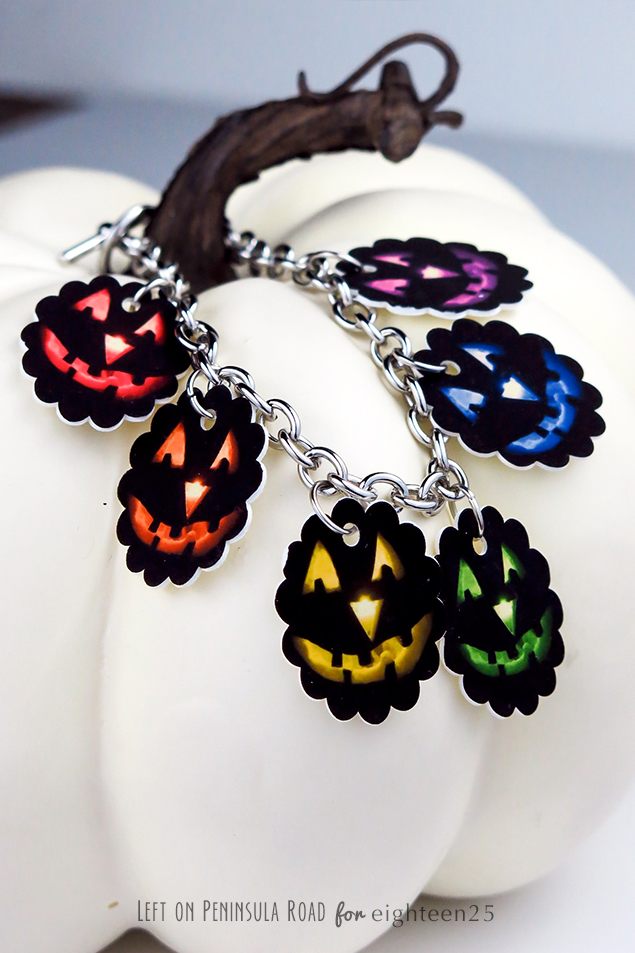
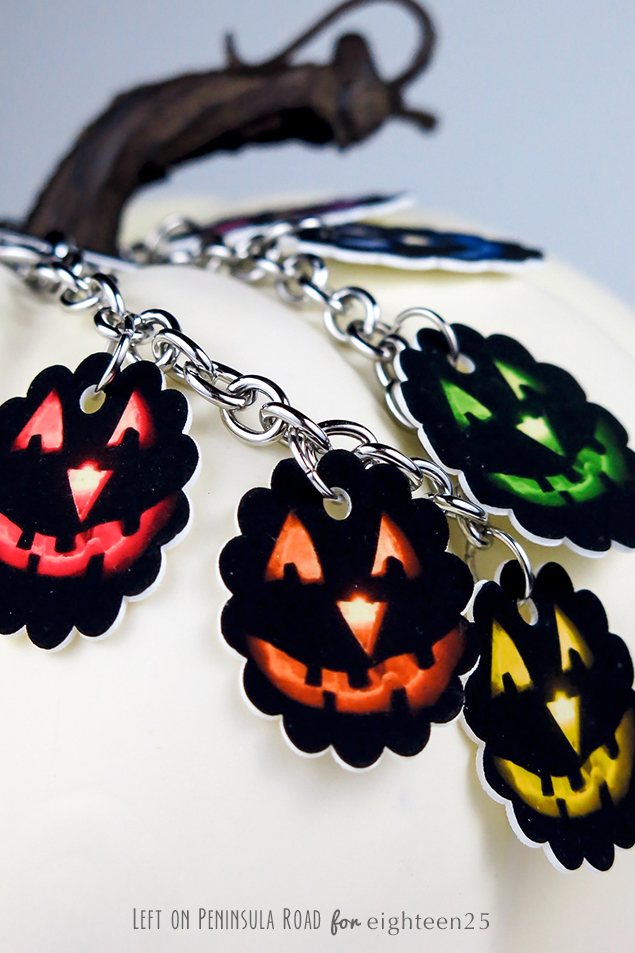
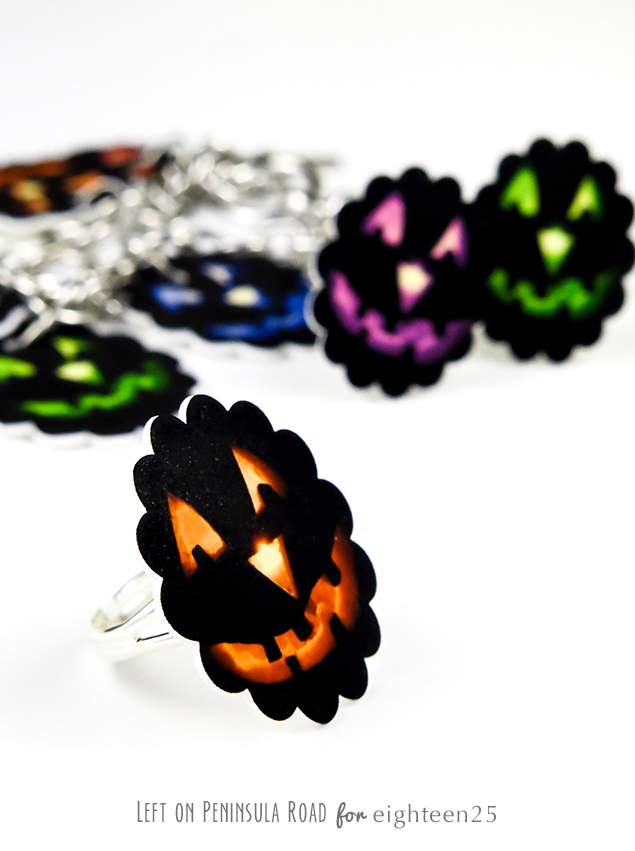
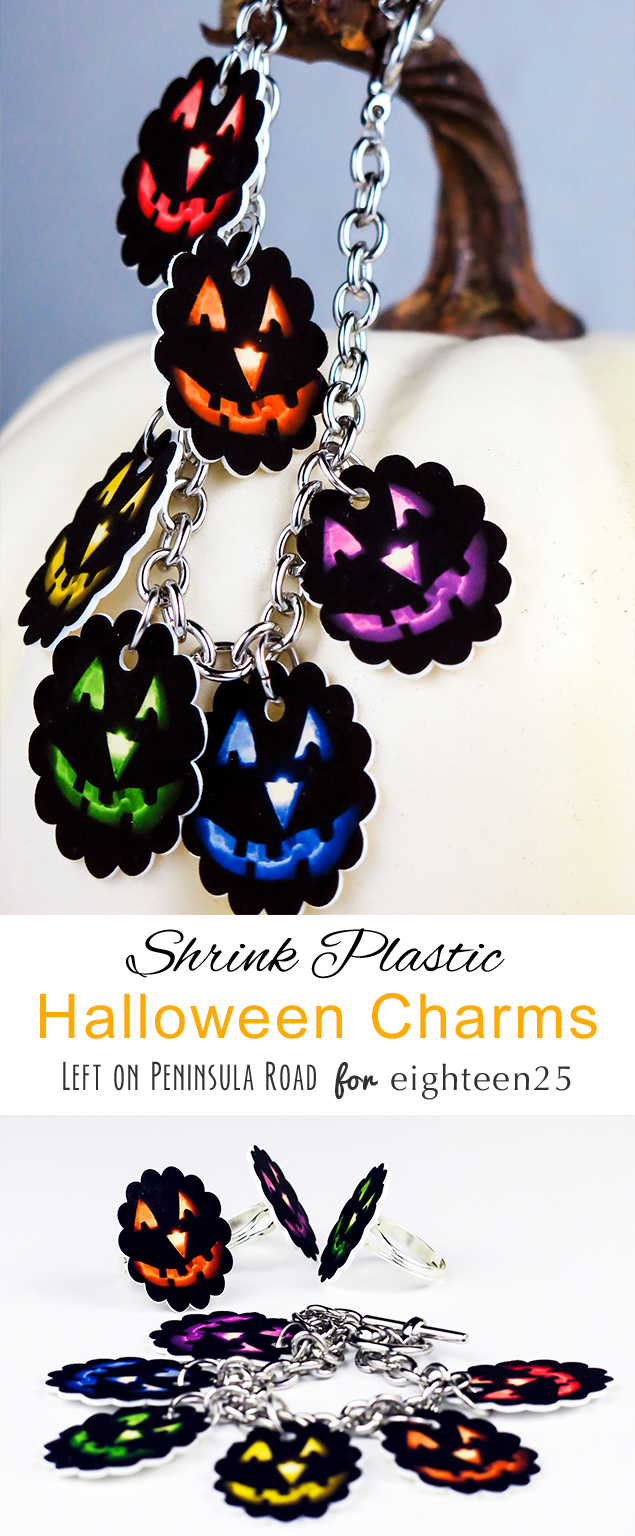
Today I’m sharing a charming little Halloween DIY craft using a free printable shrink plastic and some smiling jack o’ lantern photos. When you see how easy it is to make this Halloween charm bracelet and matching rings, you’ll want to make several 🙂
Ever since I saw these Wildflower Rings by A Kailo Chic Life, I’ve been looking for a project to try using holiday printable shrink plastic (Shrinky-Dinks). What better excuse than Spooktacular September?
Quite a few years ago I took this photo of a glowing jack o’ lantern and used Photoshop Elements to take a little creative license with the colors. I ended up with a fun set of smiling jack o’ lantern photos that come in handy this time of year. (I must admit this isn’t the first time I’ve made use of these favorite images and it’s not likely to be the last either.)
Supplies Needed for Halloween Shrink Plastic Jewelry
- Printable Shrink Plastic (I used Shrinky-Dinks brand for the items pictured.)
- Simple Chain Bracelet
- 6 jump rings (9mm)
- Ring Blanks
- E-6000 jewelry glue
- Inkjet printer
- Scissors
- 1/4” hole punch
- Circle Punches (I used a 2 1/4″ scalloped circle)
- Jack o’ Lantern printable pattern (click to download)
How to Make Shrink Plastic Charms
Start by printing the Jack o’ Lantern images on the shrink plastic. Follow package instructions for print settings. (Note: Some instructions recommend reducing the saturation. I reduced the saturation before creating the pdf available above.)
To make the charms for the bracelet, cut or punch out six of the circles. Use a 1/4 inch punch to make a hole in the top of each one.
Bake each charm according to package directions. My instructions said to line the baking sheet with a piece of paper or baking parchment to prevent sticking.
I found that the small size of the charms made them prone to rolling up and sticking to themselves. After a little (or maybe a lot) of trial and error, I discovered that covering the charms with 1-2 pieces of paper or baking parchment kept the charms from rolling too much and sticking. Do not leave unattended while baking.
A flat cookie spatula came in handy for flattening any charms that were still curved at the end of their baking time.
Use a similar process for making the rings but do not punch holes in them. (If a smaller charm is desired, either trim a little from the outside of the circle or print a second page at less than 100 percent.


What a fun project!