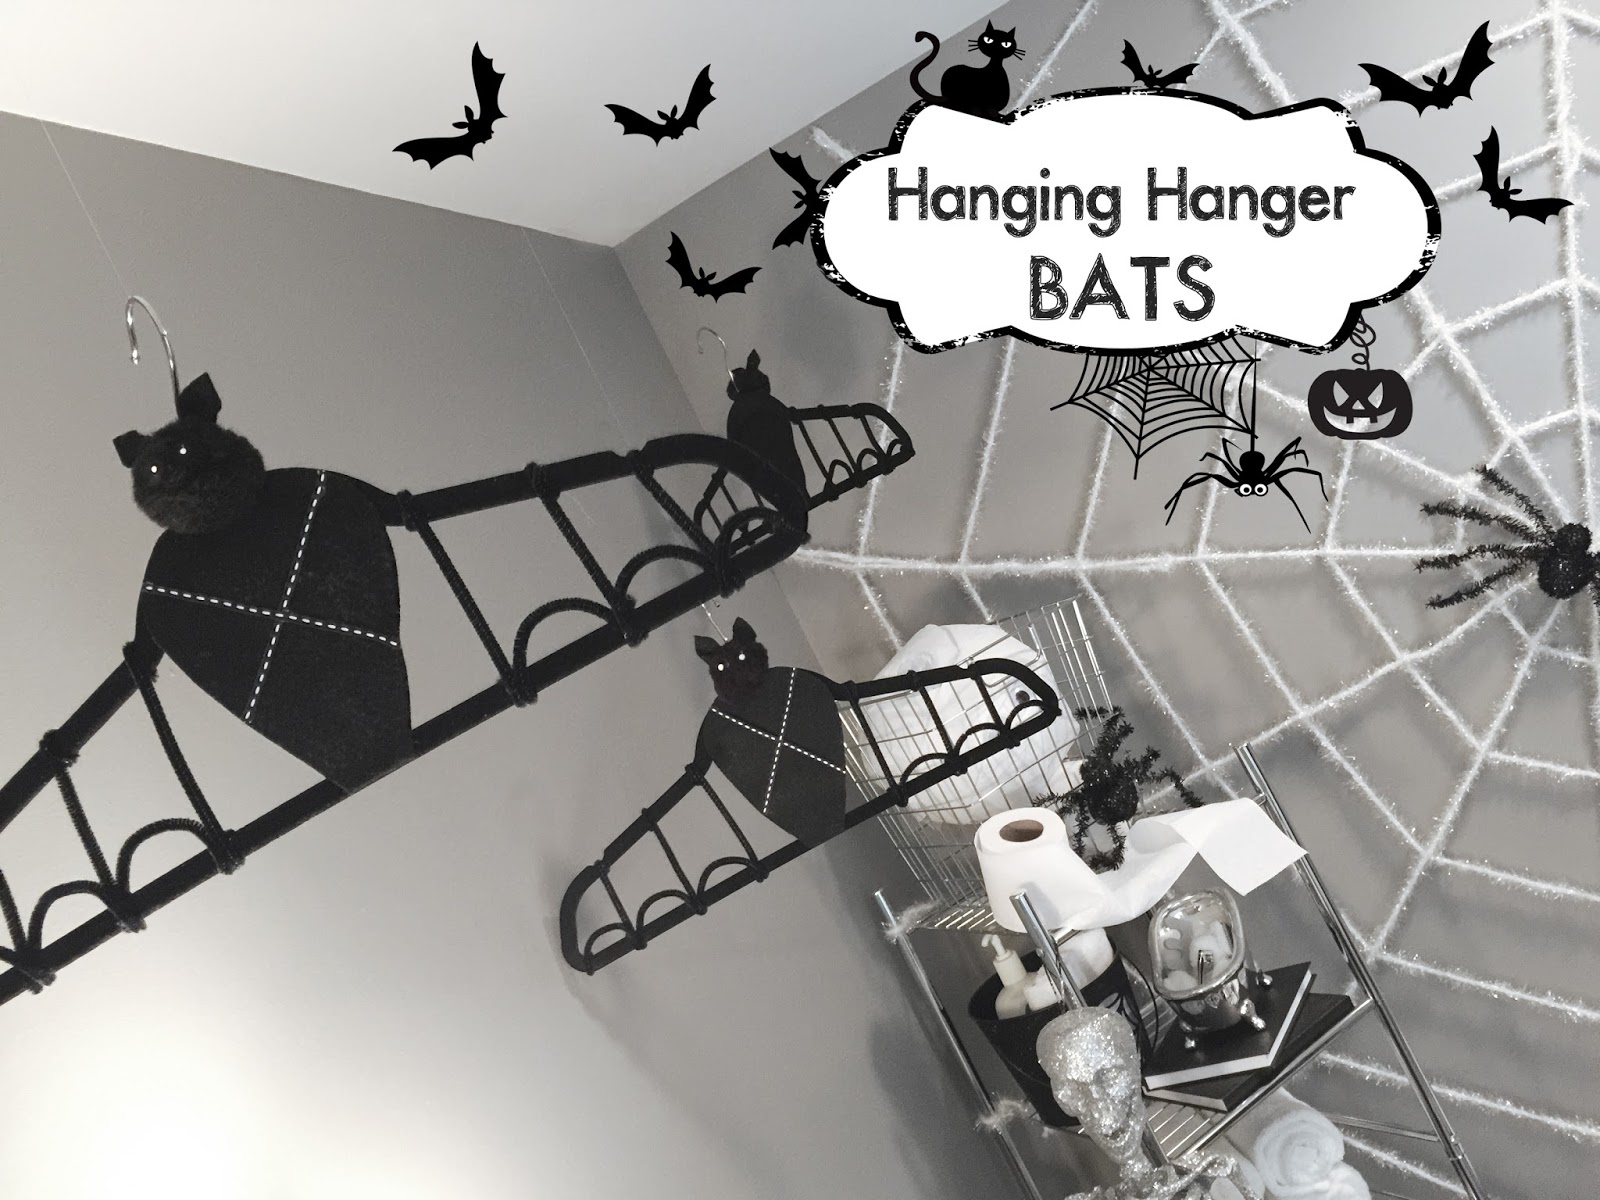
Hello! I’m Renee from the Creative Orchard. So excited to be a guest participant for Eighteen25’s SPOOKTACULAR SEPTEMBER event!!! Today I will be sharing a simple DIY Tutorial for “Hanging Hanger BATS“. The idea originally came to me while shopping for HALLOWEEN decor at HomeGoods. I spotted a really cool extra large black velvet BAT but unfortunately there was only one left and it was a bit pricey. So I passed it up and started looking through the clearance section and found a stack of 12 black velvet HANGERS for super cheap. Hmmm… I started wonder if I could manipulate the HANGERS to look like BATS with just a few CRAFT supplies? I decided to take on the crafty challenge and purchase the HANGERS. Then I made a quick stop at Michaels for additional craft supplies such as black pipe cleaners, felt and large pom poms. Below you can learn how to make your own “Hanging Hanger BATS“…
.
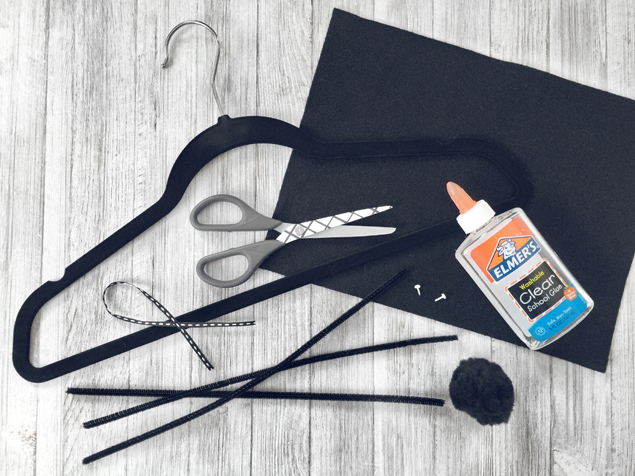
DIY Supplies:
• 1 Black Velvet Hanger
• 1 Sheet Black Felt
• 1 Piece Thin Ribbon (*optional)
• Scissors
• Glue or Hot Glue
• 5 Black Pipe Cleaners
• 1 Xlarge Black Pom Pom
• 2 Tiny White Metal Brads (or tiny goggly eyes)
.
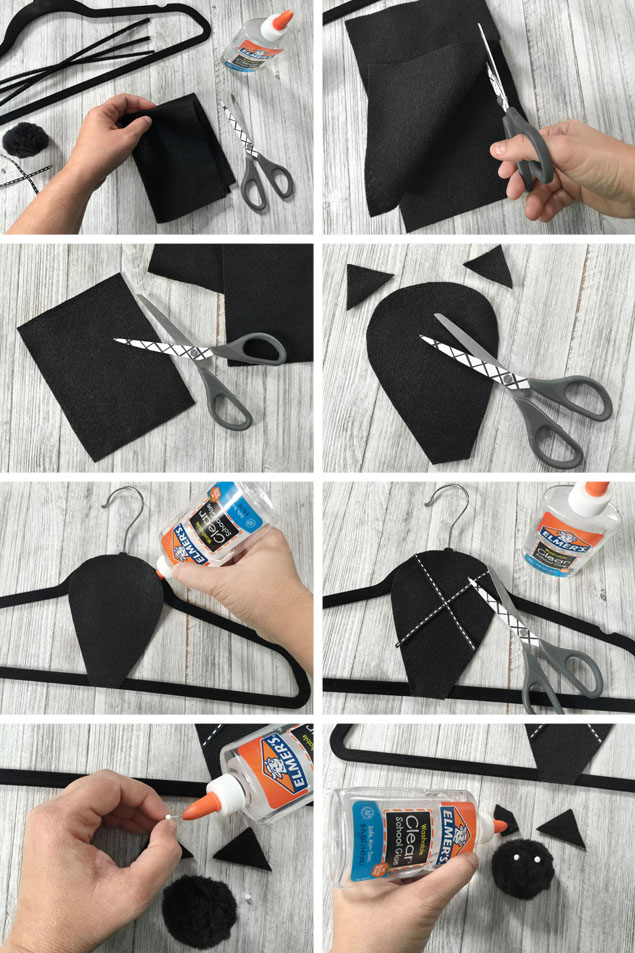
DIY Instructions:
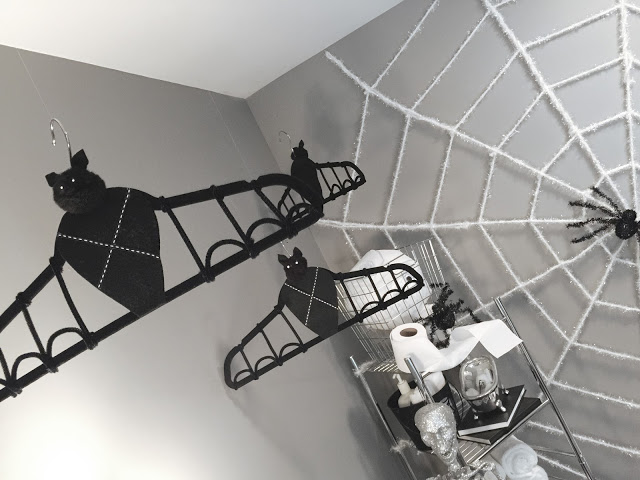
STEP 1: To make the BAT body, CUT out a rectangle from about a 1/4 of the felt sheet. Then CUT out a large upside-down tear drop shape. (see pics) Use scraps to CUT out two triangles for BAT ears. Then GLUE the BAT body at the top and bottom and center it towards the middle. Then CUT two short pieces of ribbon and GLUE them in an x shape in the middle of the chest area. (*optional)
STEP 2: To make the BAT head, GLUE the 2 small triangle ear scraps on top of the pom pom head. Then GLUE 2 tiny metal brads on the pom pom head for the eyes. GLUE the pom pom BAT head on to the top of the felt BAT body.
.
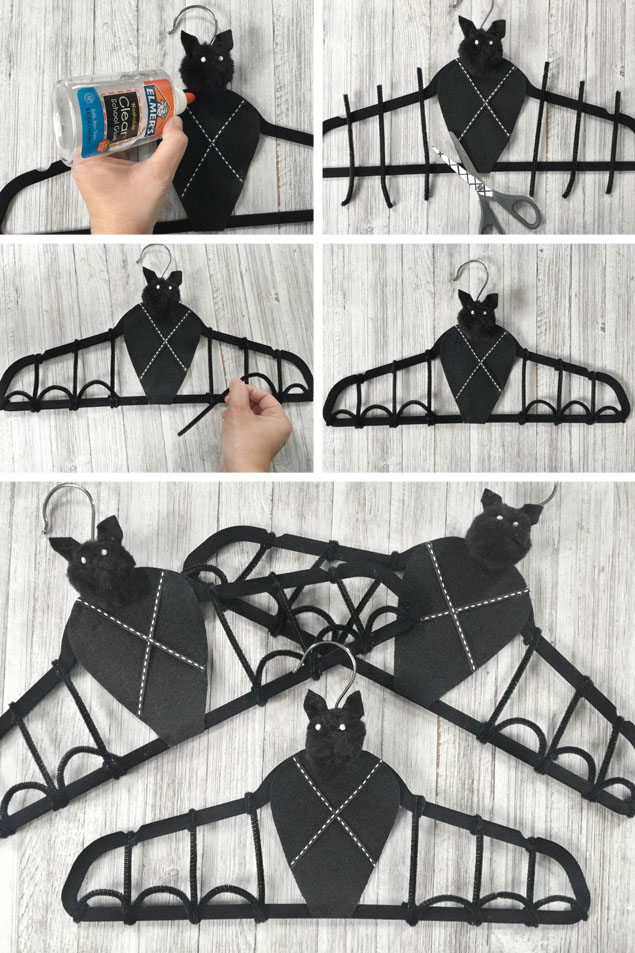
STEP 3: To make the BAT wings, CUT 3 pieces of pipe cleaners into 6 separate strips. Then BEND the top and bottom part around the top and bottom of the hanger. (see pics) For the scallop edge of the BAT wings, use 2 pieces of pipe cleaners and BEND one end around the end corner then weave through and bend in a scallop pattern then BEND the other end over the hanger edge. (see pics)
.
That’s it! Now just hang your “Hanging Hanger BATS” using the hook at the top and a piece of fishing string.
.
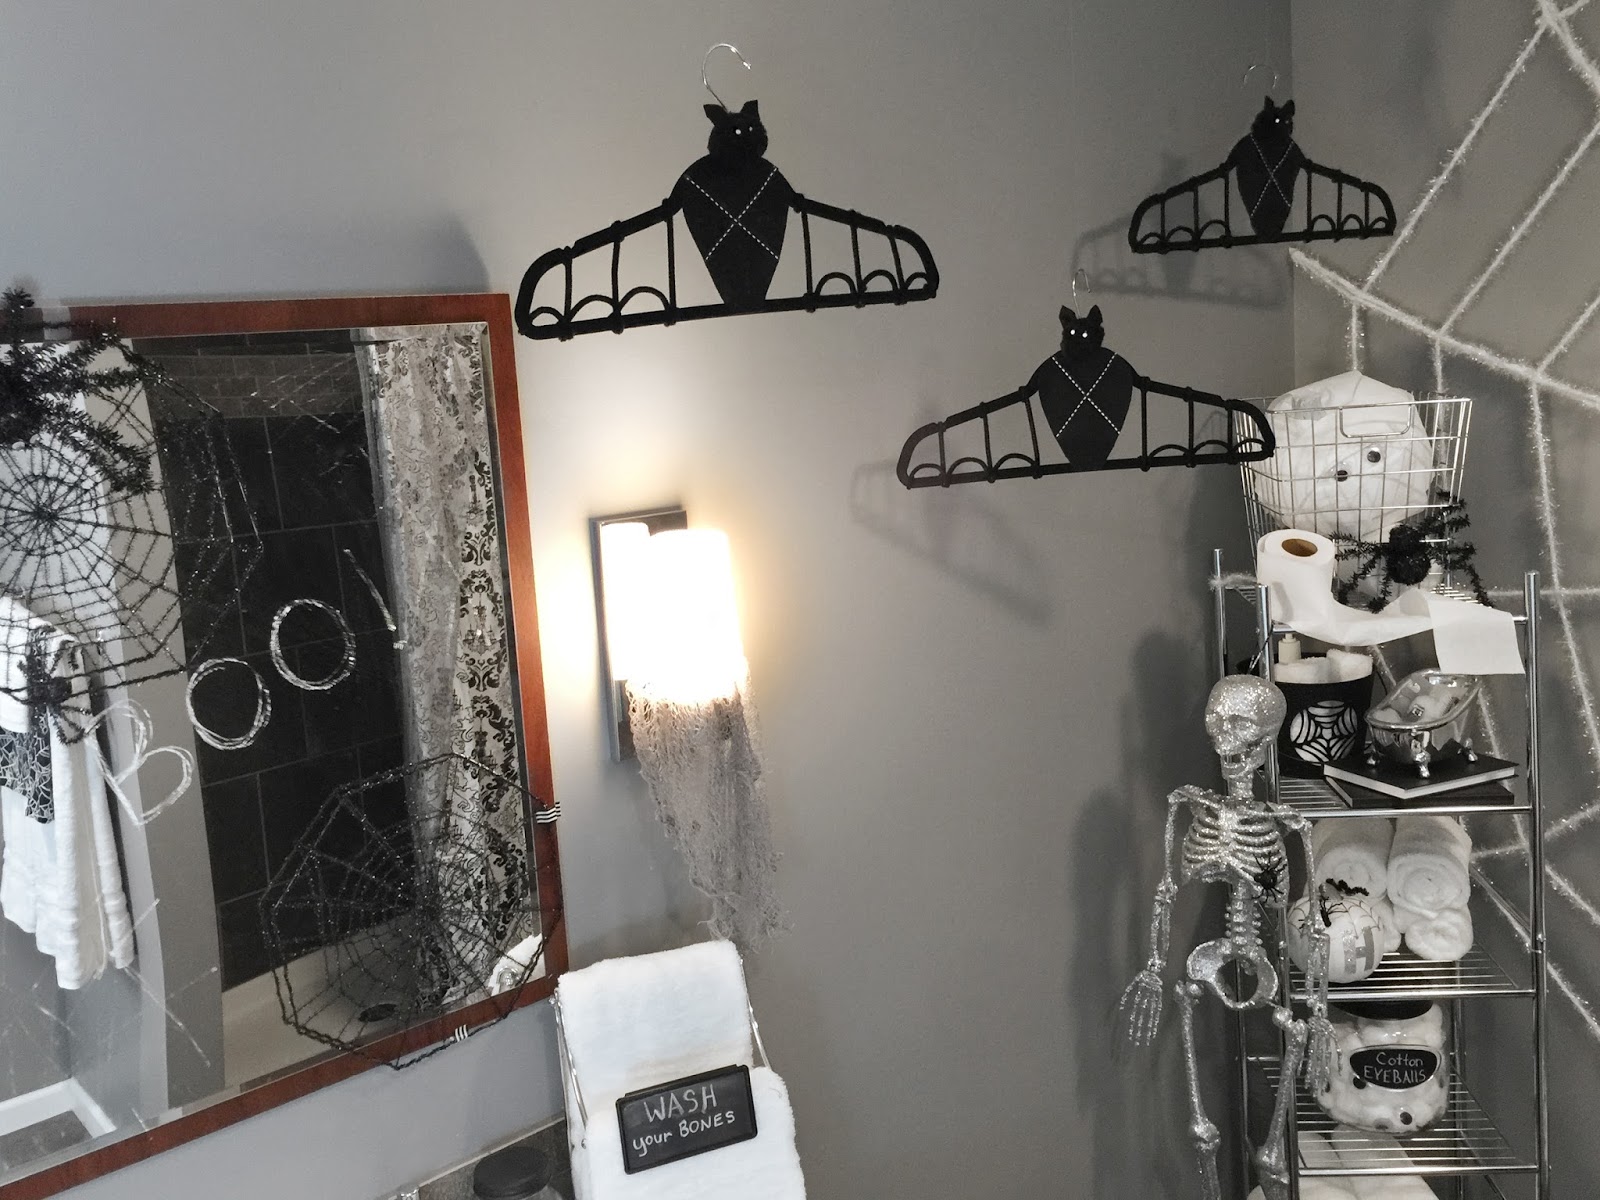
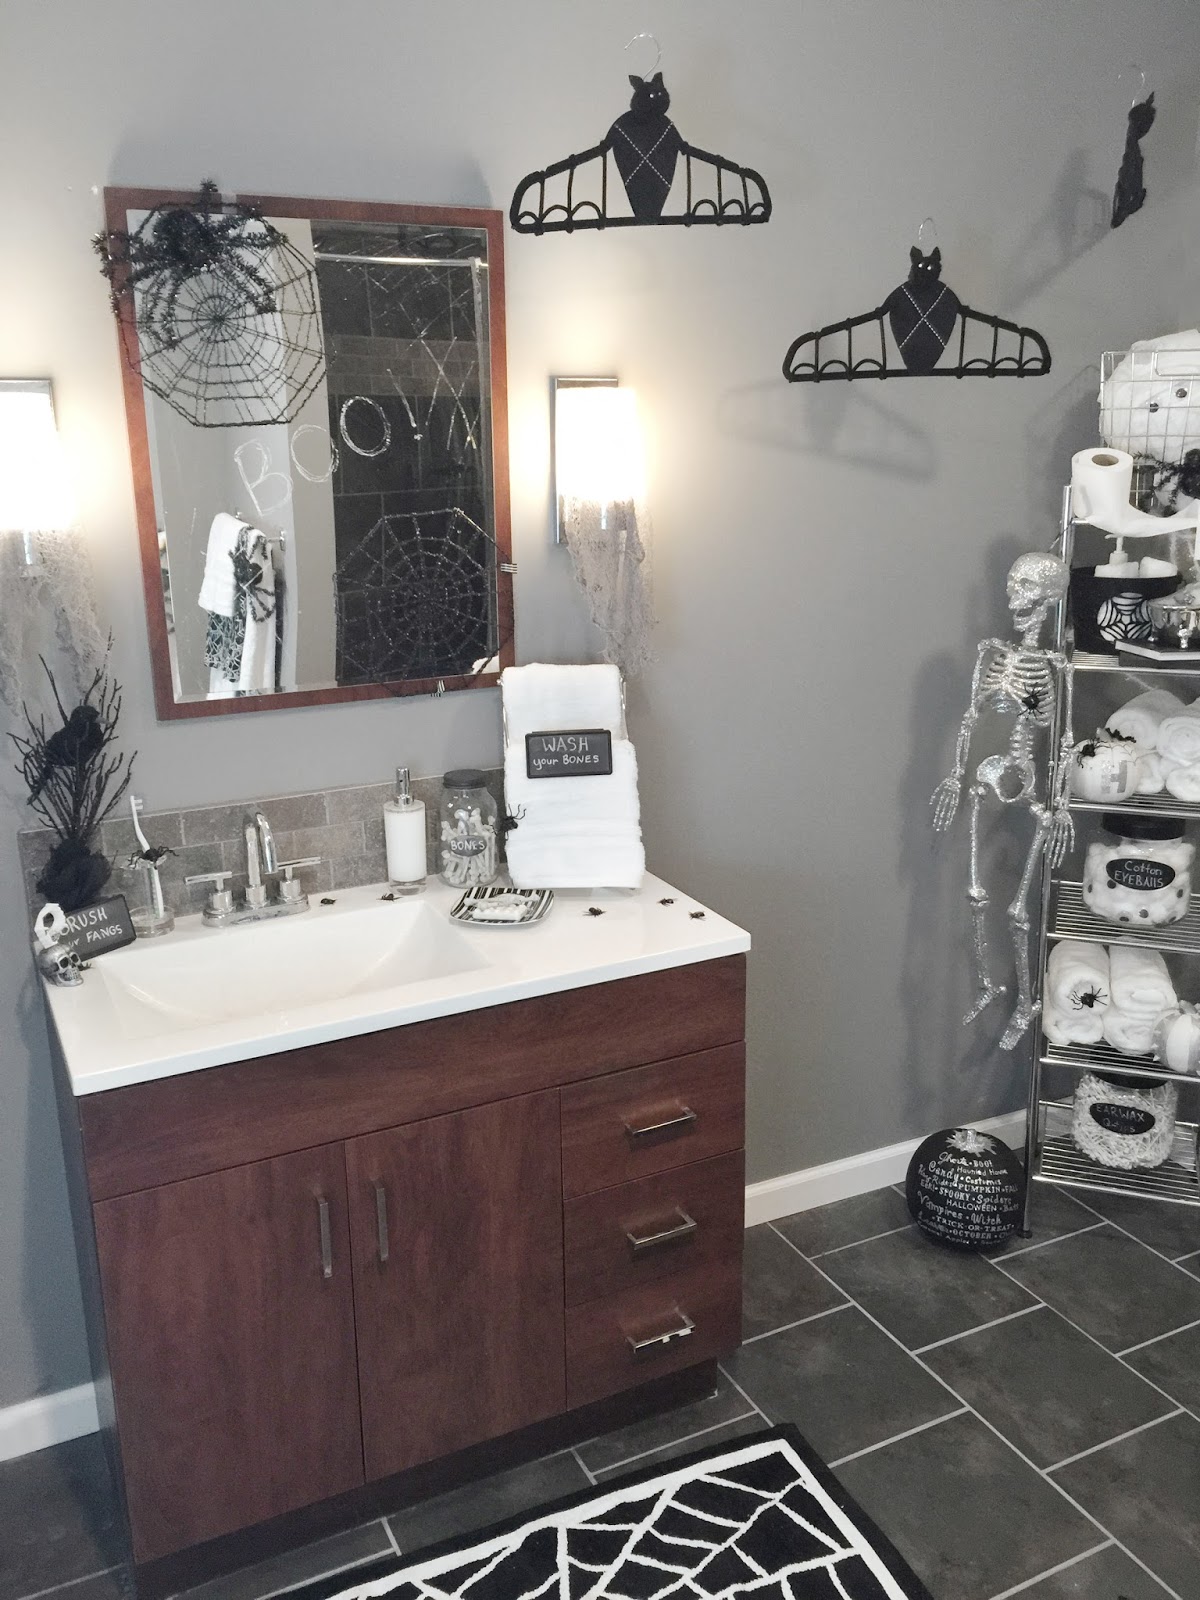
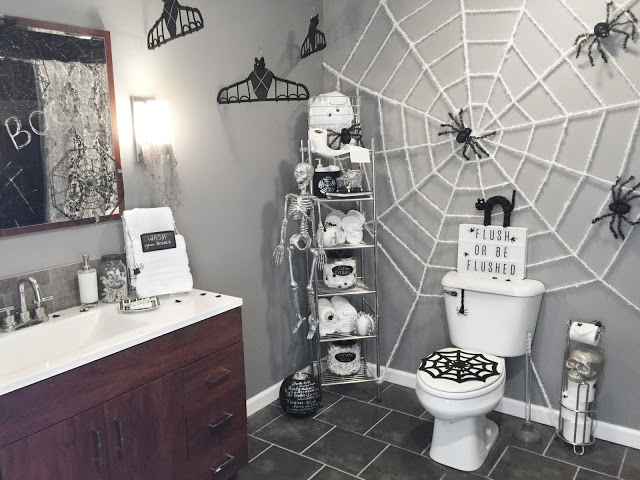
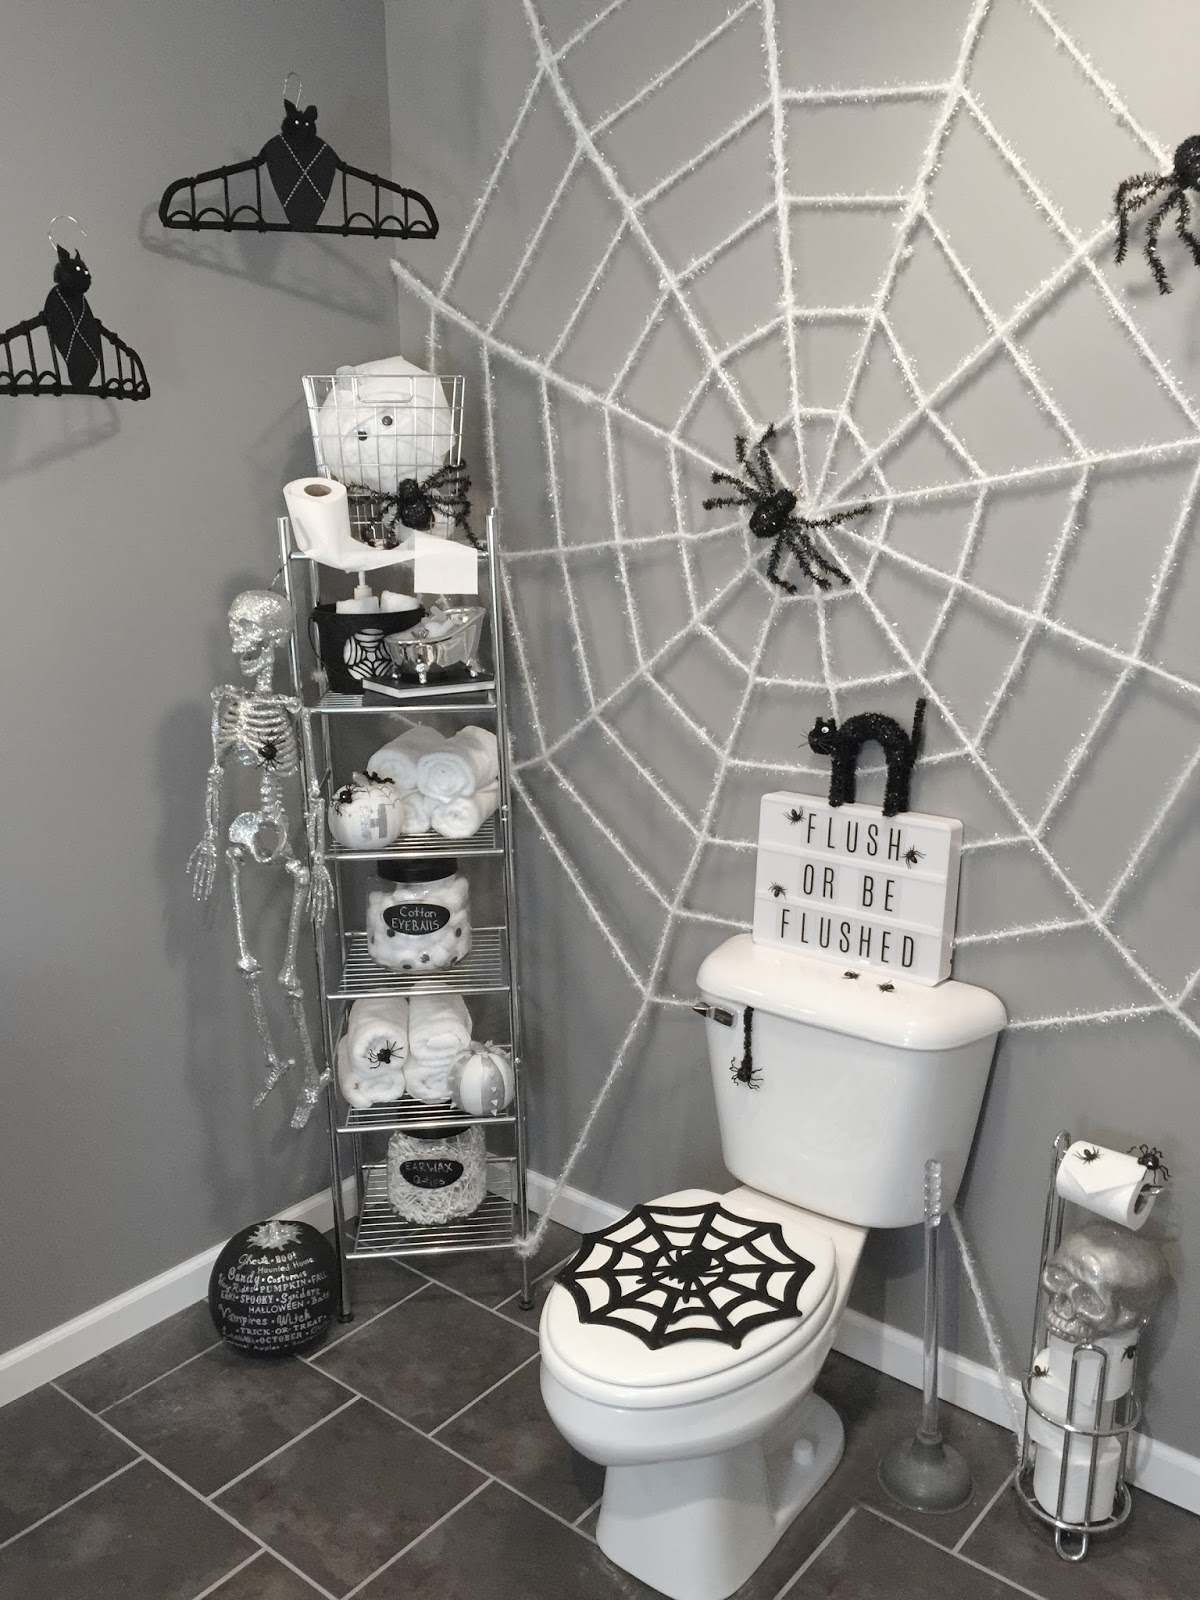
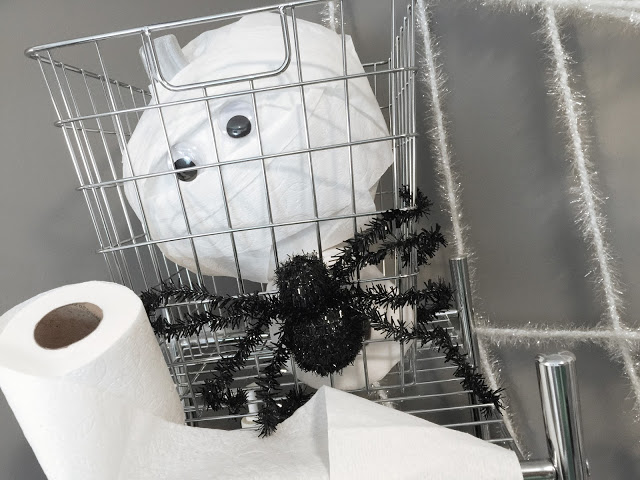
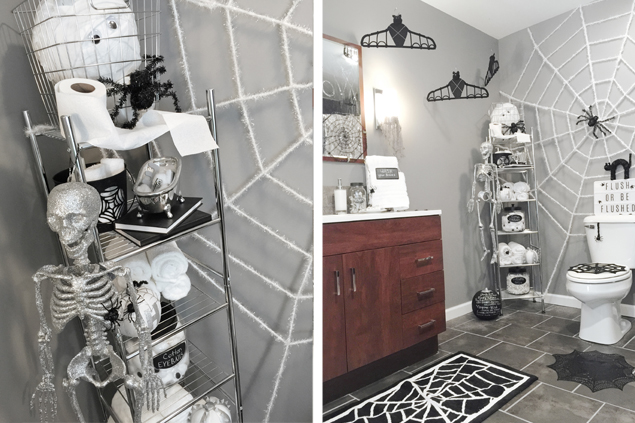
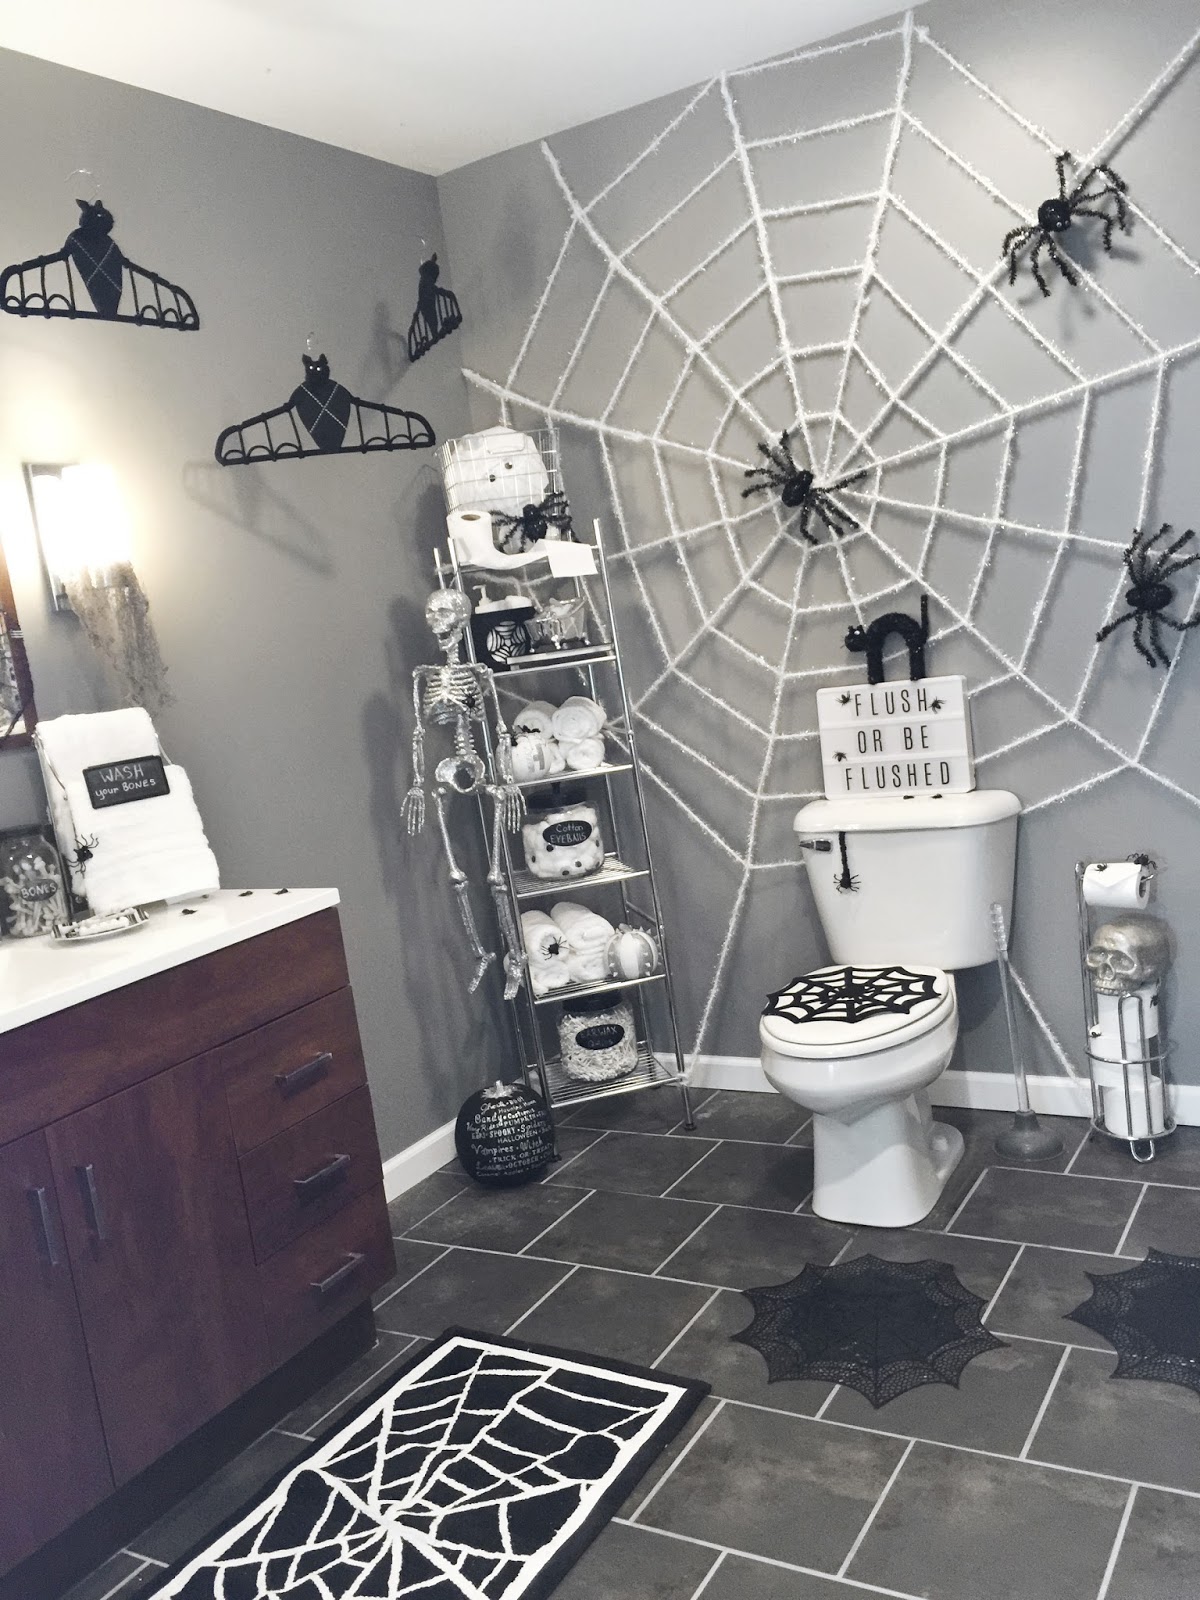
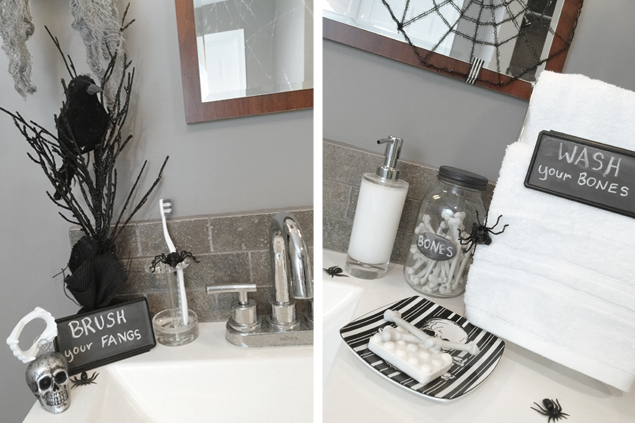
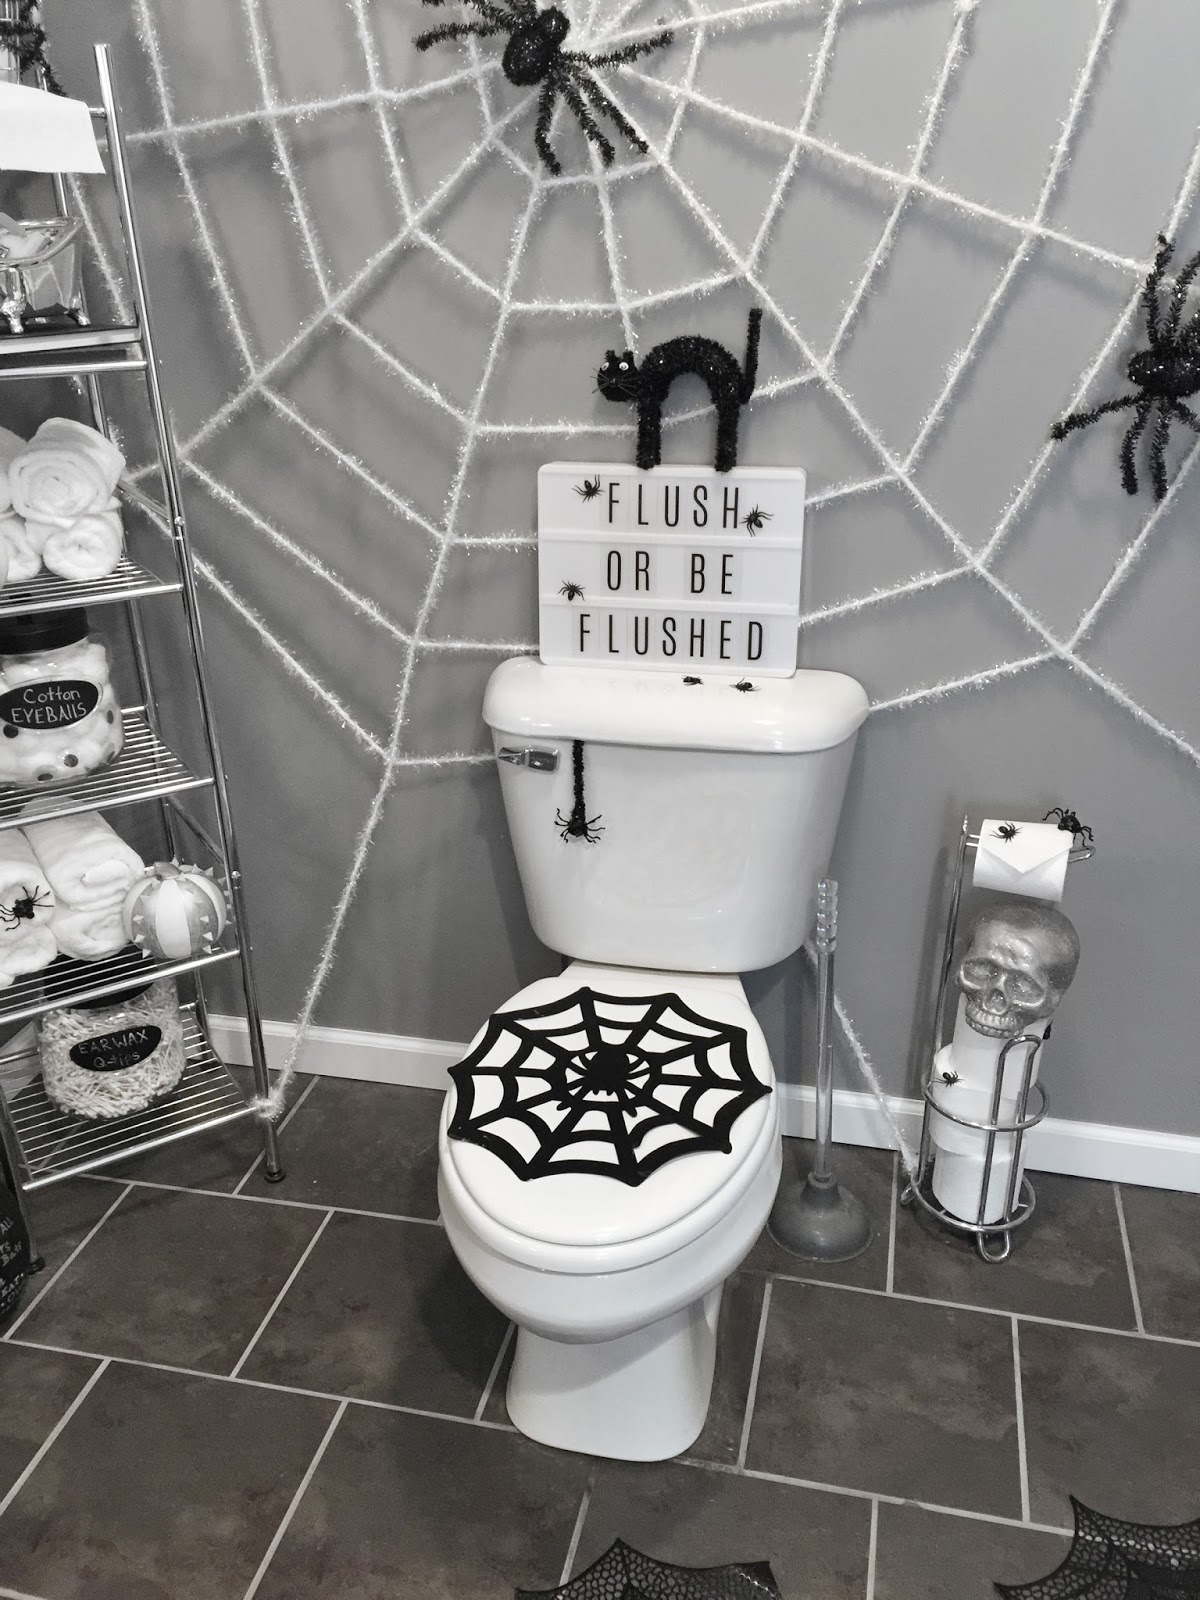
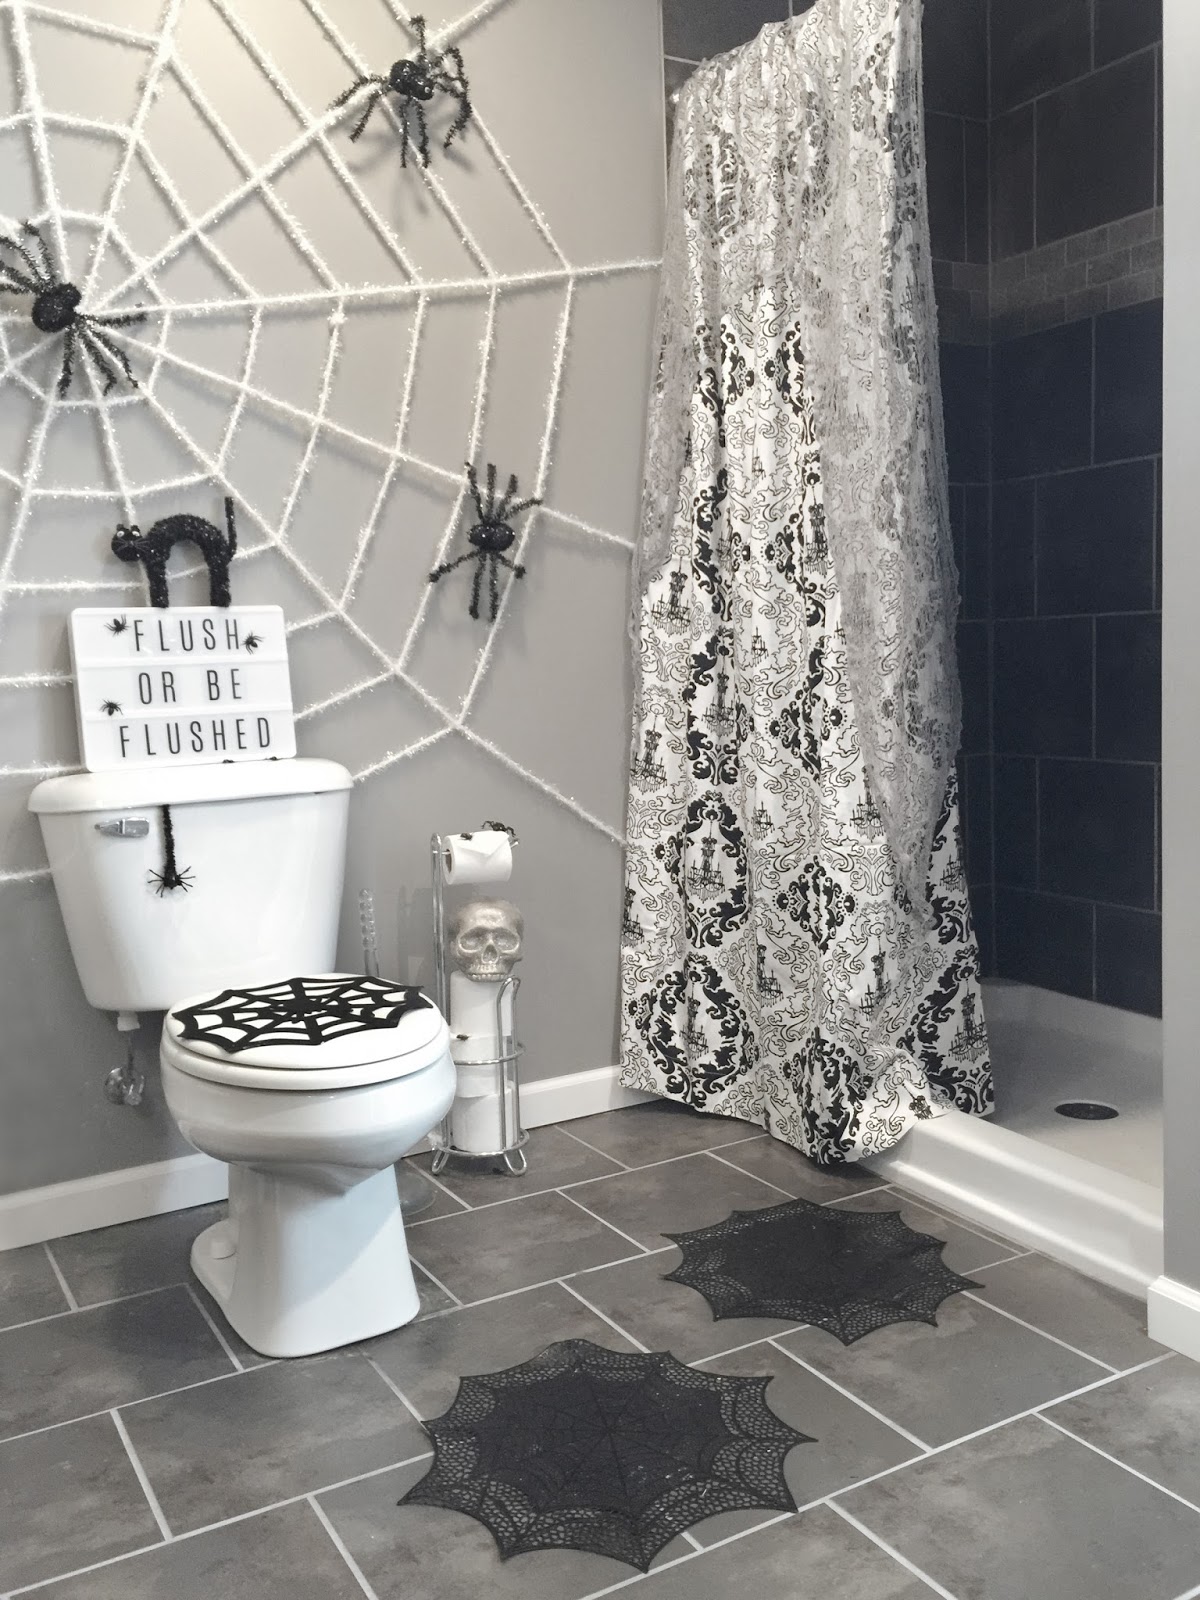
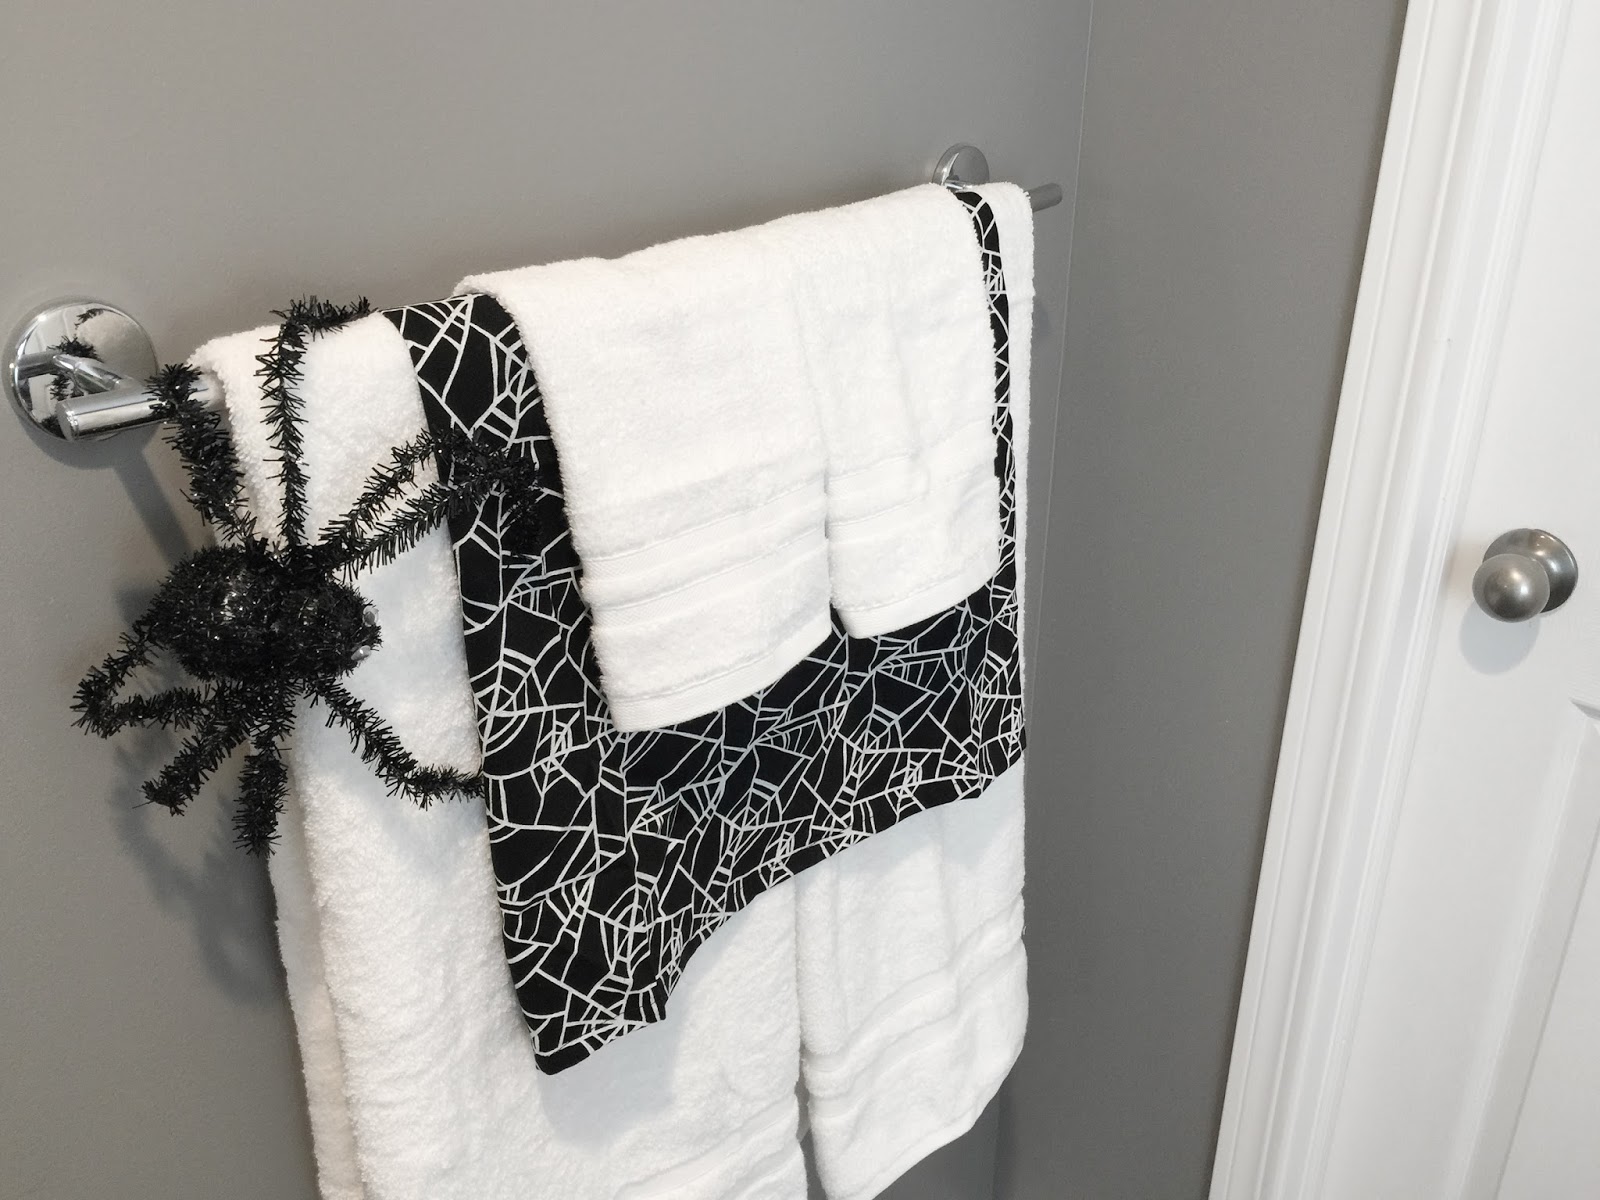
After I made the “Hanging Hanger BATS” I needed to decide where to hang them. Usually I decorate my front porch, foyer or fireplace but I thought it might be FUN to surprise my KIDDOS with something different this year. Why not decorate a “Haunted Bathroom” for HALLOWEEN? Basically I used the same HALLOWEEN decor from previous years but added my new DIY BATS. I think my “Haunted Bathroom” turned out pretty SPOOOOOKY! And the KIDDOS love it so much they argue who gets to use that bathroom which never got used much before. Lol. Hope everyone has FUN crafting this FALL season!
BIG THANKS to the Eighteen25 girls for inviting me to celebrate their 7th SPOOKTACULAR SEPTEMBER!
HAPPY HALLOWEEN!!!
.
Here are a few more great Halloween posts you can find on Eighteen25:

Oh my heck these are TOO cute! I am sad not to see a new darling spooky tutorial or two each day now! Hurry up September 2017! 😉
XO
haha. It is a little sad. 🙁 until next year……
This is just too cute! What a creative idea!
Oh, and I am totally digging the “brush your fangs” sign, by the way. Might be needing to add one of those into our rotation of Halloween decor! 🙂
The room looks wonderful!
Isn’t it so awesome! I hadn’t even noticed that sign… I had to go back and check it out. haha. I love it!