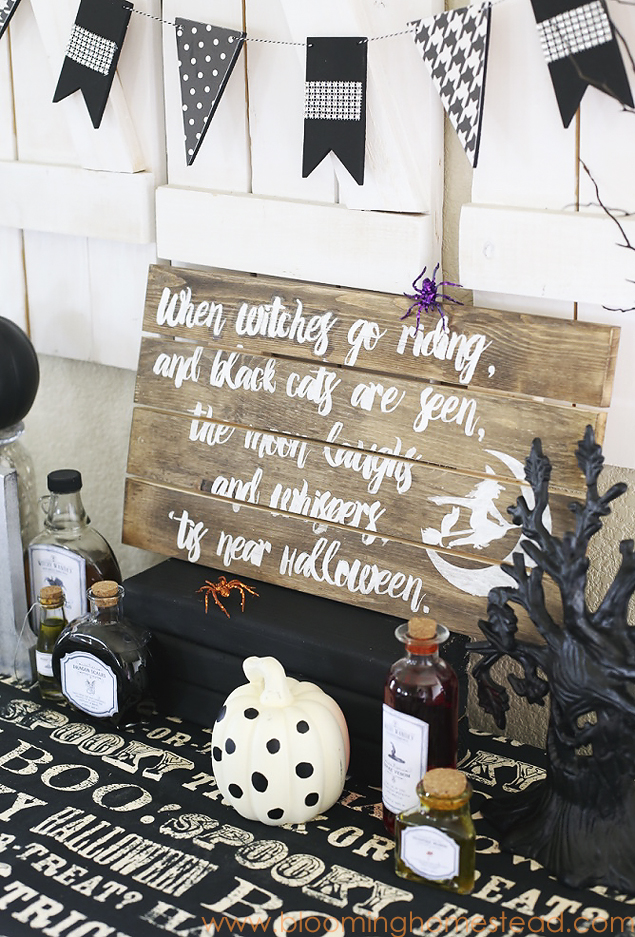
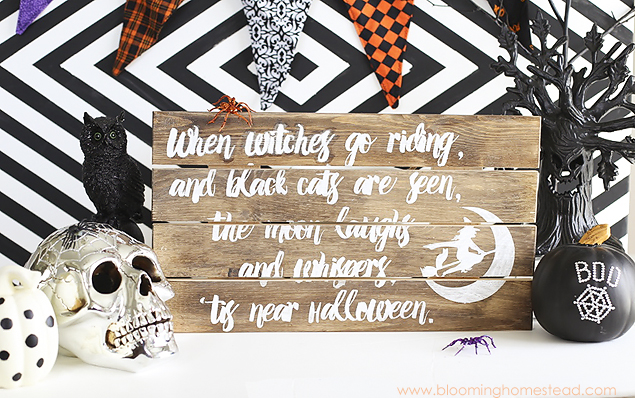
 Hi friends! It’s Marie from Blooming Homestead and I am so excited to be here at Eighteen25 participating in the Spooktacular September Series! Today I am sharing how to make this cute and simple DIY Halloween Sign.
- Wood Slat Sign (you can find these at craft stores)
- Vinyl Stencil
- Dark walnut stain
- paint sponge brushes
- white acrylic paint
- fine sanding block
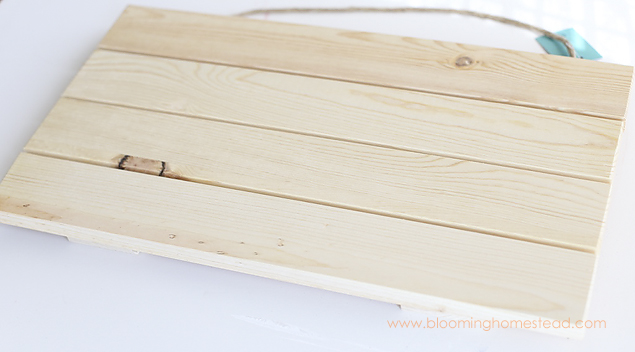
To start you’ll stain your wood slat sign. My favorite stain is dark walnut by minwax.
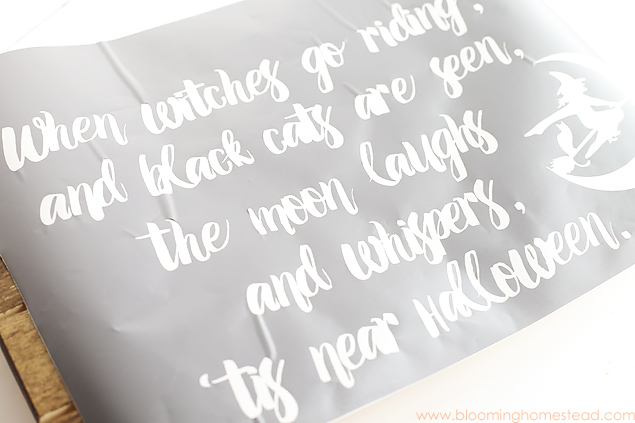
Next up its time to make your stencil (if you’re like me and don’t have the talent for freehand!) I created this stencil using my Silhouette, adhesive vinyl, and the amelian font. When the stain was dry it was time to apply the vinyl stencil. After pressing down the vinyl to eliminate lifting or bubbling, gently dab your brush in paint and apply to the slat sign stencil. Use only a minimal amount of paint to prevent bleeding.
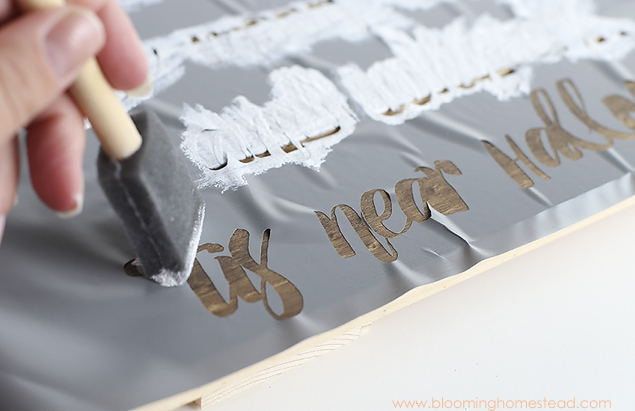
When the paint is dry you can remove the vinyl stencil and lightly sand your sign.
And that’s it, a pretty, yet spooky Halloween sign that will be the perfect addition to your Halloween decor this year! Thanks so much Jen and Jodie for letting me join in the fun. Here are a few other ideas to inspire:
Be sure to stop by Blooming Homestead for more fun Halloween Ideas including free printables, tutorials, recipes and more! You can also find Marie on Instagram–Facebook–Pinterest–Youtube


I love these adorable Halloween decorations! Thanks for sharing 🙂
Morgan – theradwife.blogspot.com
What craft store can you get the wood slat sign from? I have looked at different stores and online and have been unable to find it!
I’m not positive where she got hers, but I know I saw some at Michaels the other day. 🙂