Hello all! I’m so happy to be a part of this spectacular SPOOKTACULAR! I love visiting here at eighteen25 and I was so lucky to meet Jamie, Jodie and Jen at SNAP this spring! I’m so glad these girls give us all of these great ideas BEFORE October! Now we have plenty of time to try all of the amazing ideas that have been shared!
Today, I’m sharing a little party favor/kiddie treat bag idea.
If you know me, you know that I believe in cookies for all occasions. You can access my recipe for sugar cookies and royal icing in this post. And if you’re new to this kind of crazy, this is the perfect little project! But let me warn you that frosting cookies can become addictive. It starts with a baby ghost and ends in late nights, bags under your eyes and rockin’ cookies for your kids’ class.
Kidding! Kinda!
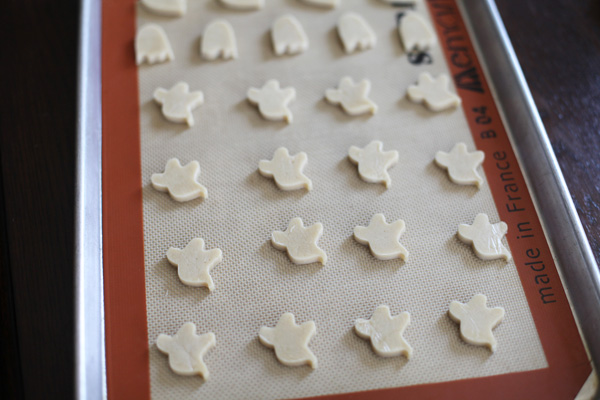
After you’ve read up on the basics, you’re ready! But when I’m cooking mini’s, I decrease the cook time. These only took 4 minutes to cook. Your oven, bakeware and pan liners will effect the rate they cook, but in general, plan on a bit more than half as much time.
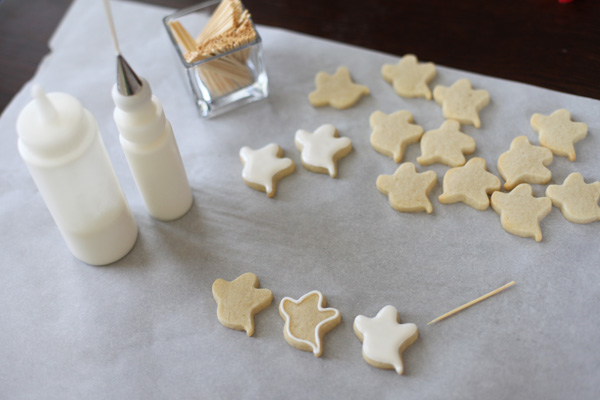
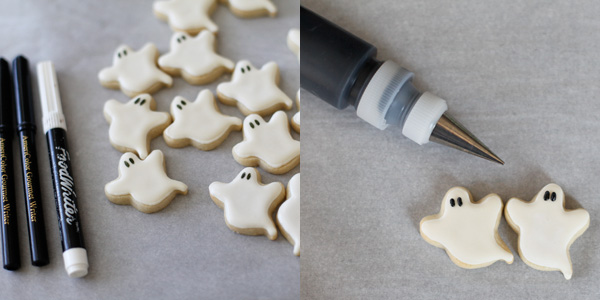
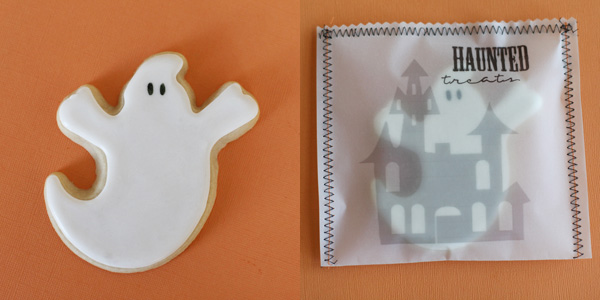
I frosted my little ghosts by outlining with a thicker consistency frosting and filling with a thinner consistency that flattens right out. My basics post explains all of this, but with these little babies, it will be pretty simple. They will need to dry for several hours before you put eyes on them. So walk away for a bit. It will be hard to tear yourself away, but it can be done. Haha.
I used this little mini wilton cutter set. For the pac-man style ghost, I used the gravestone and the moon for the bottom. I just like to have options with my ghost cookies, what can I say?
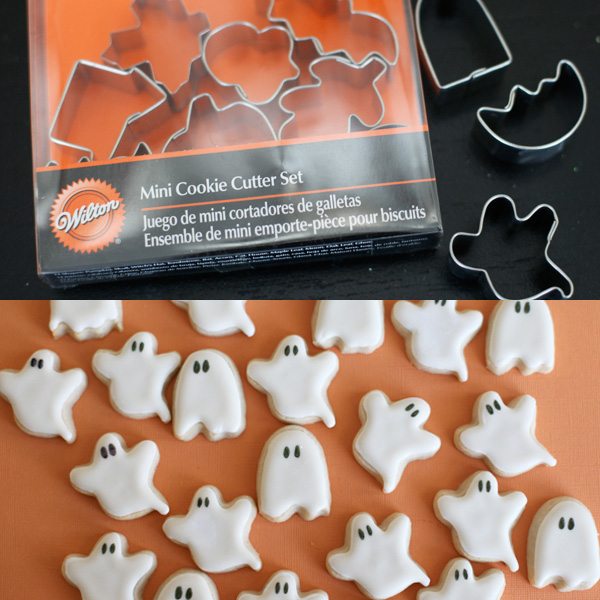
The eyes are so easy if you have edible ink pens. I use wilton and americolor brands. They are available at most craft stores and online. If you don’t have those, then just tint some of your frosting black and pipe it right on.
These cute little ghosts are fun, but we gotta step up our presentation!
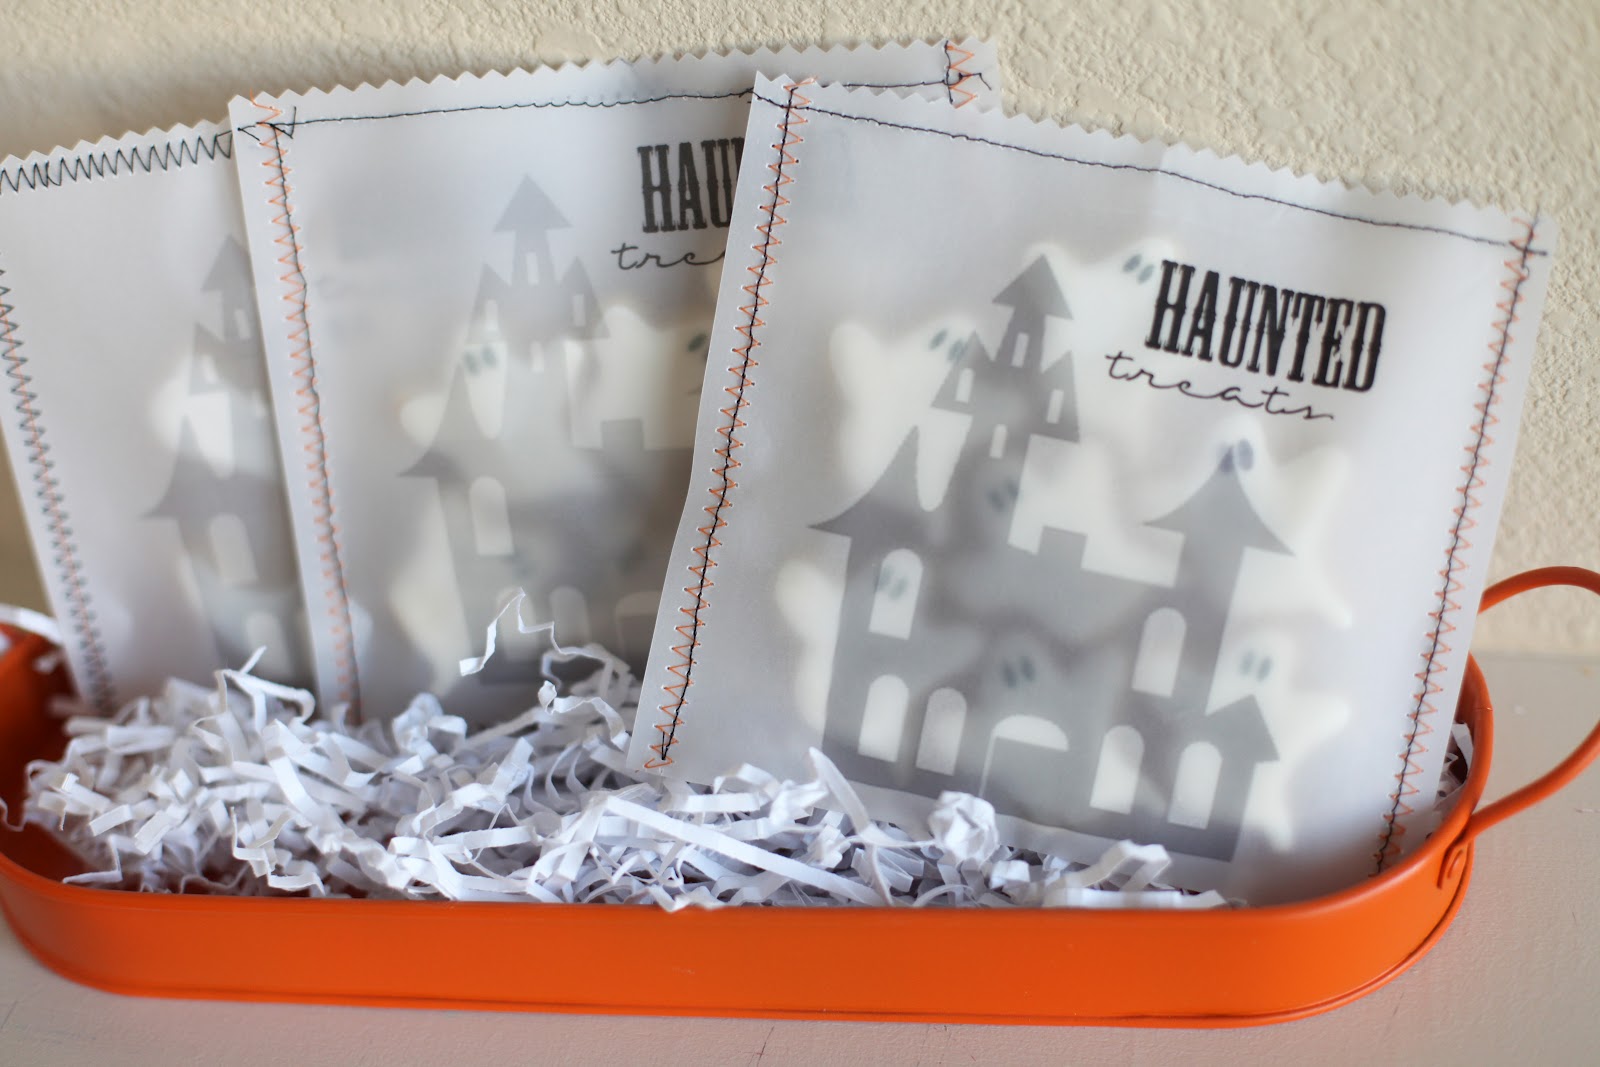
Do you remember vellum? Remember 5 years ago when every wedding invitation had this fancy layer of printed vellum? Well, go break into your paper crafting stash, because we’re making treat bags out of it! You can dowloand the “haunted treats” printable here and just send it through your printer.
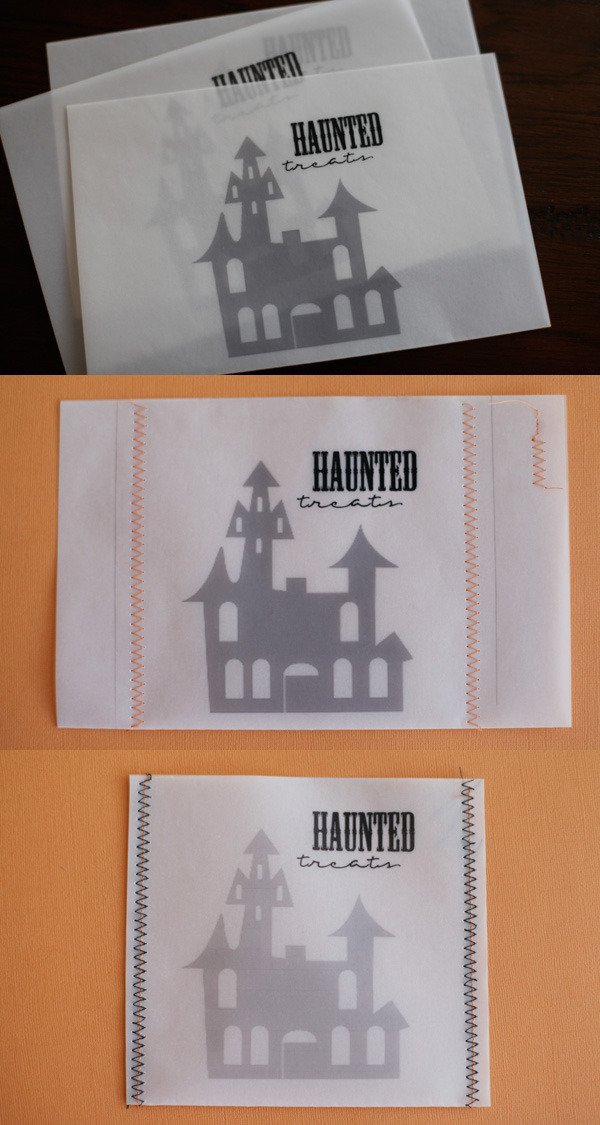
Straight from the printer, fold it in half, make some guides, sew down the sides, put your cookies in and sew up the top. I trimmed the top with pinking shears. I actually tried this with parchment paper and it worked like a charm. It would be cheaper than buying vellum, but you have to trim it down to the right size before sending it through the printer. So the vellum will just make your life easier.
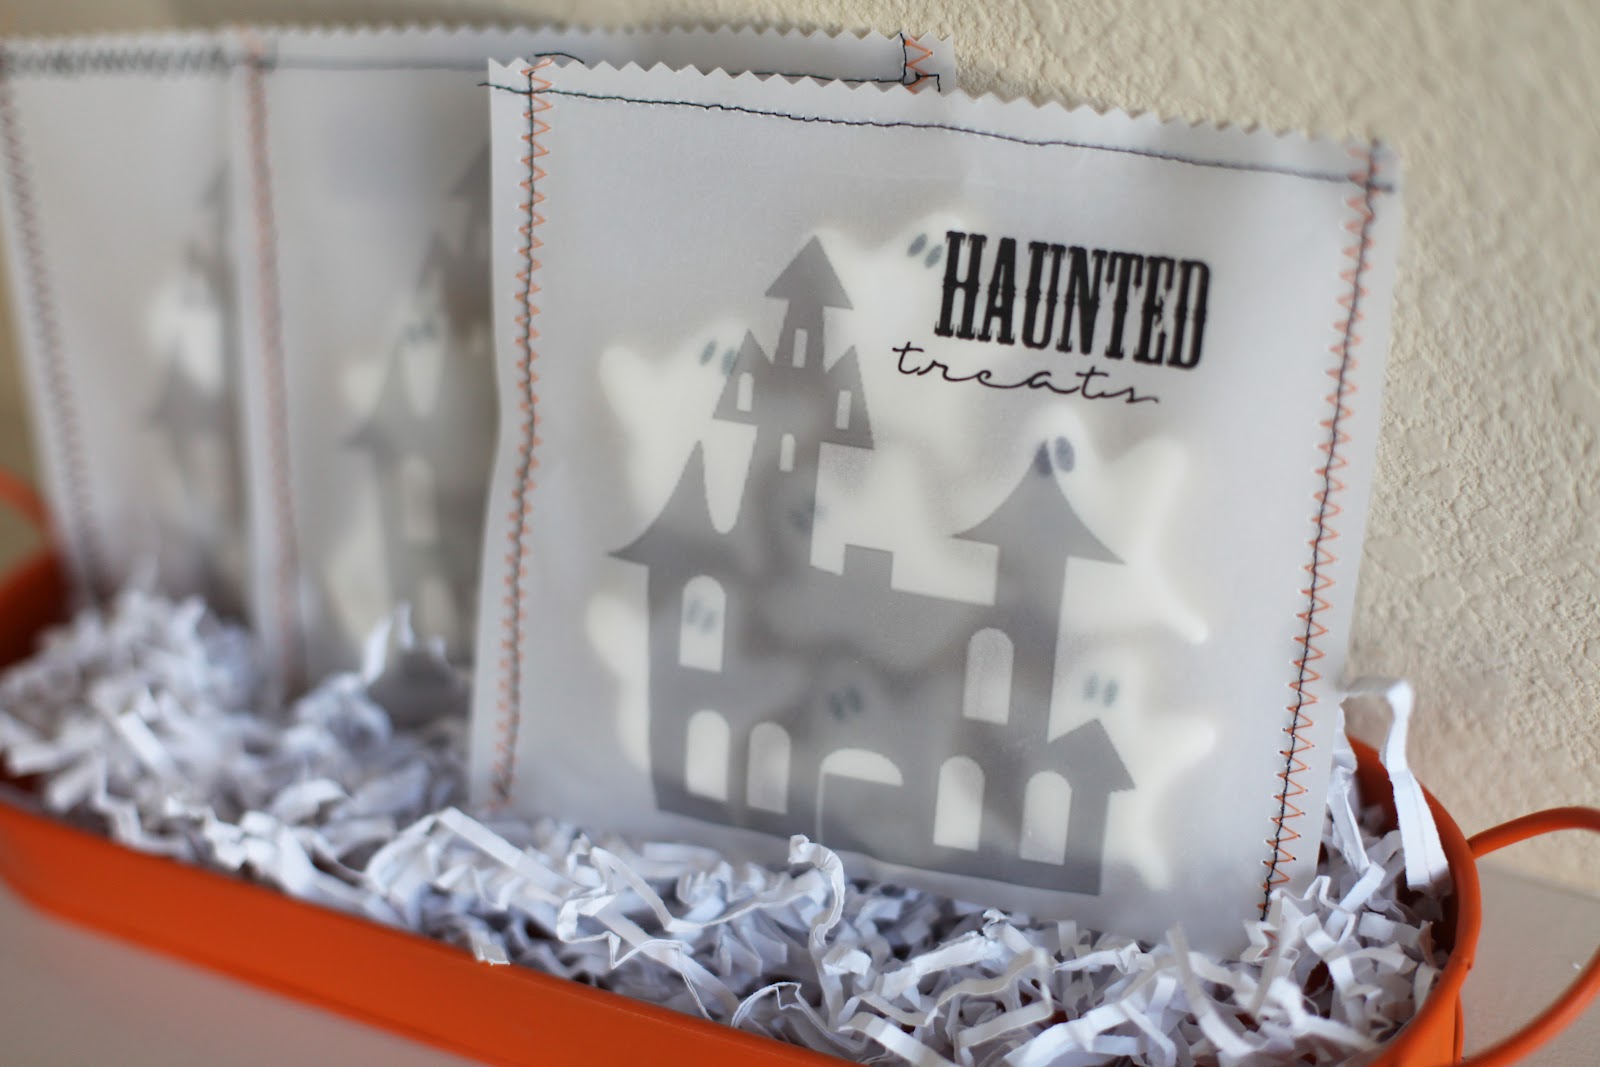
This creates the look of a truly “haunted house” with ghosts lurking inside! The kids can just tear through the bottom to access their haunted treats! My kids were pretty excited about these, so I hope you try them with your kids! And for more halloween cookie/treat/craft ideas come
visit my sister and I on our blog: bee in our bonnet
Oh! And btw, if you can’t find the mini ghost cutter, almost every halloween cutter set includes a regular sized ghost. These treat bags can be cute with one big ghost too!
Thanks Jamie, Jodie and Jen for having me again this year!
Visit the girls on their blog : facebook : and pinterest (kathryn + ashleigh)

. . . .
this post is sponsored by:


Jodie
Latest posts by Jodie (see all)
- Our Friday Five | Jodie Edition - May 29, 2015
- Our Friday Five | Jodie Edition - April 24, 2015
- Toe-tally Awesome Teacher Gift - April 20, 2015
what a fun idea! love the ghost peeking out.:)
so cute!! love how she used the vellum and you can see the treats inside. genius!
-April
I think everyone needs cookies on special occasions too! These are so cute and the packaging makes it the ultimate halloween gift!
This. Is. One. Of. The. Most. Incredible. Things. I . have. ever. seen!!! really, really awesome!!
such talent.
Sooooooo darn cute! Love the cookies AND the packaging! Pinning 🙂
Loved your jack o lantern in a jar last year. Didn't think it could get any better…this idea is right up there too! You ladies are very talented!!