• About
  • Advertising
  • Contact
  • Meet the Team
  • Blog
    • Bloglovin
    • Facebook
    • Instagram
    • Pinterest
    • Twitter

Eighteen25

Create A Life You Love.

  • Home
  • Printables
  • DIY + Crafts
  • Holidays
  • Recipes
    • All Recipes
    • appetizers
    • salads/side dishes
    • main dishes
    • Desserts
  • Misc.

Please Welcome: Amy from Positively Splendid

Sep172012 posted by Jodie 7 Comments

Hi there, everyone! My name is Amy, and my blogging home is called Positively Splendid. 

Having been raised in a home filled with sewing notions and paintbrushes, I have a profound love for all things creative. My blog is a reflection of the heart I have for helping others reach their full creative potential, and on any given day at PS, you’ll find projects ranging from home decor and sewing projects to recipes and kids’ crafts. I would love for you to stop by for a visit!


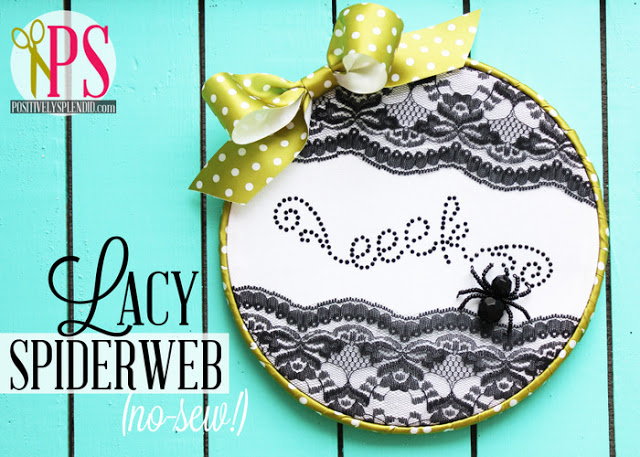
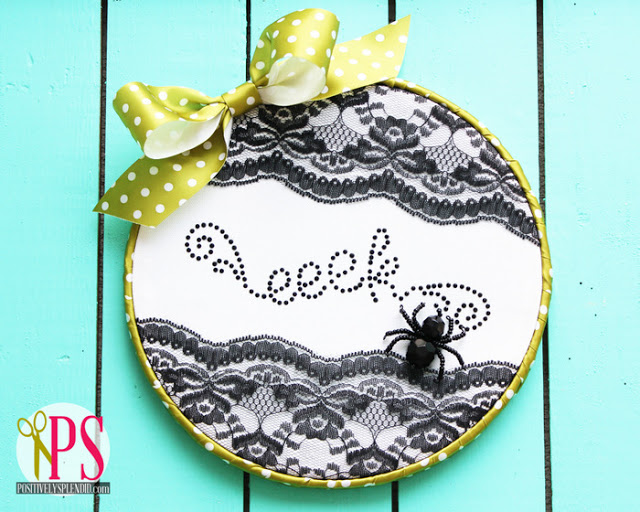
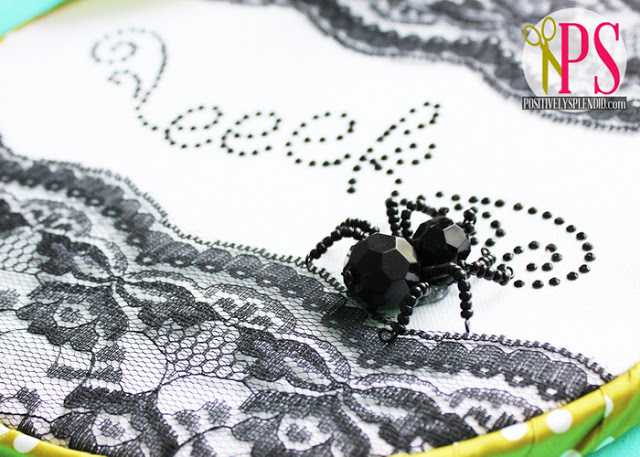
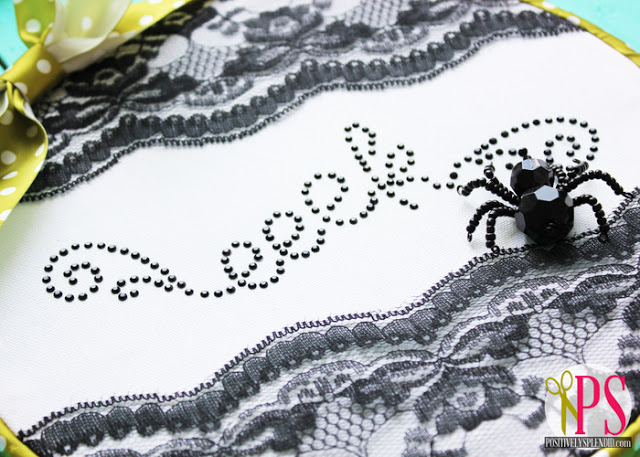
I am so thrilled to be here with Jamie, Jodie and Jennifer today for Spooktacular September! (Haven’t the ideas linked up so far been terrific?) Without a doubt, fall is my absolute favorite time of year, and Halloween is a dream for my craft-obsessed heart! With four young children, I love to come up with fun Halloween decor ideas that strike a balance between spooky and charming, and the idea I’m sharing today–Spiderweb Embroidery Hoop Art–is one that has just the right amount of creepy-crawly cuteness to please everyone in your family! Let me show you how easily I put this together. No sewing required!


For this project, you will need…

  • 1 embroidery hoop (mine measures 9 inches)
  • White fabric (I recommend a heavier material, such as twill)
  • Heat-set rhinestones (see notes below for additional lettering options)
  • Disappearing ink marker
  • Black lace (about 1/2 yard, depending on the size of your embroidery hoop)
  • Spray adhesive
  • Shears
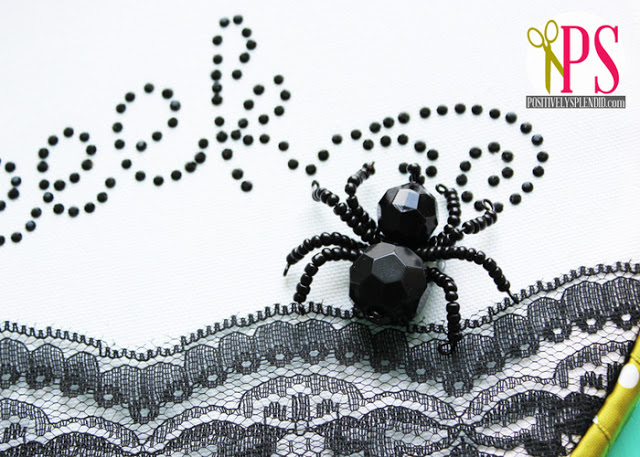
  • Spider embellishment (I made mine using this beaded spider tutorial)
  • Ribbon
  • Hot glue gun
To begin, cut a square of white fabric that is a few inches larger than your embroidery hoop.
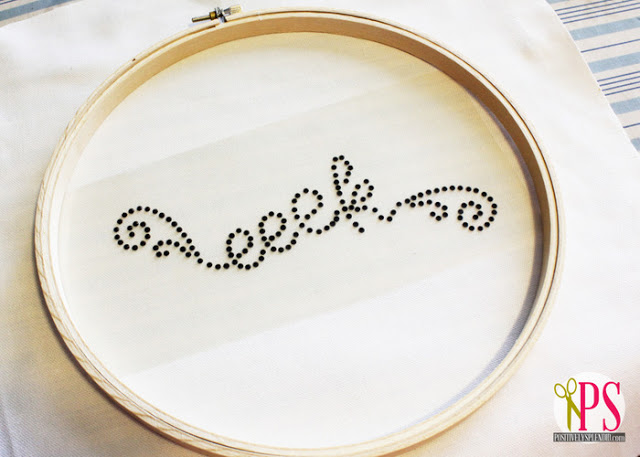
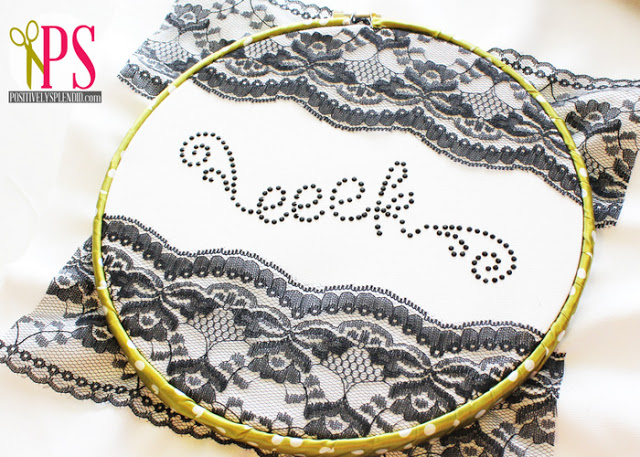
Affix heat-set rhinestones with your chosen sentiment at the center of your fabric piece. I used my Silhouette to simplify this step by using some of their rhinestone designs (the letters e and k, and a flourish), but if you don’t have a machine like that at your disposal, don’t be discouraged! There are plenty of ready-made adhesive rhinestone decals in Halloween motifs available this time of year, or hand-embroidered lettering or iron-on letter decals would work great, too. You could even hand-write your message with a Sharpie or fabric marker.
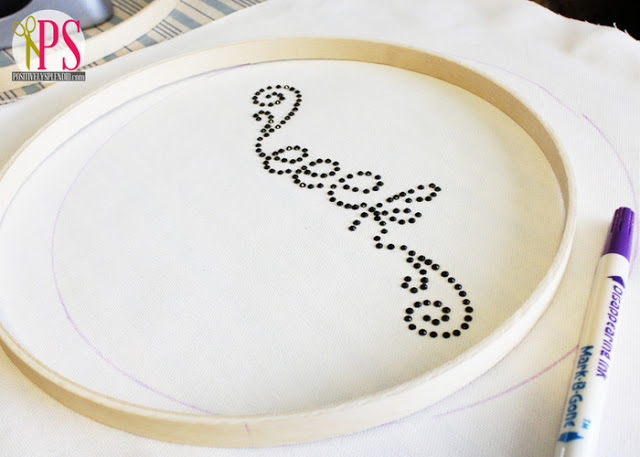
Next, trace around the middle ring of your embroidery hoop with your disappearing ink marker. (This will help you with the placement of the lace in the next step.) Set the embroidery hoop pieces aside for now.
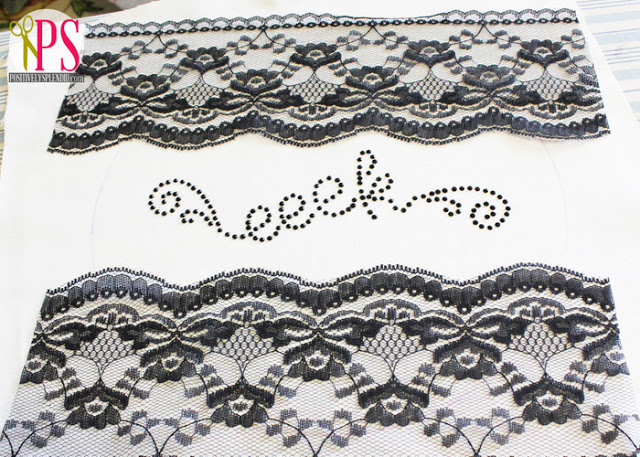
Arrange your lace on top of your fabric piece as desired. When you are satisfied with the placement, affix the lace to the fabric by lightly spritzing the lace with spray adhesive. Set this piece aside for now.
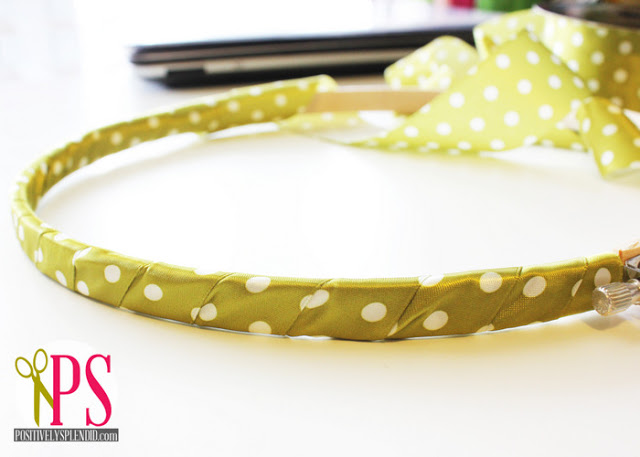
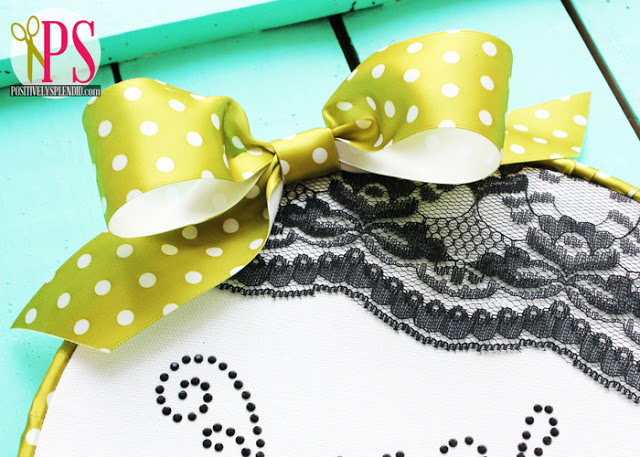
Now, gussy up your embroidery hoop by wrapping the outer ring with ribbon, securing it with hot glue as you  work.
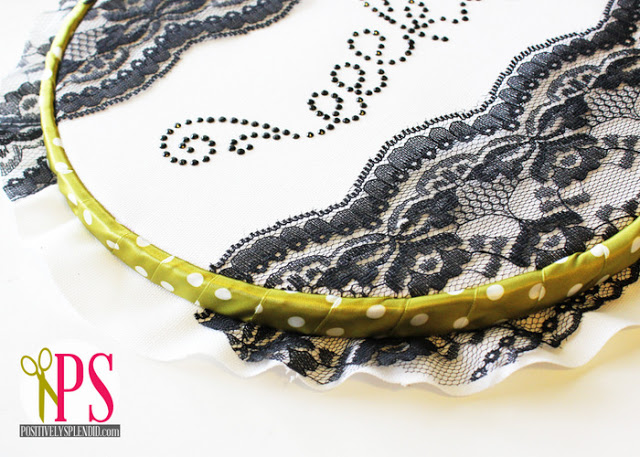
Slip the fabric piece into your embroidery hoop, lining up the inner ring with the circle you traced before. Make sure to pull everything nice and taut!
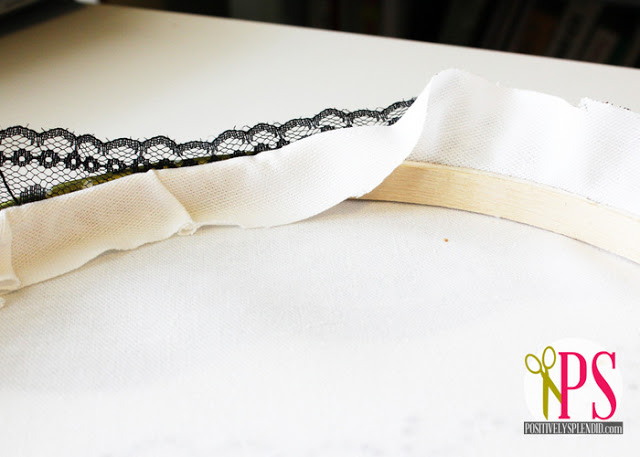
Trim away the excess fabric, leaving about 1/2″ of fabric all the way around the hoop.
Wrap the excess fabric around the hoop and affix it to the inside edge with hot glue. Carefully trim away any lace that extends beyond the edge of your hoop.
Use hot glue to affix your spider embellishment to your project…
…and then finish everything off with a peppy bow!
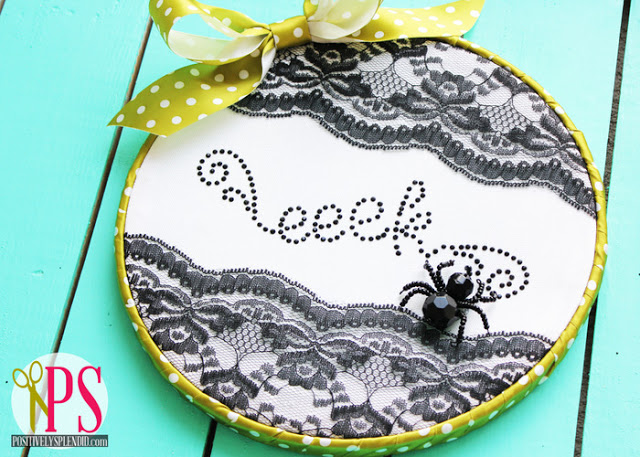
You are finished!
I love how the lace imparts a vintage feel to this project, and it really does mimic the look of a spiderweb, don’t you think?


Thanks so much to the eighteen25 girls for having me over today! I would love for y’all to stop by Positively Splendid for lots of other great Halloween ideas!


visit amy on her blog : twitter : facebook : pinterest

. . . .


this post is sponsored by:
Park City Luxury Rentals are 20% OFF

  • Bio
  • Latest Posts
Jodie

Jodie

Jodie

Latest posts by Jodie (see all)

  • Our Friday Five | Jodie Edition - May 29, 2015
  • Our Friday Five | Jodie Edition - April 24, 2015
  • Toe-tally Awesome Teacher Gift - April 20, 2015


7 Comments

« Please Welcome: Jill from Every Day is an Occasion
Please Welcome: Kim from The Tomkat Studio »

Comments

  1. Linda says

    September 17, 2012 at 12:49 pm

    This is so pretty and so simple! Thank you so much!

    Reply
  2. Bonnie and Trish @ Uncommon says

    September 17, 2012 at 2:08 pm

    I am so in love with this! Such a great idea and I love the splash of green!

    Take care,

    Trish

    Reply
  3. CBH says

    September 17, 2012 at 2:09 pm

    Thank you so much for this post. I want to let you know that I posted a link to your blog in Creative Busy Bee Craft Inspirations, under the Page 3 post on Sep. 17, 2012. Thanks again.

    Reply
  4. Jedi Craft Girl says

    September 17, 2012 at 2:55 pm

    That is SOOOO cute!!!

    Reply
  5. kiki comin says

    September 17, 2012 at 6:07 pm

    I love the spider and the lace embellishment! So fun, Amy.:)

    Reply
  6. Jen @ tatertotsandjello.com says

    September 18, 2012 at 12:47 am

    Oh my goodness — adorableness!! Love it Amy!!!

    xoxoxo

    Reply
  7. Capturing Joy with Kristen Duke Photography says

    September 19, 2012 at 4:38 am

    This is positively splendid;)

    Reply

Leave a Reply Cancel reply

Your email address will not be published. Required fields are marked *

This site uses Akismet to reduce spam. Learn how your comment data is processed.

welcome!

We are Jodie & Jen, born & raised in Vegas, in a little brick house. The number hammered onto our mailbox was 1825. Visit us often & be inspired to create a life you love. Read More…

  • Bloglovin
  • Facebook
  • Instagram
  • Pinterest
  • Twitter

Subscribe by Email

Get our latest & greatest posts straight to your inbox.

featured posts

Bird Feeders
Instant Pot BBQ Chicken Sliders
Free Printable Watercolor Notebook Covers
DIY Disney Ideas
Disney Trip Fun Bags
Printable Recipe Binder

eighteen25 loves

Disney banner 350

Privacy Policy

stay updated on latest
posts on Facebook

The Girls at Eighteen25
  • Bloglovin
  • Facebook
  • Instagram
  • Pinterest
  • Twitter

Copyright © 2025 · All rights reserved · Site by Melissa Rose Design