Hi Eighteen25 readers!! It’s Jen from Tatertots and Jello.
And I wait every year for September to start so I can see all of the incredible ideas that are featured on Spooktacular September. I wish it could be Halloween all year round!
So I feel really flattered and honored to be the first guest for this fun event!!
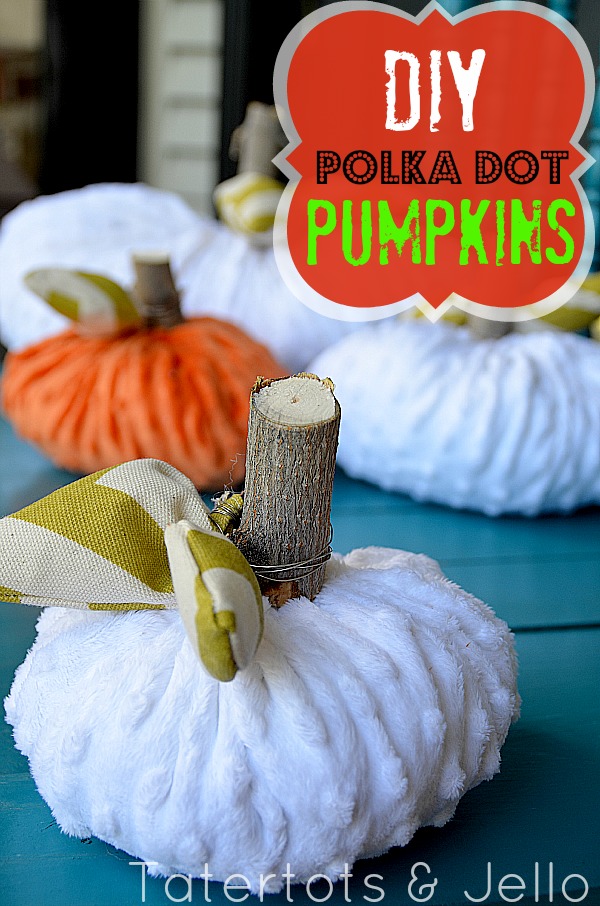
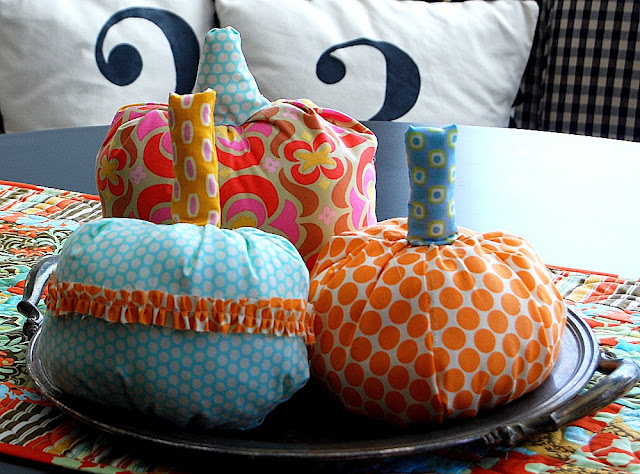
Today I am sharing my Polka Dot Pumpkins!!
What could be better than polka dots AND pumpkins = two of my favorite things!
Supplies:
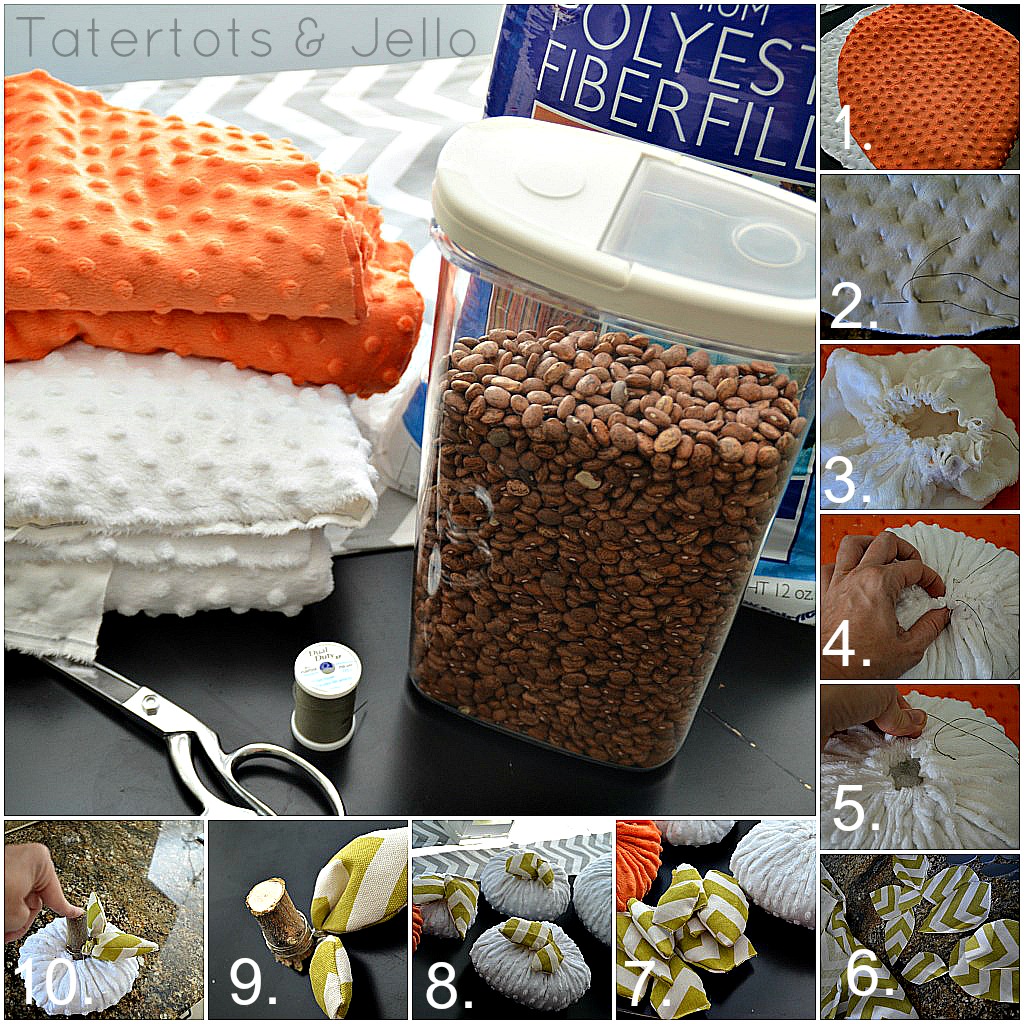
Minky material (polka dot plush) — I found it at Hobby Lobby. You can make about 4 pumpkins with 1/2 yard of material, depending on how big you make the pumpkins.
Needle and Thread
Craft Store Wire
Stuffing (batting)
A tree branch cut up (for the stems)
Coordinating Material for the leaves (you can use scrap material)
Beans (to stabilize the pumpkins)
Here’s how to make them:
- Cut out circles for your pumpkins. Each circle will be about 1/4 of the size when it’s all finished.
- Use a needle and thread to sew the circle shut.
- Sew all the way around the edge of the circle. Then stuff the pumpkins with beans at the bottom and batting at the top.
- Pull the thread tight and tie it off.
- Then sew the opening shut.
- Now make the leaves. Cut leave shapes out of coordinating material. Each leaf will need two sides.
- Put the right-facing sides together for the leaves and sew. Then turn them right side out.
- Stuff the leaves with a little batting and sew the seams shut.
- Cut a length of wire 12 inches long and wrap it around a leaf 5-6 times. Then wrap the wire around the tree branch and then around a second leaf. Twist the two leafs together. Put a dab of hot glue at the back of each leaf and on the stem to secure everything.
- Put a couple dabs of hot glue in the center of the pumpkin seam and press the tree branch into the center. Press down until secure.
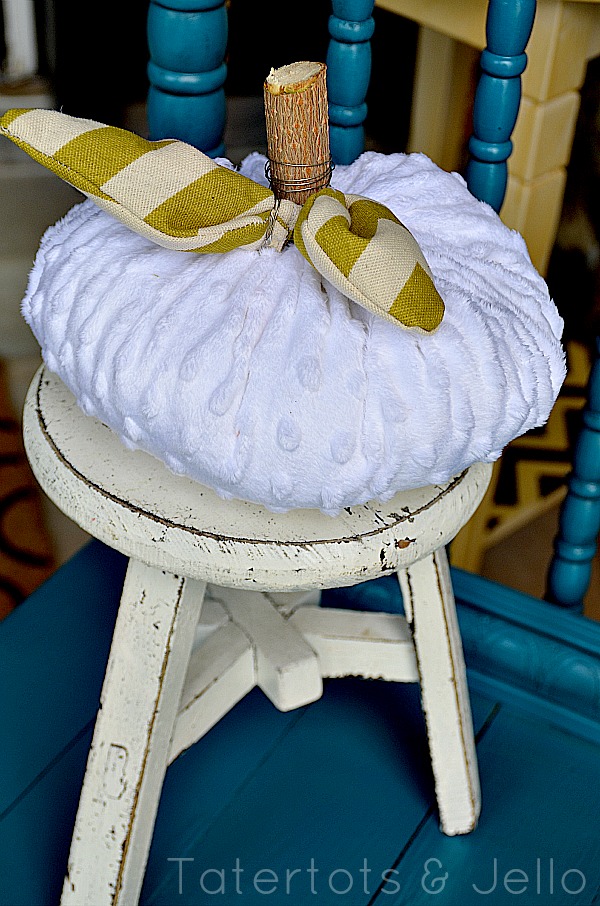
And that is it!! Now you have some plush Polka Dot Pumpkins.
Ella loved these so much that she is sleeping with one. The minky material is so soft!!
Happy Halloween!!
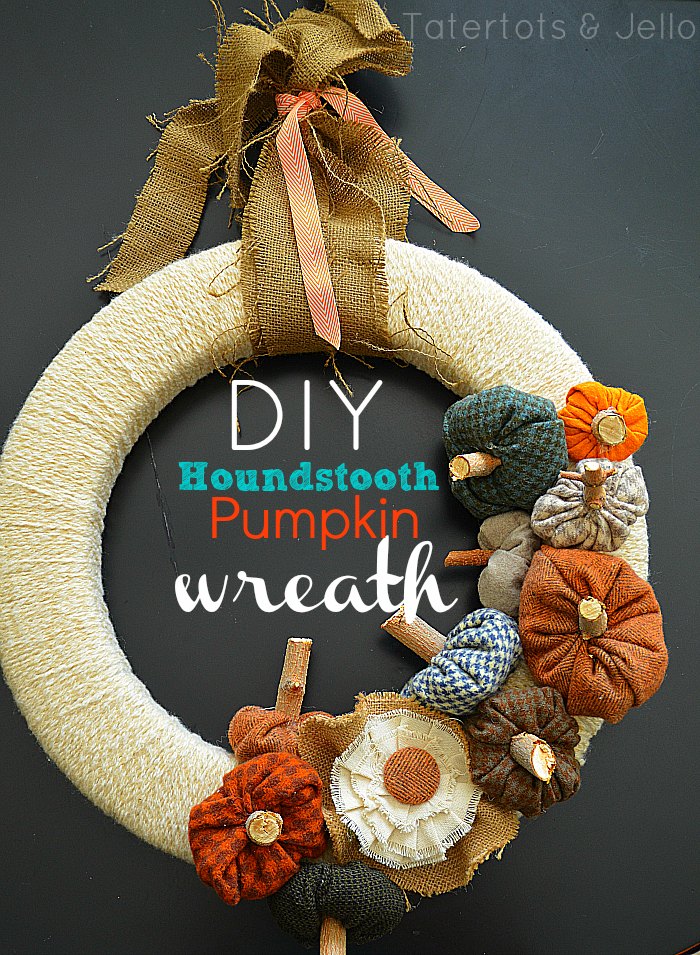
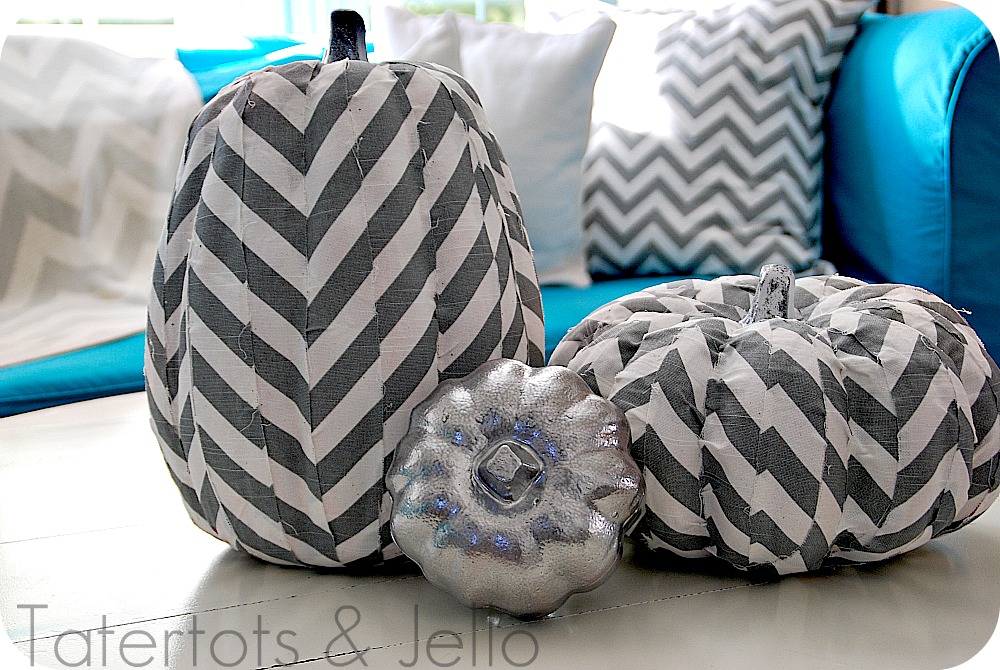
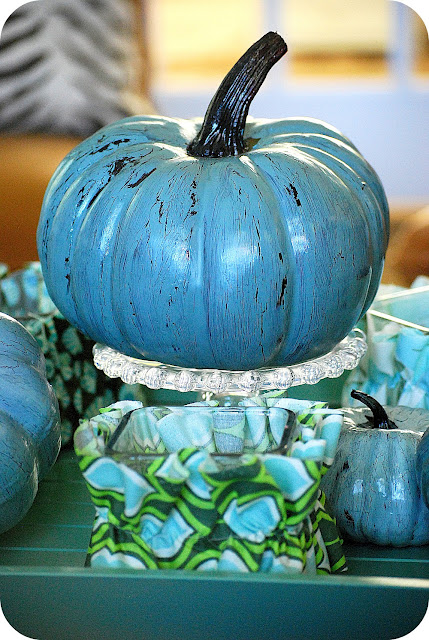
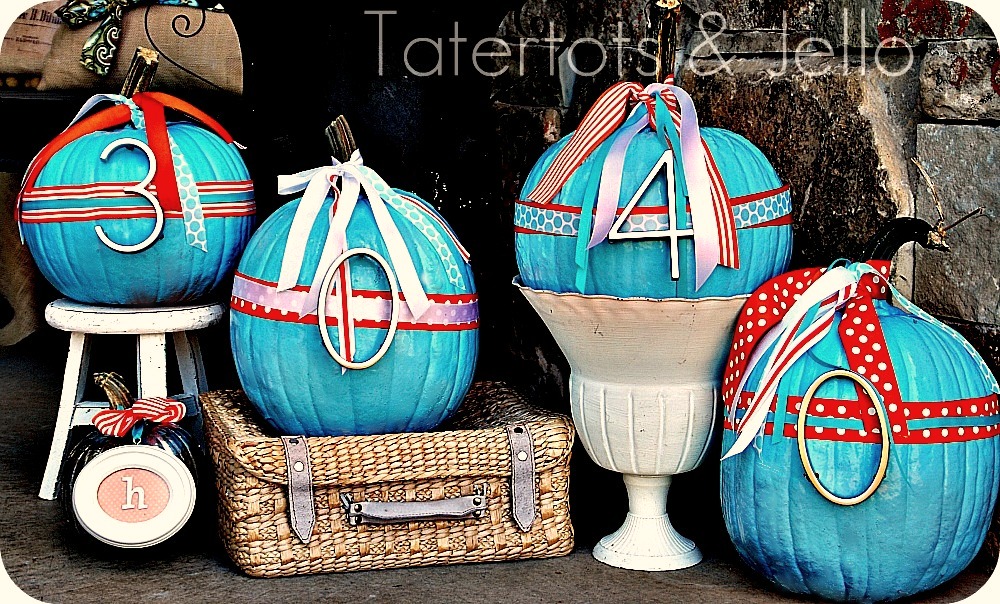
Come on over and visit me at Tatertots & Jello – where I love to share a creative idea or tutorial every day. Here are a few other pumpkin ideas at TT&J:
I also have a fun linky party on Friday nights — the Weekend Wrap Up Party, where I love to feature people. I would love to have you stop by!!
xox
. . .



Jen, you have a plethora of great Halloween decorations and this is indeed one of them.
Hot dog!!!!! I LOVE your Spooktacular event! I look forward to it more than anything else in blogland! Thanks for being so good to all of us Halloween lovers!
Thank you so much for this post. I want to let you know that I posted a link to your blog in Creative Busy Bee Craft Inspirations, under the Page 2 post on Sep. 01, 2012. Thanks again.
These are cute and easy! Thanks for sharing.
Carla from Utah
Super cute! So excited for this whole month.:)
Those are adorable! I have lots of minky fabric in my stash too! Thanks so much for sharing this!!
Thanks for having me!!! I love your Spooktacular September. I am so excited to see the other ideas!!
xoxo
so clever and cute, Jen!