Hi Eighten25 readers! I’m Amy, the creator behind Tonality Designs, and I’m so thrilled to be joining in on Spooktacular September! I’m just crazy about Halloween decor—you could even say I’m a little batty—so I’m sharing a DIY Flying Decoupage Bat project that is perfect for embellishing your pumpkins, flower arrangements or potted plants this year.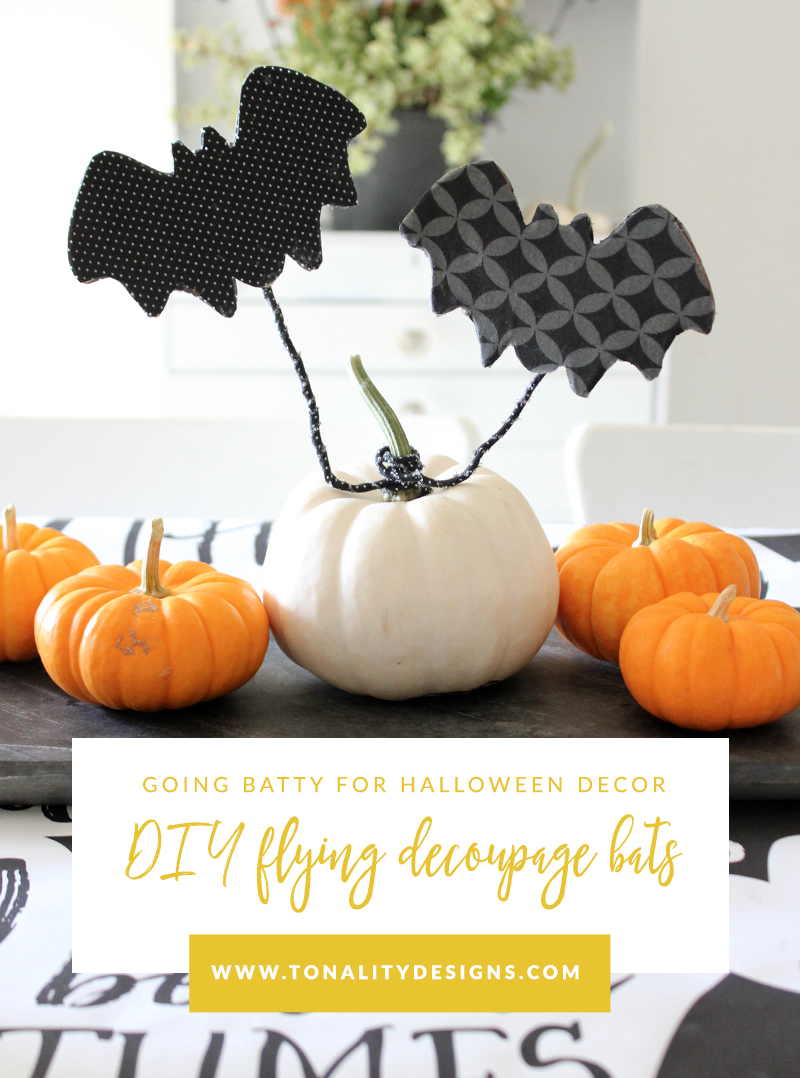
If you’re like me and like carve-free pumpkin ideas, this project is for you! These bats allow you to add a spooky touch to your pumpkins without ruining them by either cutting into them or painting them. Then after Halloween, you can remove the bats and enjoy your pumpkins for the month of November. Because guess what? Pumpkins are actually hard to find during November, go figure!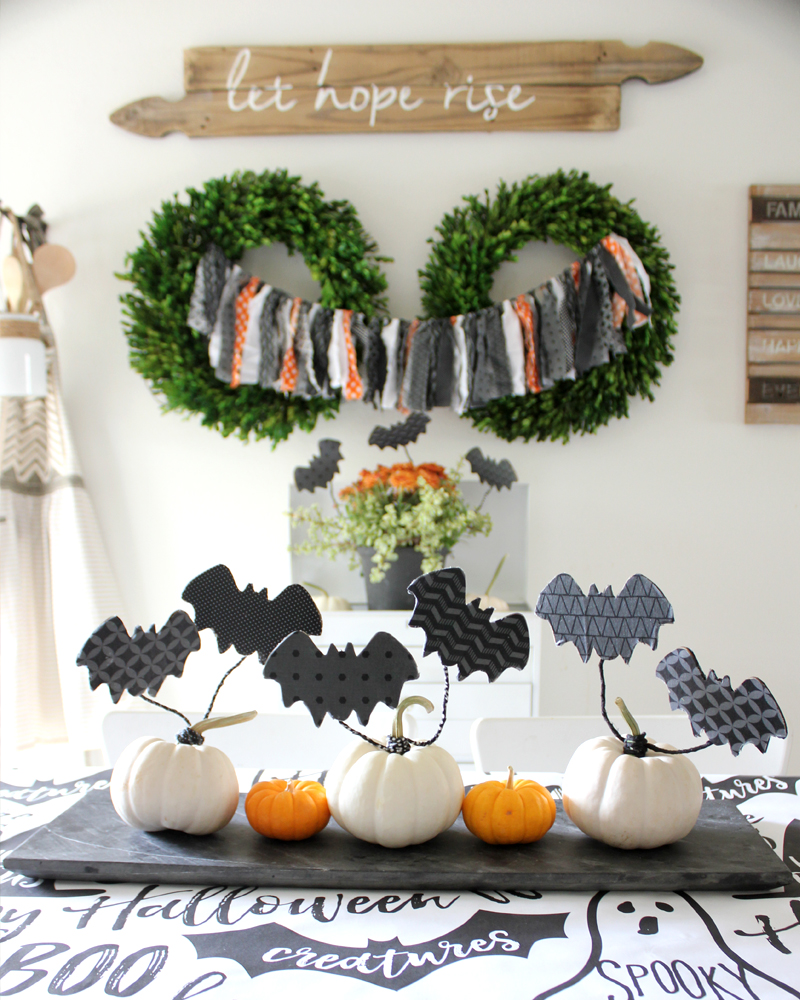
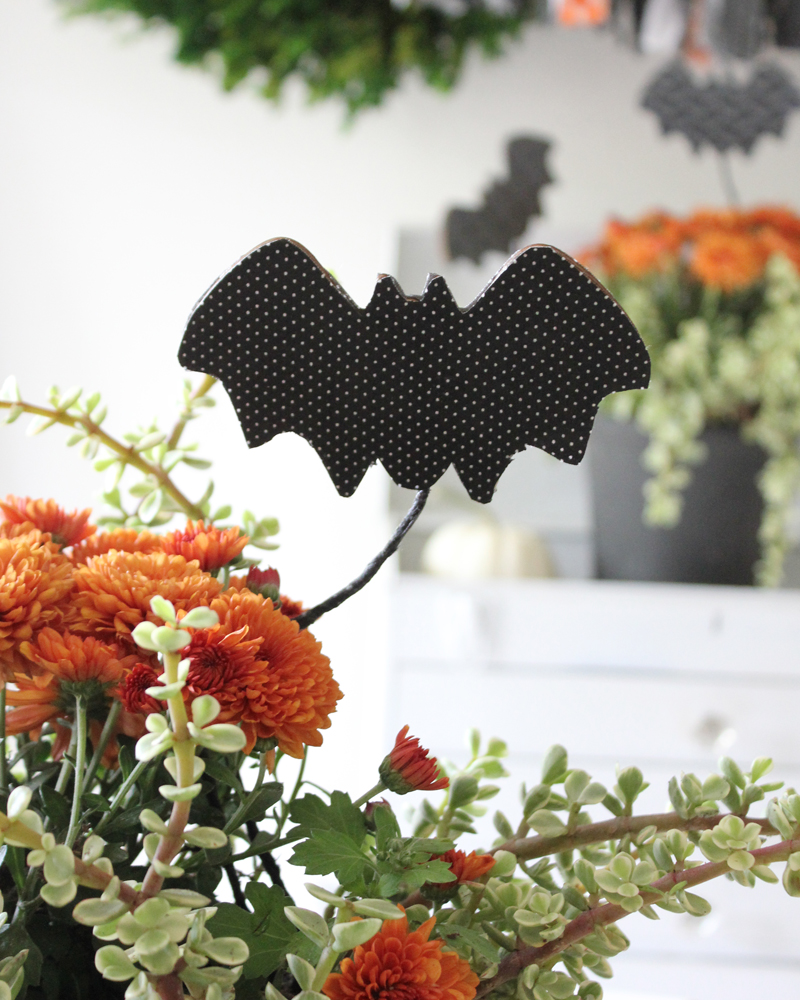
In addition to decorating your pumpkins, you can also add them to your flowers and potted plants as unexpected Halloween flair. I love how it looks like the bats are flying out of the mums, so cute, I mean, spooky!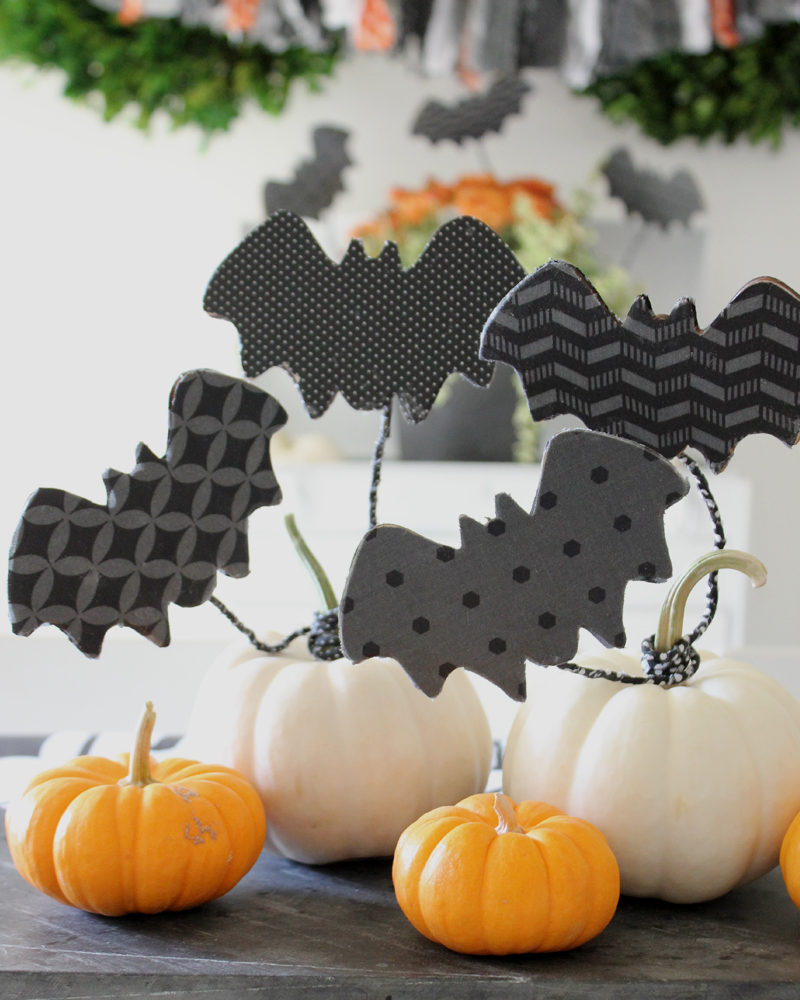
DIY Flying Decoupage Bats
Materials
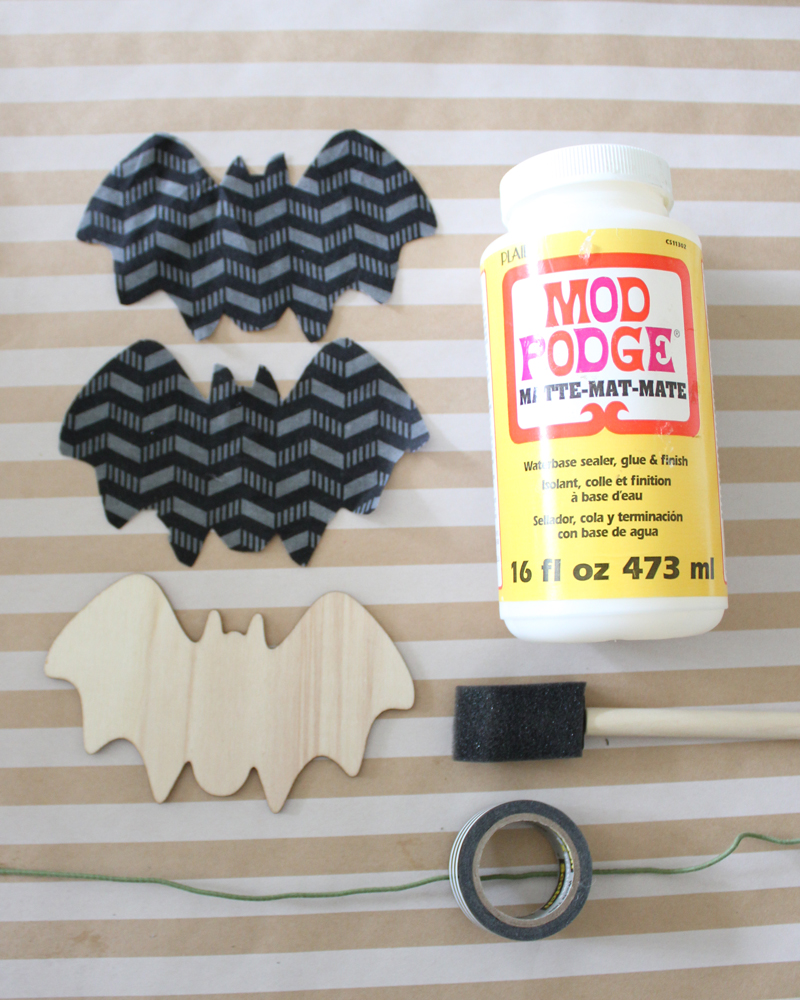
- DIY Unfinished Wood Bat Shapes from Oriental Trading
- Assorted cotton fabrics (mine were made exclusively for Joann Fabrics)
- Mod Podge
- 18 gauge floral wire
- Masking tape
- Bond paper (8.5” x 11” sheet of printer paper)
- Sewing pins
- Fabric scissors
- X-Acto Knife
- Small pumpkin with stem OR potted plant/flower arrangement
1. Create your pattern. Trace your bat shape onto your paper and cut out. This will be your pattern for cutting your fabric. (I recommend creating a pattern instead of tracing directly on your fabric. It will provide sturdiness for when you cut and you’ll see the shape better.)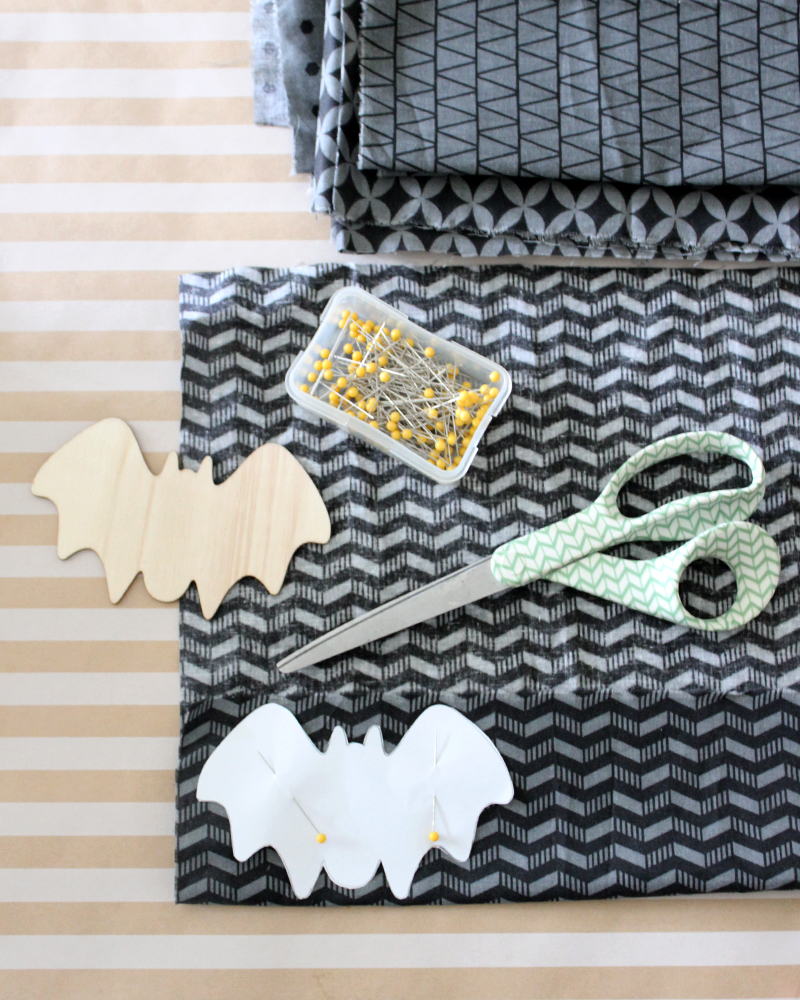
2. Cut your bats from your fabric. You’ll need two bat shapes for every wood bat you’re making. Fold your fabric in half and pin your bat to your fabric. (Folding your fabric allows you to cut out two bats at once.) Cut out your bats.
3. Wrap your floral wire in fabric. Use a ¼” to ½” strip of fabric and wrap it around your floral wire. Secure the ends using your Mod Podge. (You could also use washi tape to cover your wire.)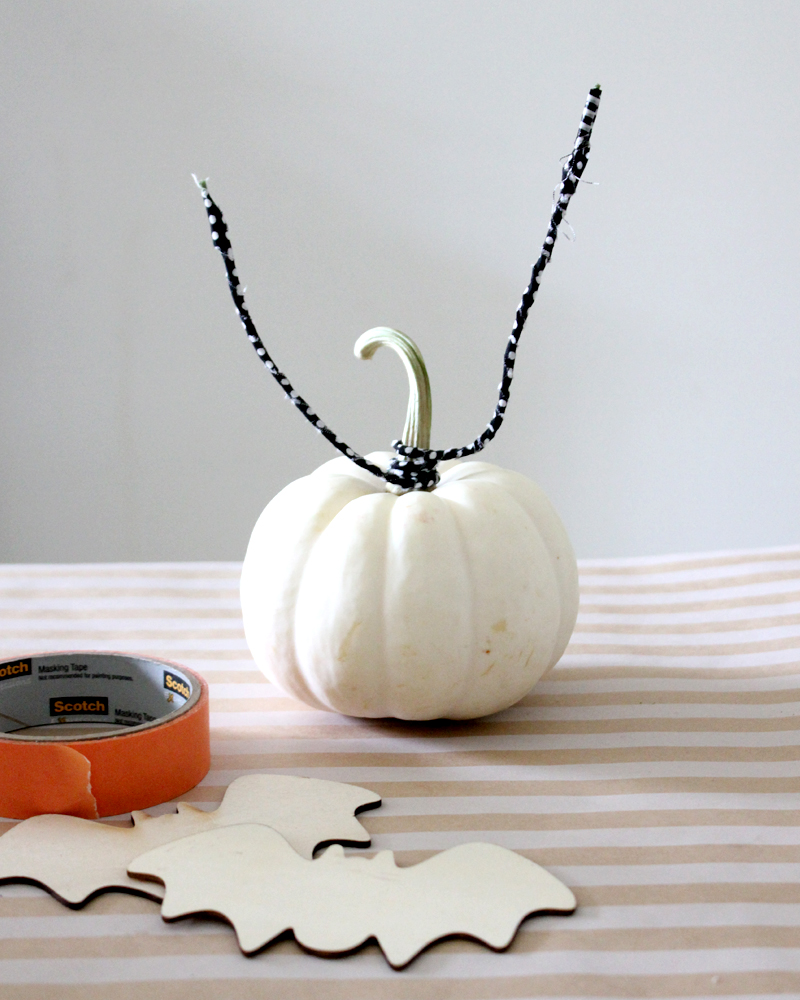

4. Tape your wood bat to your covered floral wire. For use on pumpkins, you’ll want to attach a wood bat to both ends of your floral wire. (You can either tape while your wire is still flat or wrap your floral wire around your pumpkin stem and then tape your bats on so you know the placement will work. Both options worked fine.) For use in flower pots & arrangements, add a bat to only one end of your floral wire.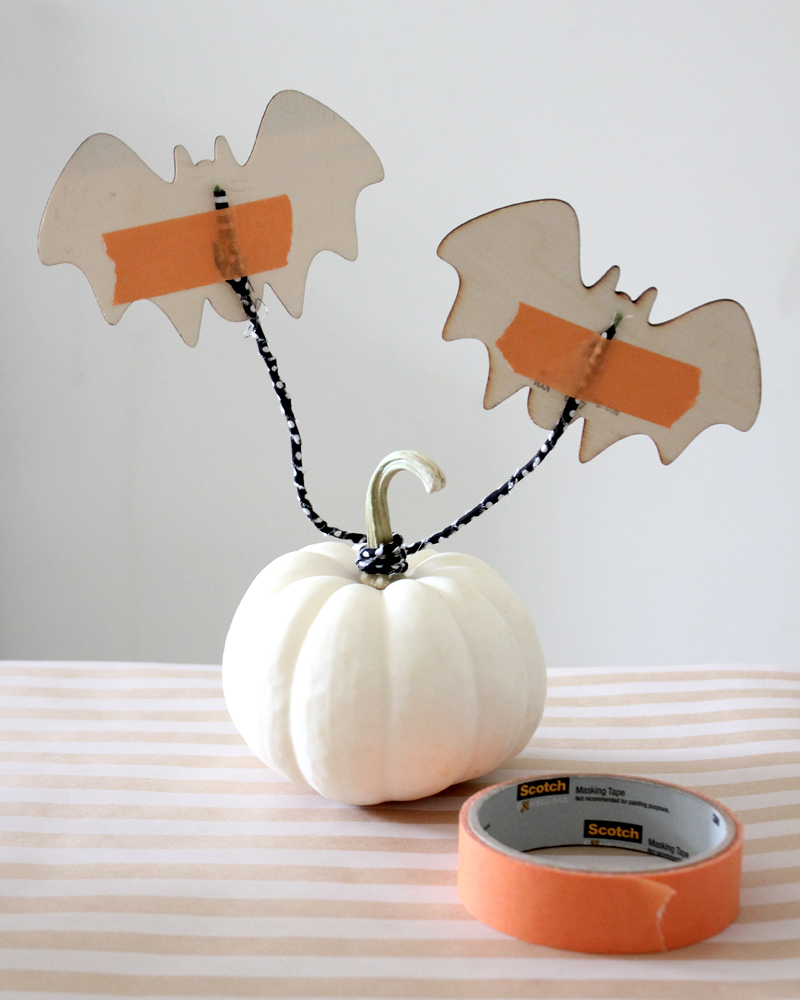
5. Decoupage your bats. Using your Mod Podge, decoupage your fabric bats to the wood bats. Unless your cutting skills are amazing, some of your fabric will go over the edge of your wood bat. This is okay. Do not try to fold it down. Just decoupage it flat and the final step will be cutting off the excess fabric with your X-Acto Knife. Let your bats dry and add 2-3 coats (follow instruction on the Mod Podge).
6. Cut your excess fabric. Once dry, cut off any excess fabric using your X-Acto Knife. Use the wood edge of your bat as a guide.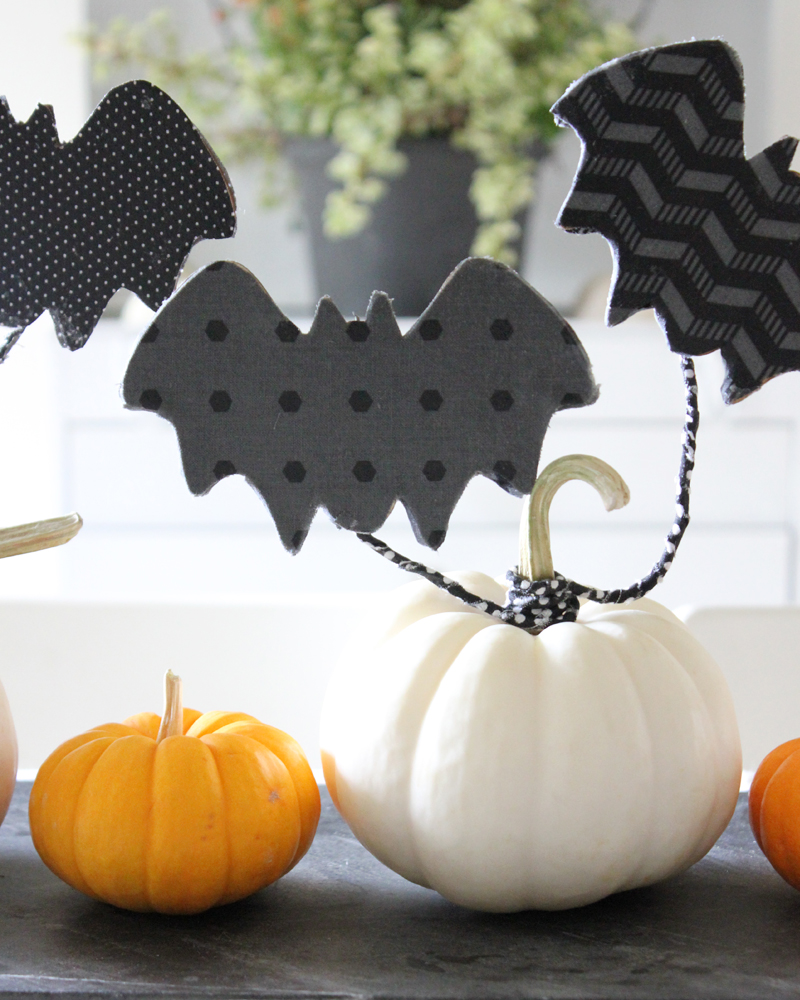
7. Enjoy! Either wrap around your pumpkin stem or stick into your flowers and enjoy!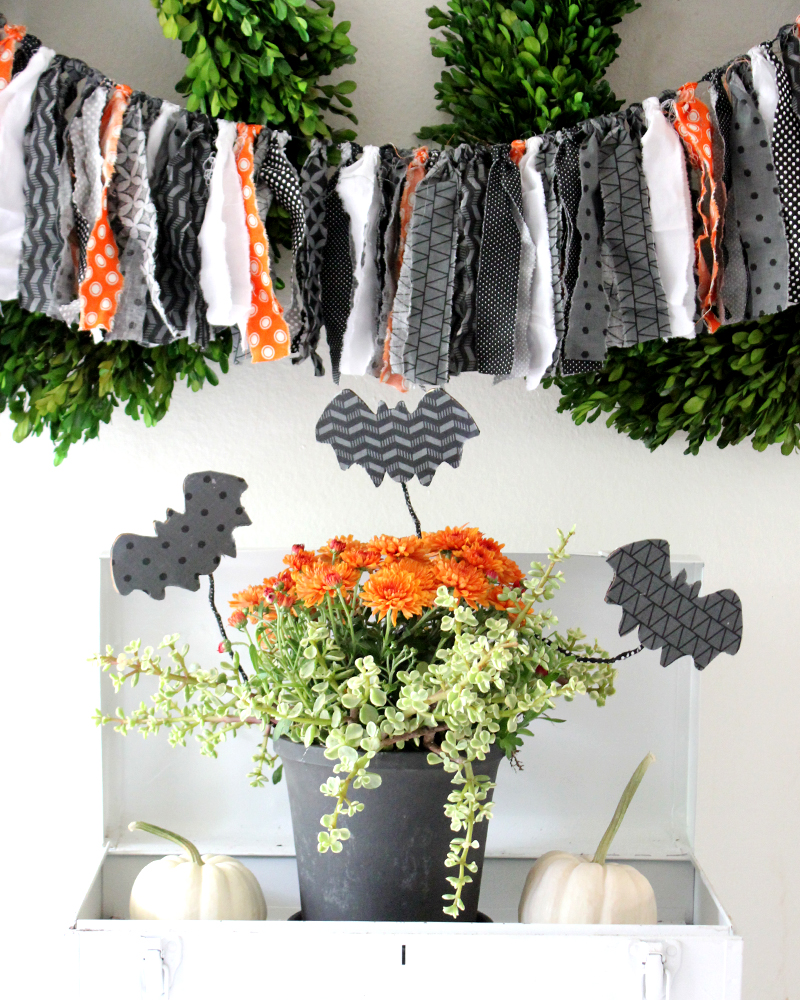
Other Halloween Ideas You’ll Find on Tonality Designs I hope you found these bats to be both unique and easy to create! At Tonality Designs, my goal is to set the tone for a joy-filled life. With that in mind, I provide easy and affordable hosting ideas for everyday entertaining, special occasions and holidays—like Halloween! My posts are all about sharing ideas for decor, recipes, gifts and floral arrangements. I also have a lot of free print-it-yourself PDF files available for download. I hope you’ll come say hi!
Free Halloween Photo Backdrop Download
You can see more of Amy on her BLOG | FACEBOOK | INSTAGRAM | PINTEREST | TWITTER
To see more Halloween ideas on Eighteen25:
- Fun Halloween Cupcakes
- Halloween Fringed Treat Bags
- Halloween Treat Containers
- Halloween Pumpkin Wreath

Leave a Reply