Hey, everyone! I’m so excited to be guest posting on Eighteen25! I love these girls, and it’s such an honor to share an Easter idea on their blog! Squeal!!
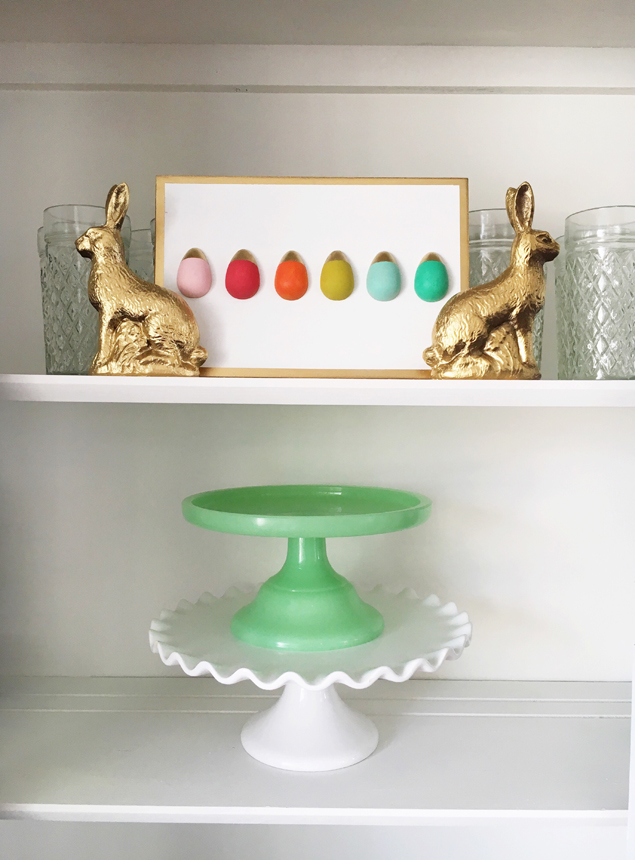
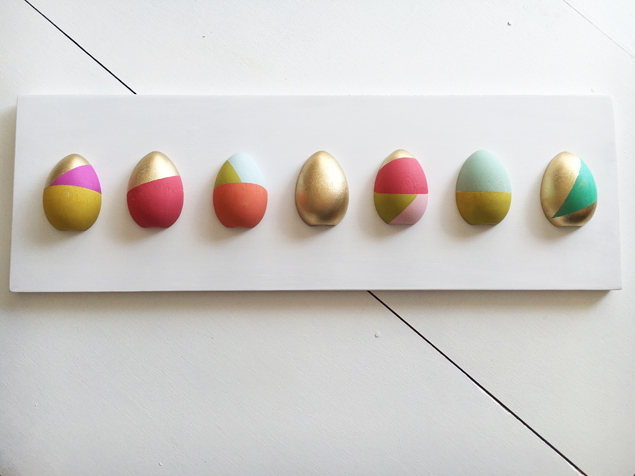
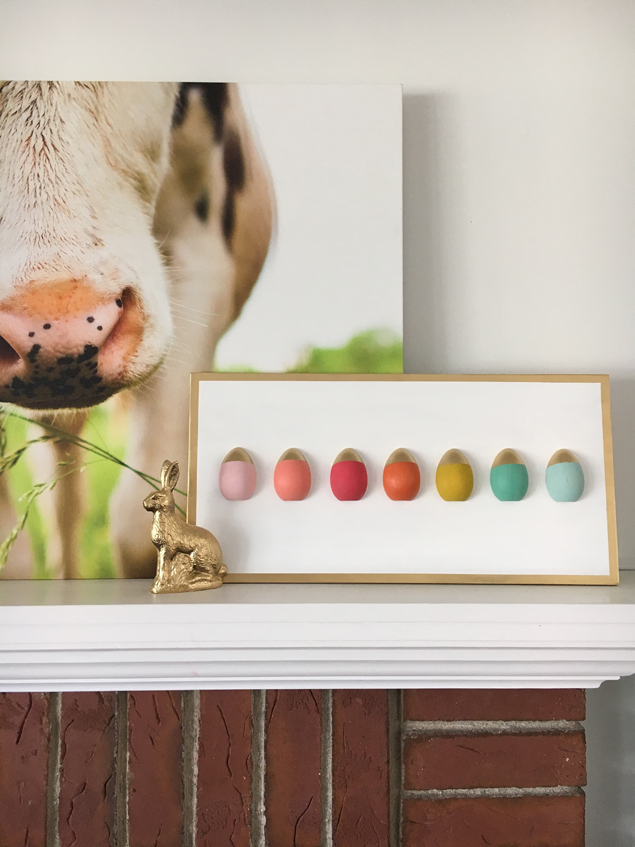
This idea has been sitting in my head for a couple of years now and I’m so happy that it turned out as cute as I imagined! It doesn’t always turn out that way.;) This sign will add a colorful modern touch to your Easter decor. Added bonus is that it is a fun and simple craft to do!
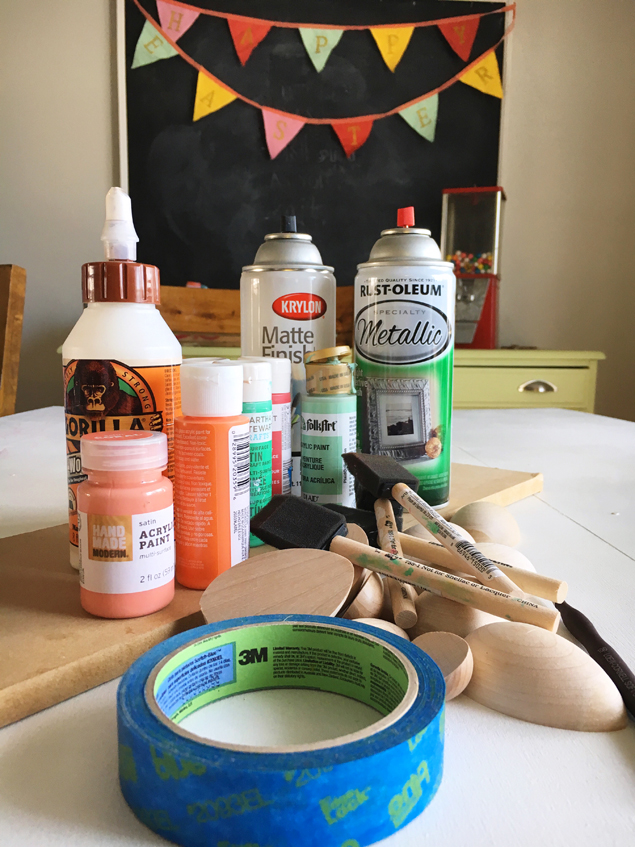
Let’s get started! Below is a picture of what I used/what you’ll need.
- wooden half eggs (if you’re lucky, you might find them at your local craft store. I had no such luck, so I purchased mine from HERE.
- Painters tape. I HIGHLY recommend getting the higher quality option
- sandpaper
- craft acrylic paint
- gold spray paint
- wood glue
- foam brushes
- wood of your choice and size. But it’s critical that you buy a piece that is very flat so you are able to glue the eggs on nice and flat. A good option is 1/2 inch thick Mdf or a higher quality particle board. Your local home/hardware store will cut down to the size you’d like. I’m using a piece that is 10×19.
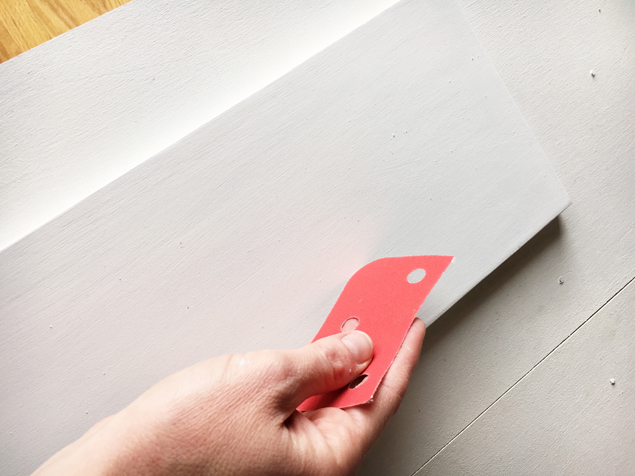
First off, lightly sand the edges of your board to clean up the cut from the saw.
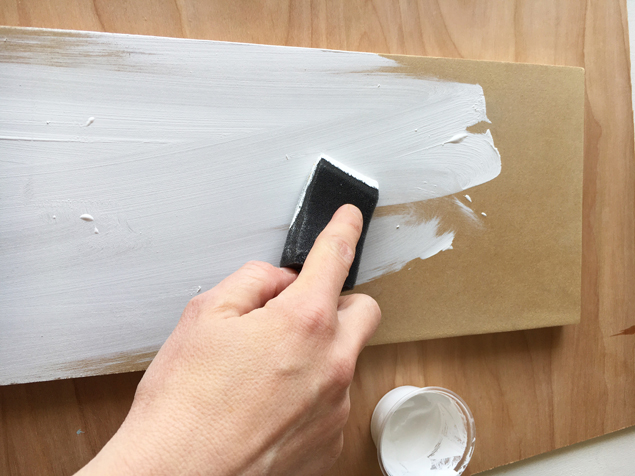
Next up, paint your board the color of your choice. I’m using white to give my eggs that pop of color. I think that staining a piece of wood would be so pretty, too! Endless possibilities!
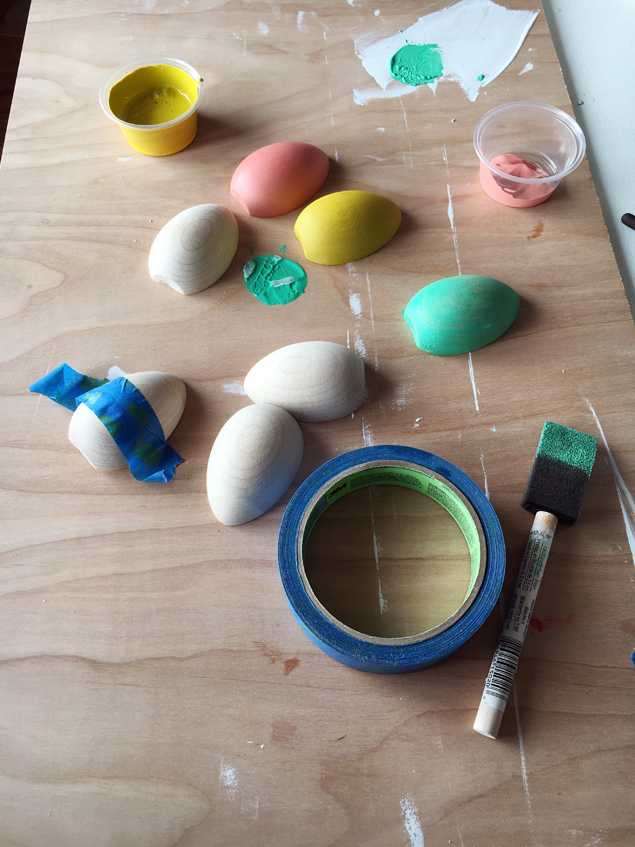
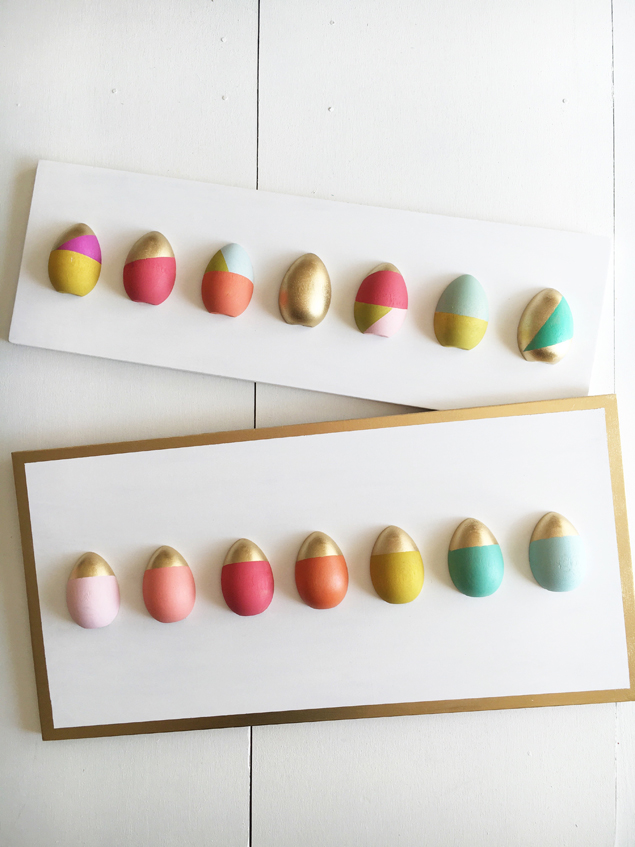
While that’s drying, go ahead and paint your eggs. Use whatever color or color combo tickles your fancy. I’m obsessed with everything color block lately, even more if it has a touch of gold!
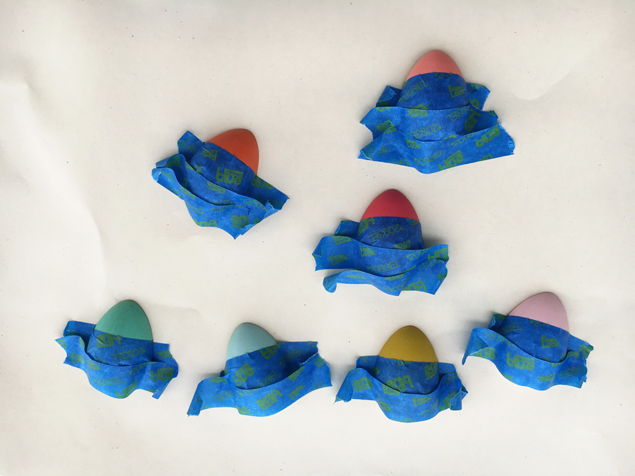
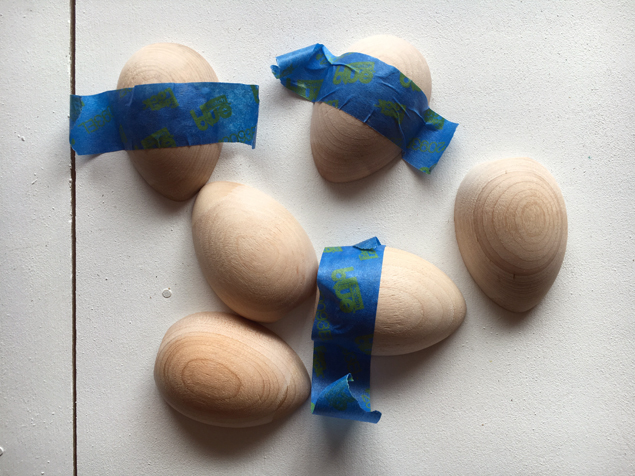
If you’re doing the color block without gold, tape off the egg where you’d like your colors. Make sure that your tape is nice and sealed on the edge.
If you are adding gold paint, you don’t need to bother adding tape. Just paint the whole egg and then tape it off really well.
When everything is nice and taped off, spray paint your eggs. After the paint is dry, there is a possibility that the paint seeped through. If so, just take a fine paint brush to touch up the paint.
After your eggs are painted and dry, start preparing your board for gluing by taking a fine piece of sandpaper to the board to get it nice and smooth.
Next place your eggs where you would like them on your board. If you’re pickier, you can measure exactly to get the eggs centered correctly. I’m kind of lazy and I eyeball everything. As soon as your eggs are placed where you’d like them to be, go ahead and start gluing. Put a generous amount on, but don’t go crazy! If you have too much, it will ooze out everywhere. If that does happen, just take a small folded piece of paper to clean up the excess glue.
Give it a good hour to let the glue dry. The bigger eggs occasionally like to slide, so keep a close eye on them. After it’s nice and set, spray a coat of matte finish on it and your sign is complete!
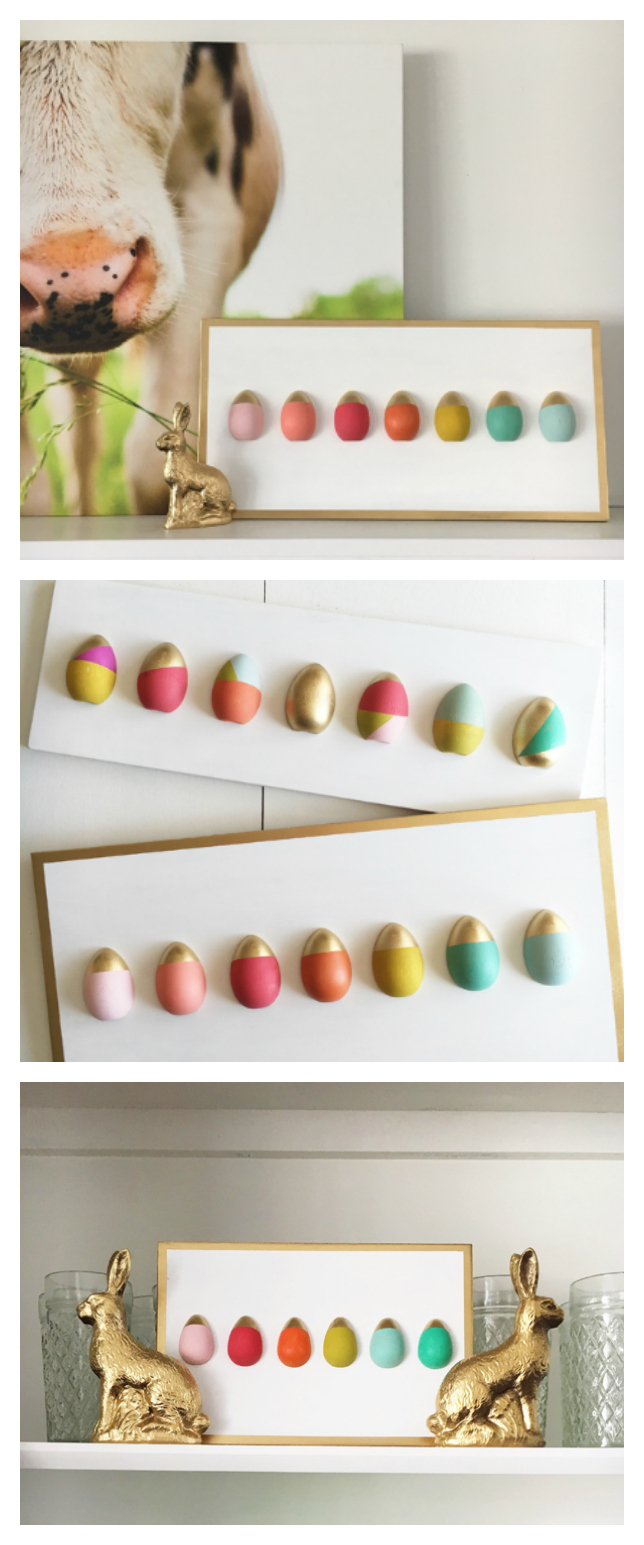
The sky is the limit with these eggs. You can find these eggs in a few different sizes. I went a little crazy and made a few options with size and color. If you are feeling extra fancy, you can tape off a border to spray gold on the edge. But I personally love them with or without the border!
Thanks a million for letting me share my idea ladies!
This is so pretty! Thanks so much for sharing such a fun Easter project!
Love this project! Great idea and tutorial – thanks for sharing!!
These are super cute! Thanks for the tutorial!