Hi friends, I’m super excited to be back with my favorite Eighteen25 girls! I’m Rebecca from The Crafted Sparrow. If you have yet to visit my site be sure to head over and check it out, I love sharing fun Home Decor Ideas, Easy to Make Crafts, Fun Printables, and the occasional Easy Recipe.
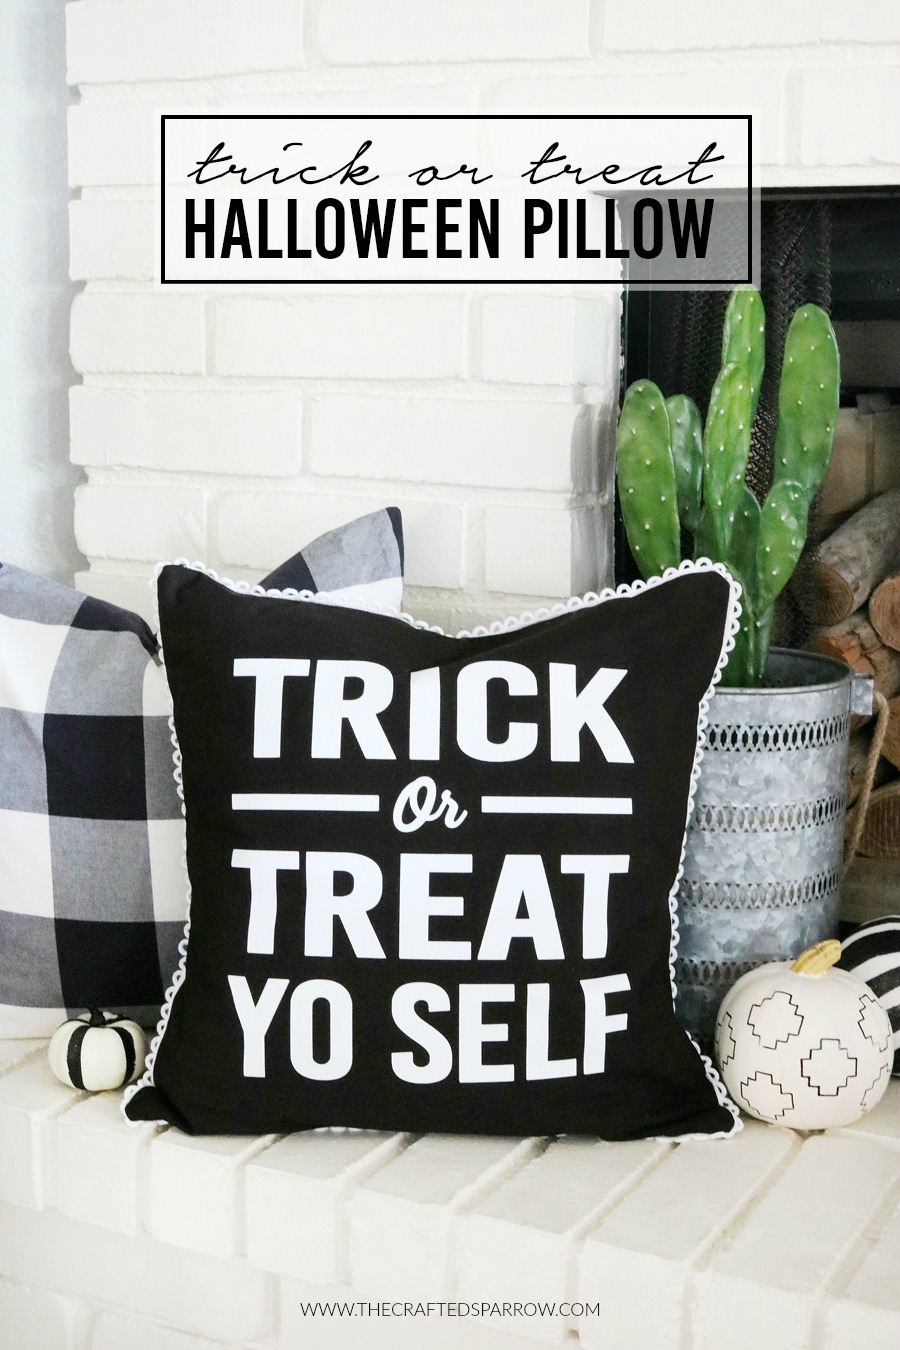
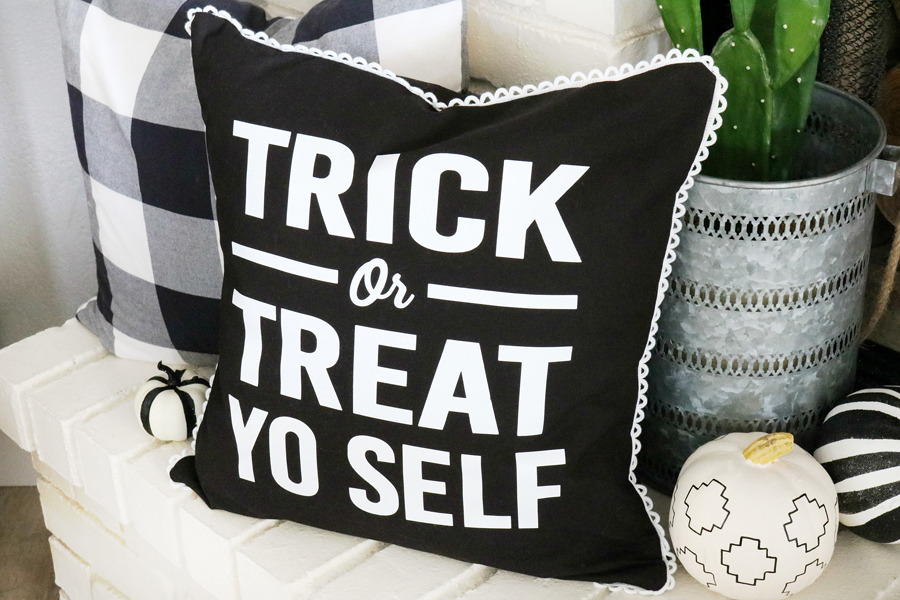
One of my favorite holiday projects to create each year is customized decor, and I really love creating custom holiday pillows. This year I’m sharing this fun Trick or Treat Halloween Pillow with you. This pillow can be made in under an hour from scratch, but if you use a few tricks that I’ll share it can be made in less than 30 minutes. Let’s get started.
Supplies: (affiliate links are included in this post)
Black Duck Cloth Fabric or Black Pillow Cover
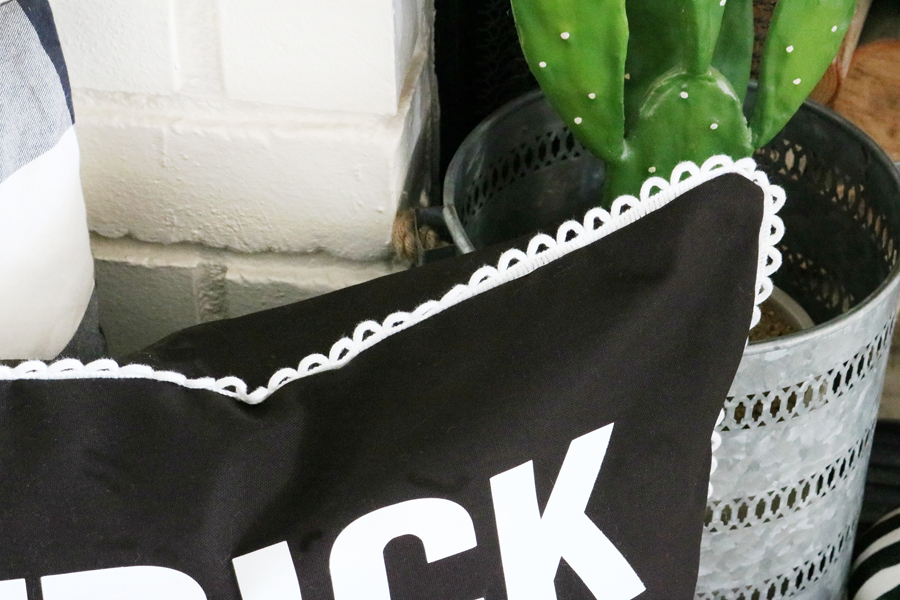
White Trim, your choice and optional (you will need 84″ for a 20 x 20″ pillow cover)
White Heat Transfer Vinyl
Cricut Maker Cutting Machine
Sewing Machine
Iron
Scissors
Weeding Tool
Trick or Treat Yo Self Printable Template found HERE
First things first, if you are creating this pillow cover from scratch you’ll need to cut your fabric. For a great tutorial on how to sew an envelope pillow cover go HERE or HERE. You will need to make the following fabric cuts, 1 – 20 x 20″ square piece of fabric for the front and 2 – 13 x 20″ pieces for the back.
Shortcut Hack: If you want to avoid sewing altogether and make this project even quicker use a pre-made pillow cover from Ikea! They come in great colors and are super inexpensive. You can still add trims and such if you hot glue them on.
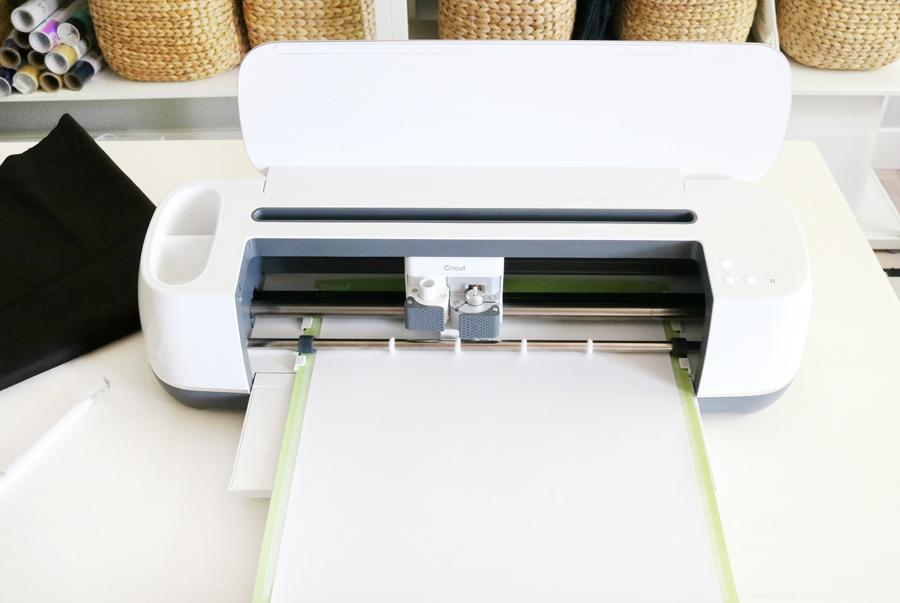
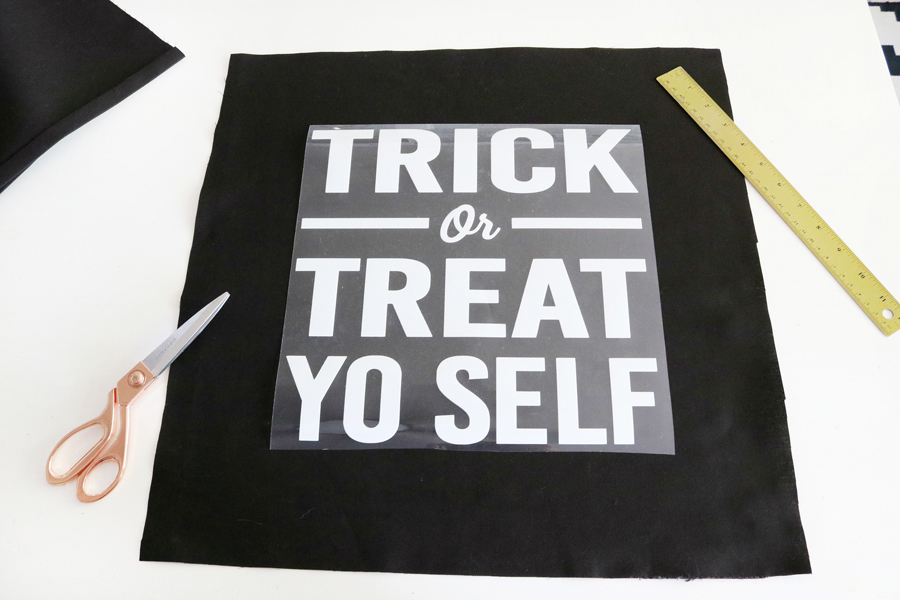
Let’s get to cutting the heat transfer vinyl for the front of our pillow. I used my brand new Cricut Maker Cutting Machine to cut my stencil. You can use the free download from above to create your own vinyl in your cutting software.
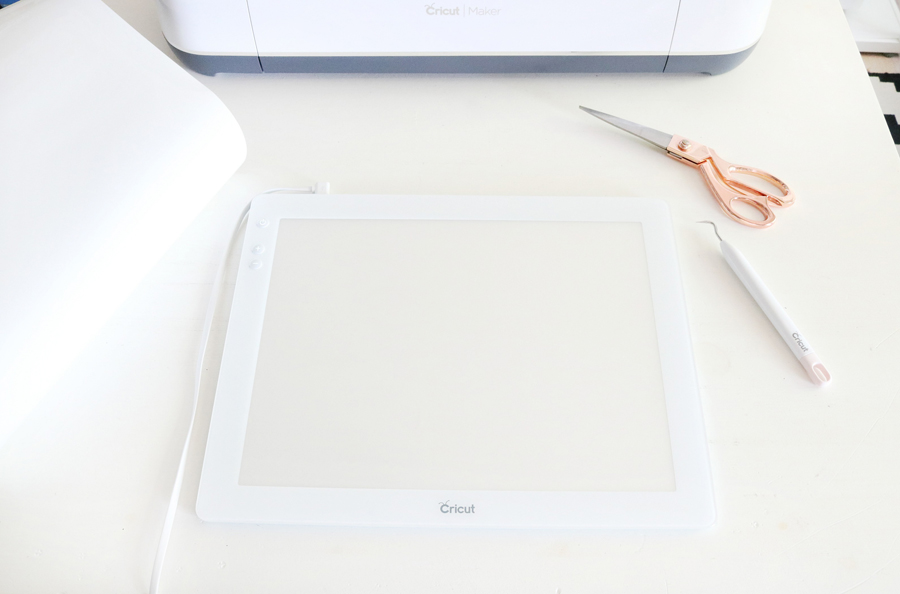
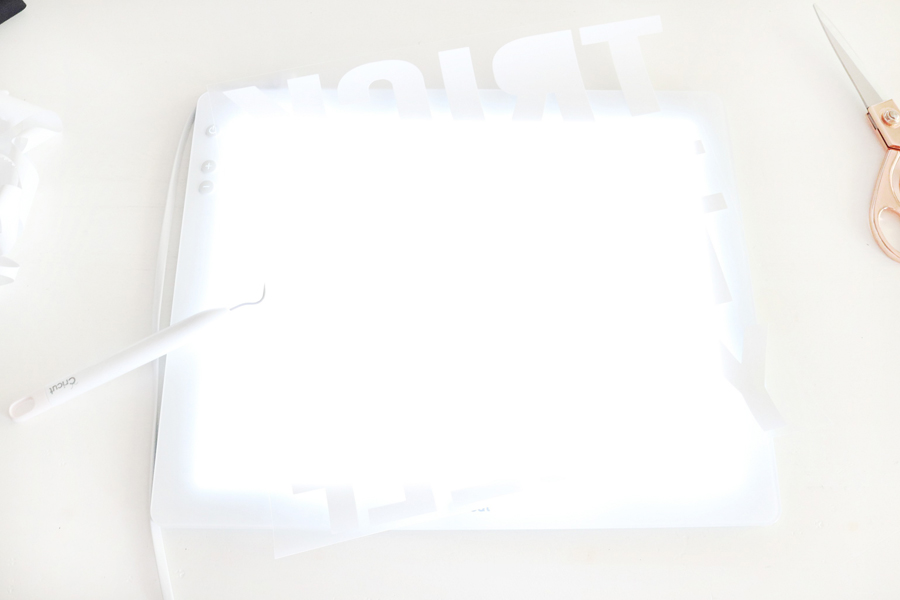
Once the vinyl is cut I also used my Cricut Bright Pad to help with weeding the vinyl. If you haven’t seen this yet or tried it yet, it’s a total game changer with weeding. Especially with small detailed cuts.
Center your vinyl decal on the front of the pillow cover, then following the heat transfer vinyl instructions iron it on. Once it’s cool to the touch you can remove the film.
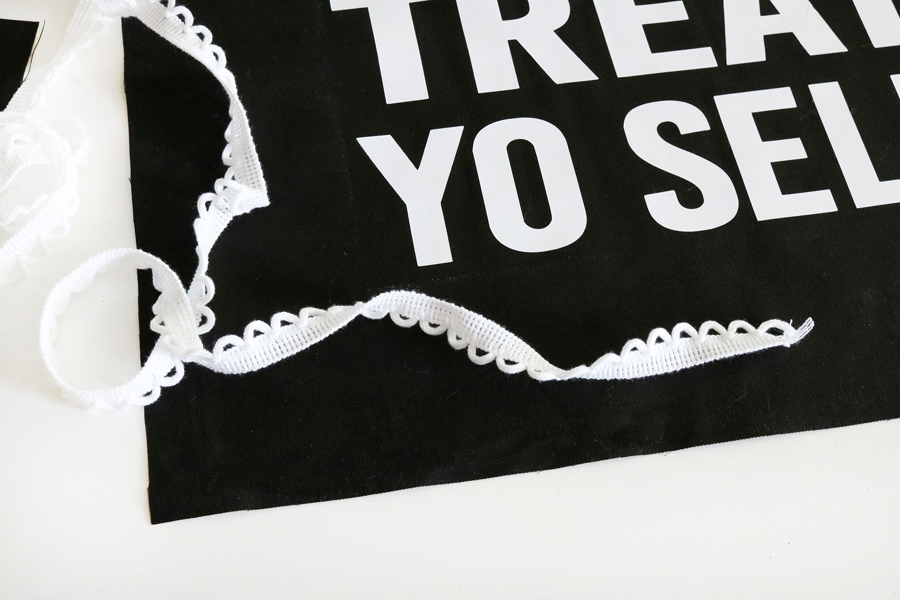
If you’re sewing the pillow from scratch this is when you will sew the trim on your pillow front. I don’t have a great tutorial for this (sorry) but I bet Pinterest does. It’s easy I promise, but the trim isn’t necessary so if you don’t feel comfortable doing it just skip it.
Finish sewing your pillow cover following the tutorials I linked above. Then when finished insert your favorite pillow form, I love the Ikea feather inserts. Great price and great quality.
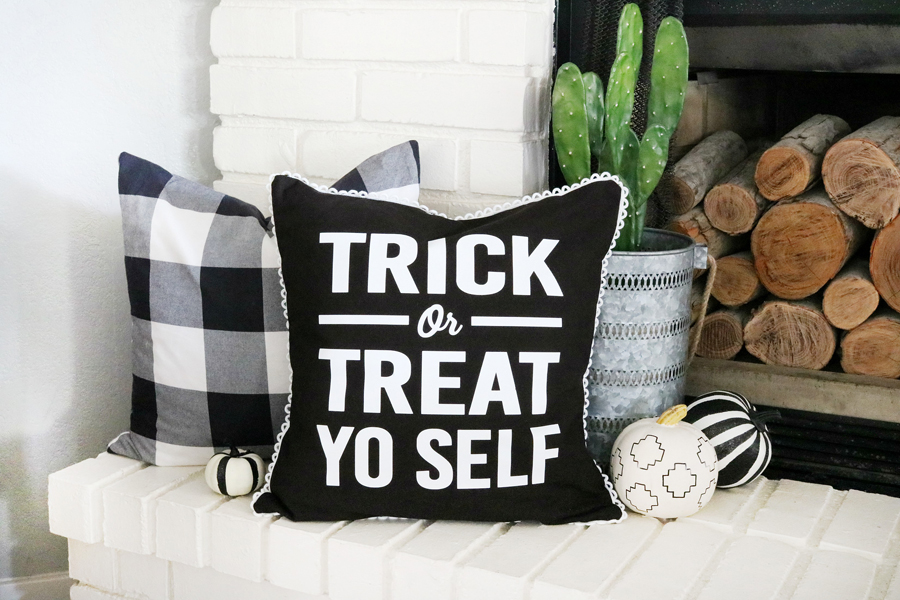
Isn’t it so cute?! I love how this Trick or Treat Halloween Pillow turned out, it’s the perfect addition to my holiday pillow collection.
If you loved this Trick or Treat Halloween Pillow, be sure you check out these other great Halloween ideas:
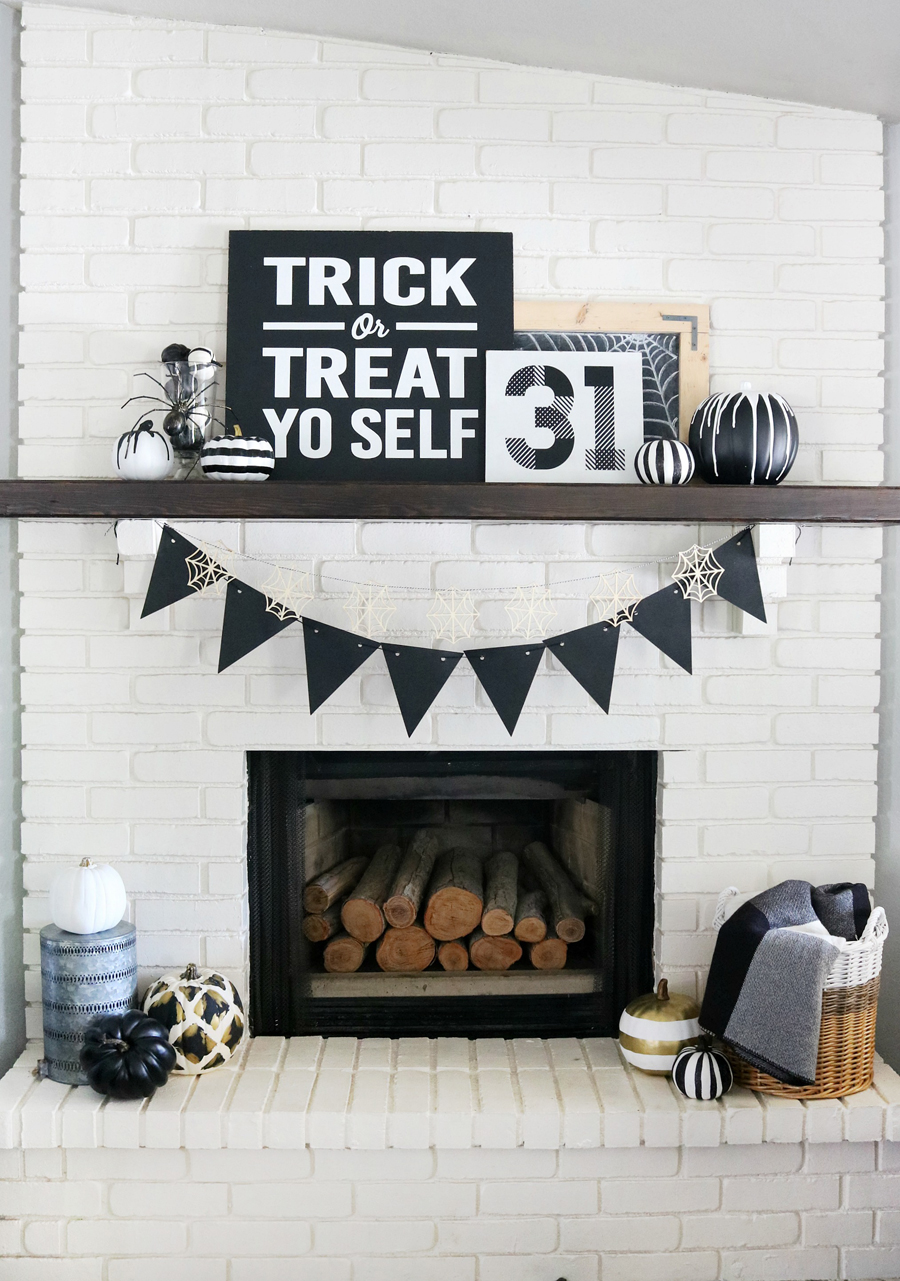
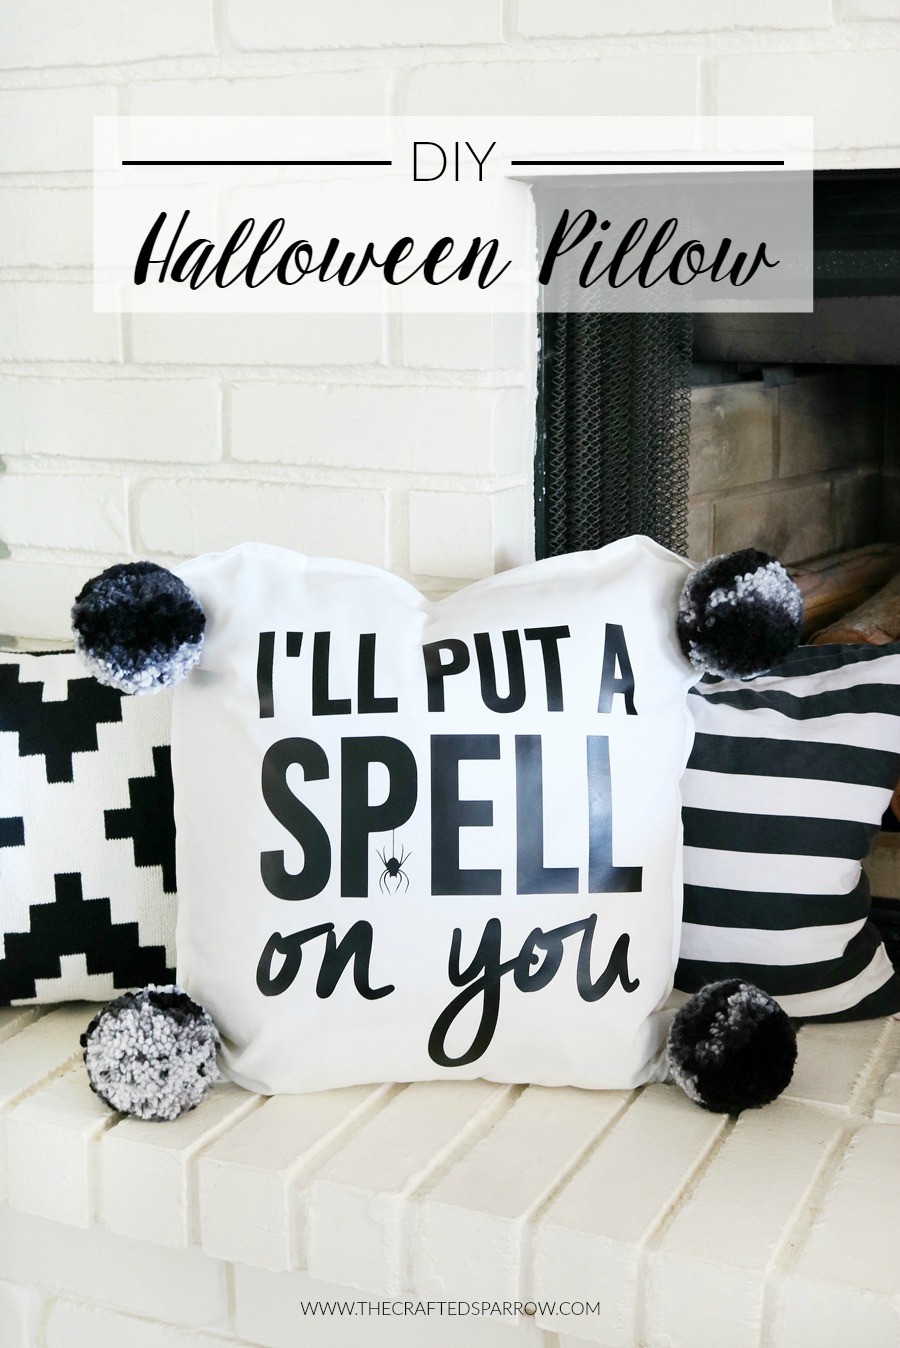
Black & White Halloween Mantel Decor
Visit Rebecca on her BLOG | FACEBOOK | INSTAGRAM | PINTEREST
Here are a few more Halloween posts you can find on Eighteen25:

Leave a Reply