Hi! I’m Patty Schaffer from Capture the Details, a blog that inspires you to enjoy all the little things in life.
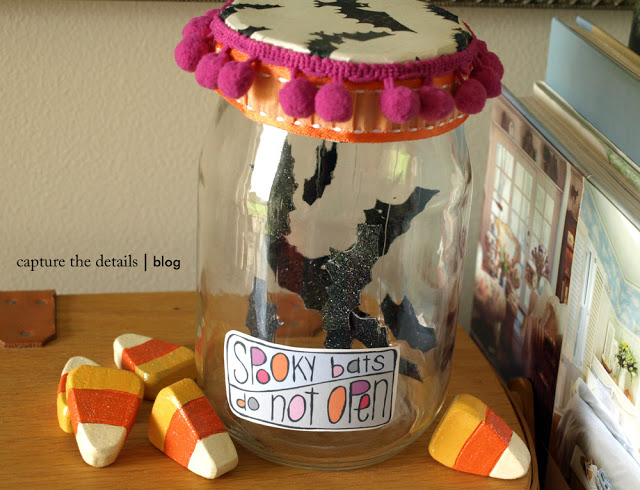
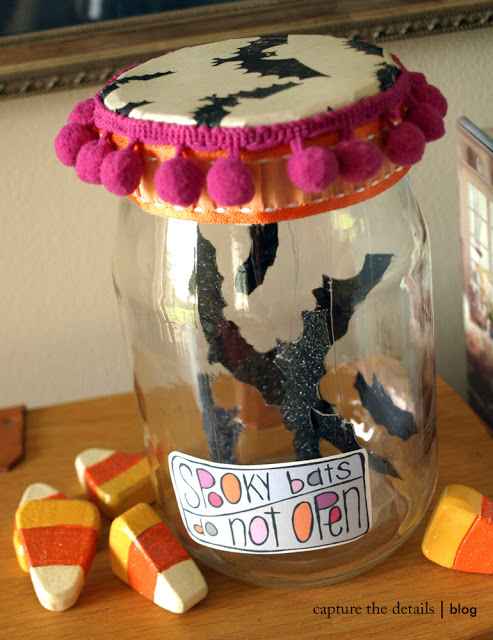
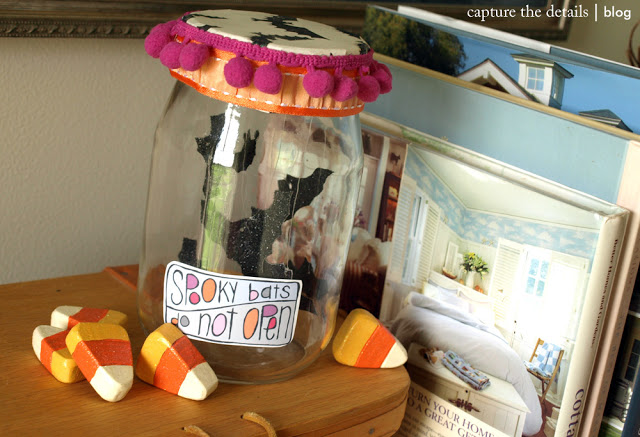
Today I am going to share a fun project that I designed – a jar of Halloween bats. These spooky guys are secure inside the jar, so you don’t need to worry about them swooping around your house!
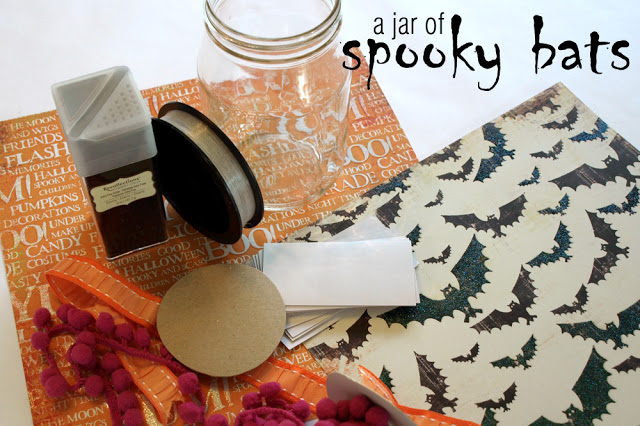
Here’s what you will need:
• a clean jar (mine is a large mayonnaise jar)
• double-sided adhesive chipboard (mine is from QuicKutz)
• black glitter
• chipboard piece big enough to cover top of jar
• 6” x 6” piece of patterned paper
• fishing line
• ribbon or trim to fit around jar top
You will also need:
• adhesive
• tape
• scissors
• 1 /16” hole punch
• paper piercer
Let’s get started!
Start by making your bats on the double-sided adhesive chipboard. I drew one to use as a template (step 1) and traced the shape to make nine total bats (step 2). My bats measure about 2” wide, but you can adjust yours according to your jar size. Cut out the bats, peel the backing off both sides (step 3) and press into the black glitter to coat (step 4).
Cover all the bats with black glitter (steps 5 and 6). Use a 1/16” hole punch (step 7) to punch a tiny hole in the head of each bat. Tie a 10” length of fishing line through the hole in each bat and knot it (step 8). Trim excess near the knot.
Trace the jar opening on the chipboard and cut out the circle shape. Poke the paper piercer through the chipboard circle at random intervals (step 9), so the bats will be spaced out when hanging. Take the fishing line from one of your bats and feed it through a hole on the chipboard circle, from the bottom side up to the top side. Lay the chipboard circle on top of the jar so you can gauge the height of your bat (step 10). When the bat is hanging where you want it to, tape the fishing line down to the top of the chipboard, trimming any extra (step 11). Repeat this process to get all your bats hanging inside the jar (step 12). Be sure to vary the heights.
Gently lay the chipboard circle with bats to the side for a moment and trace the top of the jar onto your patterned paper (step 13). Cut out the traced circle with about a one inch margin around the outside. This will allow you to snip in to the traced circle, creating flaps (step 14), so the paper can be fitted to the top of the jar. Put the chipboard circle with bats back onto the jar and use adhesive to secure the patterned paper circle with flaps to the top of the chipboard circle. Fold the flaps down (step 15) and adhere them to the side of the jar top (I used glue dots here for a stronger hold). Add ribbon or trim (step 16) around the top of the jar to hide the flaps.
Now, a curious bystander might want to know what is in the jar and mistakenly open it, causing a swarm of spooky bats to escape and scare everyone in your home. So, I made a “spooky bats/do not open” warning label that you can print out on sticker paper and adhere to the jar. Just in case. Click on the link provided to open the graphic. Then copy and paste it into a photo editing program – resizing to fit your jar.
(download label HERE)
I hope you have fun creating this jar of bats! My kids love to look at it and it is one of my favorite decorations this year. Happy Halloween!
. . . . . . . . . . . . . .
thank you for sharing such a fun project patty. i love every little detail.
if you haven’t been to capture the details already, head on over right now to see all of patty’s creations… including this halloween topiary. or, if you’d like to purchase some of patty’s creations, check out her darling etsy shop.
. . . . . . . . . . . . . .



Very cute! The best thing about it is the "do not open" sign. I love that!
This is too cute! 🙂
This is adorable! Thank you so much!
I love it! Very cute 🙂
This is so batty! lol I never thought of the cardboard in the lid. Very cute project!
Thank you for sharing it.
SUPER CUTE! What a great idea!! Love the glitter bats!!
Love it, so unique and brilliant!
Natalie
http://www.projectdowhatyoulove.wordpress.com
Love it, so unique and brilliant!
Natalie
http://www.projectdowhatyoulove.wordpress.com
Just wanted you to know I linked to your pickle jar project. Loved the idea.
Thanks,
Pamela
Love this! the candy corn and the pom pom trim are awesome too!
Where do you find black glitter??? I have looked for years and cannot find it at the craft stores by me.