Hello Eighteen 25 Readers!! My name is Bev and I blog over at Flamingo Toes. I’m so excited to be here today as part of Spooktacular September!
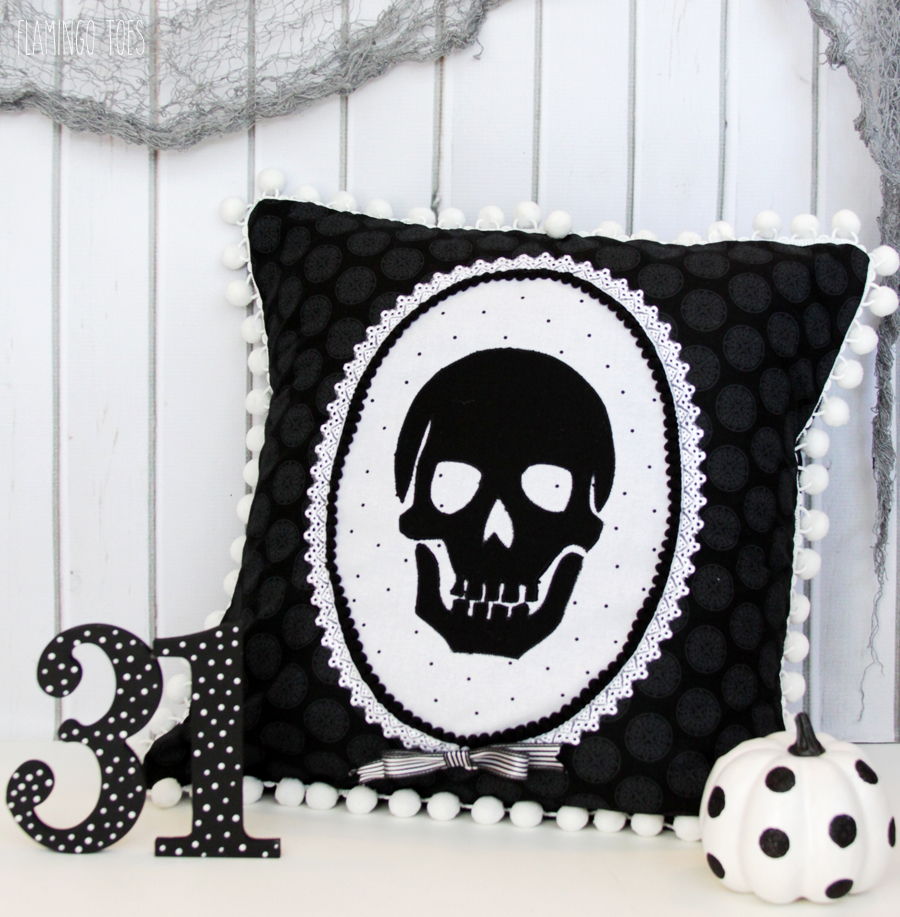
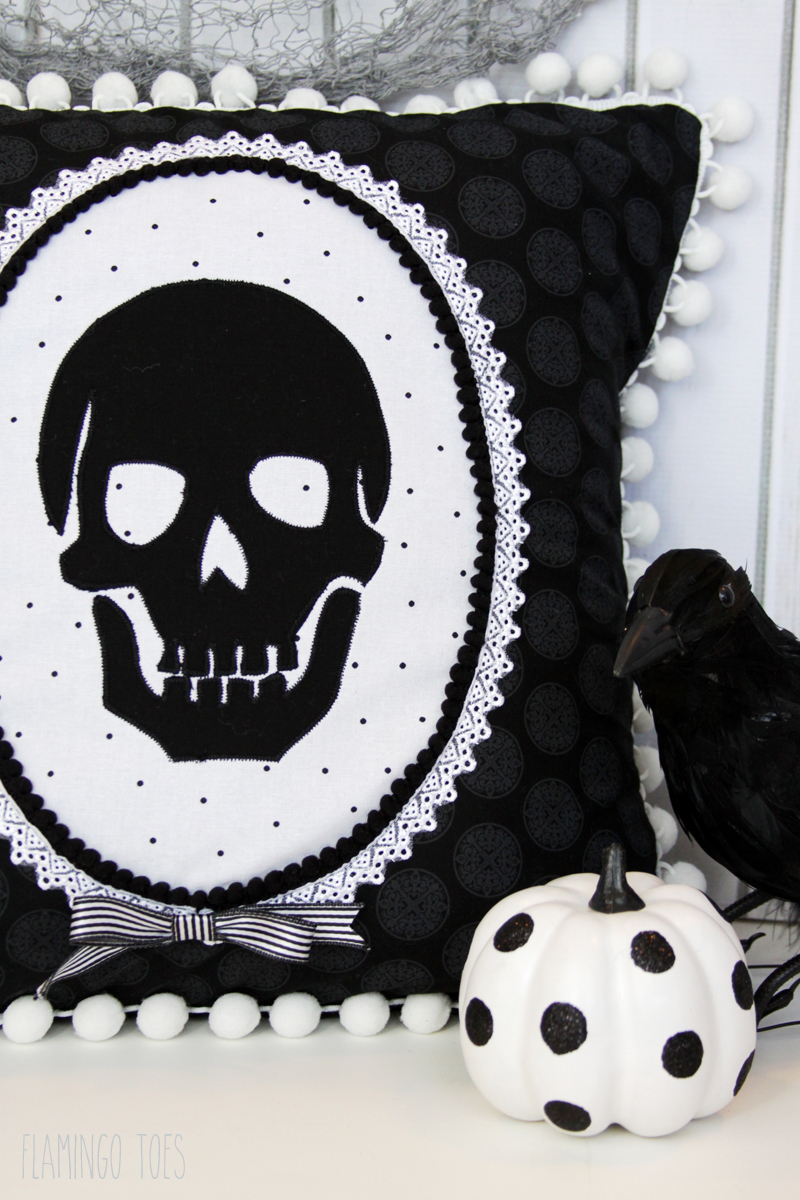
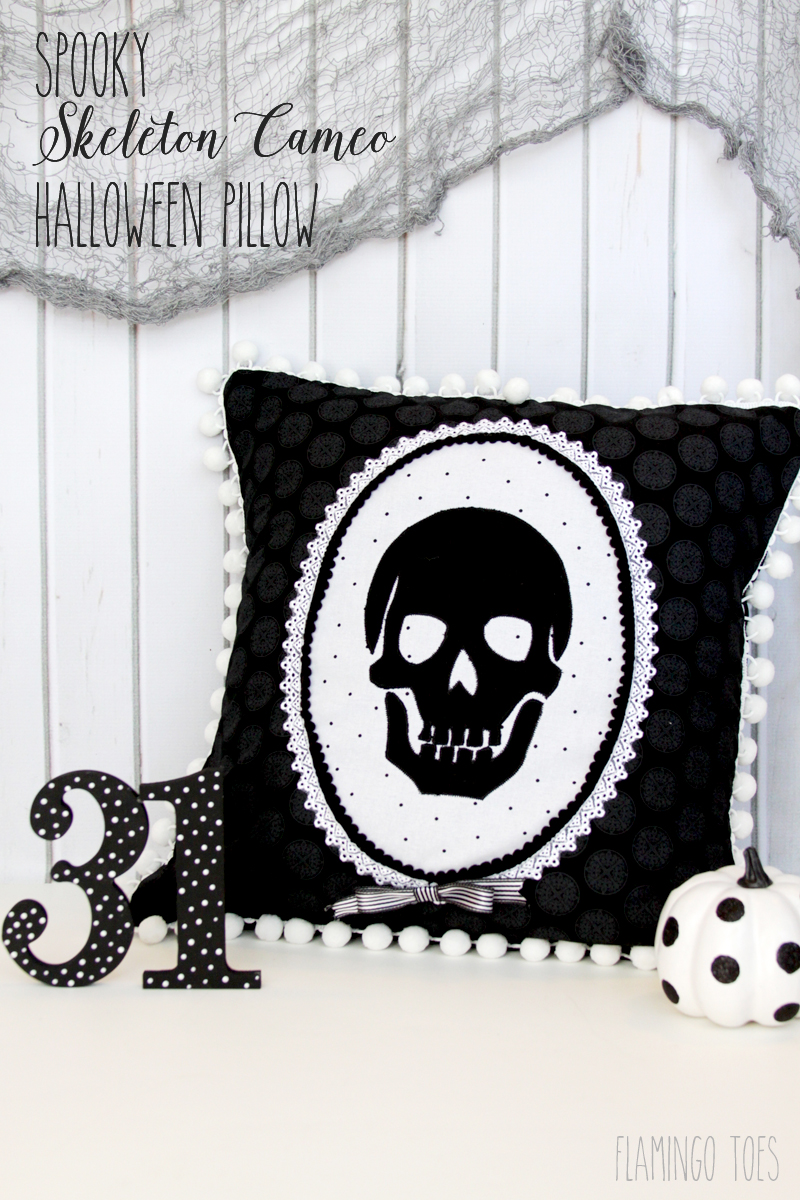
My style for Halloween leans towards Black and White, Vintage and a lot of inspiration from the Haunted Mansion at Disneyland. So fun and spooky but not really scary. This Spooky Skeleton Cameo Halloween Pillow is the perfect way to add a bit of vintage Halloween style to your decor!
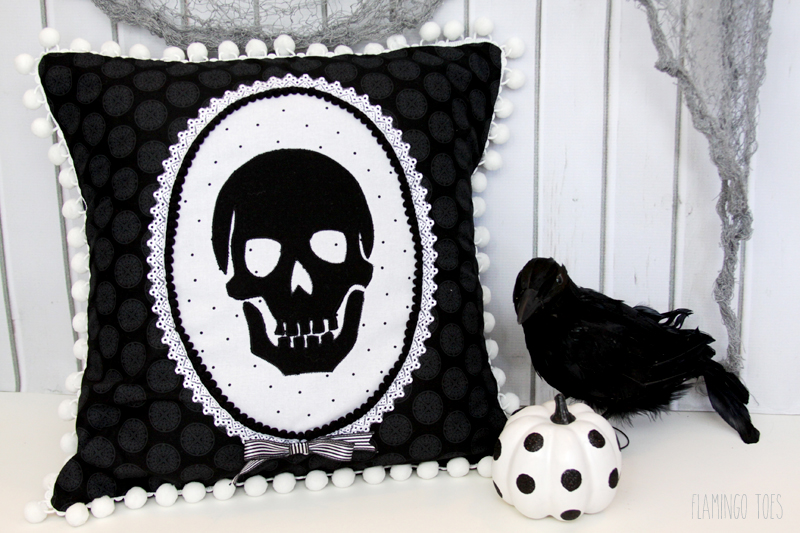
It’s all decorated up with lace and pom pom trim – because I feel strongly that pillows should have pom pom trim. It’s a weakness of mine. 🙂 It’s an easy pillow to put together too – just basic sewing skills are needed!
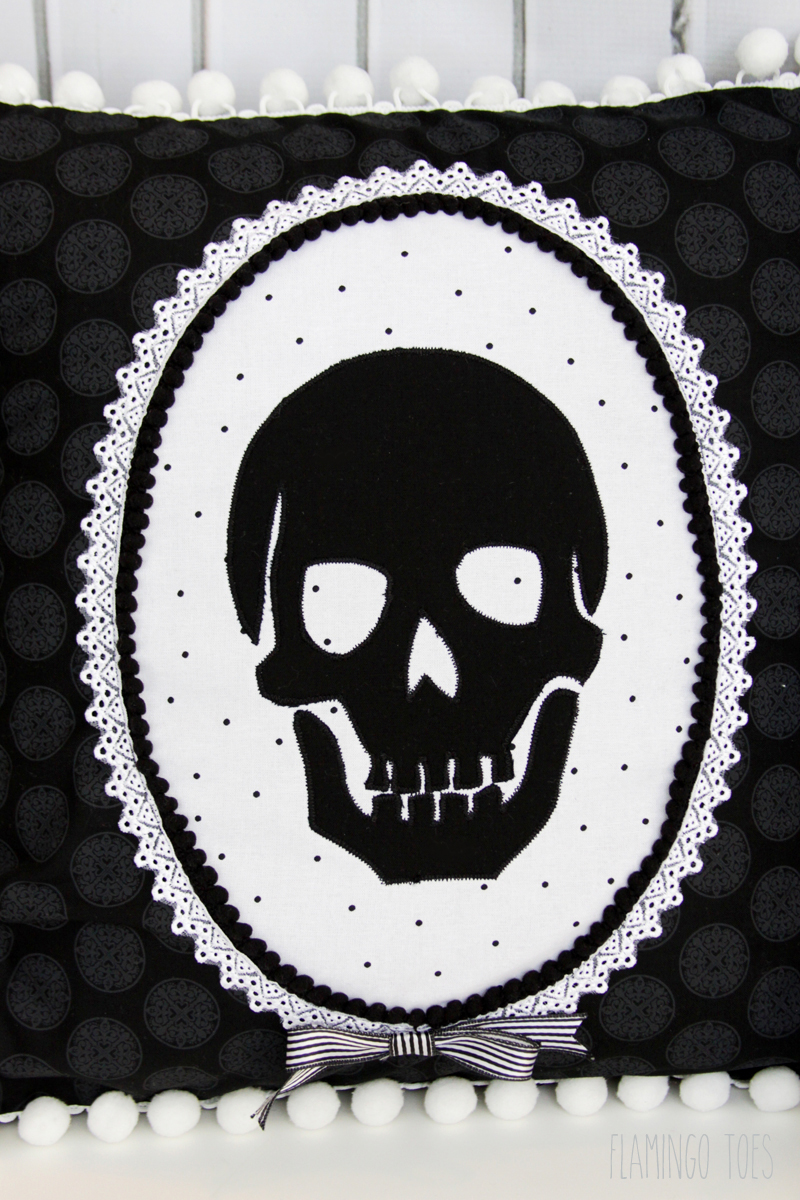
I think he’s pretty cute myself. I just love his little snaggle teeth and those polkadots!
Here’s what you need to make your own:
- 1 – 16″ x 16″ Pillow Form
- Black Fabric for Base – 1/2 yard
- White Fabric for base of cameo – 9″ x 11″ piece
- Pom pom trim and lace for cameo
- Black Fabric for Skull – 8″ x 10″
- Fusible Webbing
- Ribbon for bow – 1/3 yard
- Pom pom trim for pillow edging – 2 yards
- Skull and Cameo Pattern
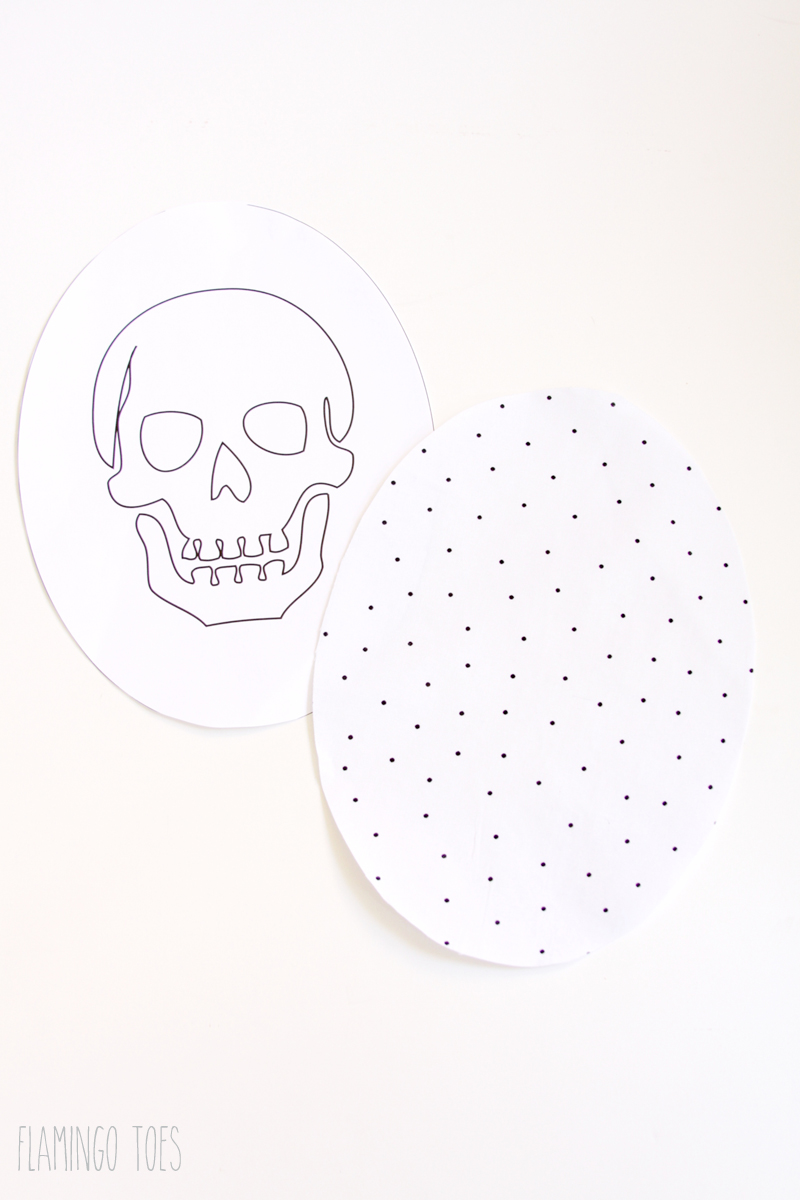
Print out pattern and cut out oval. Press fusible webbing to the wrong side of the white fabric and cut out oval shape.
Press fusible webbing to wrong side of skull fabric. Cut skull from black fabric. Cut out one 17″ x 17″ piece of fabric for pillow front. Remove paper backing from fusible webbing and press the oval, then the skull to the pillow front.
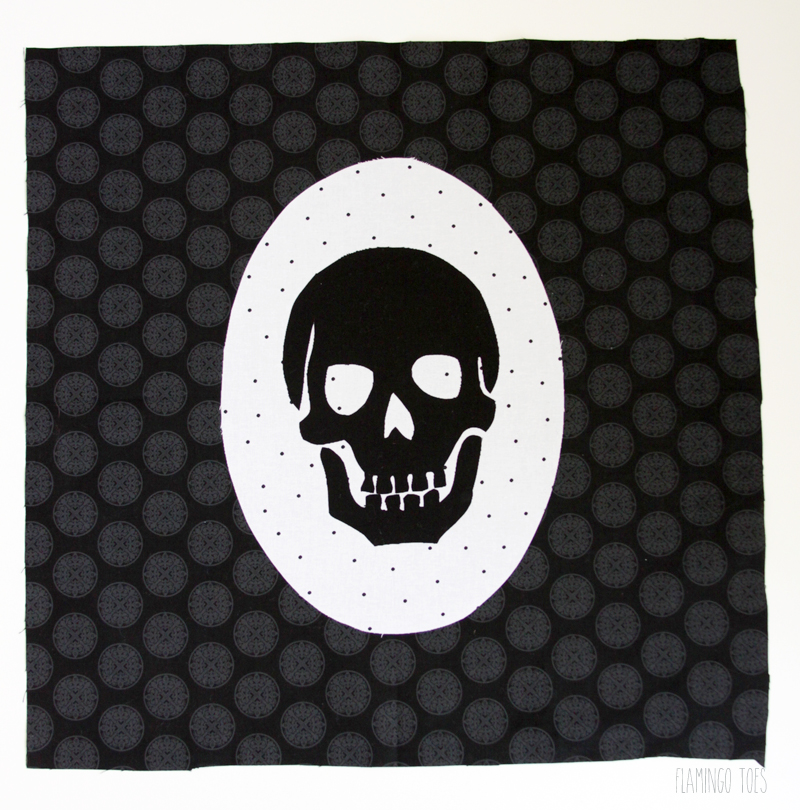
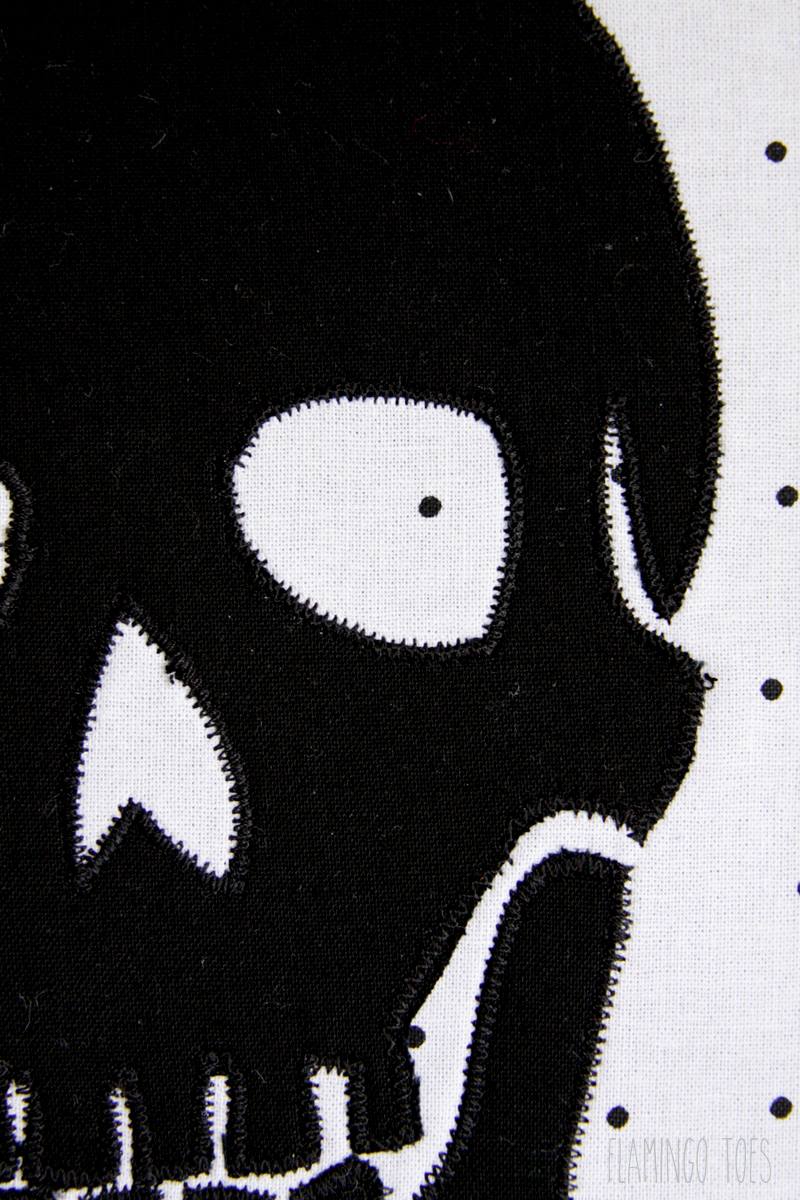
This is optional, but if you plan on washing your pillow cover at any point, sew down the skull and cameo base with a small zig zag stitch along the edges of both.
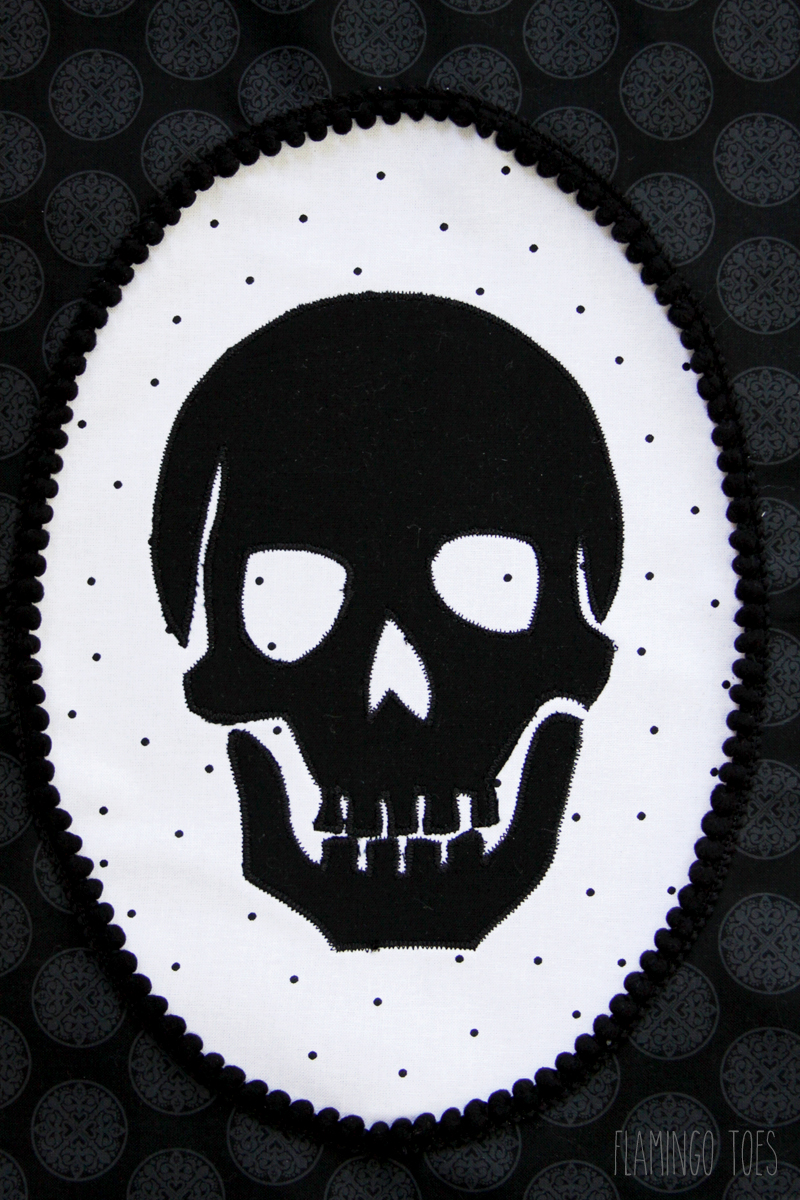
Lay the small black pom pom trim along the edge of the oval, with the pom poms facing in. Sew the trim over the edge of the white oval.
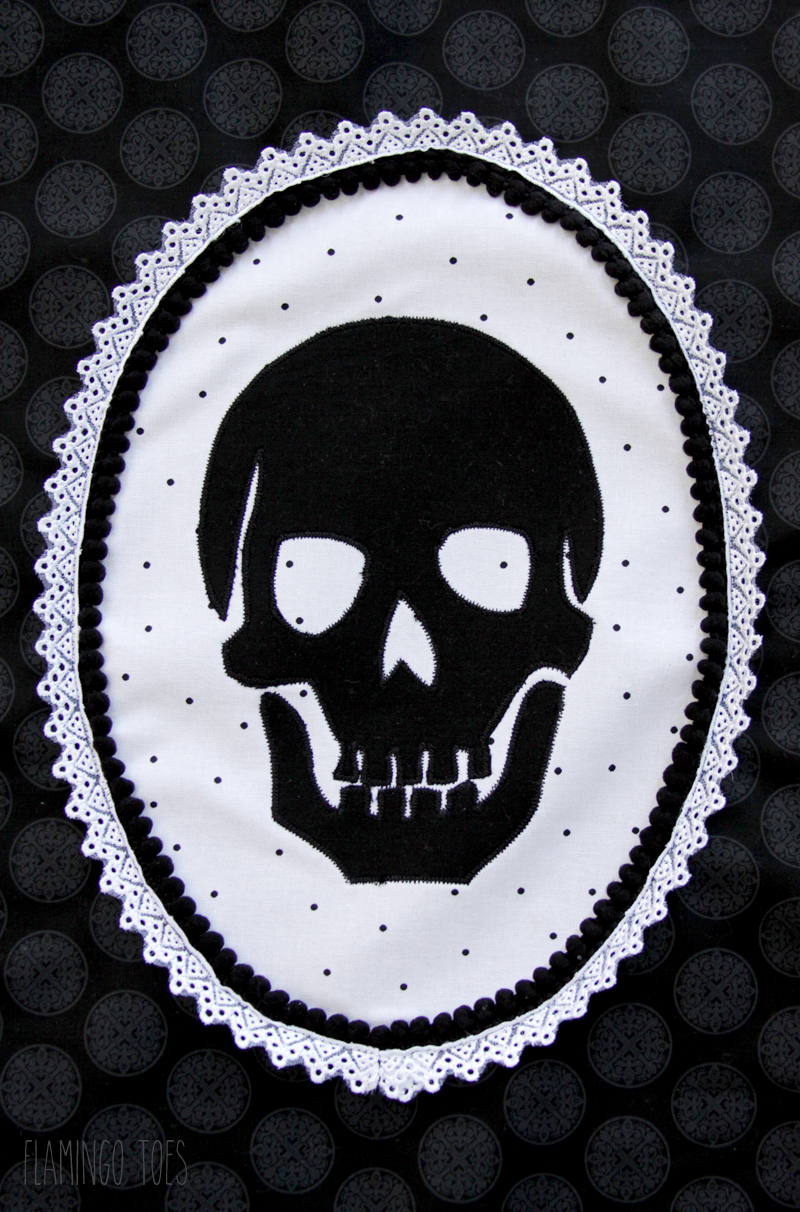
Sew the lace trim over the edge of the black pom pom trim, so the lace is facing out. Stop and start the lace at the bottom of the cameo – so the seam will be covered up with the ribbon.
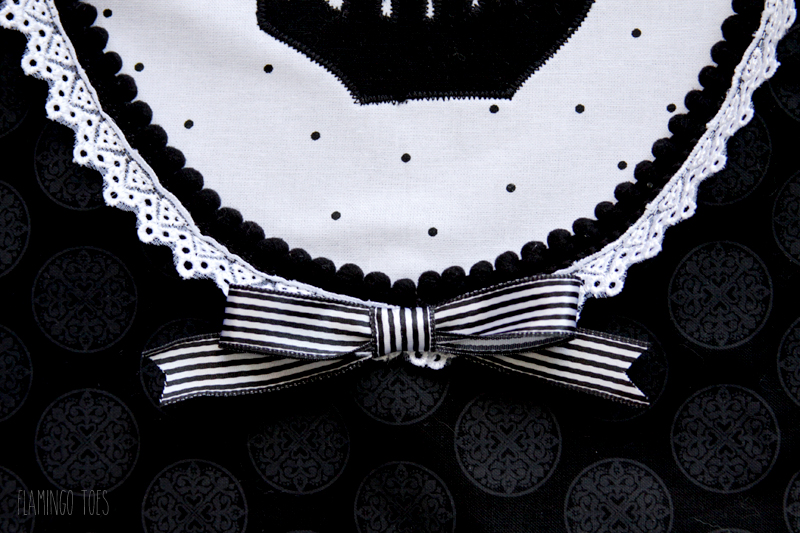
Create a small ribbon bow and hand sew it in place at the bottom of the pillow.
Now we’re going to add more pom pom trim around the edge of the front – because if you can double the amount of pom poms in a project why shouldn’t we? 🙂
Sew the trim so the edge runs along the raw edges of the pillow front. The pom poms should face in towards the pillow. Don’t stretch the trim as you sew it on.
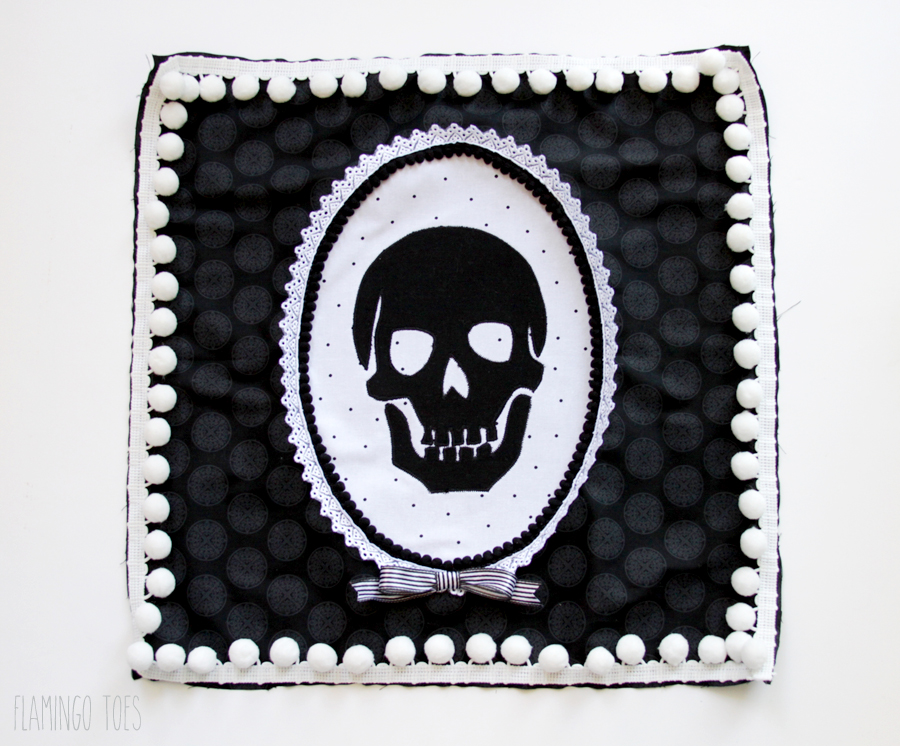
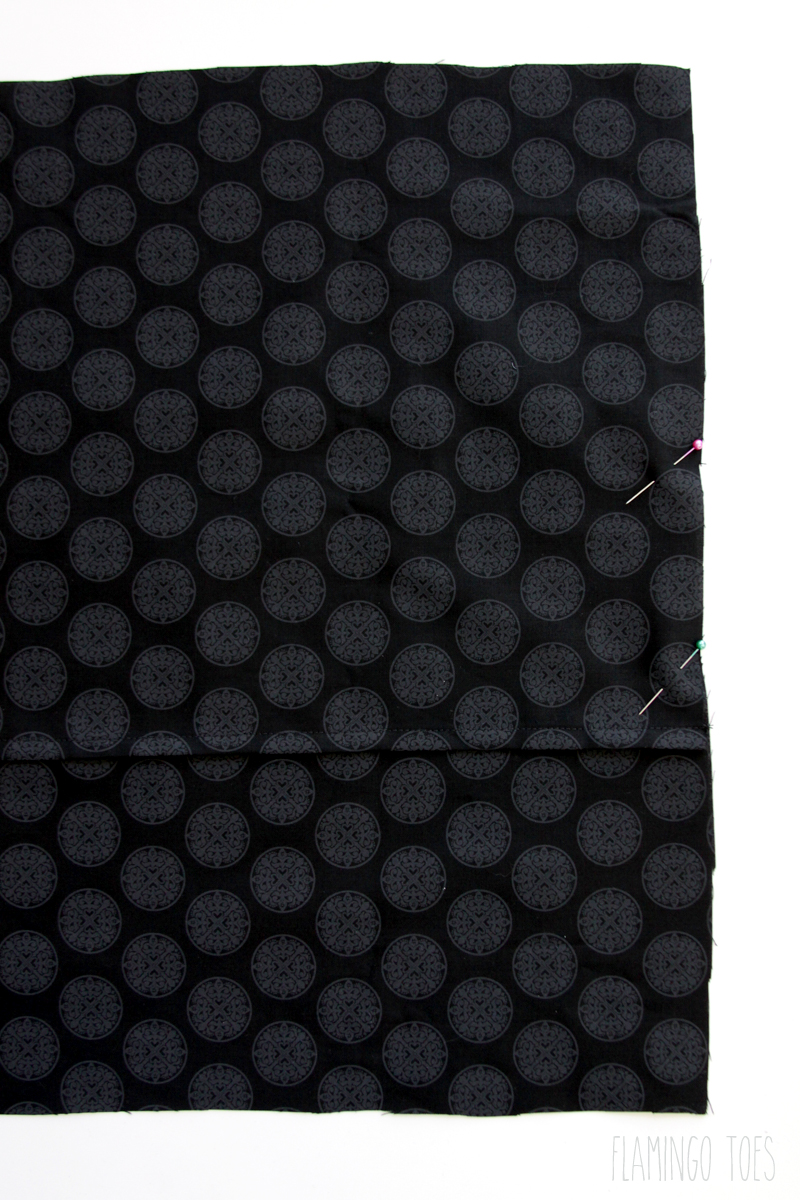
For the back, cut one piece 17″ x 12″ and one 17″ x 10″. Hem the bottom of the 12″ piece and the top of the 10″ piece. Overlap them so the 12″ piece is on top, and the two pieces form a 17″ square. Pin the sides together – this will form the envelope back of the pillow.
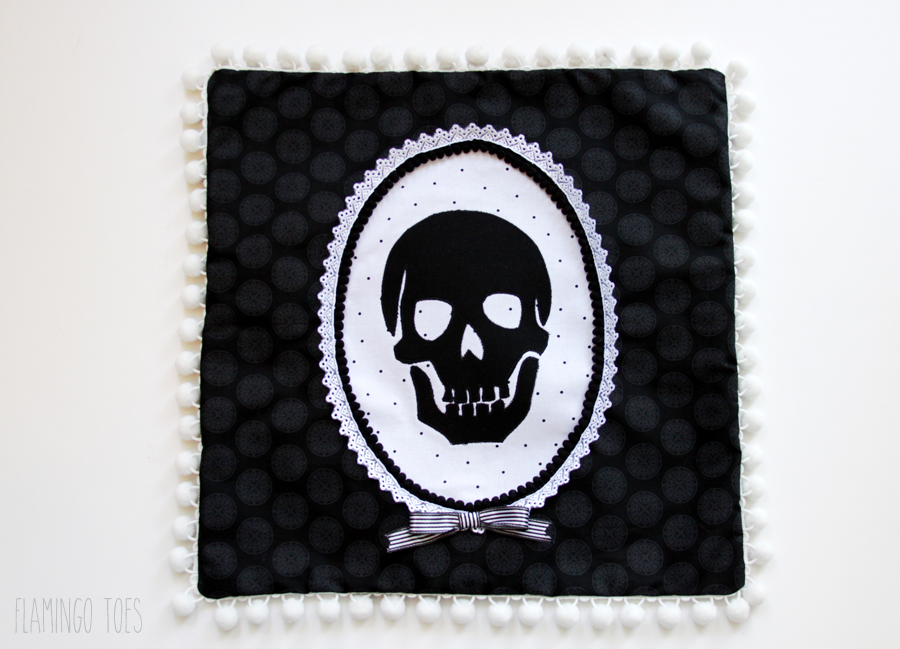
Pin the pillow front and back together, so the right sides are facing each other. Sew around all four sides with a 1/2″ seam allowance. Turn right side out and press.
Pop your pillow form in and you’re all set!
I’d love for you to come visit me at Flamingo Toes – you can find my Halloween projects here!
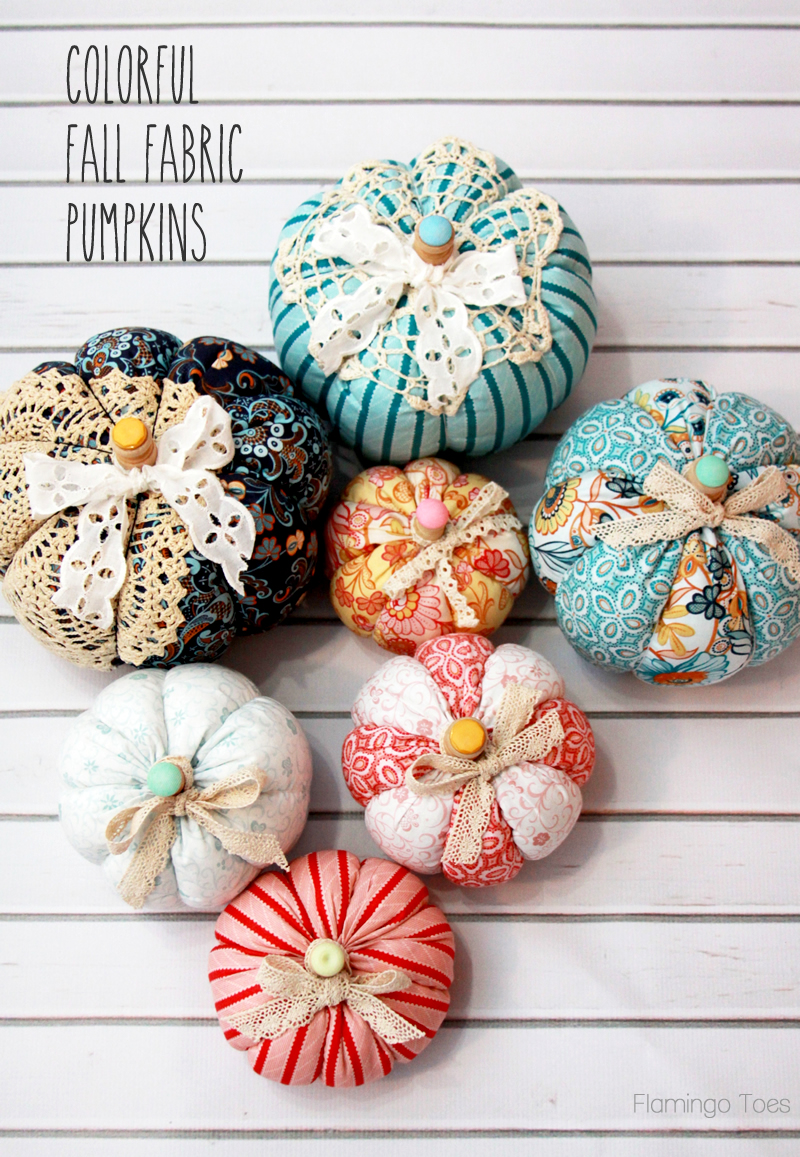
 Here are a few of my favorites!
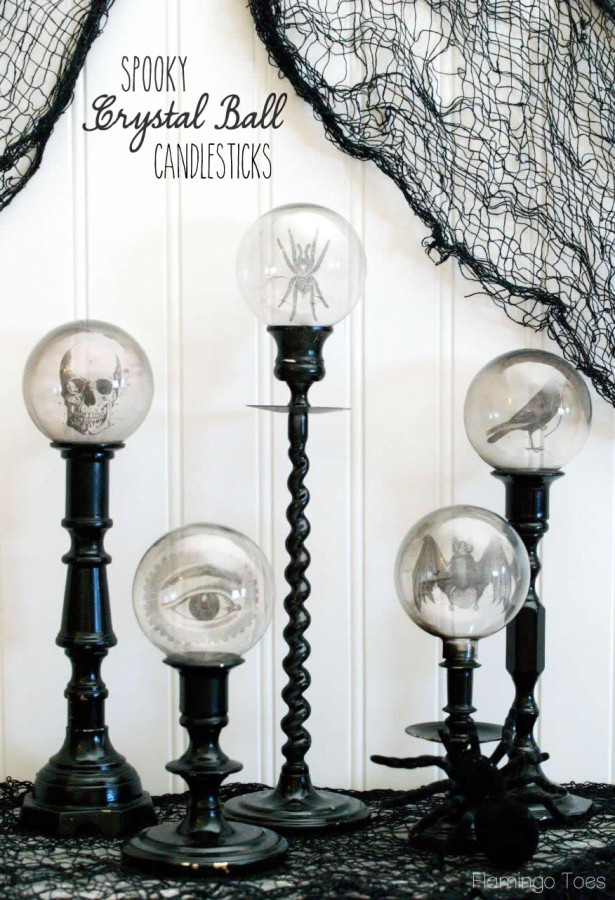
Spooky Crystal Ball Candlesticks
Thanks so much for including me in the series! Visit Bev on her BLOG | FACEBOOK | INSTAGRAM | PINTEREST

This is awesome in every way! LOVE!!! I’ve got a Craft Gossip post scheduled for tomorrow morning that links to your tutorial: http://sewing.craftgossip.com/?p=84504 –Anne
This pillow is so cute! It’s spooky chic.
Love it! I’m going to make one for my Secret Sister in my sewing/quilting group.
Awesome! We’d love to see a picture if you do!! 🙂