Its funny how inspiration comes sometimes! Looking at a bowl of oranges brought this idea to me. Not exactly sure why, oranges and pudka pods are two very different things!
Let’s get started! When this idea originally came into my head, it was going to be easy breezy. My plan was to pull out the spray paint to evenly paint the pudka pods to give them a clean, modern look. But….those little guys are as light as a feather and they just blew away every time I sprayed. Darn it! Unfortunately plan B is a tad bit messier, but it still works.
.
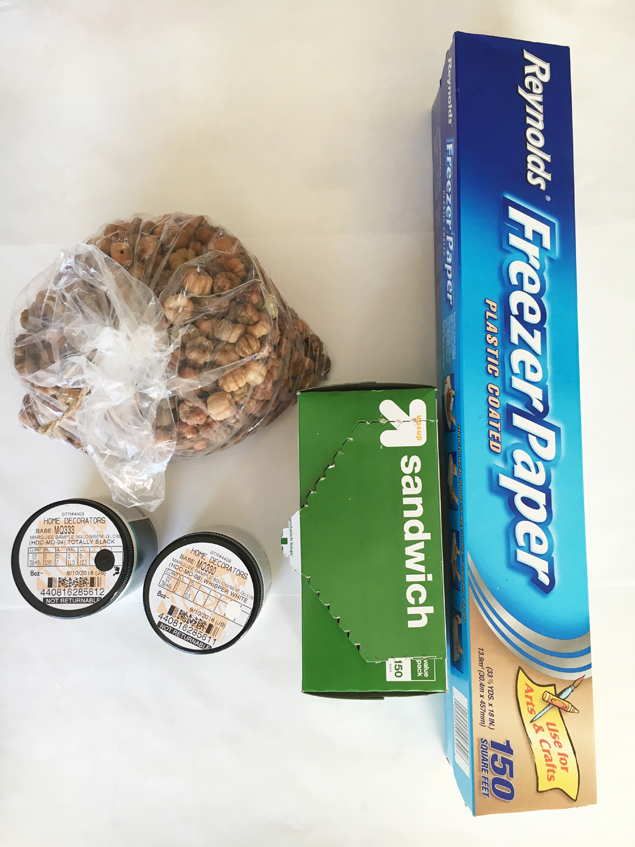
To begin, you will need the following:
Pudka pods ( I got mine from this etsy shop)
Freezer paper
Craft paint or sample paints from a home store. (I recommend flat paint if you are using sample paint)
Plastic sandwich bags
.
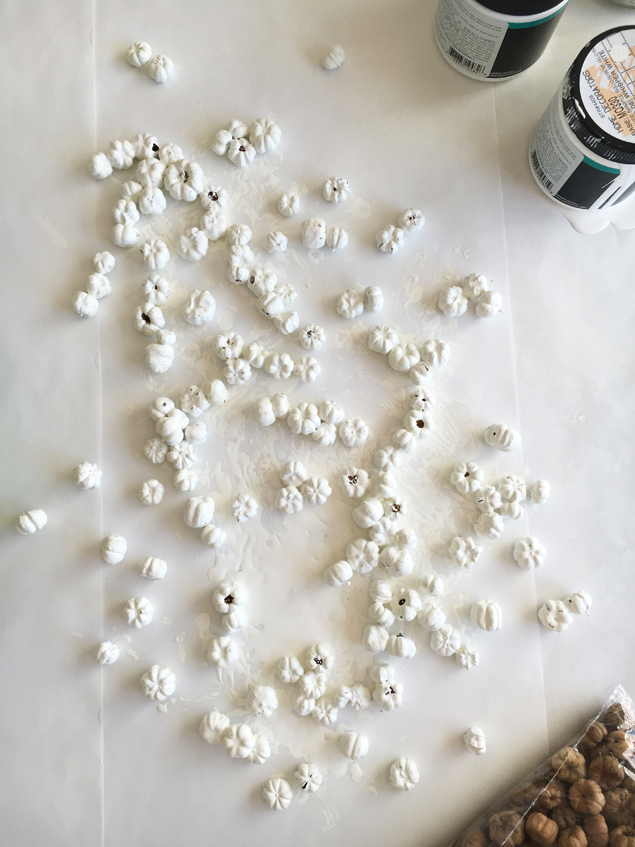
Lay out your freezer paper so the plastic side is up. This is important so your pods don’t stick to the paper.
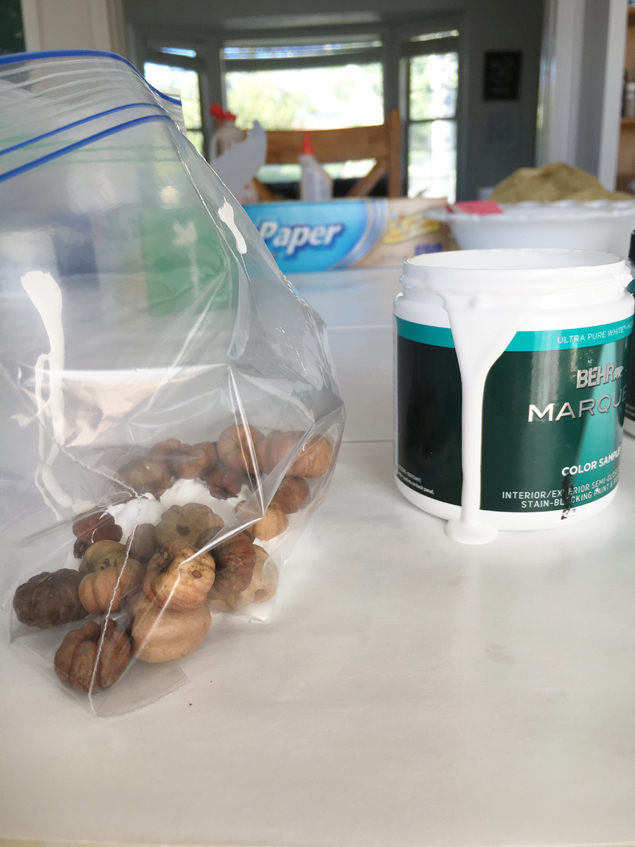
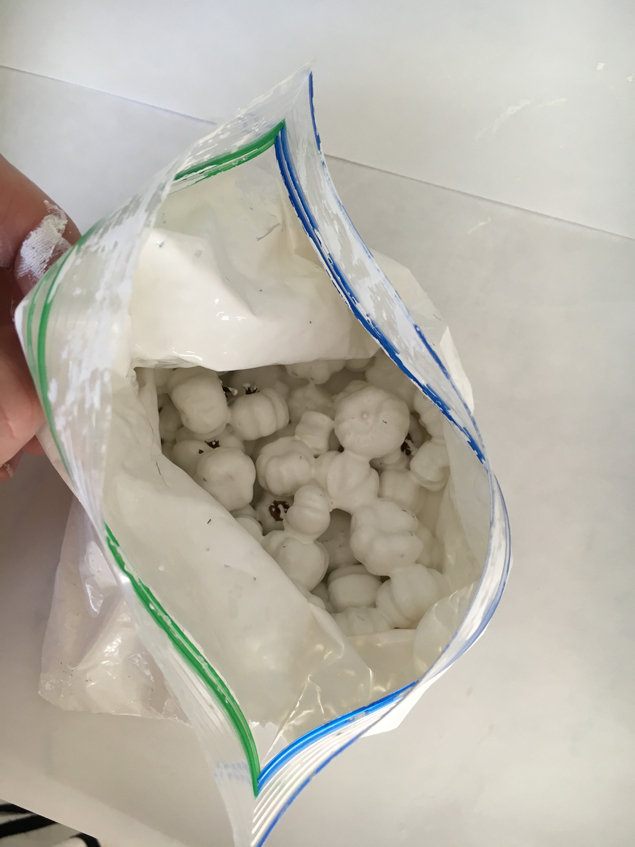
Next up, pour your paint and a handful of pudka pods in a sandwich bag. Just pour enough paint that it evenly coats the pods. If you pour too much in, you’ll have a wet mess while they are trying to dry.
.
After you’ve evenly coated your pods, pour them onto your freezer paper. Separate the pods so they don’t stick together.
Give them a good 30-40 minutes to dry and flip them over to finish drying.
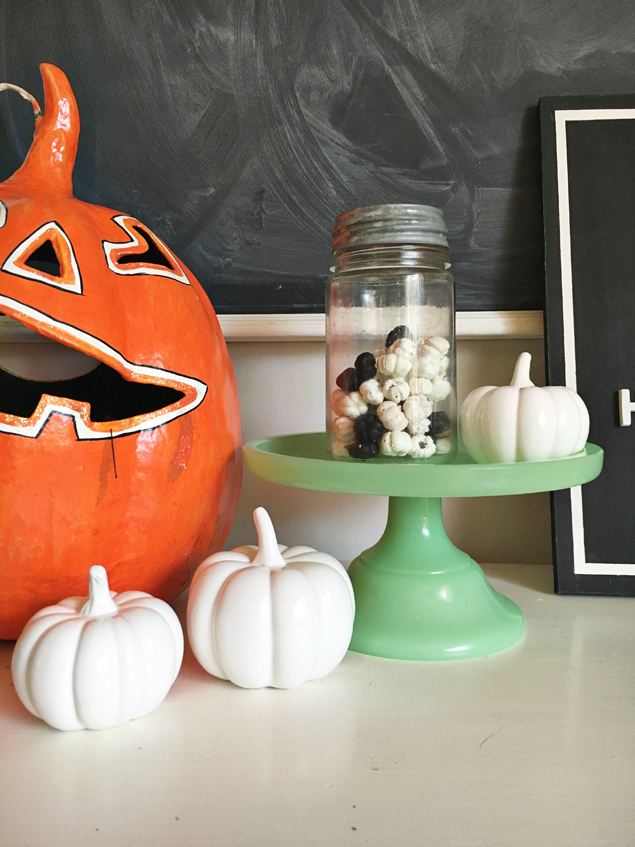
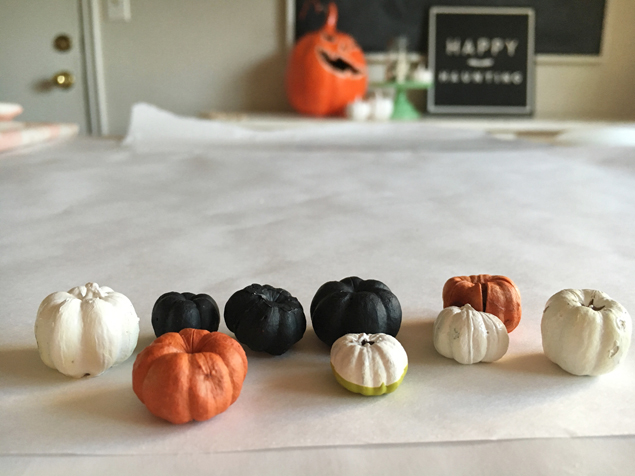
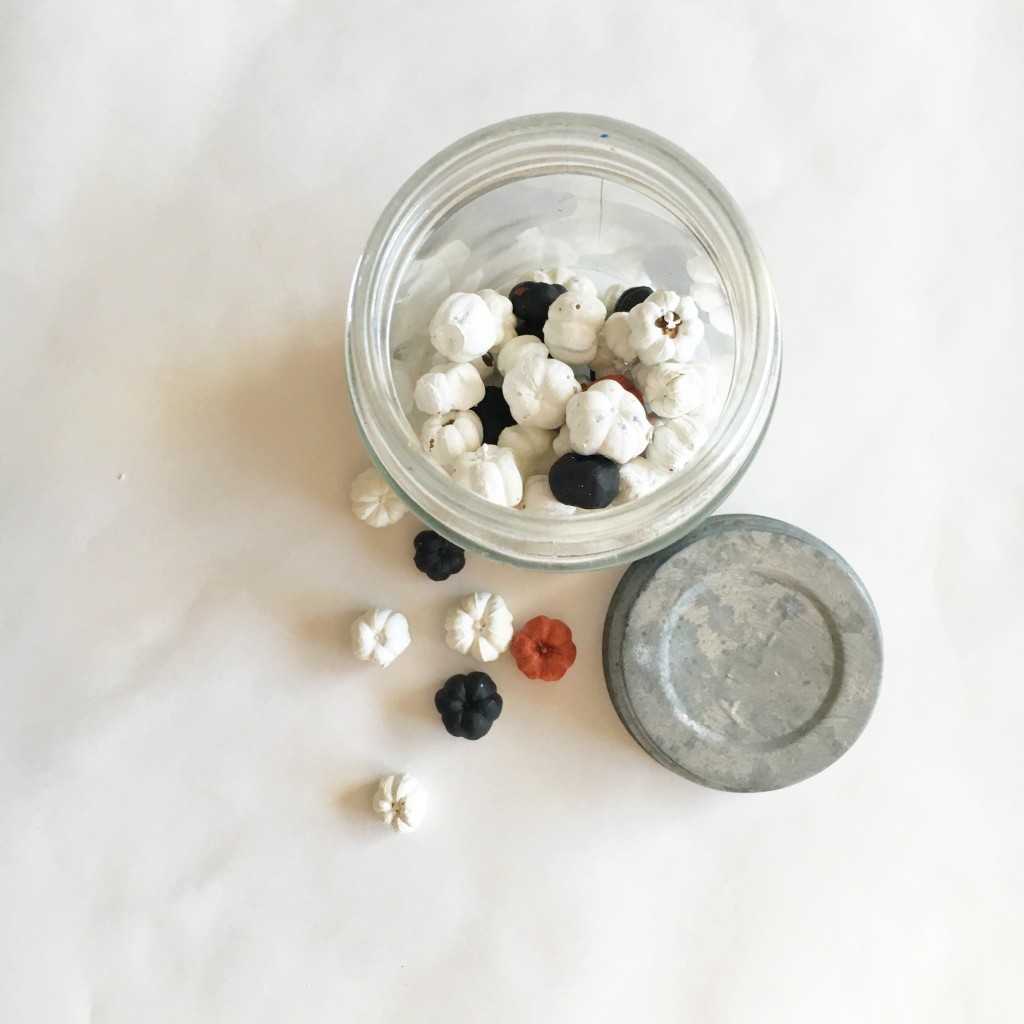
Once they are good and dry, the possibilities are endless! Display them in cute glass jars or these would be fun in a hurricane glass. If you have the patience, this would make a darling wreath!
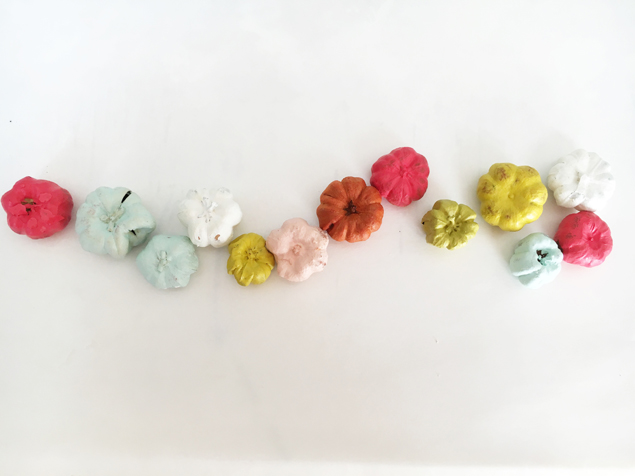
I didn’t stop with Halloween colors. I’m a lover of color and painted some for fall! These would be fun to be used as part of a thanksgiving center piece! A pretty easy project, just a little messy! But those itty bitty pods make the cutest painted pumpkins! Happy Halloween, Jenny
.
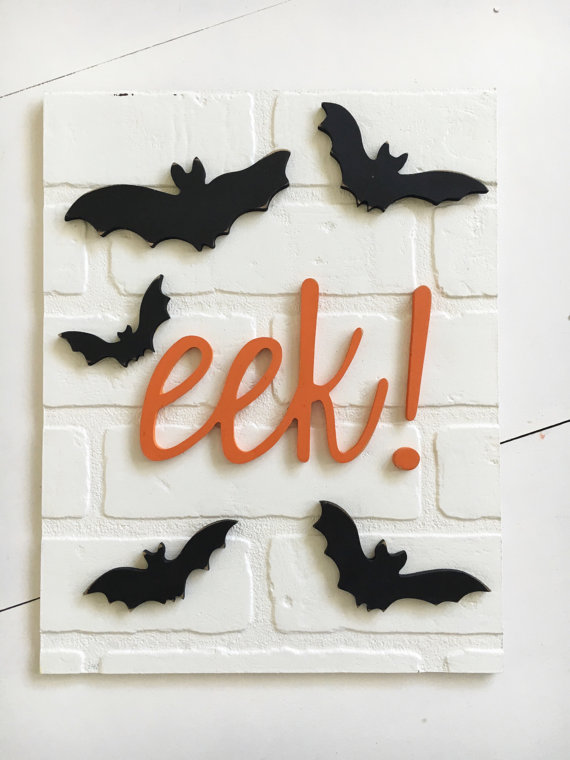
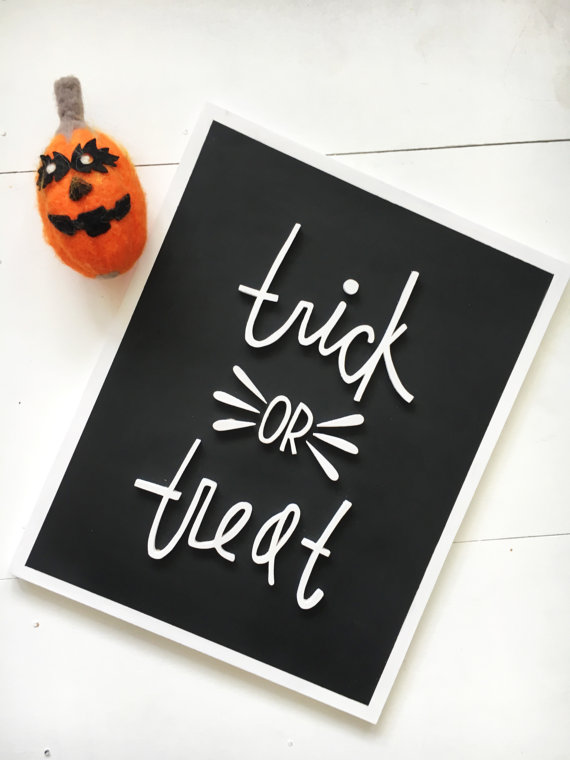
Stop by Jenny’s shop Joobilee Designs sometime, here’s a peek at the fun you will find…
.
Follow along with Jenny on Instagram | Joobilee Designs shop
.
Here are a few more great Halloween posts you can find on Eighteen25:


Leave a Reply