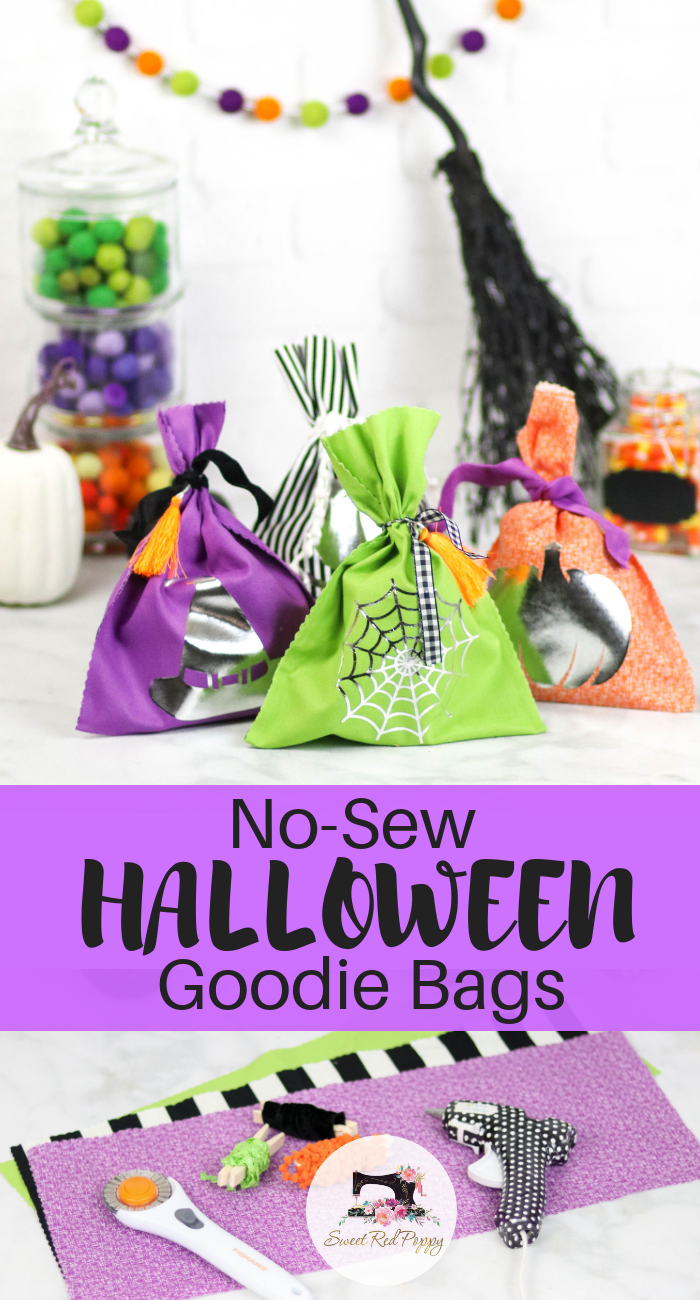
Hi, I’m Kimberly from Sweet Red Poppy a DIY, Sewing and Craft blog! I can hardly wait to share this simple No-Sew Halloween Goodie Bag Tutorial with you today!
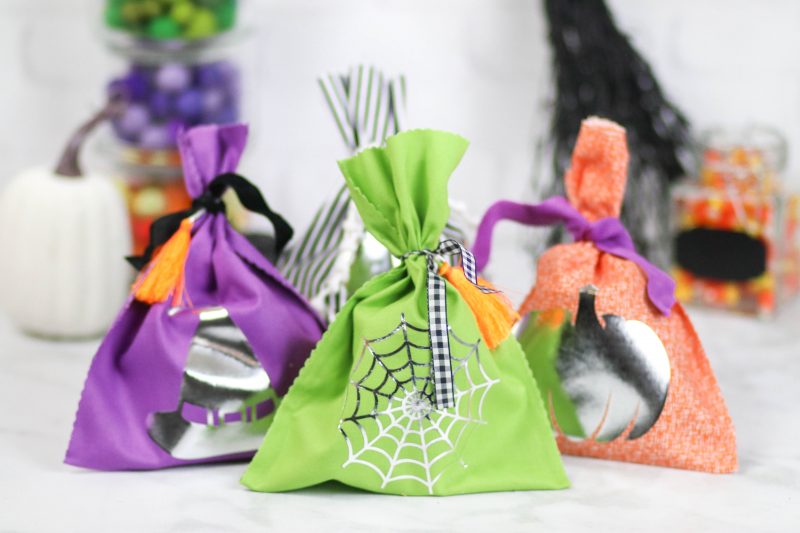
These adorable bags only take a few minutes to whip up and they make the perfect gift for neighbors!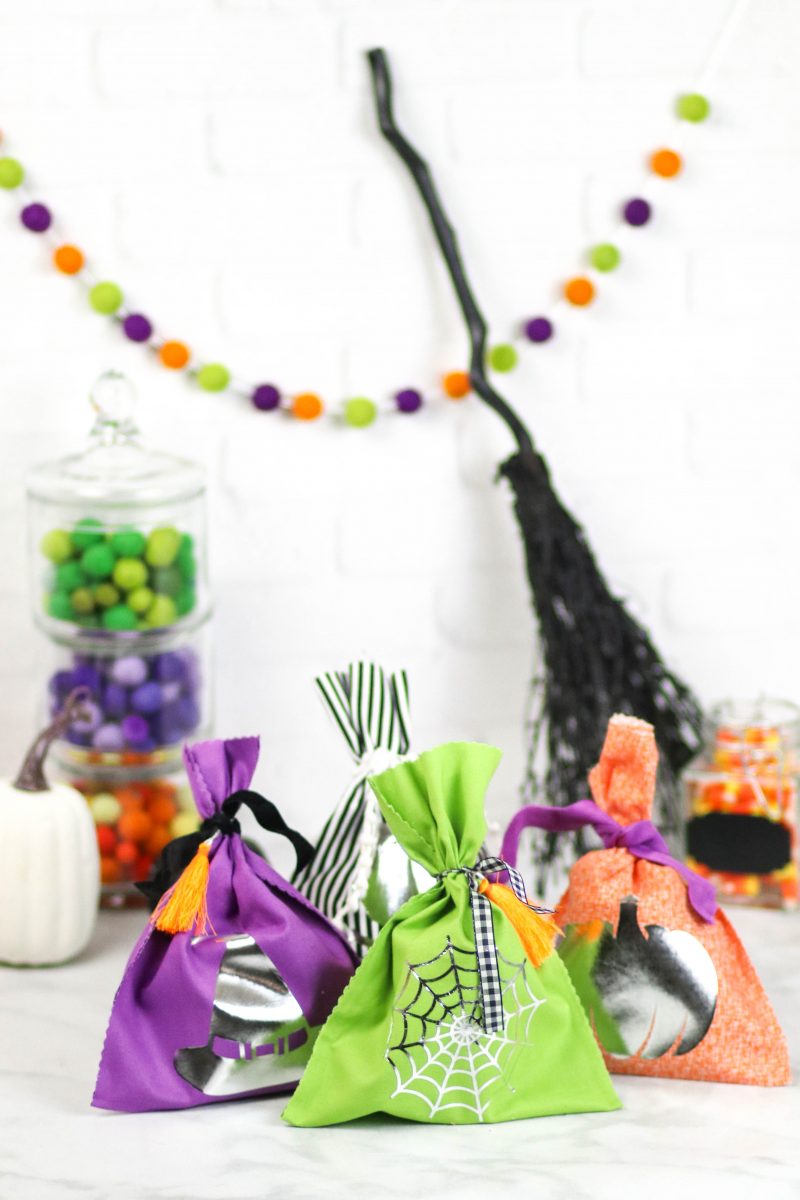
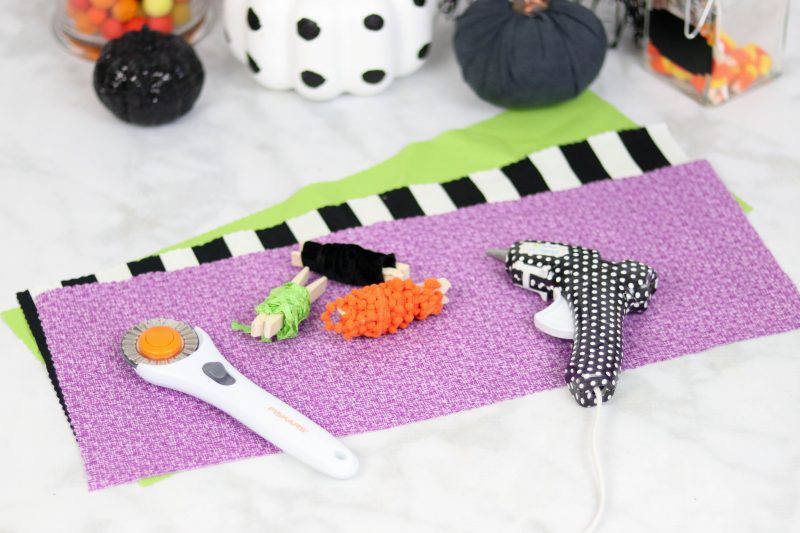
Supplies
- Fat Quarter Halloween-Themed Fabric
- Rotary Pinking Blade
- Cutting Mat
- Hot Glue Gun
- Vinyl Cutting Machine
- Heat Transfer Vinyl
- Iron
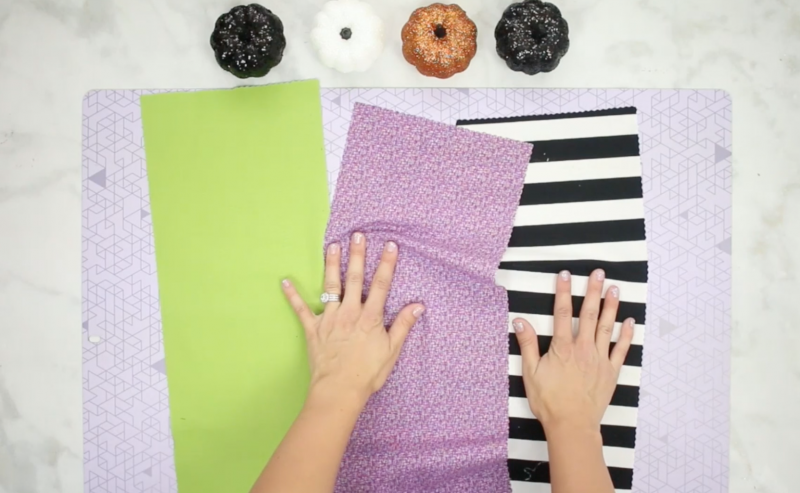
Open up the fat quarters and stack them on top of each other. Use a ruler and a pinking rotary blade to trim all four sides. The pinking blade will keep the fabric from unraveling. Cut the fat quarter into three sections that are approximately 7 inches wide by 17.5 inches tall.
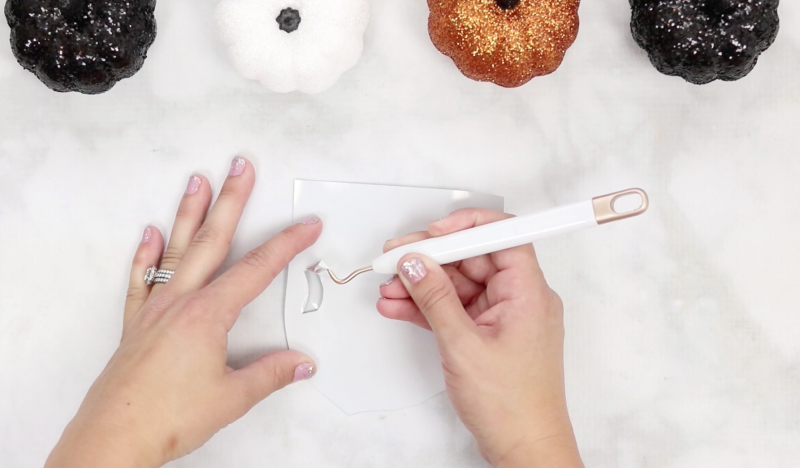
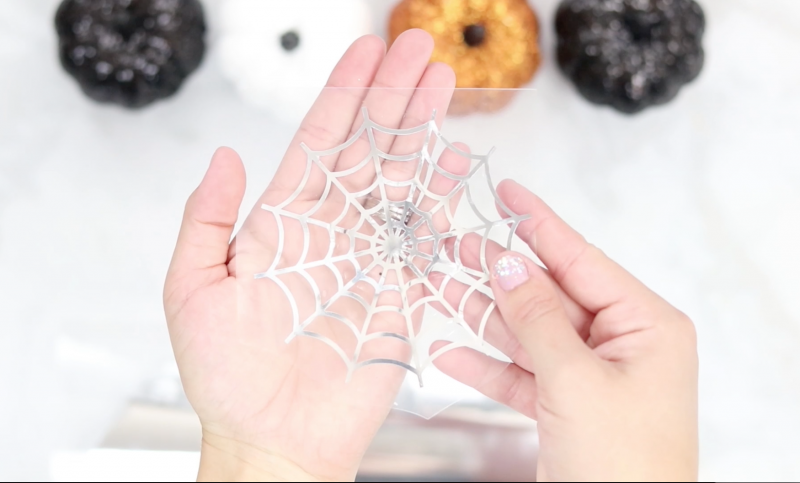
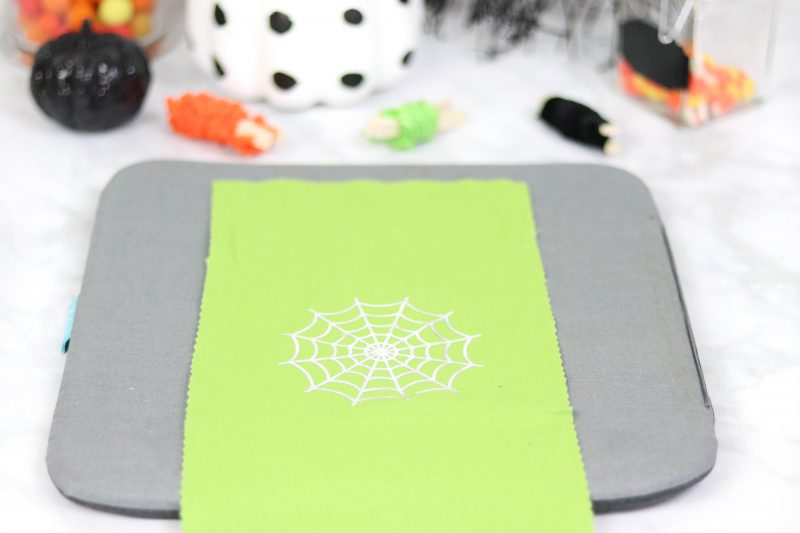
You can find the Cricut SVG Halloween cut files I used here. Cut the iron-on vinyl out using a cutting machine. Fold the fabric in half and apply the Iron-On along the bottom of the bag. Allow it to cool completely before removing the liner.
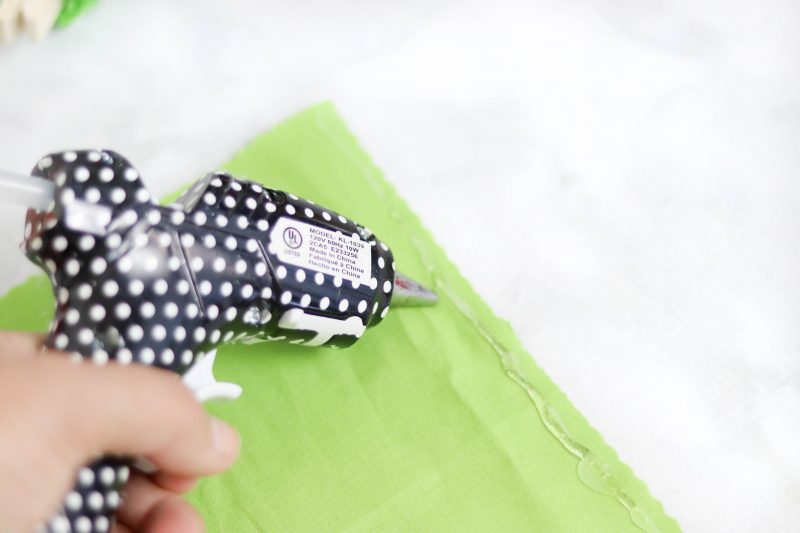
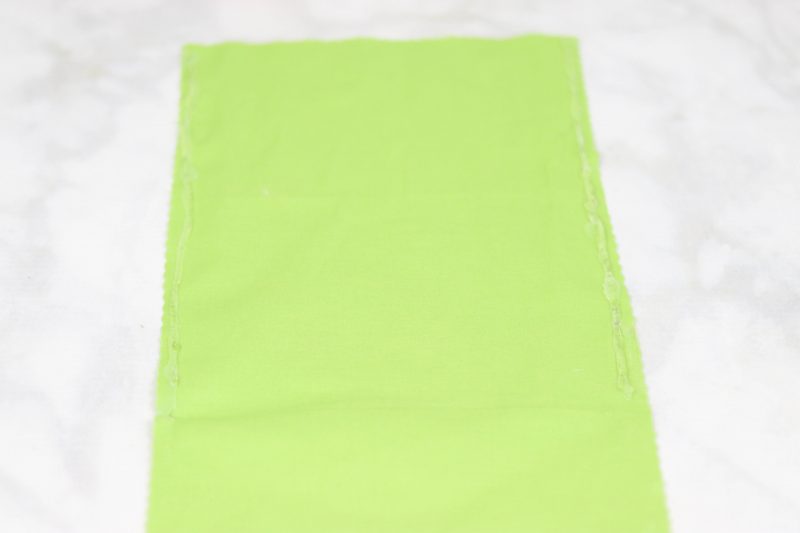
Open the bag so that the wrong side is facing upwards. Draw a line of hot glue along the length of the fabric. Fold the fabric in half and align the edges of the fabric.
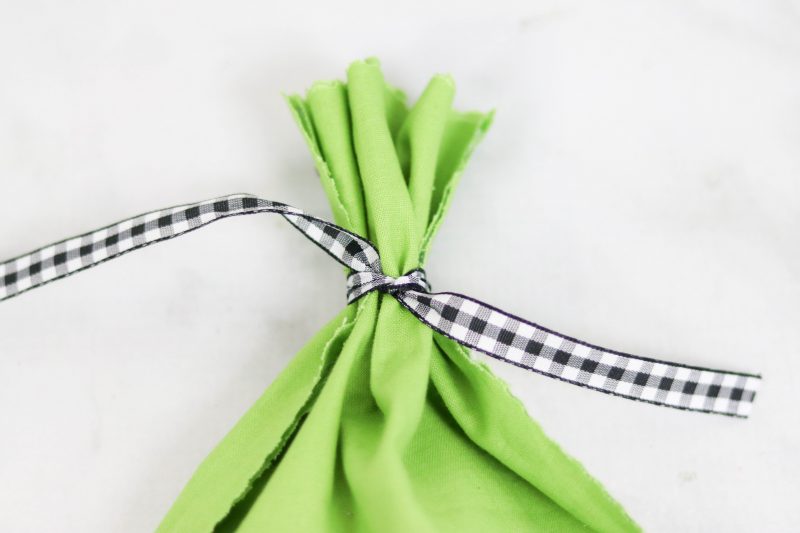
Allow the hot glue to cool completely. Fill the bag with candy and tie a ribbon around the top!
Now you have an adorable Halloween goodie bag! We love making these goodie bags and filling them with treats for our neighbors.
I also like to keep a few on hand filled with non-candy treats for Trick or Treaters with allergies so they don’t feel left out.
I can’t wait to see what you make! If you’re looking for even more Halloween projects, here are a few of my favorites!
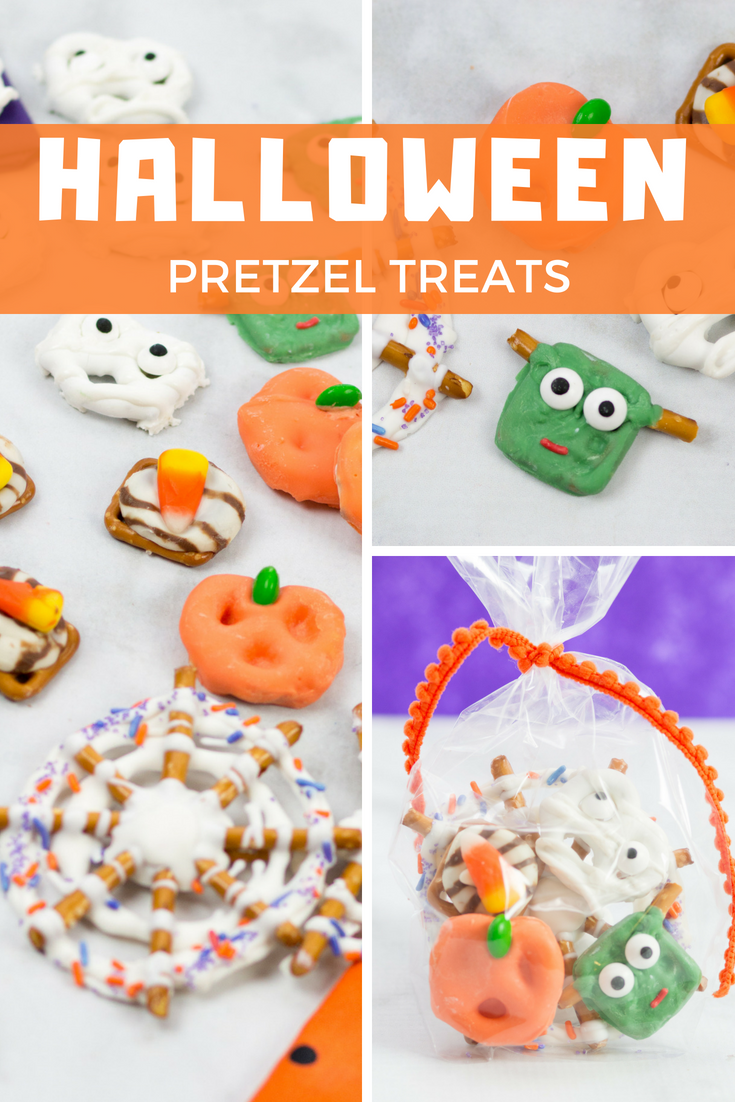
These pretzels are the perfect treat to fill your Halloween Goodie Bags with and they are easy enough that your kids can help you make them!
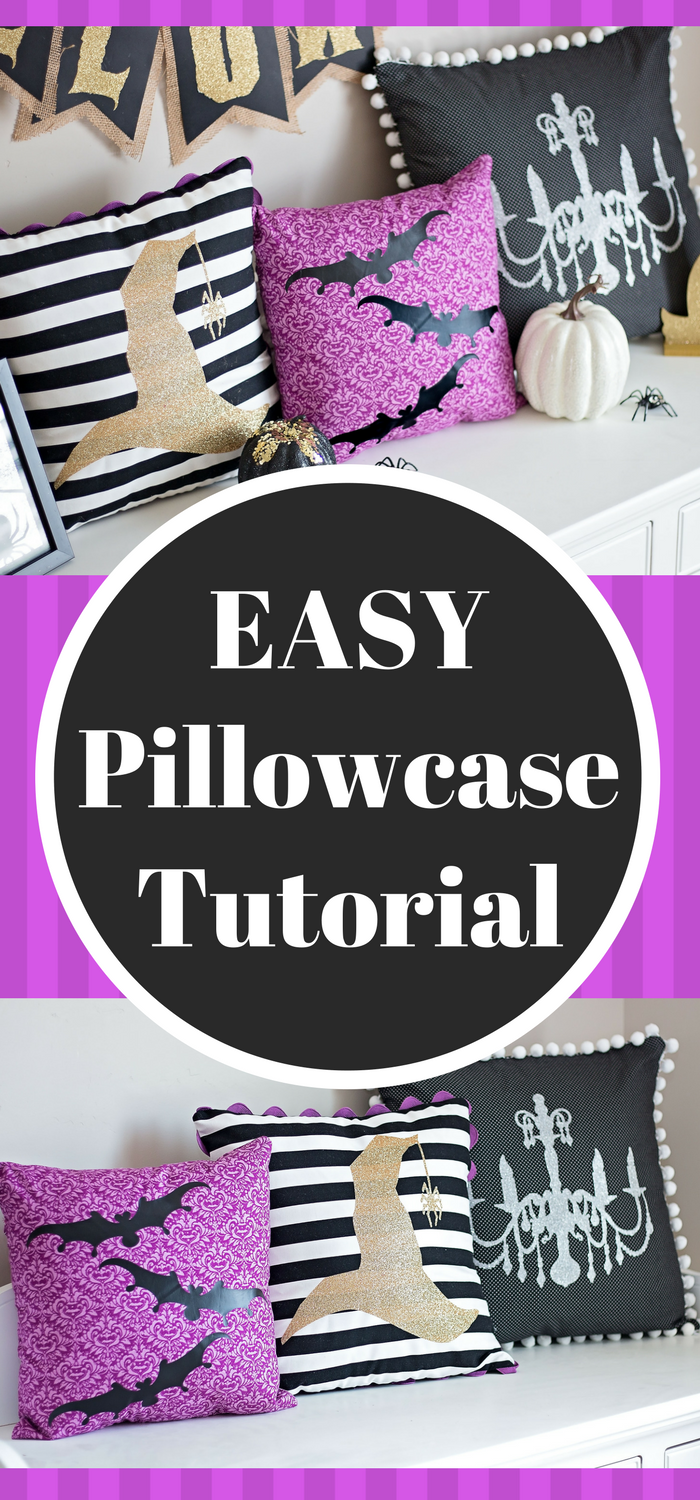
Easy Halloween Pillowcase Tutorial
These pillowcases are super easy to make and they are SO cute!
Follow along with Kimberly on her BLOG | INSTAGRAM | PINTEREST | FACEBOOK
Here are some more fun Halloween projects to check out:


Leave a Reply