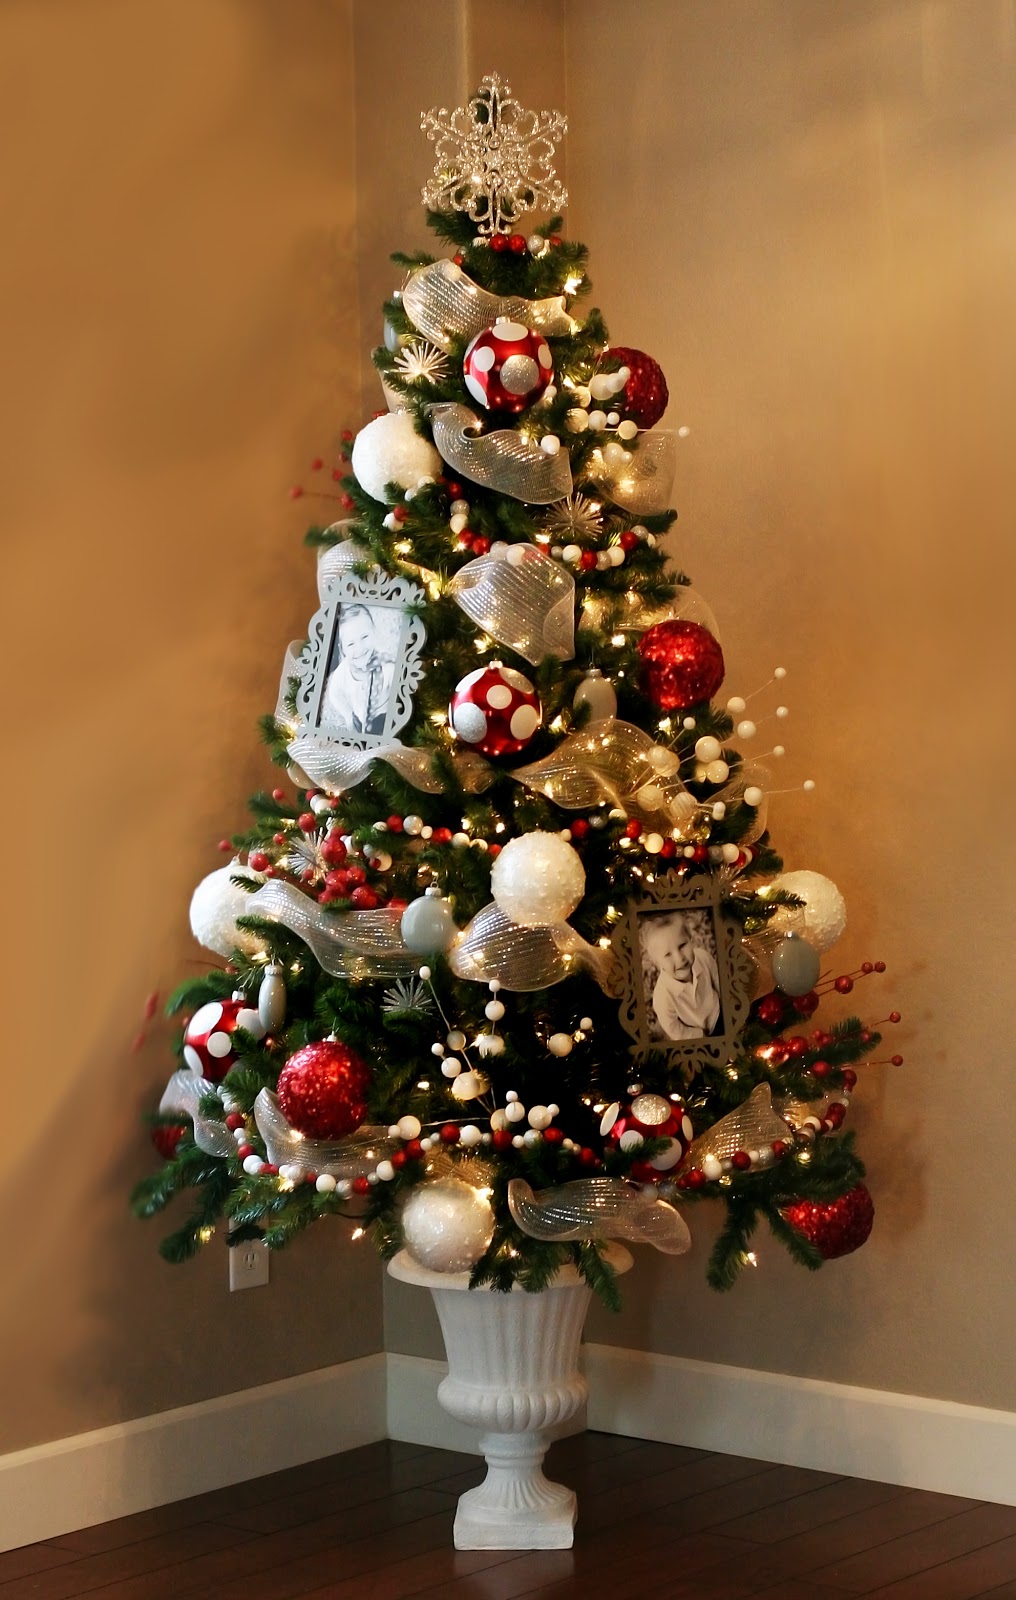
We are SO excited to share our Holiday Dream Tree with you today…

Look at some of the goodies we picked out at Michaels to put on the tree…

Want to know how we put it all together?
We thought we’d do a step-by-step to show you the process.
(not pictured: the big mess behind us)
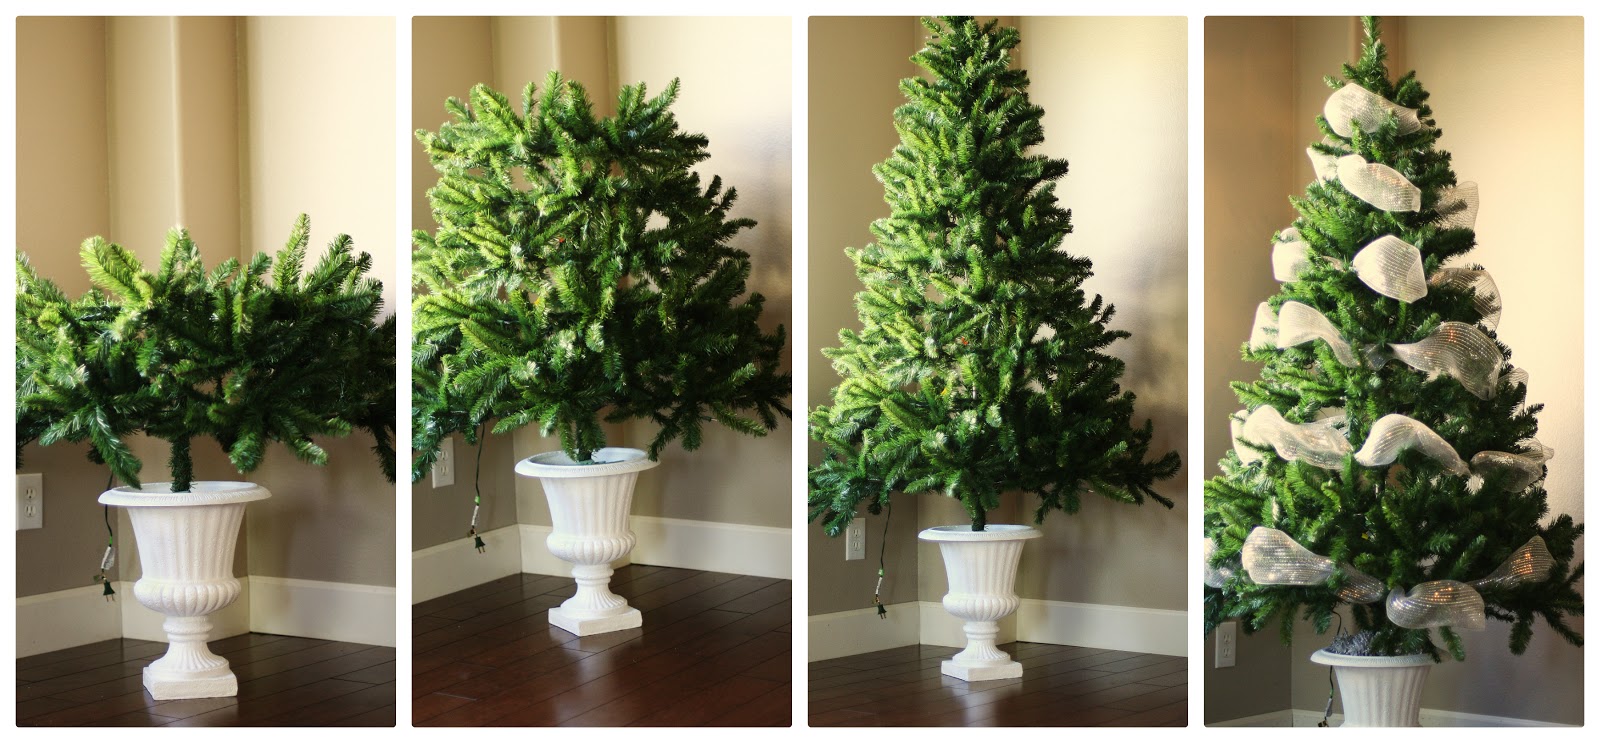
STEP ONE: Fill your urn with Floral Craft Dry Foam. Push the base of the tree into the top piece of foam to get an outline of where you need to cut. Take the one piece of foam out, cut it using a butter knife and place back in. Place the tree in the hole and then push down some more to make it go into the second piece of foam. Fill the empty spots with cut pieces of foam.
STEP TWO: Attach all three sections of your tree together. And fluff the branches (my least favorite part, but it went by real quick with this tree).
STEP THREE: Wrap 6″ silver mesh around the entire tree. Starting at the base and working your way up. Pinch certain sections and wrap a tree branch around it to hold it in place.
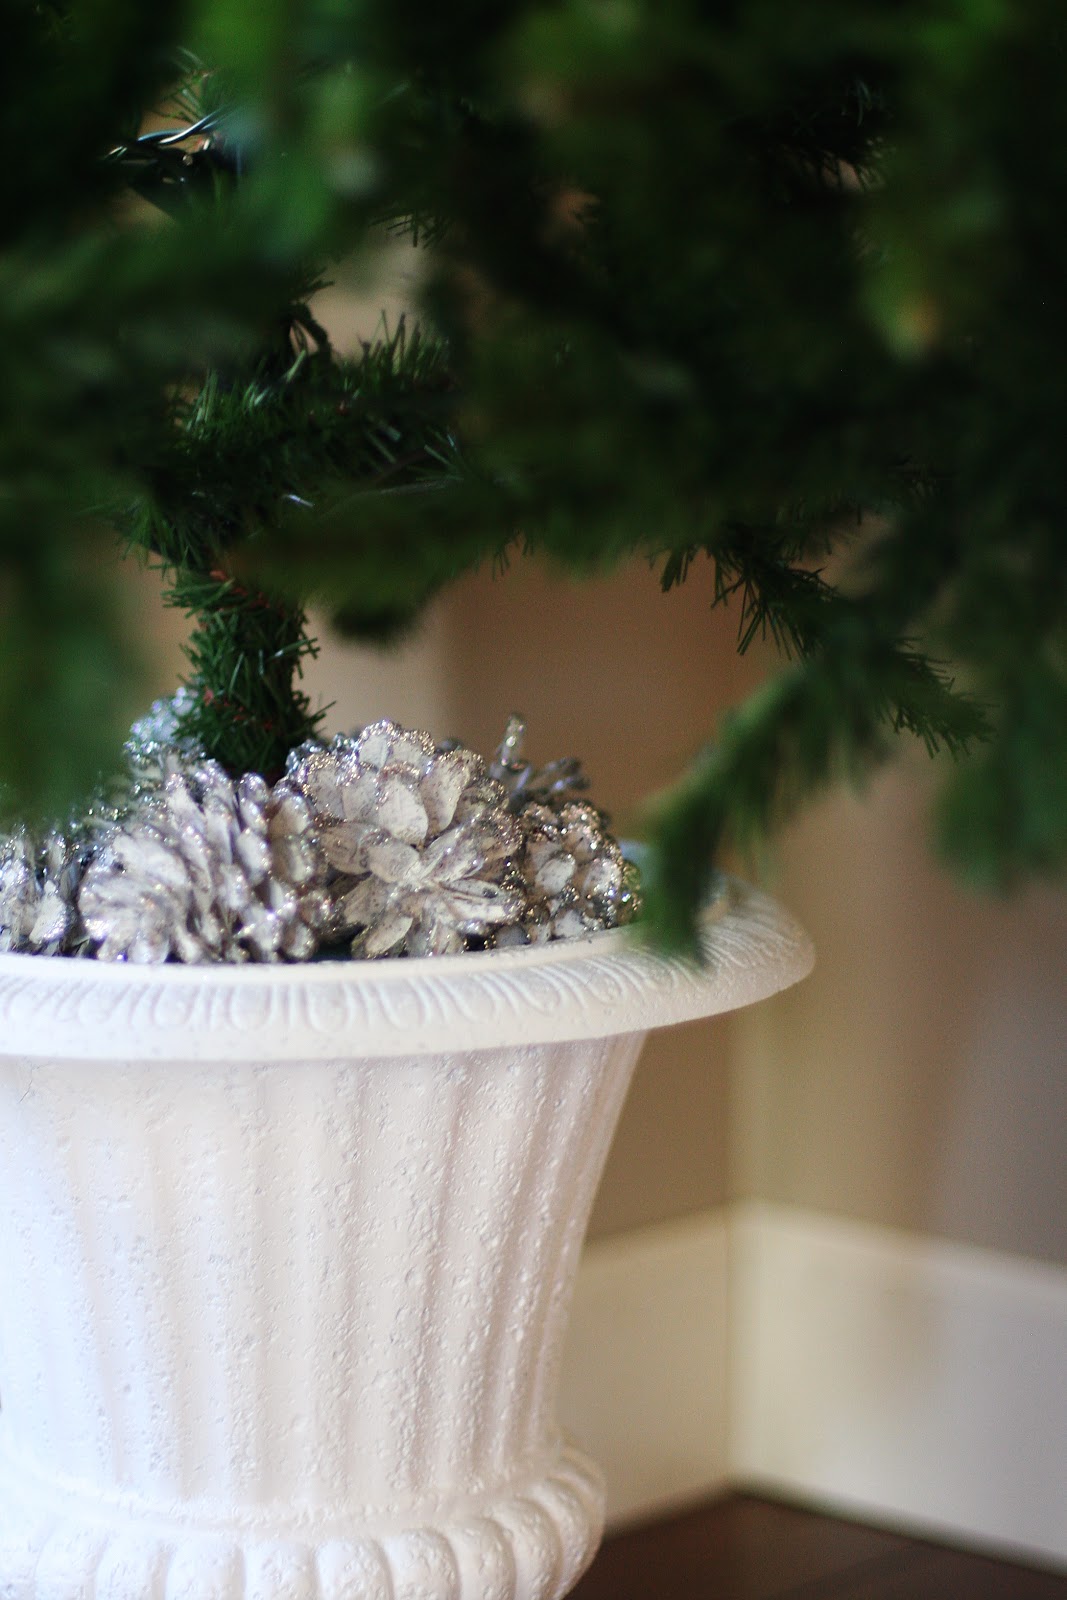
STEP FOUR: Fill the top of the urn with pretty silver Christmas Pinecones.
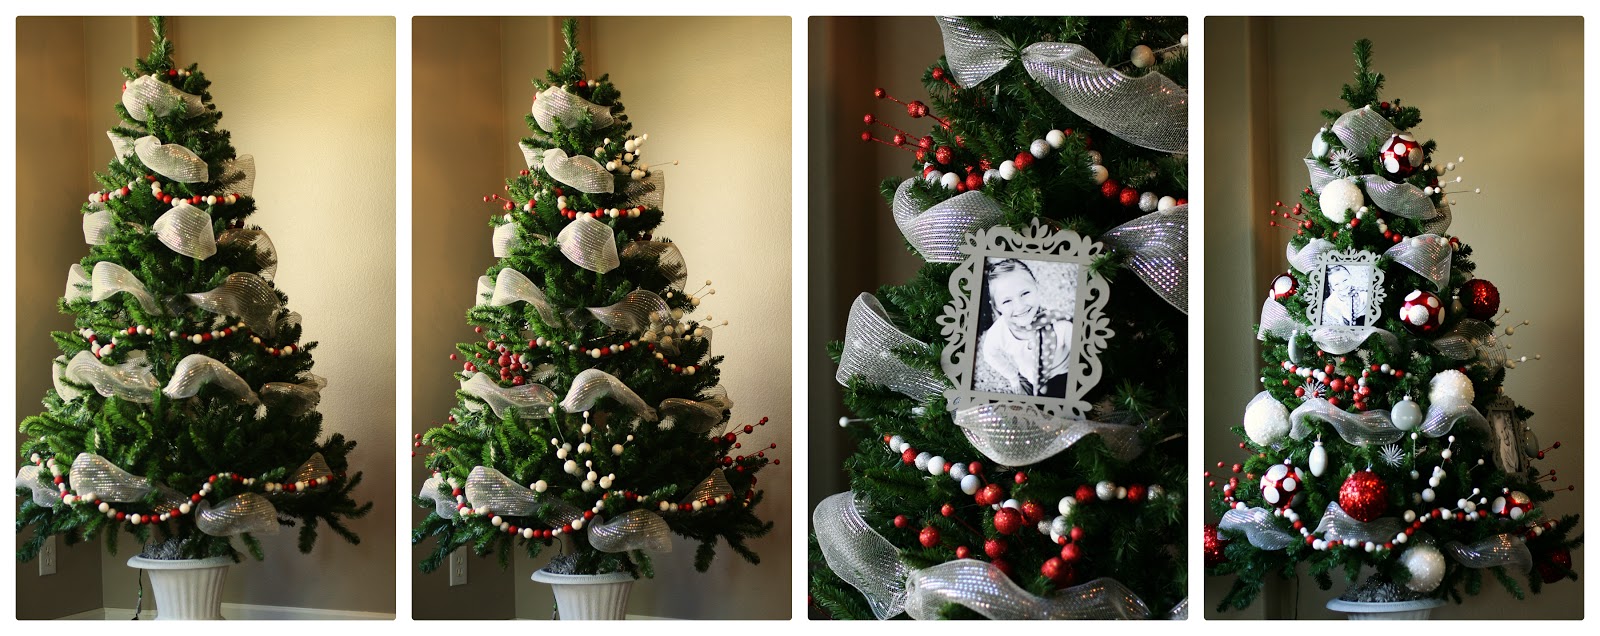
STEP FIVE: Wrap the Christmas garland that we made here around the entire tree.
STEP SIX: Stick in the floral space ball stems (not sure what they’re really called)
STEP SEVEN: Place a few black and white photos behind grey spray painted laser cut frames. Then sit on top a couple branches.
STEP SEVEN: Hang the custom colored ornaments we made here. And also some silver glittered starburst ornaments and those giant glitter and polka dot shatterproof ball ornaments.
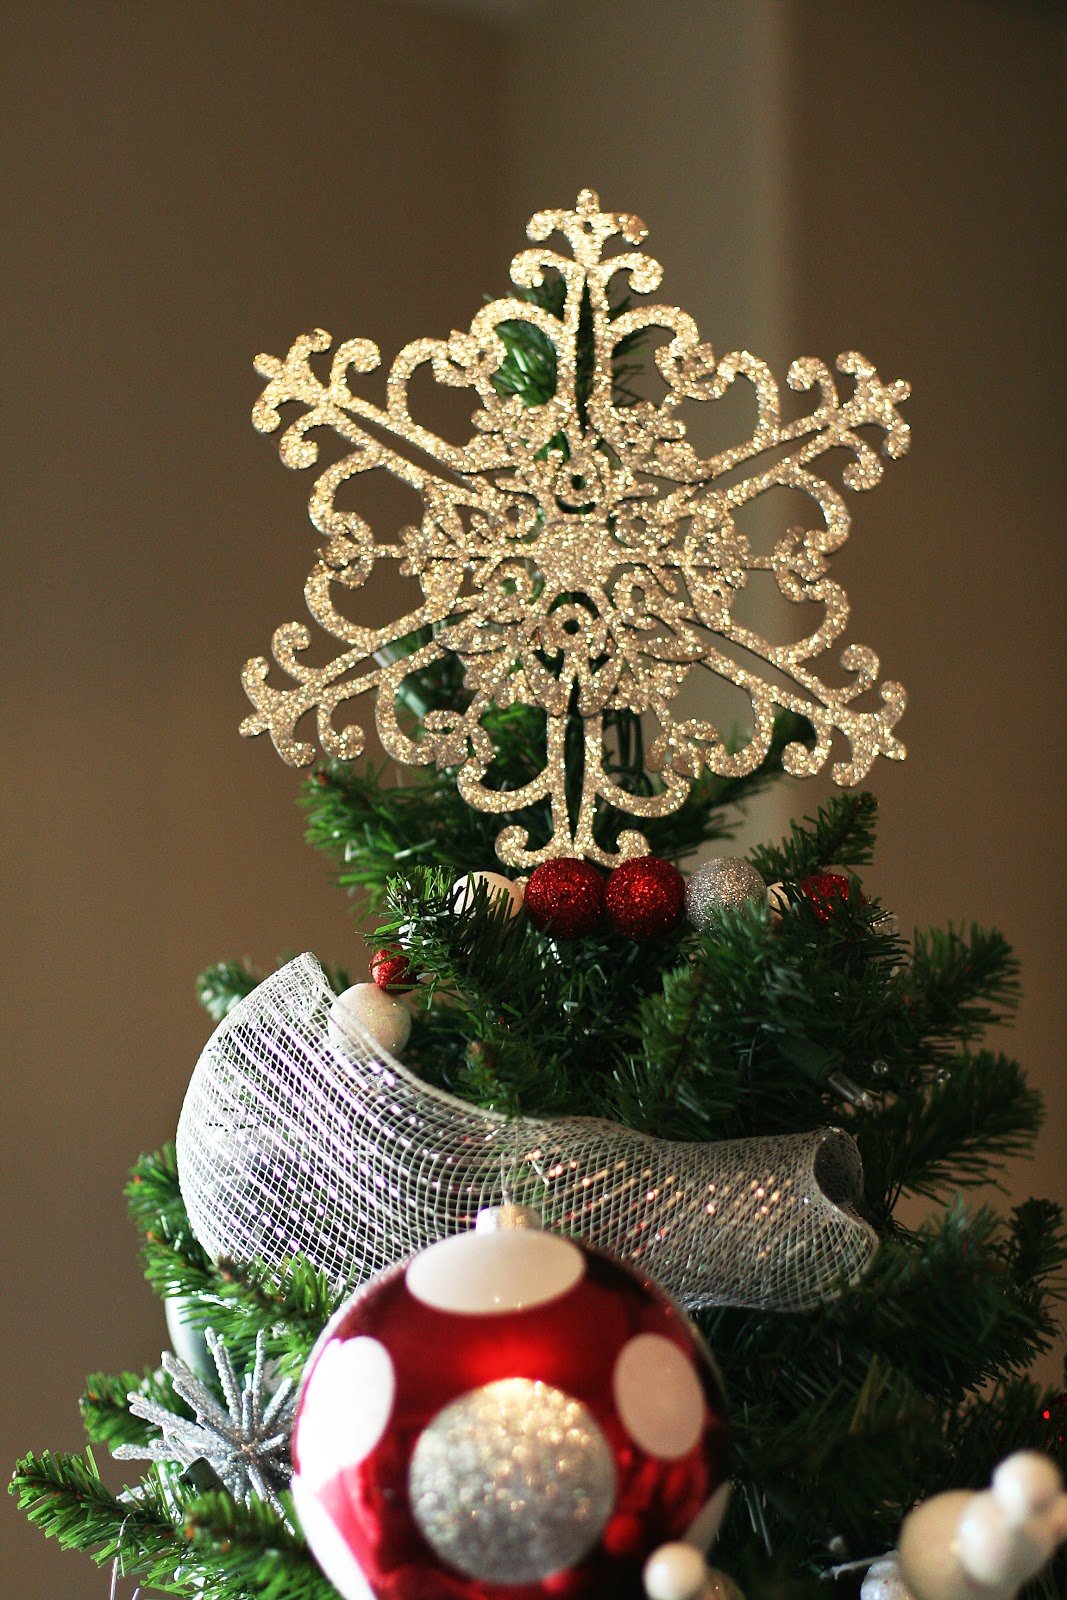
STEP EIGHT: Tie your star, the one we made here, on to the top branch and plug the lights in…
Then sit back and enjoy!
___________________________________________________________
Disclosure: This is a sponsored post by Michaels Stores. We were provided with a tree and gift card in return for participating in this challenge. All thoughts and opinions are our own.

Jodie
Latest posts by Jodie (see all)
- Our Friday Five | Jodie Edition - May 29, 2015
- Our Friday Five | Jodie Edition - April 24, 2015
- Toe-tally Awesome Teacher Gift - April 20, 2015
You guys did an amazing job. I LOVE your tree! And I love the urn idea. Just love you girls….
xo
Such a pretty little tree.
I love everything about your tree. It's beautiful, fun, elegant, playful! You nailed it! Great job!
Looks great! I just love the urn with the pinecones – SO lovely! Great job!
Happy Day!
Michelle
http://www.daydreambelievers.net
What a fabulous tree!
Very beautiful! I love your tree and I just decided that I need a small artificial tree for our home, too.
And it's so sad that there are no Michaels stores here in Germany. I so love the stuff you bought!
Best wishes from Germany,
Stefanie
Absolutely gorgeous!
you did a wonderful job!
happy thanksgiving!
it is so gorgeous. i love the urn idea to give it more height. LOVE!:)
wow! pretty!
I love how you put this together. I never would have thought of using the urn, but it adds to the height while looking elegant. The silver mesh really adds sparkle and fullness. I can't wait to see the other 2 trees.
This is REALLY pretty!
THis one is pretty cute, too,also love the tree stand;)