Hi, y’all. I’m Kristi from I Should Be Mopping the Floor and I’m tickled to be back here at Eighteen25 for the annual Spooktacular Series. It’s always a good time.
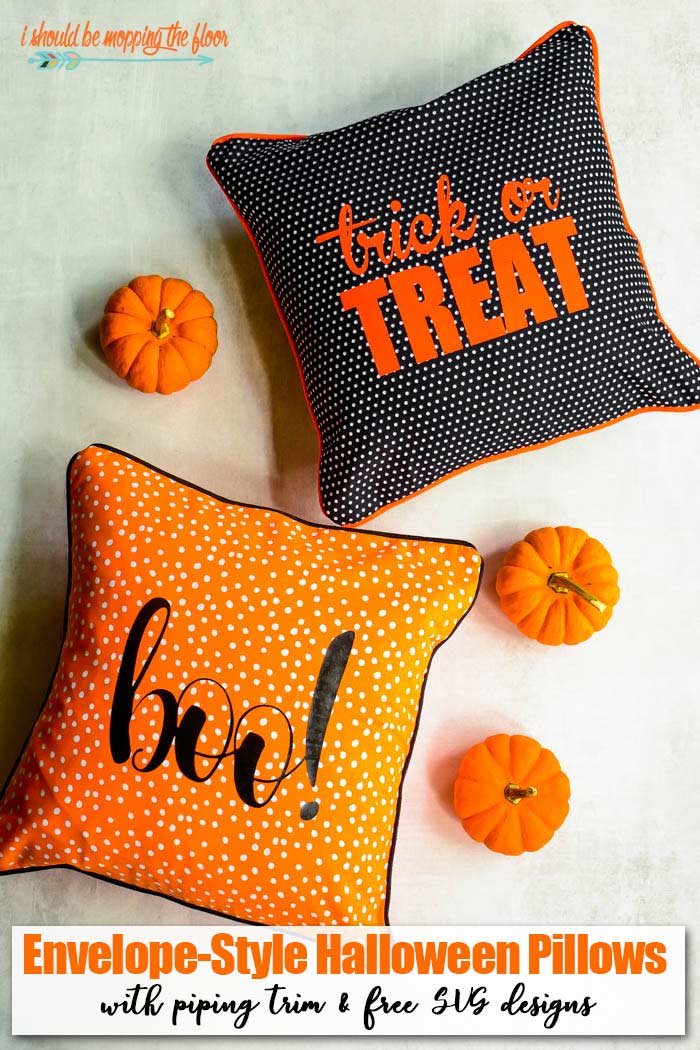
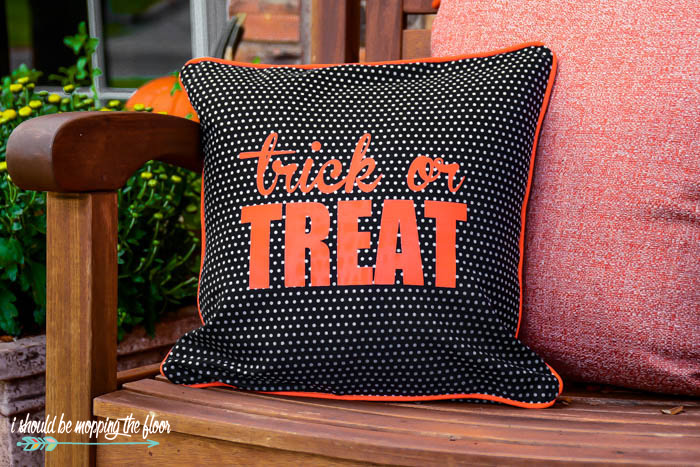
Today, I’ve made you some Halloween pillows the easy way…envelope-style! I added some piping to really give them a bit of panache. Plus, who doesn’t love a nice piping-trimmed pillow, amiright?
.
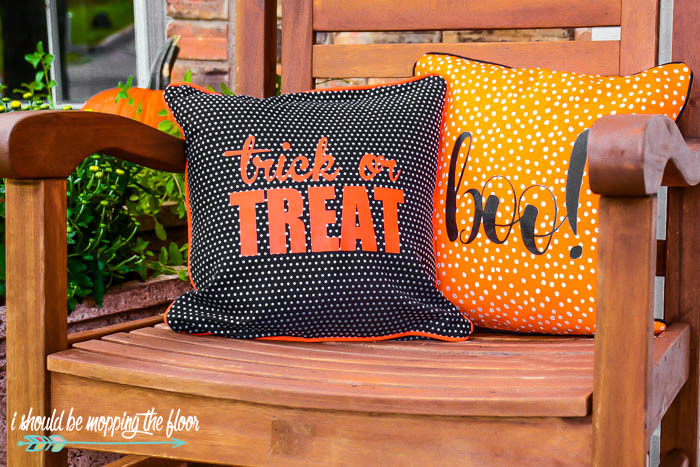
Making throw pillows is probably one of my favorite hobbies. I make them all envelope-style, so I can easily slip them off of my pillows every season for a new look. These particular Halloween pillows have the added twist of piping trim. I also have the free SVG files for you to use on them, as well.
.
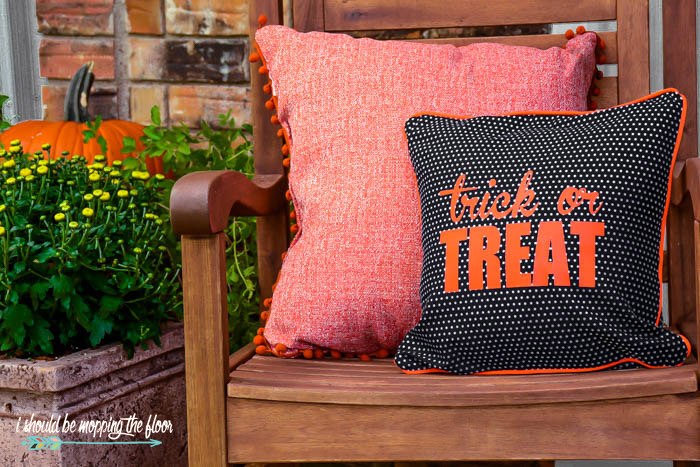
I was ecstatic to finally find some mums for my porch, too…here in Texas, it’s still a bit warm for them. But, I love the fun fall touch they add…along with these Halloween pillows.
Halloween Pillows with Piping Trim
Over on my blog, I have a complete sewing and cutting guide to basic envelope pillows here. The Halloween pillows I created today are 14″x14″, so my dimensions run off of that. Again, for different sizes, see my envelope pillow size chart here.
.
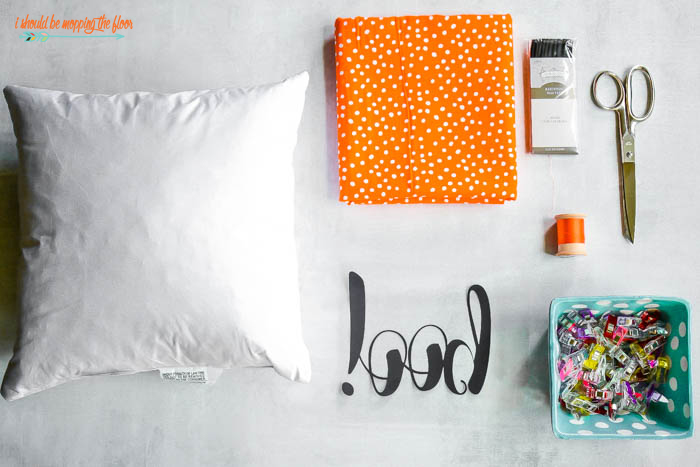
Supplies for your Halloween Pillows:
- pillow forms (again, I’m using 14″x14″ pillows today)
- fabric (your amount will depend on the size of your pillow forms)
- piping trim (my mom would shake her finger at me, but I used premade piping from the notions section at the craft store)
- coordinating thread, scissors, pins (or clips, pictured above), and other sewing notions
- You’ll also need your sewing machine and iron at the ready.
- optional: heat transfer vinyl to create a design on your pillows (you can grab my boo or trick or treat designs in my post for 10 Free Fall SVG Cut Files here)
Sewing your Halloween Pillows
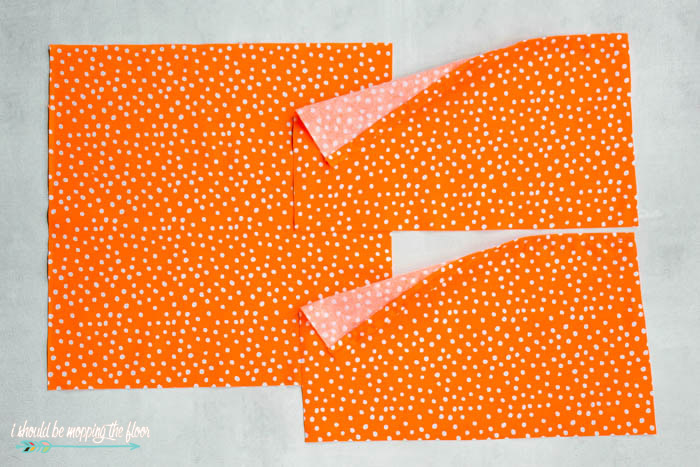
- You’ll begin by cutting your fabric into three sections: the front (whole square), and then two rectangles that will overlap on the back of your pillow to create the envelope closure.
- To cut your pieces, you can follow my handy envelope pillow size guide here. With this 14×14″ pillow, my pieces are 14″x14″ and two 14″x10″ pieces.
- On the two smaller pieces that will form the back closure, you’ll turn down the longer edges twice. I turn down 1/4″ and iron that, then another 1/4″ and iron that. Sew a basic stitch to hold that hem in place, using a backstitch at the beginning and end (you can see the two pieces with the sewn edges above)
Once your two smaller pieces have their hemmed edges in place, we can put the pillow together!
- Lay your large square piece on your surface with the right side up.
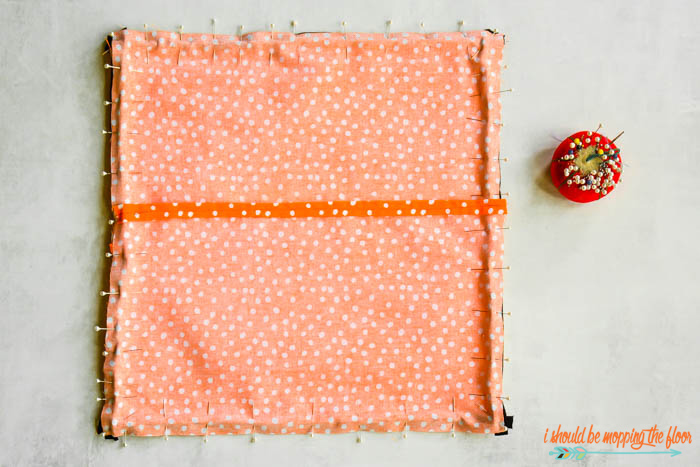
- You’ll loosely lay your two pieces for the back on top of that square (right sides touching the square’s right side), overlapping a bit in the middle (you can see below the pinned version of your “pillow sandwich”).
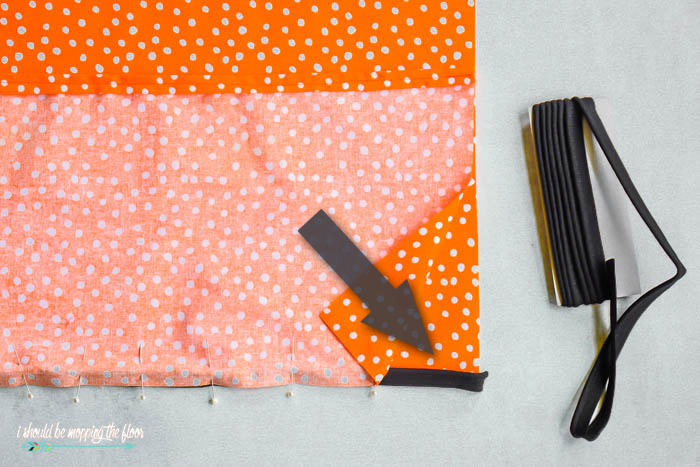
- Before pinning or clipping, add your piping trim, one side at a time. Have your piping face inward and the other side will butt up to the edge of your fabrics. You’ll pin all three pieces together, making sure they are all aligned. This is honestly the most tedious part of this project, but it’s worth it in the end. Where your two pieces overlap, you’ll have an extra layer to contend with. Just go slowly as you pin to make sure you catch all of the layers. Again, you can use clips instead of pins, if you prefer that method.
Above you can see the pinned piece. One tip is to make your piping slightly longer than each edge (you can see my piping pieces sticking out at the corners). That way, they look nice and clean on your finished corners.
.
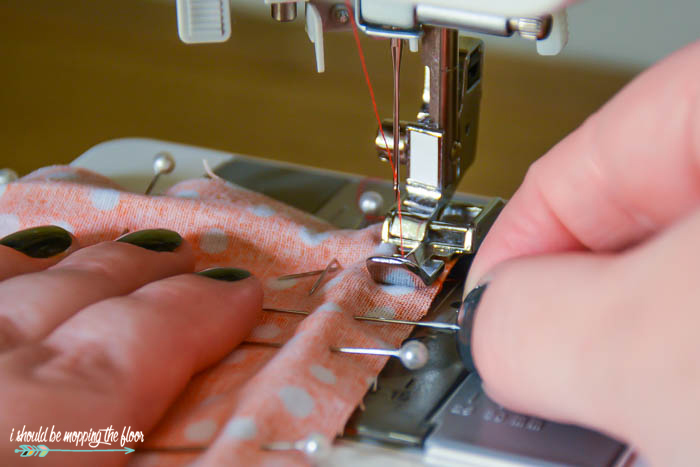
Head over to your sewing machine. You can sometimes find a special piping foot for sewing machines…my machine, however, doesn’t have that option. But, honestly, that’s actually intended for those instances when you make your own piping. I use my zipper foot attachment to sew piping onto pillows like this.
.
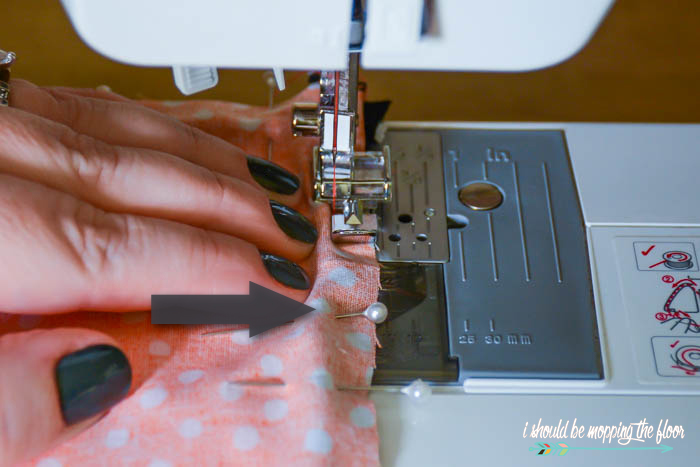
- You’ll line up your zipper foot between the edge of your piping and the edge of your fabric (as pictured above).
- Sew slowly and remove pins as you go. Use a tight basic stitch and sew the pillow together on all four sides, capturing the piping in the stitch, as well.
- On those sections where you’re sewing the overlap seams (over four layers instead of three), do an extra backstitch since those areas get tugged and pulled when the pillow cover is placed onto the pillow. I also start and stop the pillow sewing with a backstitch.
One other tip for making sure the piping stays lined up is to use your left hand to keep pushing the piping to the outer edge (once pins are removed, it tends to want to pull the other way). I keep my fingers on the edge of the piping and keep the piping against the zipper foot as I sew the piece (be super careful not to sew a finger, y’all!).
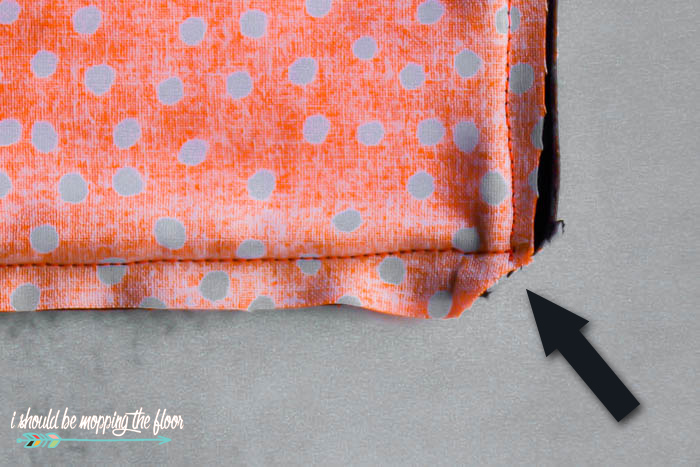
Once the entire pillow is sewn together, you’ll want to clip the corners (be careful not to clip the stitching). This makes your corners come out nice and neat.
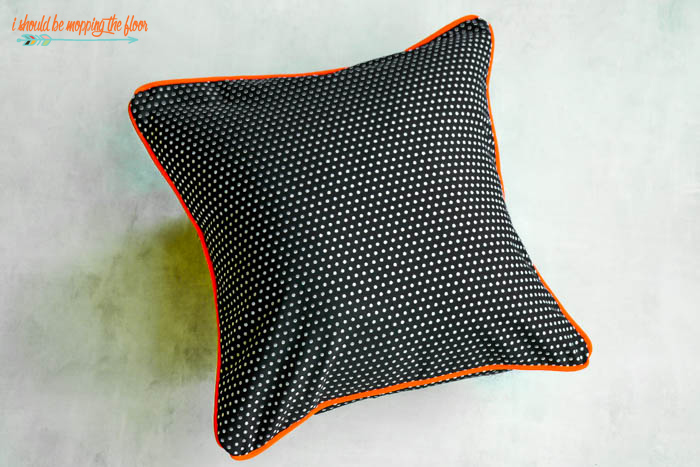
You can turn the pillow inside out, give it a nice press, and it’s good to go. Just pop your pillow form inside. But, feel free to take it a step further and add one of my fun (and free) fall or Halloween designs to the outside of it.
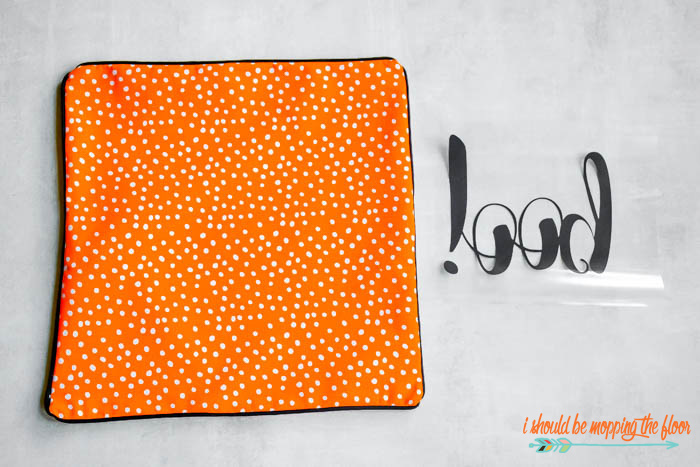
Find both the boo and trick or treat designs in my post for 10 Free Fall SVG Cut Files. Download the ones you like and adhere them to your pillows according to the directions on your heat transfer vinyl (I just use an iron for this). Be sure to reverse the design on your design software when adhering to fabric.
To use these Halloween pillows outside, give them a coat of Scotchgard to protect them from the elements.
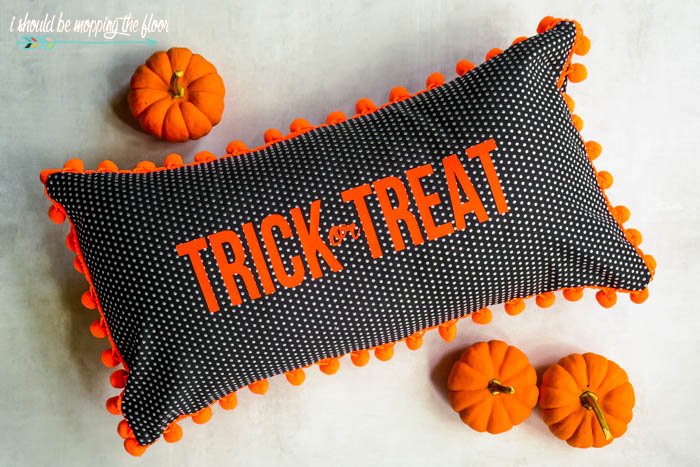
Over on my own blog today, I’m sharing a lumbar-style envelope pillow with pom pom trim…also fun for Halloween. You can check out that tutorial here.
Hoping you all have a SPOOKTACULAR season.
Thank you bunches for having me over, Jodie and Jen!
Follow along with Kristi on her BLOG | INSTAGRAM | FACEBOOK | PINTEREST
Here are some more Halloween sewing projects you’ll love:
- Framed Fabric Pumpkin
- Halloween Trick or Treat Bags
- Flannel Halloween Face Pillows
- Halloween Banner Countdown

Oh my goodness! These are the CUTEST! I’m somewhat of a novice when it comes to sewing…but these step-by-step instructions look like something I would be able to accomplish without frustration. Thanks for sharing such a fun idea and great tutorial! I can’t wait to get started!
Glad you like them! Send us a picture if you make them!! We’d love to see. 🙂
I haven’t seen a pillow in years, this makes me want to bust out my machine again! These look so fun! I love the colors!!
Aren’t they so fun!!
These are adorable!! I love this time of year! 🎃 👻
Aren’t they so cute?
Me too me too!! 🙂