Hi everyone! We are Cassandra & Kenzi, the mother and daughter duo behind DETAILS2ENJOY, a great source for DIY project ideas! We recently started our blog to share the many ways you can DIY our product, Pocket Frames.
We are so excited to be a part of this year’s Spooktacular September and share our Halloween Entry Way Pocket Frame DIY Project.
What you’ll need for this do it yourself home project: [affiliate links included]
- Enter If You Dare DIY Project Kit from DETAILS2ENJOY
- B Sized Pocket Frame
- B Sized Single Solid Insert
- Enter If You Dare Words
- Black Craft Paint (or other black paint) + Paint Brush
- Copy Paper, Cardstock, or Patterned Paper
- Mod Podge + Foam Brush
- Gold Spray Paint
- Emery Board / Sanding Block / Sand Paper
- E6000 or Hot Glue Gun
This year we launched a brand new product called Pocket Frames. These wood signs have a removable top and two tracks for inserts that can be mixed and matched.
Start with the DIY B Sized Frame.
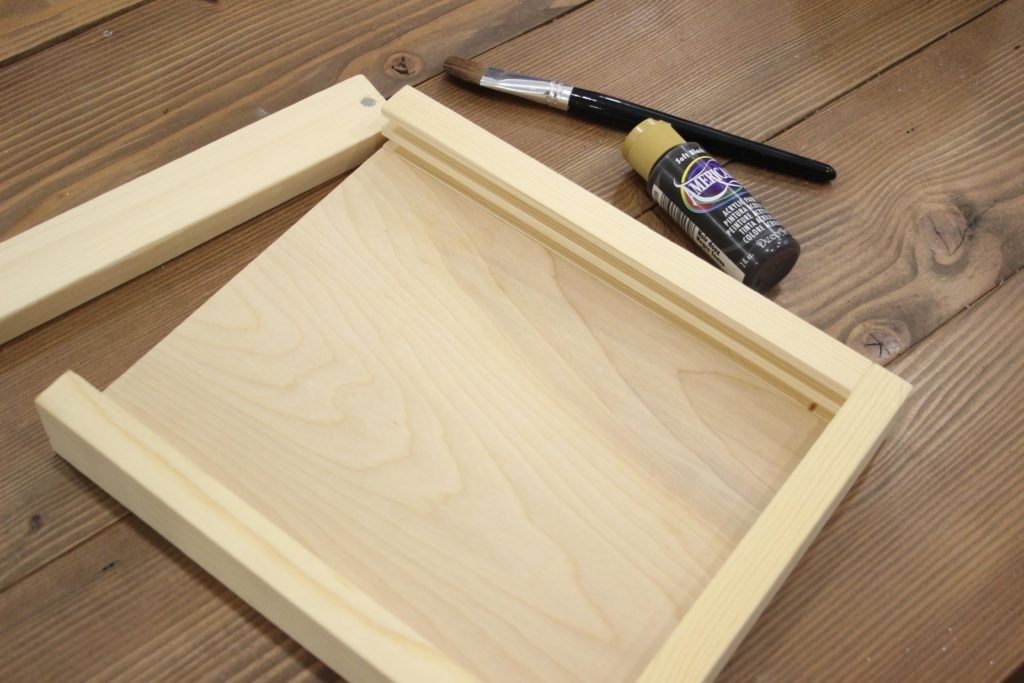
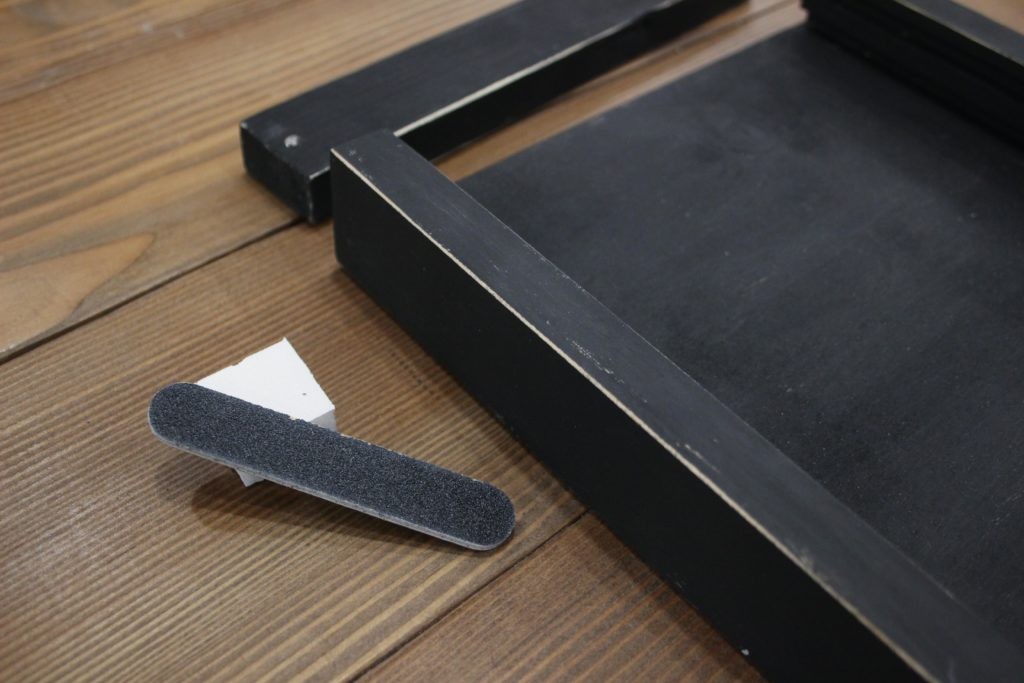
For this Spooktacular Halloween look, we chose to paint the frame black using craft paint. After we applied our paint and let it dry, we sanded our edges using a small emery board. We also sanded the rest of our frame with a small sanding block to give it a smoother finish.
Once your frame is ready, you can start on your insert! For this craft DIY project, we used a Single Solid Insert and a pattern that we created and printed out. You can get the download for that design HERE.
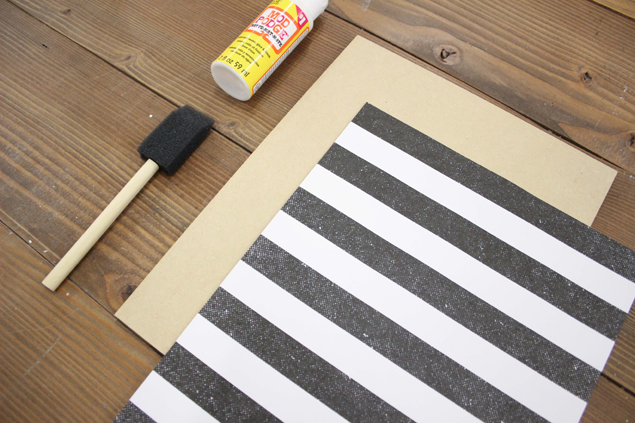 We printed our DIY design onto cardstock, but you could also use plain copy paper or another patterned paper of your choosing. To attach the paper to our board, we used a light layer of Mod Podge. Using our foam brush, we spread the Mod Podge all over our Single Insert making sure we got the edges. The trick to this is making sure you have just enough Mod Podge that the paper will stick, but not too much that the paper will become too wet and bubble. Using cardstock can help to prevent some of these bubbles from happening. Once you have applied your Mod Podge, carefully place your printed piece starting at the top and smooth it down. Give your paper a few good rubs from side to side to squash any bubbles and ensure that the paper has stuck to the board. Now, generally, you might add another layer of Mod Podge to the top of your piece (which you are welcome to do), but we chose to leave the top bare to avoid the glossy finish that Mod Podge can add.
Once this piece had dried, we placed it into the front slot of our frame and snapped our lid back into place.
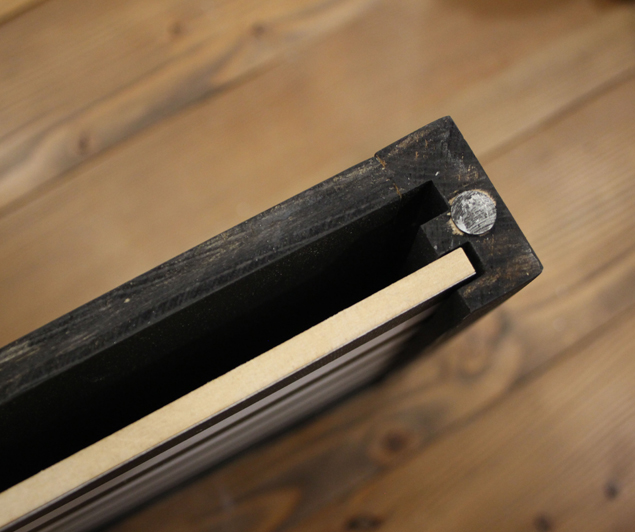 Now it was time to paint our letters using our favorite gold spray paint – Rust-Oleum Specialty Metallic in the color “Metallic Gold.” It’s best to paint the letters with 2-3 light coats of the spray paint. Sanding after the first coat will create a smoother finish. With the gold paint, you will want to avoid sanding after your final coat.
Once our letters were dry, we attached them to our insert using E6000. A hot glue gun would also work great!
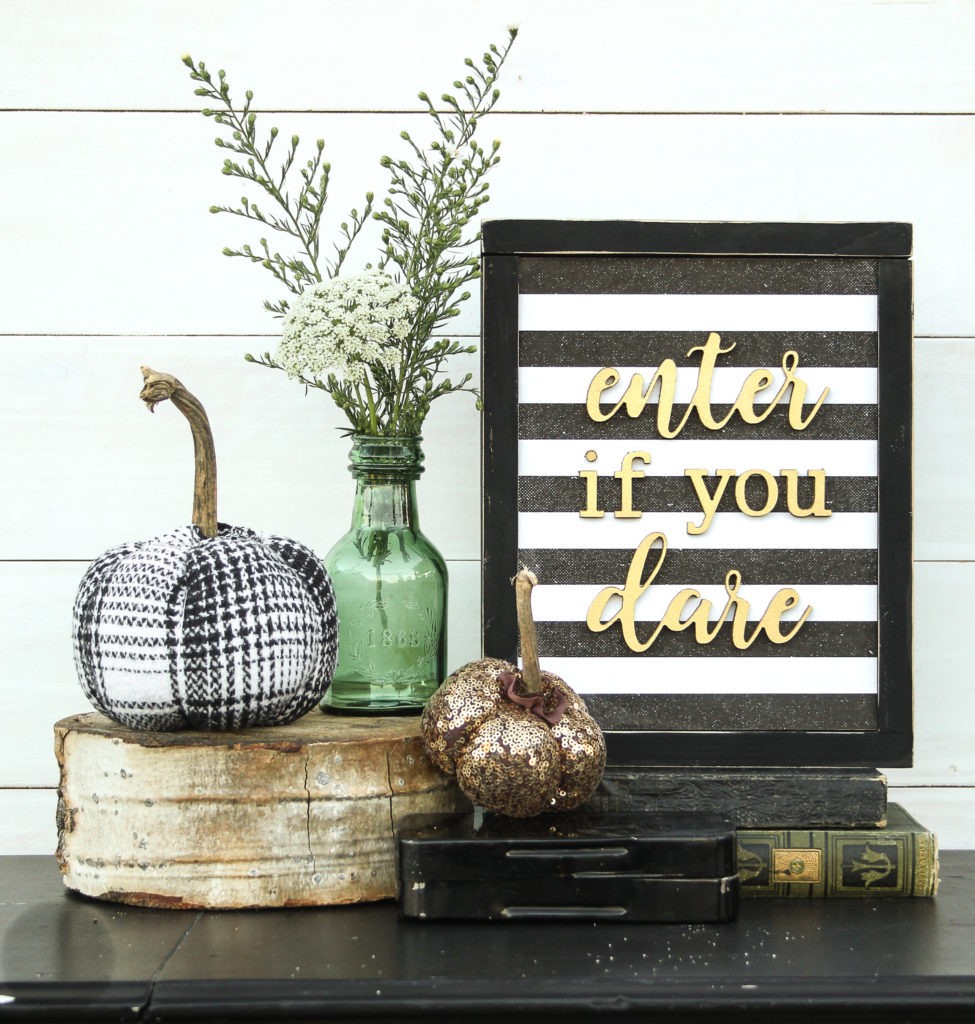
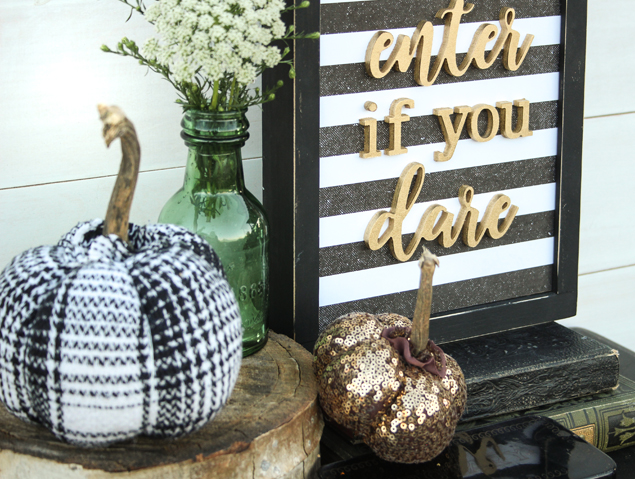
And that’s it! In just a few steps, we transformed our unfinished Pocket Frame into a Spooktacular Entry Way Sign! For this entry way vignette, we paired our Pocket Frame with some of our Handcrafted Fabric Pumpkins, vintage books, and a thrifted green bottle with fresh flowers.
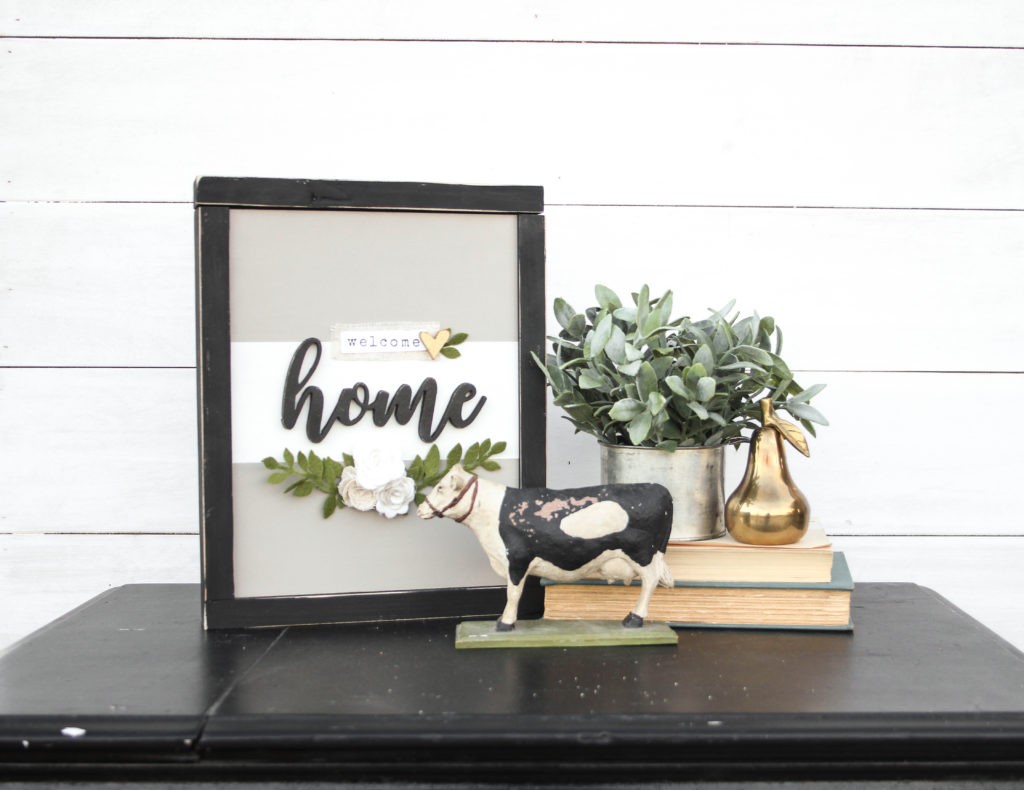
And the best part? These signs are interchangeable and can be switched out throughout the seasons. Check out our tutorial for creating a Welcome Home insert perfect for switching into this frame after the Halloween Season is over!
All the Pocket Frames Products shown in this tutorial are available in our Etsy Shop. We also have a listing for this frame that includes options to purchase it Finished As Shown or as a DIY Kit! Use the code SPOOKTACULAR to get 18% off your order in honor of the fabulous ladies behind Eighteen25! Thanks so much for having us!
Visit Cassandra & Kenzi at their BLOG | SHOP | INSTAGRAM | FACEBOOK
Here are a few more awesome Halloween posts you can find on Eighteen25:
Check out holiday printables and so many more DIY project ideas and enjoy creating these projects with your kids!





Leave a Reply