Hello eighteen25 readers, my name is Melissa Mortenson and I’m the girl behind the Polka Dot Chair blog. I’m so excited to be participating in Spooktacular September this year. It’s one of my all time favorite blog series, I look forward to it every year. There are always so many fun Halloween craft ideas!
Today I’m going to share with you a craft inspired by the Haunted Mansion ride at Disney World. My kids like to tease me that I like the Haunted Mansion ride a little “too much”. It’s true, I love it. I love the creepy caretaker and the silly singing ghosts. I love the wallpaper with the eyes staring back at you. I dream of a dinner party as fun as the one with the dancing ghosts in the ride.
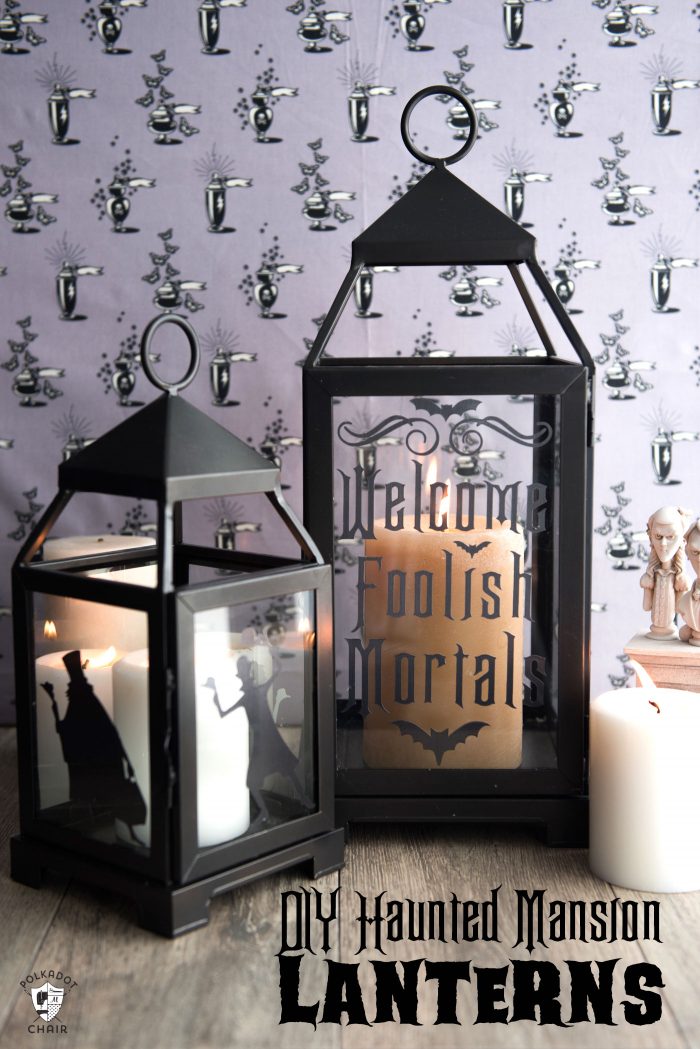
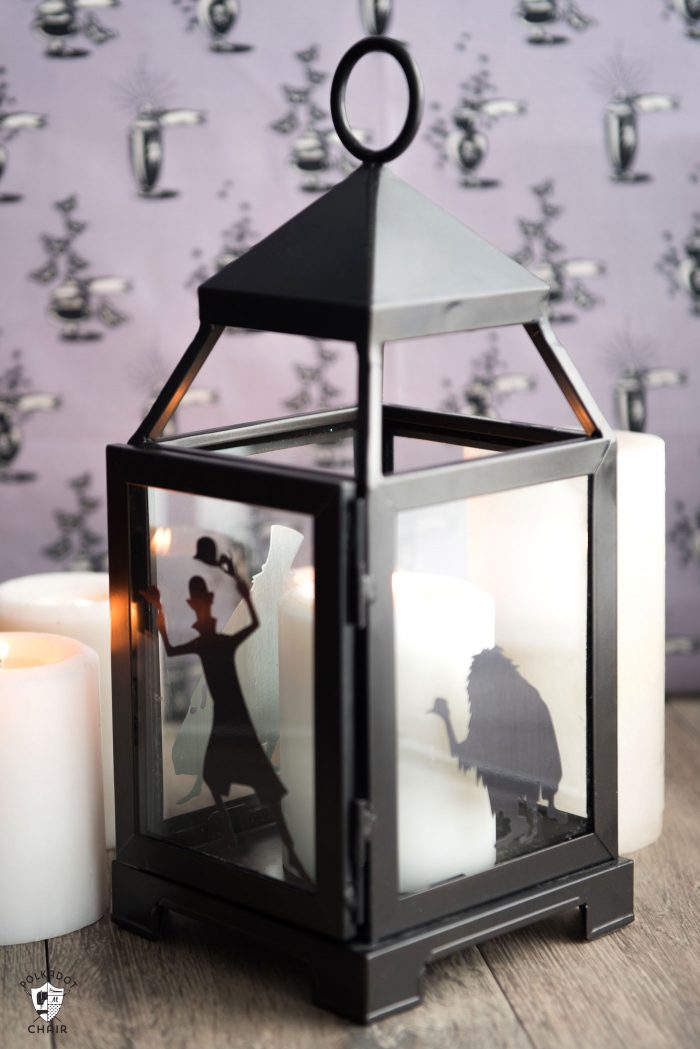
I’m going to show you how to very simply turn some plain black lanterns into Haunted Mansion lanterns. You’ll need an “e” cutting machine for this. I’ve provided 2 free cut files for you to download.
I used a Cricut machine and their Adhesive Foil. Which is kinda like really thick aluminum foil. It gives the lanterns a great texture and I love how the light bounces off of the foil.
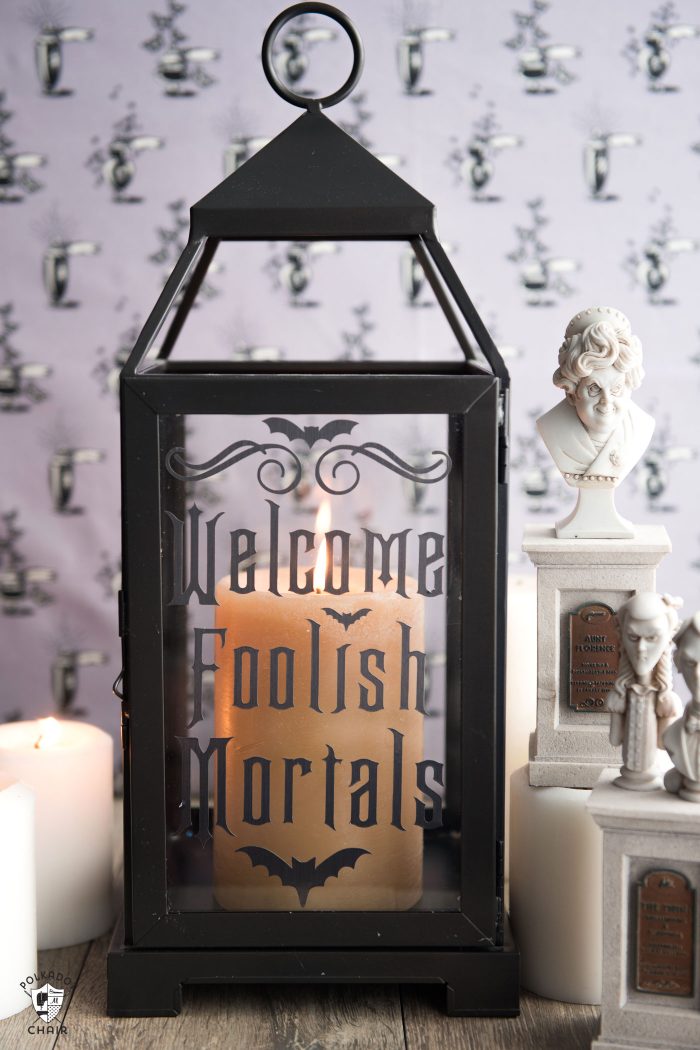
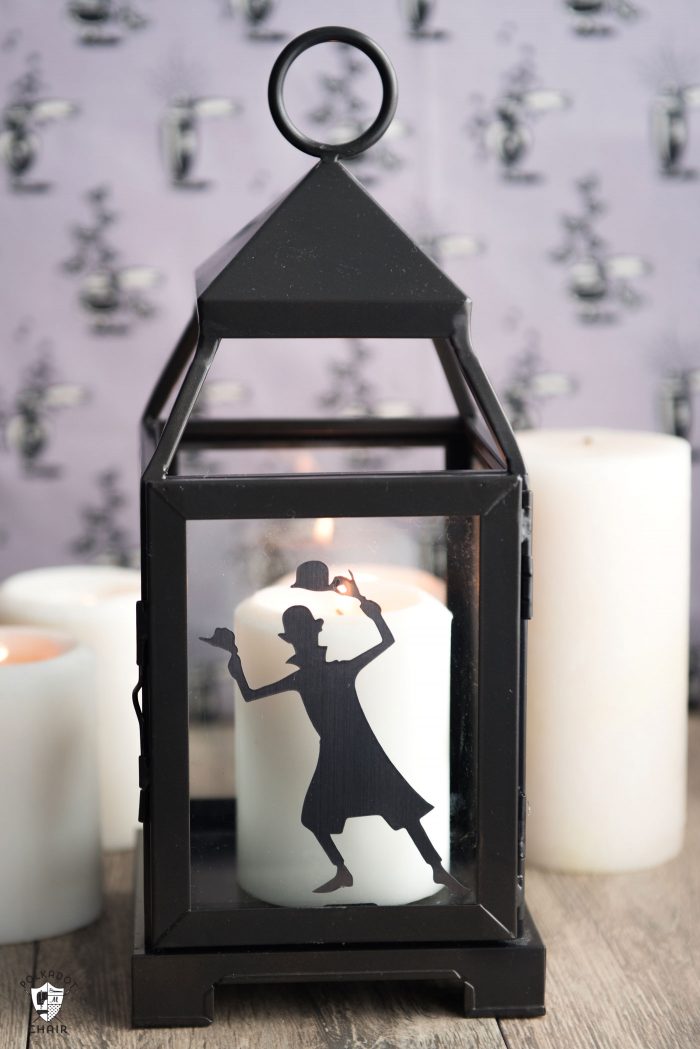
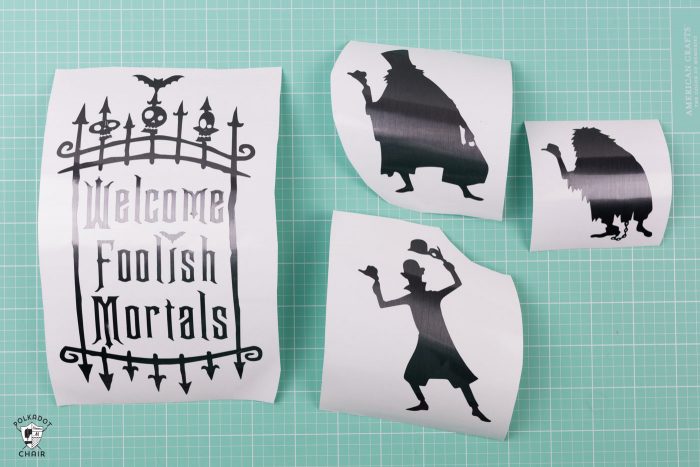
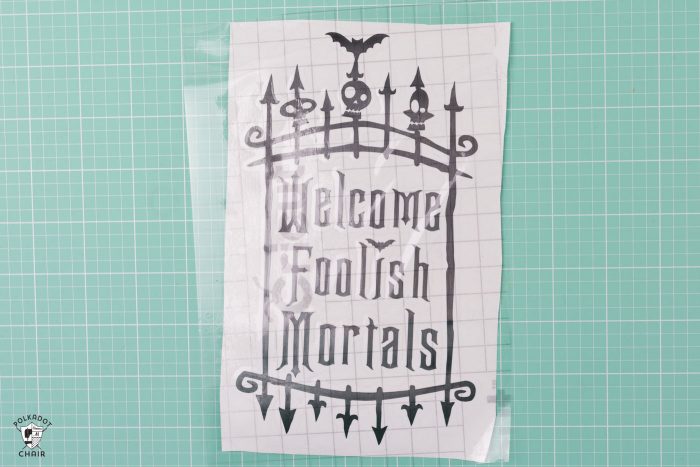
Begin by downloading the two svg cut files from my site by clicking HERE. There is the “WELCOME FOOLISH MORTALS” text and the Hitchhiking Ghosts silhouette available for you to grab.
After you download your images pull them into your machine software and size them to the same size as your lantern. There are 2 additional images that I used in my project that are available in the Cricut design space, so I can’t offer those for download. They are just simple bat and scroll shapes so you should be able to grab something very similar in the Cricut or Silhouette store easily. Just add them to your design before you cut it out if you like. I think they would be cute either way.
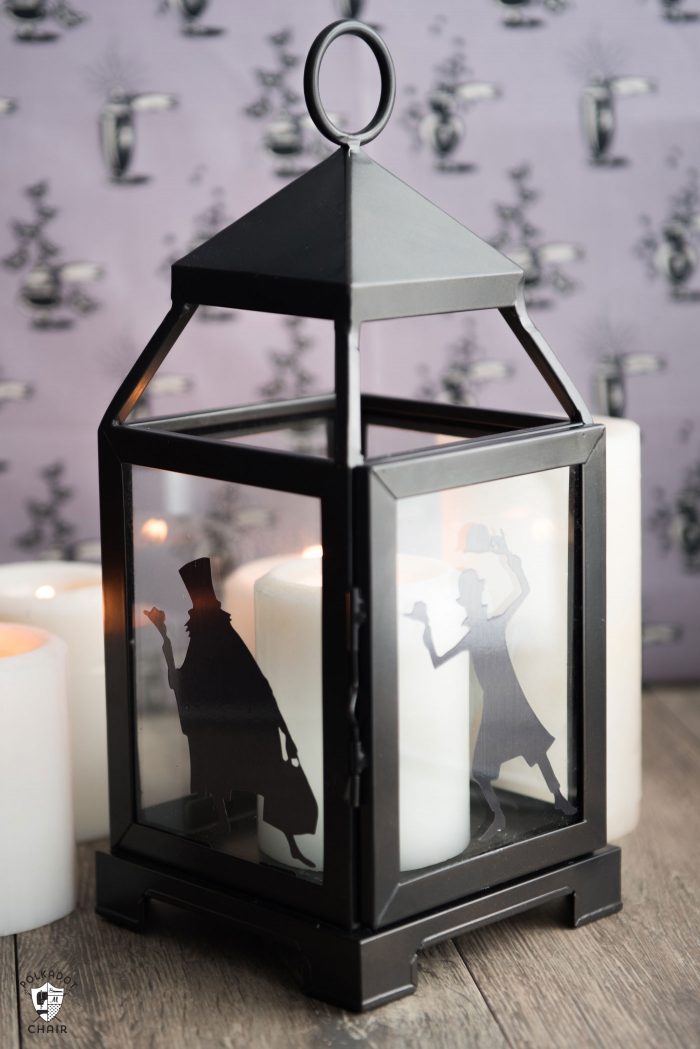
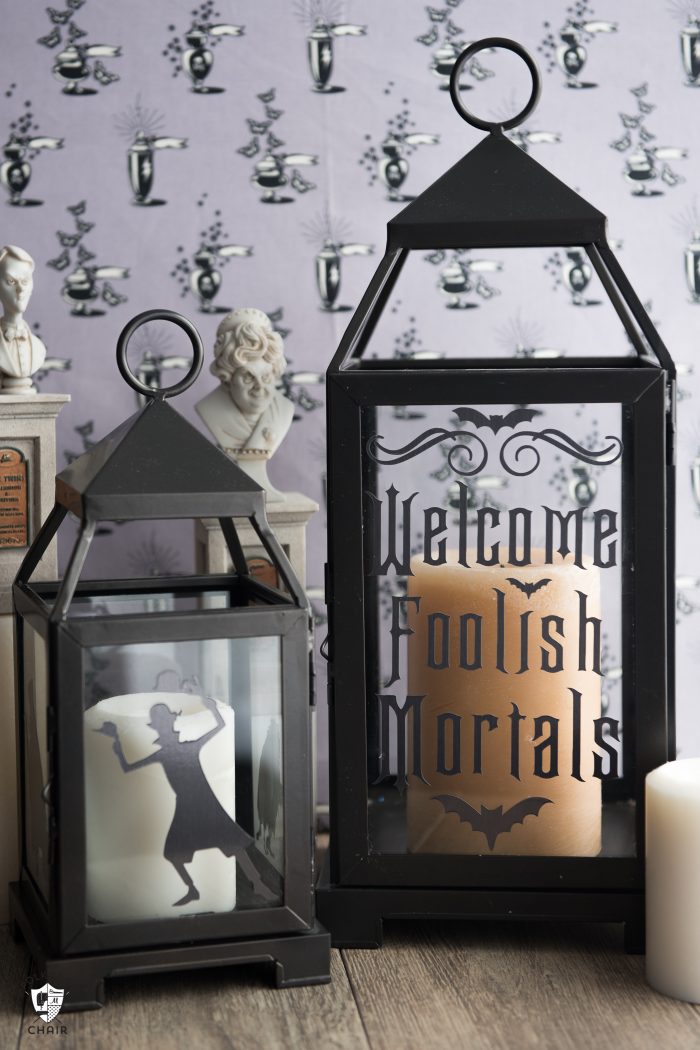
I made 2 lanterns. The Foolish Mortals version and Hitchhiking Ghosts.
I divided up the hitchhiking ghosts and put one on each side of my smaller lantern.
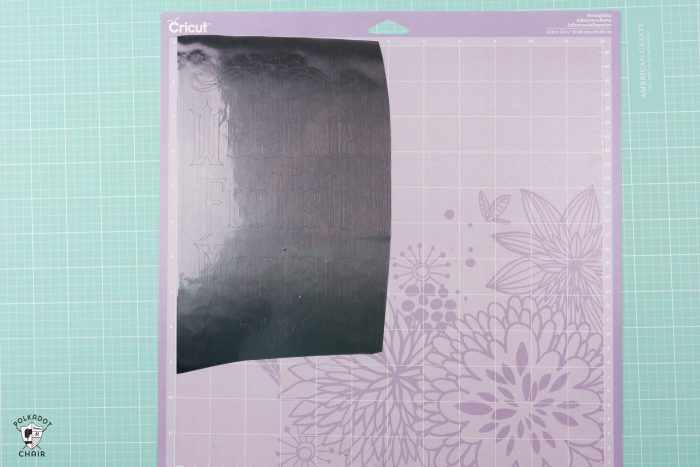
After you have your design set up the way you like, cut out your image with your machine onto your adhesive foil. I used the strong grip mat to cut out my image.
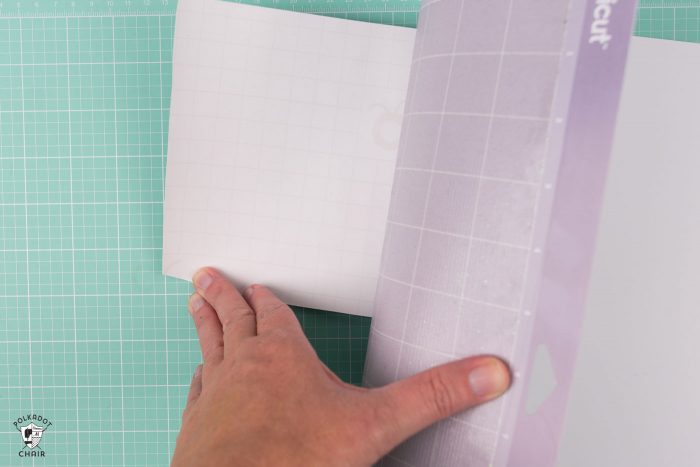
Here’s a tip, when you’re peeling off your cut, instead of peeling the cutting material, peel the mat. That way your cut material will not wrinkle or curl.
(note: after I made my this cut out I realized that the text was not big enough, so I changed it to the larger text you see on the lanterns above, the free cut file on my site is for the larger letters)
Remove the excess from around your image and apply a piece of transfer tape to the front.
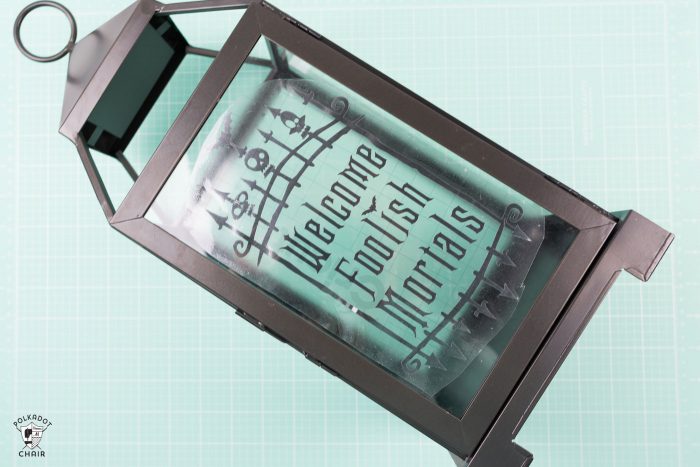
Then apply the image onto the lantern. Use a credit card or plastic scraper to get it to stick well then peel away the transfer tape.
That’s it!
Easy peasy!!
Visit Melissa on her BLOG | INSTAGRAM | PINTEREST | FACEBOOK
Here are a few more fun Halloween projects to check out on Eighteen25:
___________________________________________________________________
Use Promo Code: Eighteen25 at Get Away Today to receive $10 off any southern California Vacation that includes at least 2 nights hotel stay and 2 tickets.


Very interesting posts. Love the many crafts you publish.
I loved reading your post because I love, love, love the Haunted Mansion. It has always been my favorite ride at Disney. Love every creepy detail like the moving door knockers, eyeball wallpaper and of course the ghostly ball. As a teenager I desperately wanted to work there just so I could wear a bat pin in my hair! 🦇 🦇 Halloween then certainly wasn’t was it is now. It makes me happy to have such a vast array of decor to choose from and to DIY. I don’t have a cutting machine yet but I hope to very soon, and can’t wait to try this project! Thank you for all you inspirational ideas! From one Haunted Mansion lover to another!