
Hello Eighteen 25 readers and Halloween enthusiasts! Christina here from Lincoln Street Blog. I am thrilled to be sharing this very easy to assemble bat wreath. I was inspired by a similar one in a store catalog. I loved the wreath, but I did not love the $50 price tag! Get your glue guns ready and have your glitter on standby, it’s about to get festive up in here!
Materials:
- -foam wreath
- -strips of black fabric (scraps work great for this)
- -paper bats
- -glue gun
- -metallic spray paint-silver glitter
- -glue
- -straight pins-7 inch. piece of ribbon
How-to:
Okay, it’s time to get down to the nitty gritty of this project! The first thing you need to do is gather your supplies!
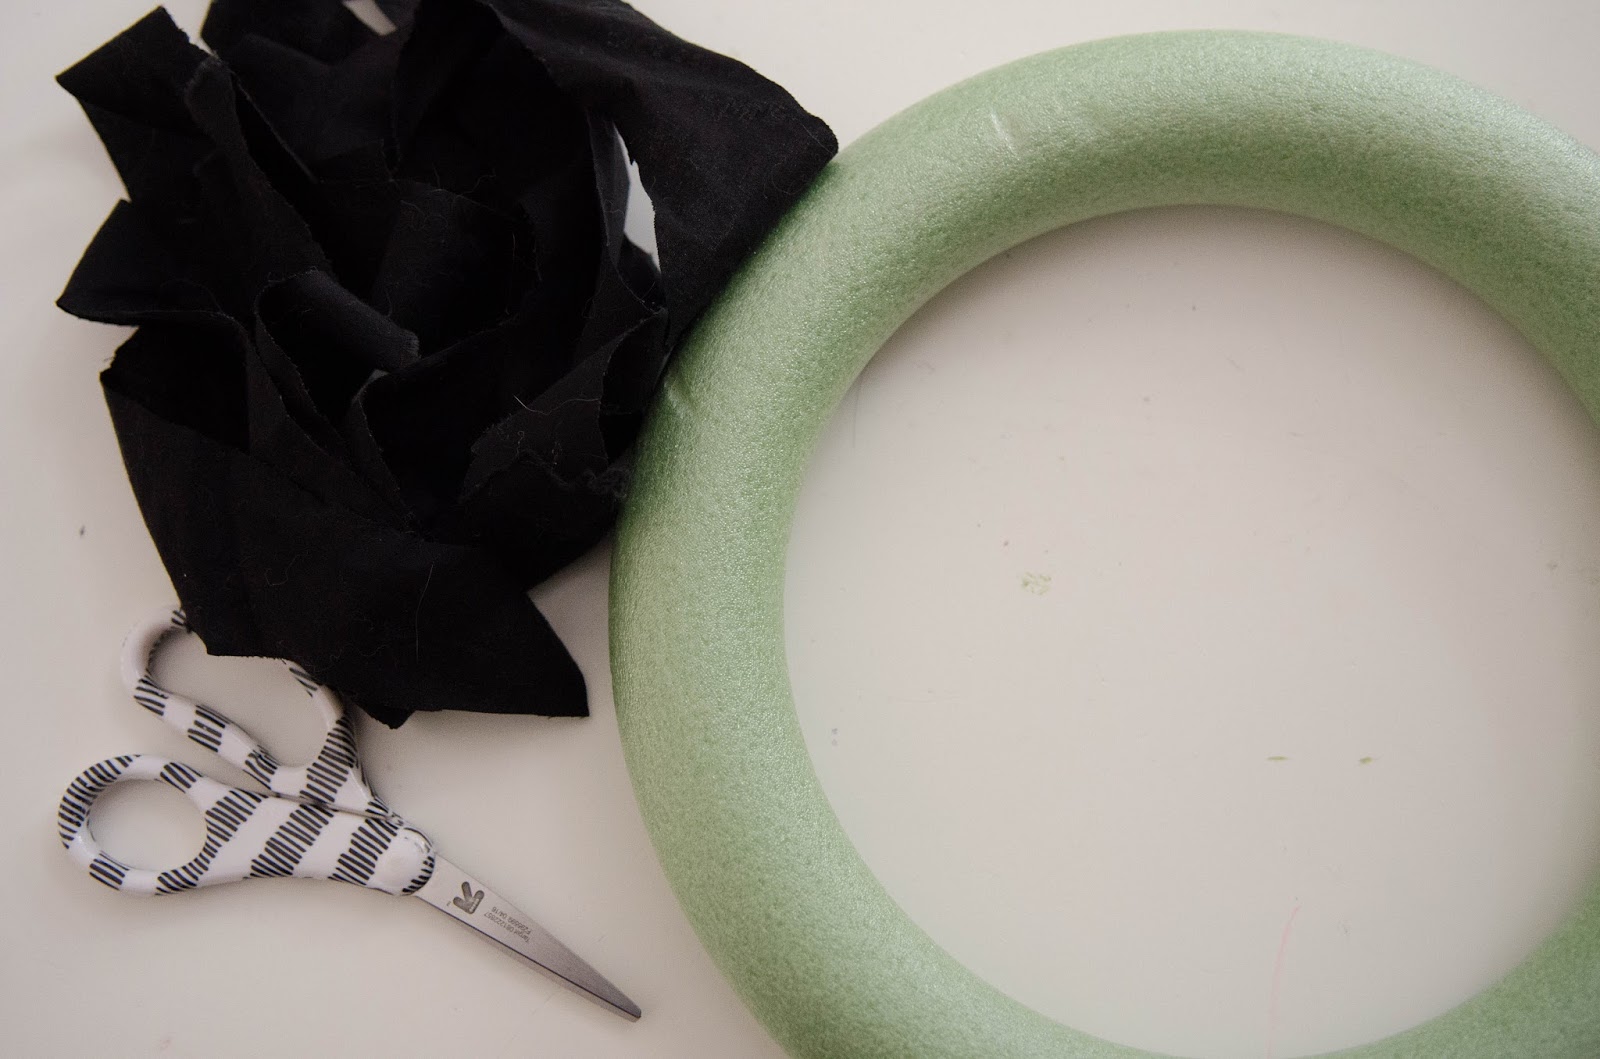
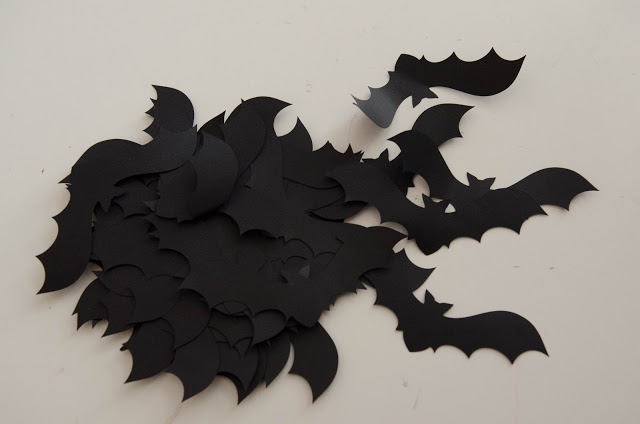
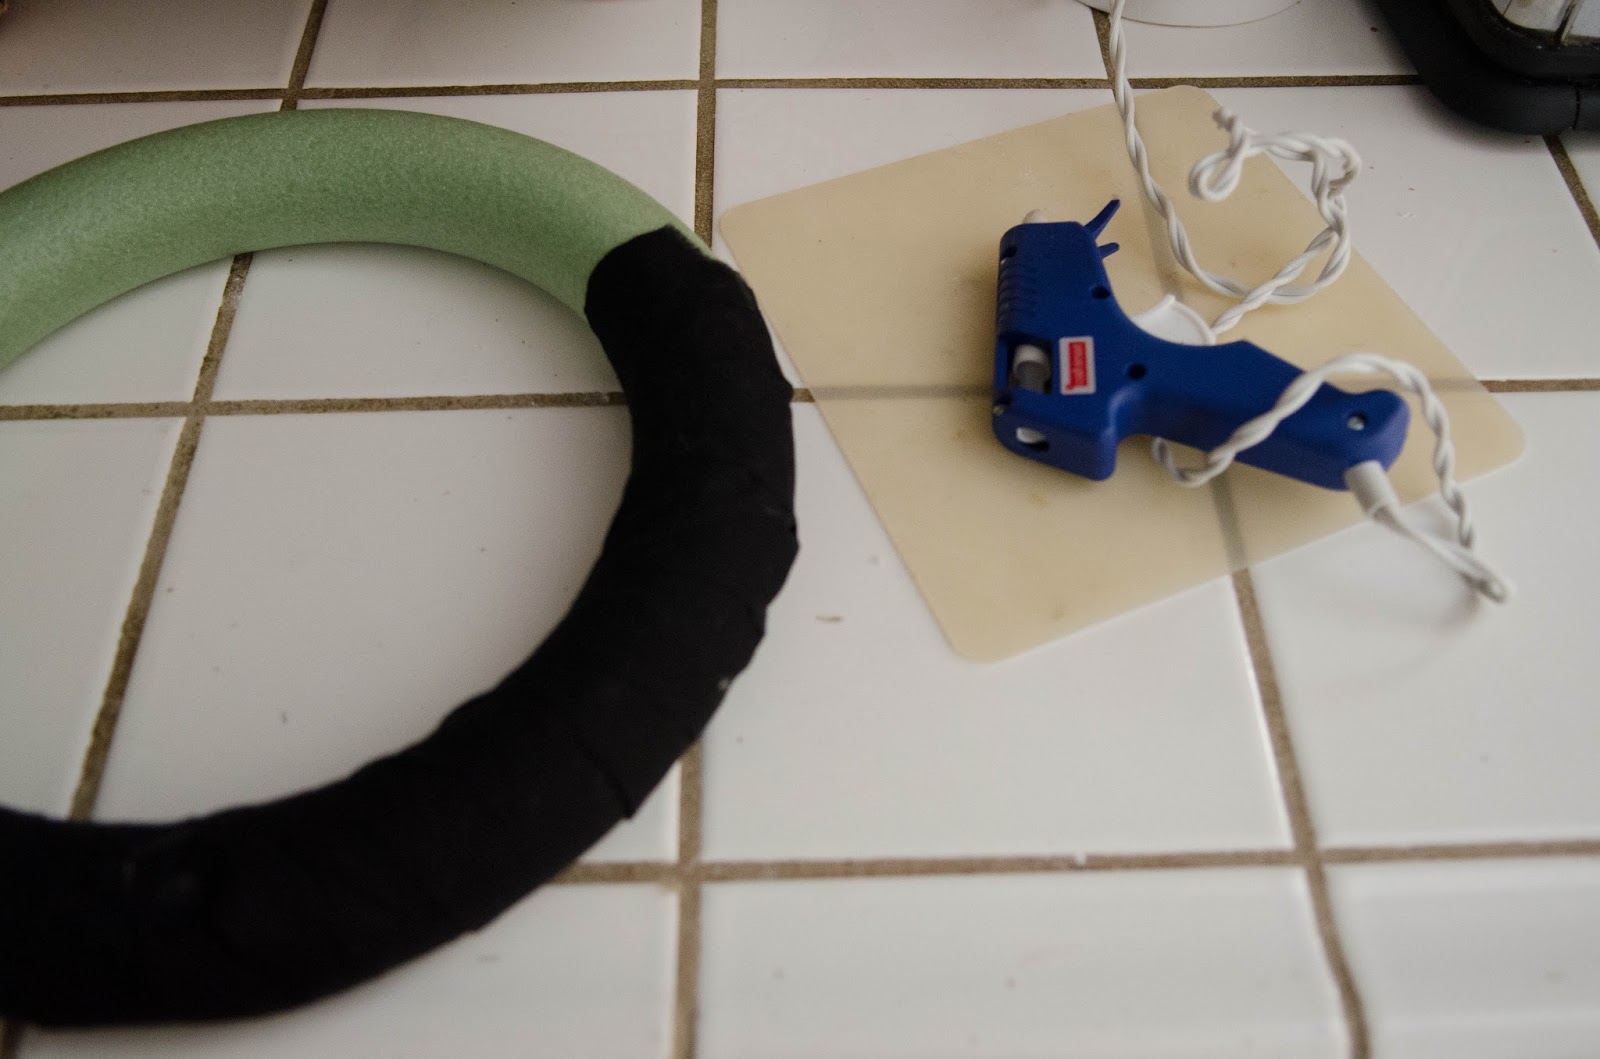
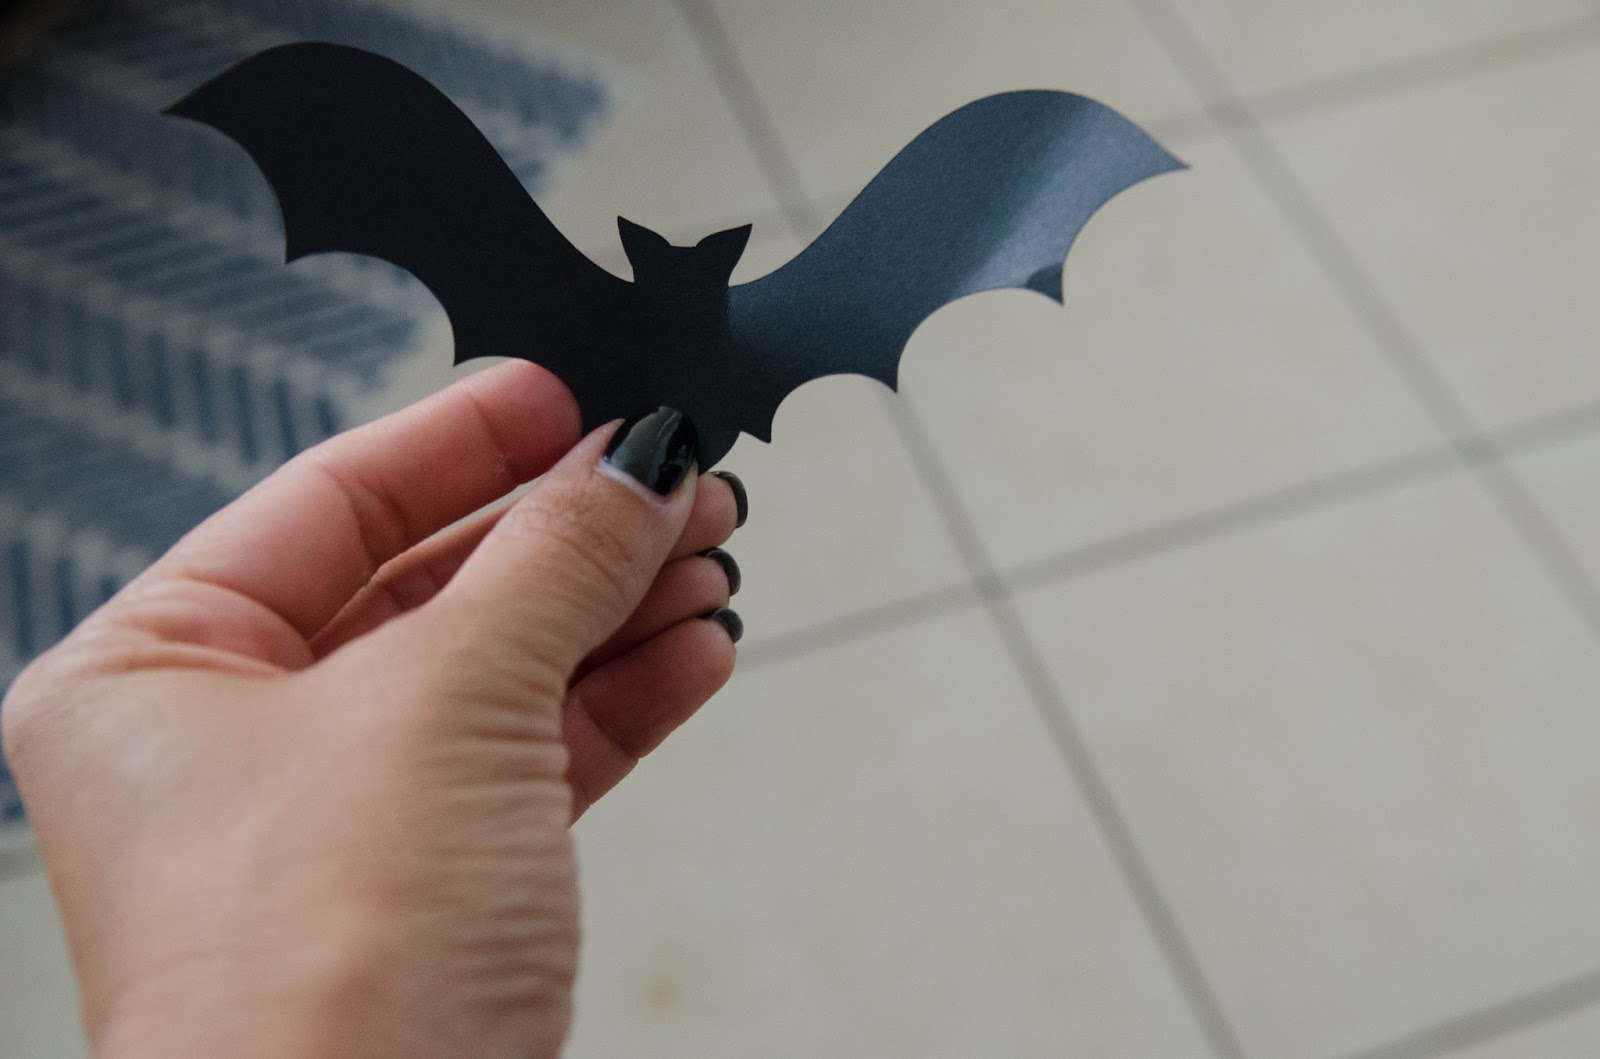
For the black strips I literally found some old fabric lying around and just cut random, haphazard, strips. You could even cut up an old black t-shirt you have on hand. Very simple. The bats I cut from my Silhouette. If you don’t have a Silhouette (a Cricket would work as well) perhaps you could make fast friends with someone who does! Ha! If not, many stores do sell pre-cut paper bats. Typically, I would be the one to recommend tracing and cutting your own bats by hand. However, you will need about 80 of these bats (for a small wreath) so that could get a little tiring. The next step is gluing your strips around the wreath so as to cover any signs of green.

I simply glued one end down and started wrapping, making sure to add a few drops of glue, here and there, as I went along.
Once your entire wreath is covered, grab your first bat and let the fun begin!!
I bent the wings of my bats so that they would appear to be “in-flight” before gluing each one down.
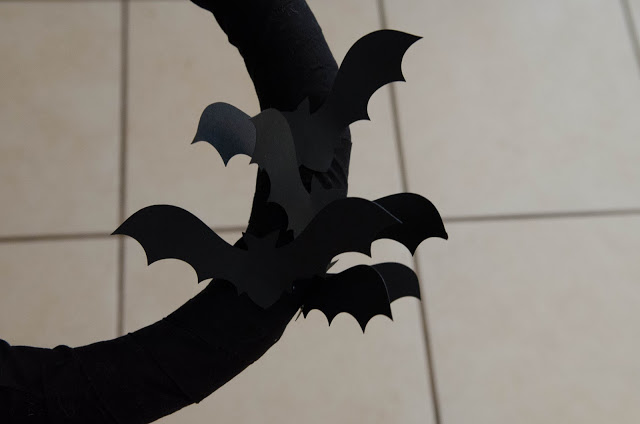
I glued them down with space to fill (as you can see above) and then I went back and filled in all the empty areas. This was the point at which I decided that it might be a good idea to attach a hanger to the back. I simply took a piece of ribbon (I cut mine 7 inches, but you can adjust to your liking) and attached it to the back with a bajillion push pins. You could also hot glue your ribbon down, but if you do I recommend taking a small piece of felt and gluing that down over the tails of your ribbon to further secure.
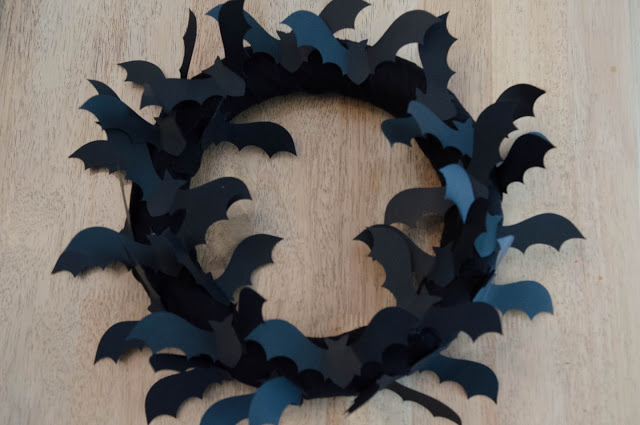
I recommend hanging your wreath to help you decide whether it is full enough or still needs more bats. It’s hard to see it from every angle when it isn’t hung. Once you are satisfied with the look it’s time for the metallic spray paint!
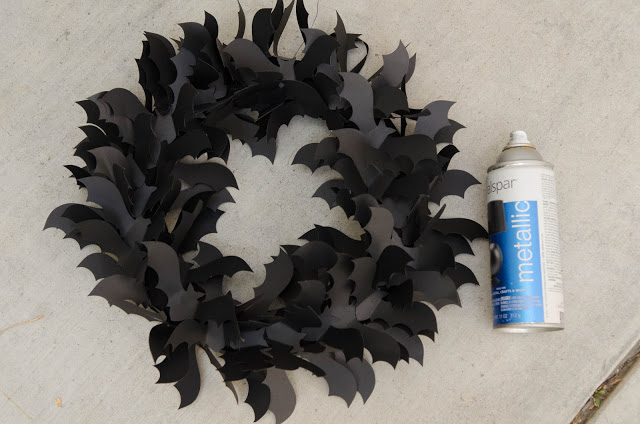
I sprayed the wreath from about 15 inches away and moved the can back and forth quickly so as to let the paint mist over the wreath. I didn’t want full coverage and still wanted the black to be somewhat visible.
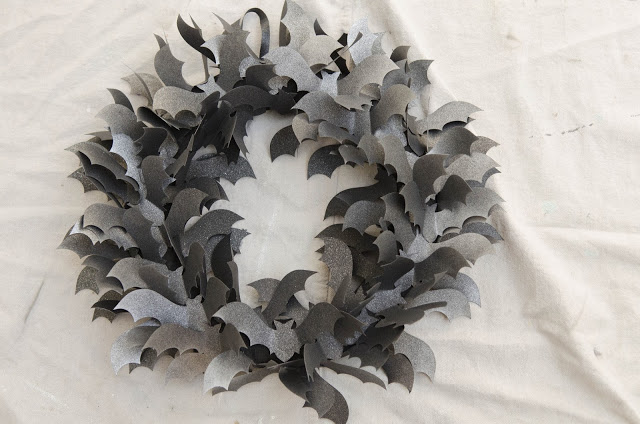
Of course, you can do whatever your heart desires! If you want full-on metallic–>go for it! Next I grabbed a brush, some glue, and glitter. Oh, and don’t forget a drop cloth or newspaper to catch the excess glitter!
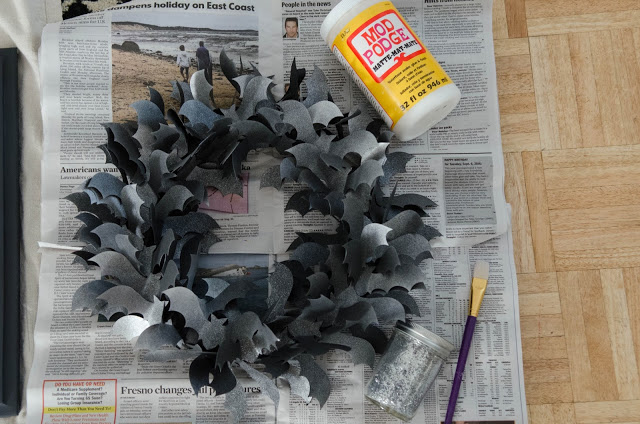
The way you apply the glue and glitter is really up to you. I chose to add glue and glitter to just the tips of the wings and I liked the way that looked.

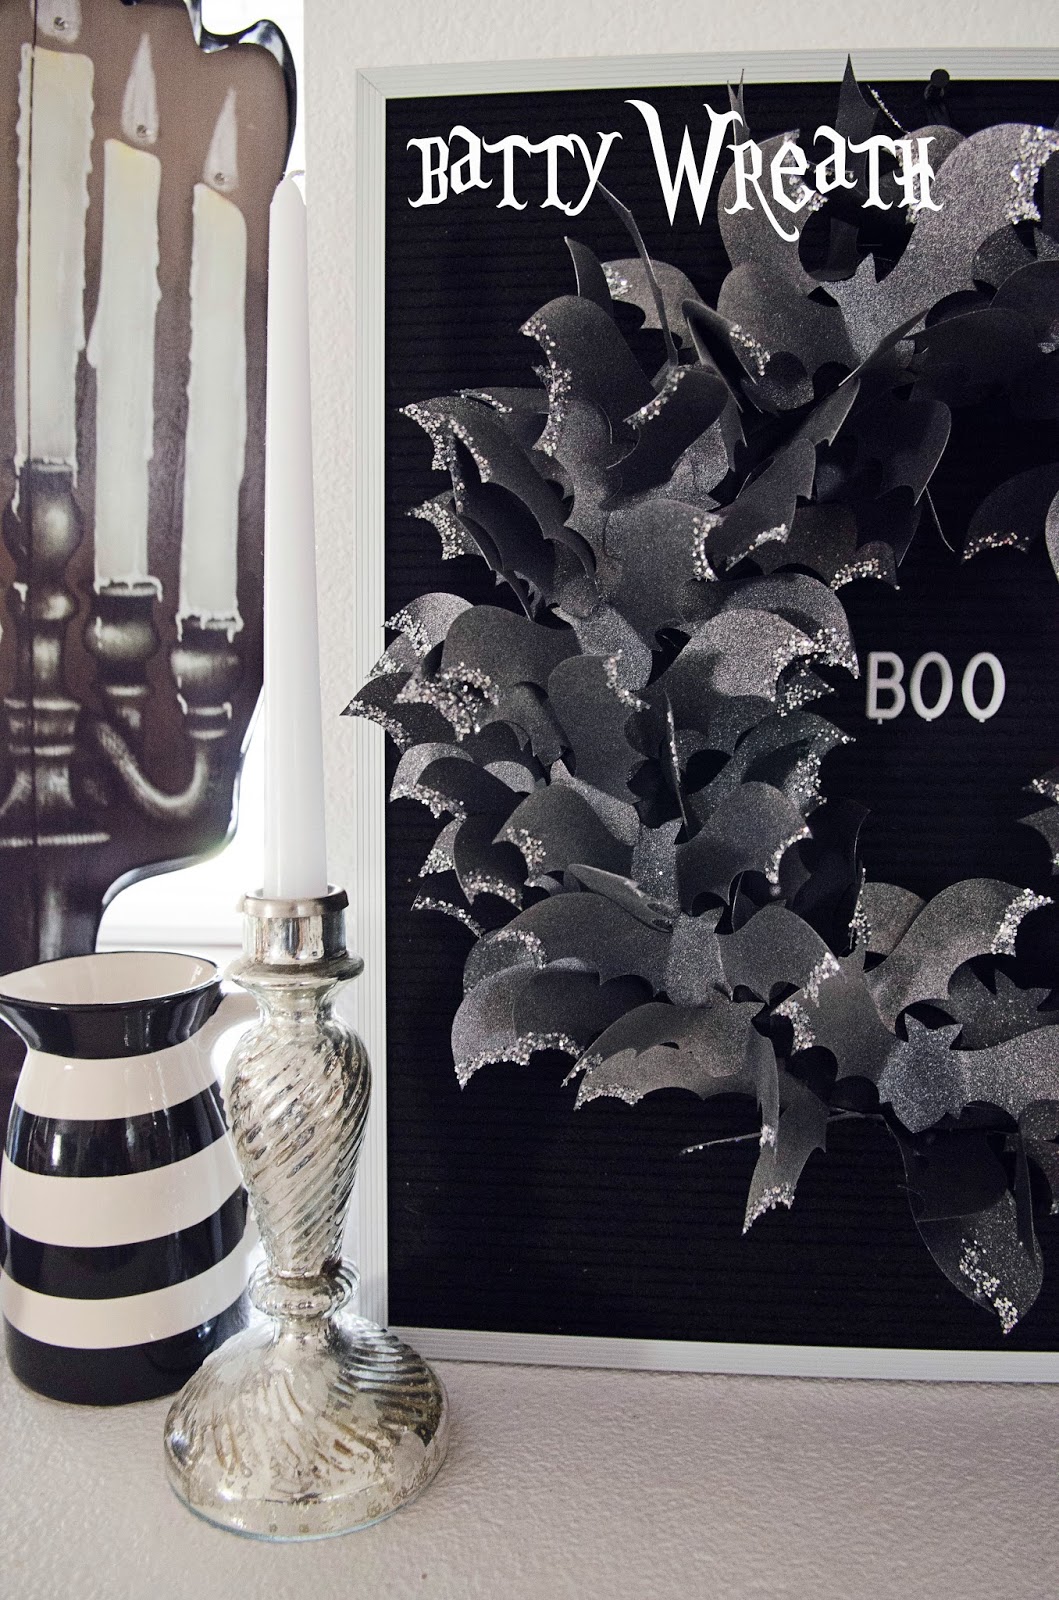
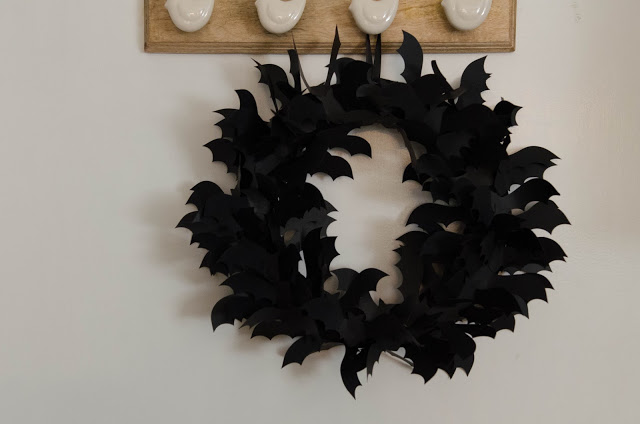
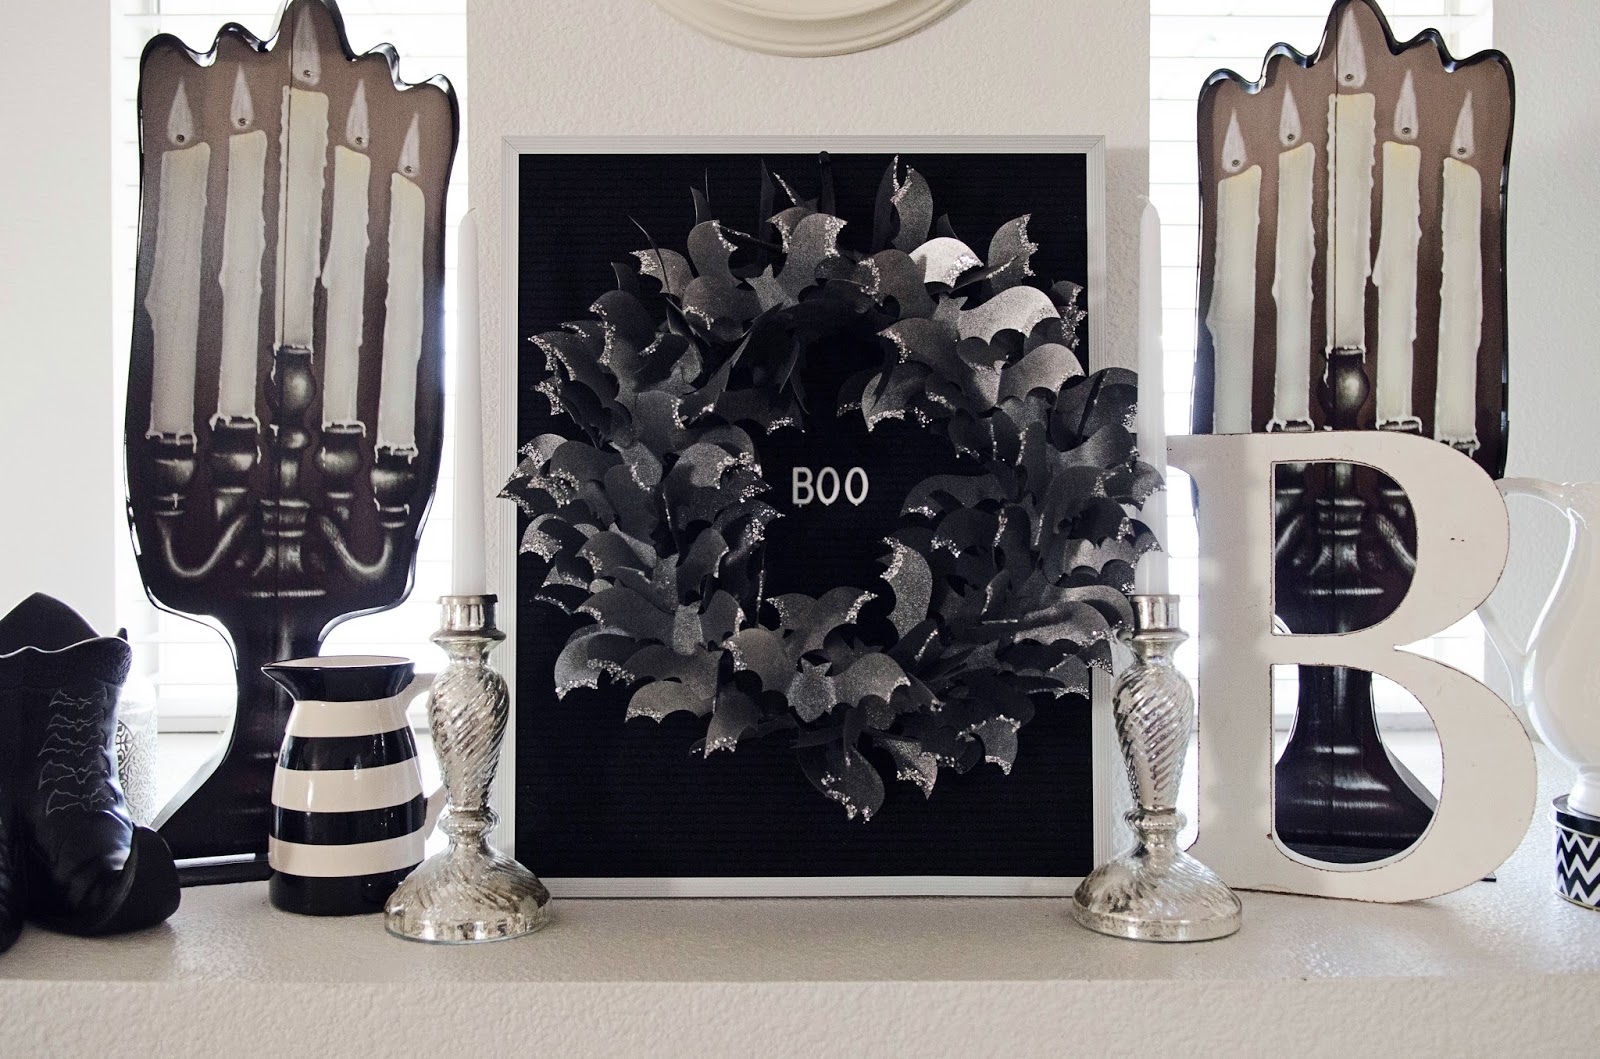
I am so happy with the way it turned out! I am not decorated for Halloween yet so I had to fake a vignette and I went with black and white since it was the easiest to pull from many of the current pieces in m home.
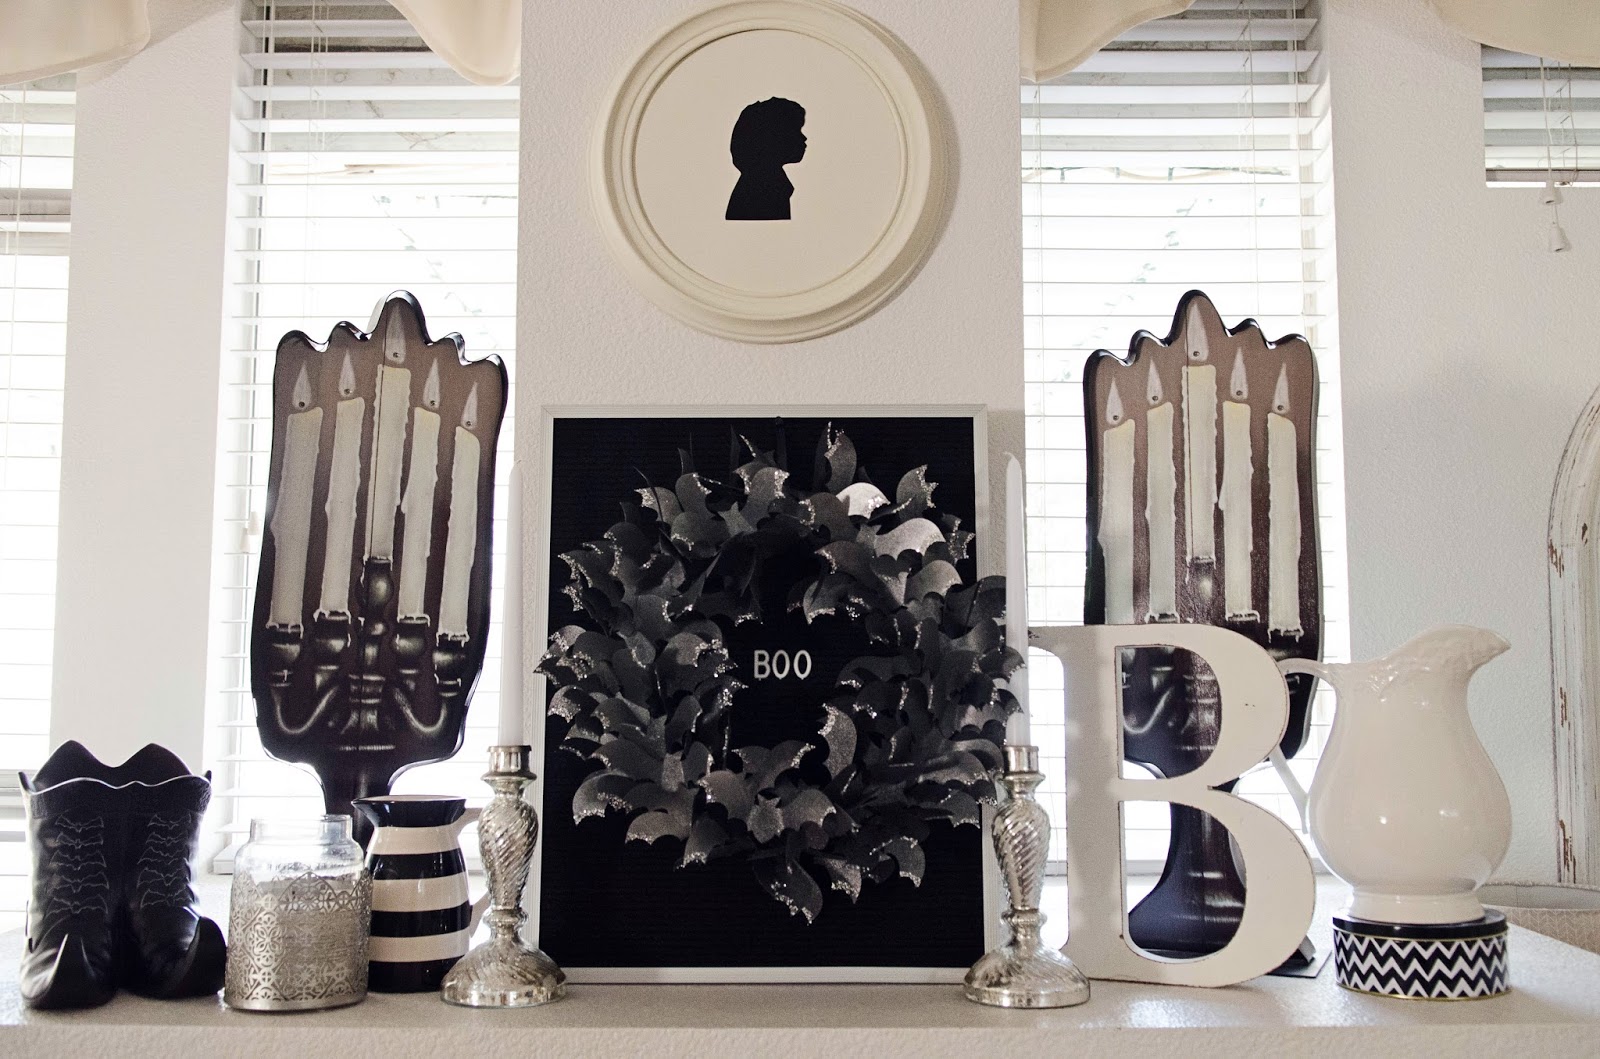
I almost want to get rid of all my orange Halloween décor and just stick with black and white!! Almost. 🙂
I hope you enjoyed this tutorial and I would love to see any completed bat wreaths! Thanks so much for having me Eighteen25 ladies–>you’re the best! Here are a few other Halloween ideas from my archives:


.
Here are a few more great Halloween posts you can find on Eighteen25:
- Halloween Candy Corn Drink
- Rest In Pieces Gift Idea
- Dia de Los Muertos Wreath
- Peanut Butter Halloween Cookies
I'm Jen Sedillo, one of the bloggers behind Eighteen25. I love creating and crafting, reading good books, visiting new places and being with family!
Latest posts by Jodie and Jen (see all)
- Our Friday Five 9.30 - September 30, 2022
- Our Friday Five 12.3 - December 3, 2021
- Composition Book Christmas Planner - November 28, 2021
Your wreath is AMAZING! I’m taking the plunge…hit Hobby Lobby today for the wreath form. I cut up an old T-shirt and wrapped it. Just curious about how big your bats are. I’m getting ready to cut them out on my silhouette.