Hello eighteen25 readers, Christina here from Lincoln Street Blog. Can you believe it—> The arrival of Spooktacular September means we can officially get excited for Halloween without appearing too crazy!! I am so honored to be sharing here, for the third year in a row—>thanks ladies! Now that the pleasantries are out of the way…let’s get down to brass tacks. I present to you: The Chalkboard Countdown to Halloween.
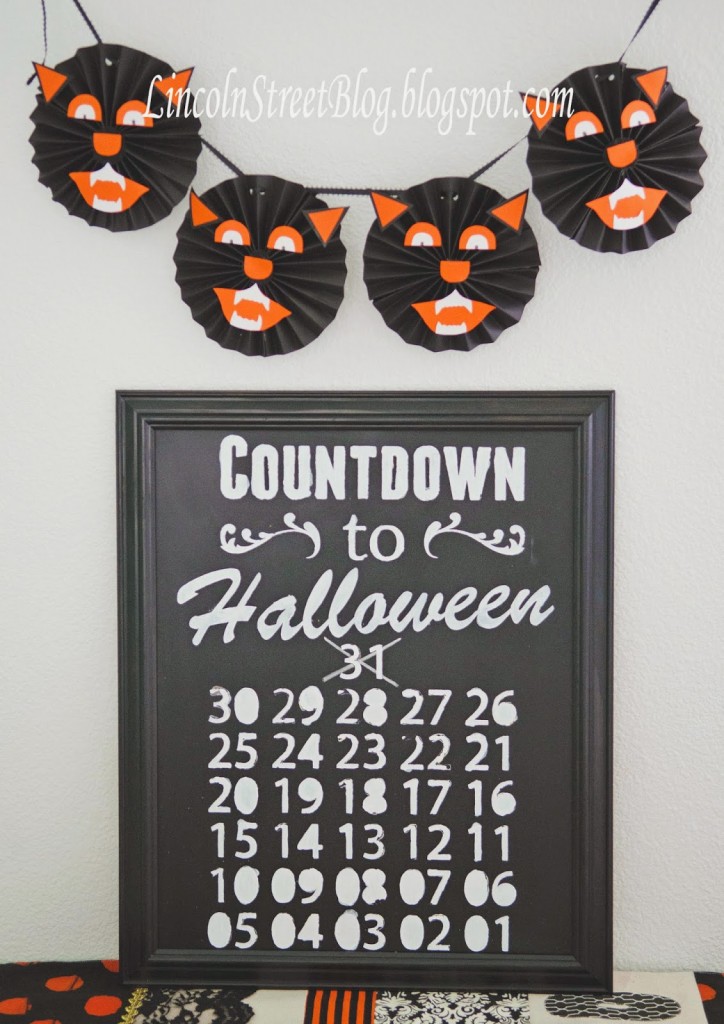
Here is a fun fact: I posted this photo on my Instagram last year:

It prompted one of the girls, I believe Jamie, to question whether I had made the countdown. I hadn’t, but I decided then and there that if I had the opportunity to share this year I would try and replicate it. Now, here we are! So, the really cool thing about this project is that it costs next to nothing to create (possibly nothing). The not-so-cool thing about this project is that it takes a few hours to complete; but hey, no worries—>just pop in Titanic and you will be good to go!
Supplies Needed:
An Old Frame (or a new one, I suppose)
Chalkboard Spray Paint
Black Spray Paint or Black Acrylic Paint
White Acrylic Paint
Stencils (I made mine using my Silhouette, but you could purchase stencils from a craft store)
Stencil Brushes
Chalk
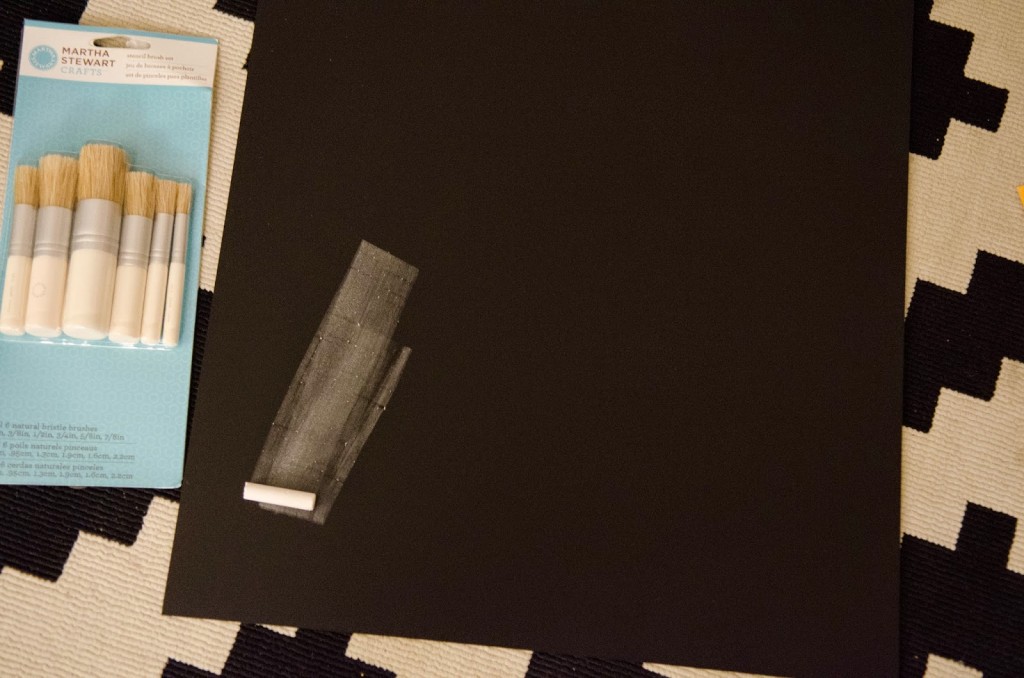
The first thing you need to do is gather your supplies. I already had black paint and chalkboard spray paint on hand. I used a 16 x 20 inch frame I purchased at Goodwill for $2.99.

Next, you need to wipe down and clean the wood and glass of your frame. After that, the glass will need a few coats of black on the wood frame (Either with spray paint or acrylic paint) and about two coats of chalkboard paint on the glass.

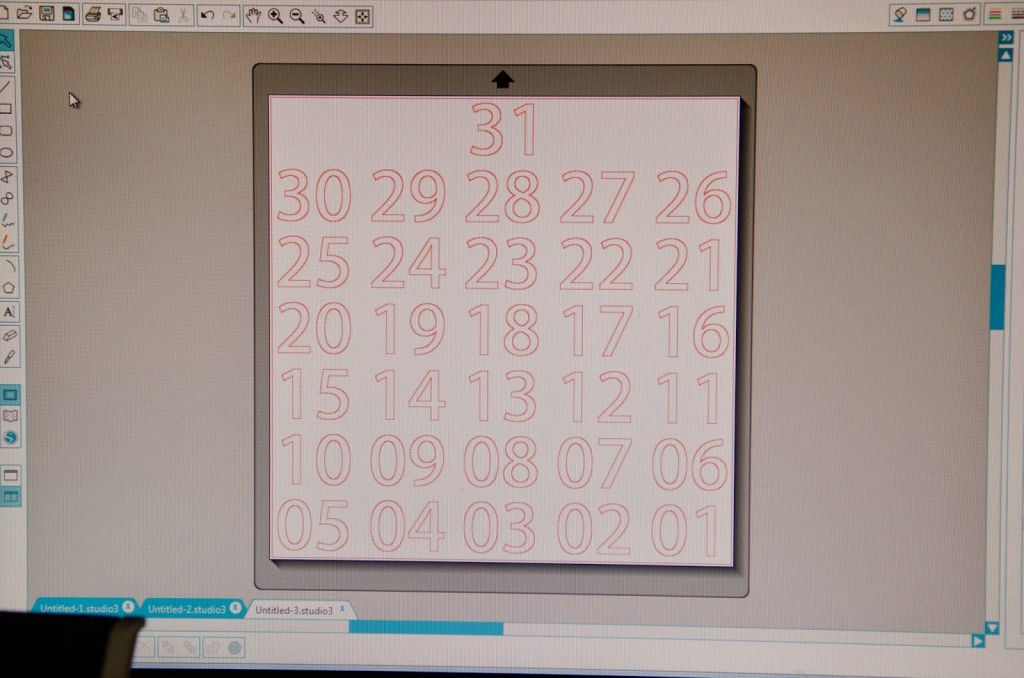
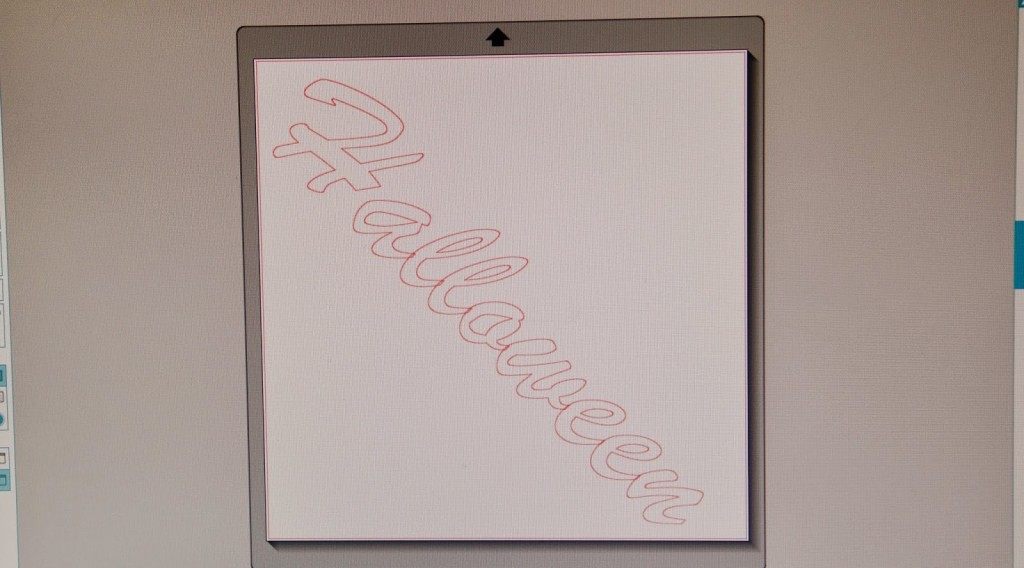
While all of that is drying you can design your image in the Silhouette Studio. If you don’t own a Silhouette you can purchase number and letter stencils or you really could even free-hand it!
Once your glass is dry you will need to get the chalkboard surface primed by taking a piece of chalk and rolling it over the entire top and when you are done you can just wipe it down with a towel:
Now comes the uh….er…..fun part. Stenciling. I really did have plans for a perfectly stenciled Countdown but those dreams were dashed about five minutes into the process. I should mention that I am not a pro-stenciler by any means and even the purchase of the ultra cool Martha Stencil brushes didn’t help me ::sigh::.

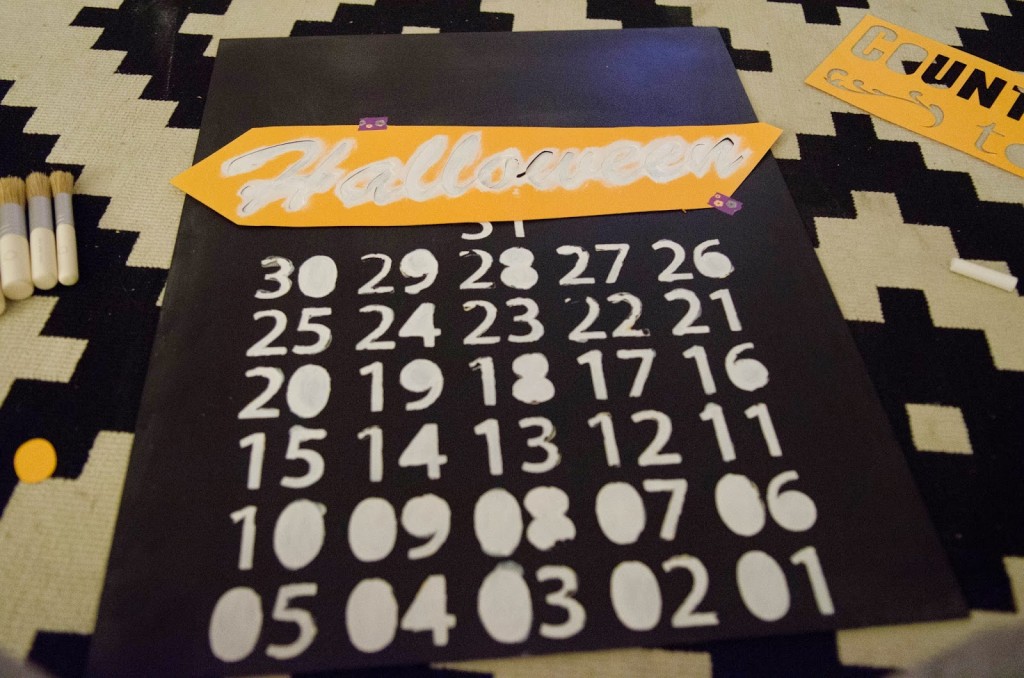
You will want to lay it all out to get an idea of how much space is needed on the sides and top. I started with the numbers since I figured they would be the most tedious to stencil and boy was I right!! Next, use tape (I used washi) to hold down your stencil on either side. I used regular white acrylic paint to brush on my letters and numbers.
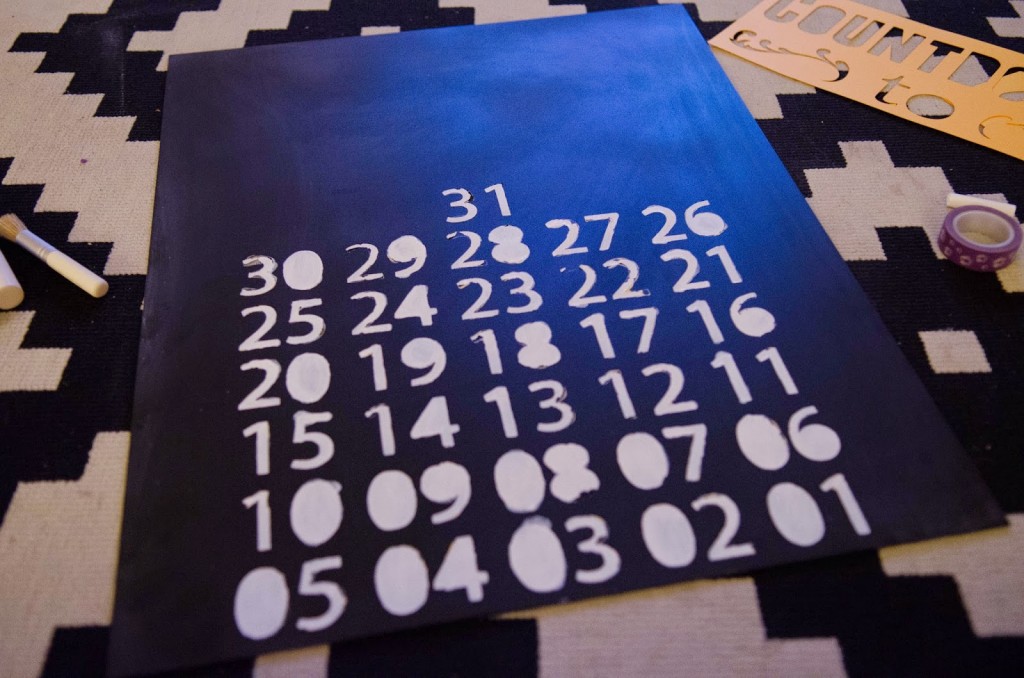
Confession: I felt a bit defeated when I removed the paper and noticed all the imperfections. But, always one to find the positive in most situations, I realized that it gave the numbering more of a spooky vibe. Perfect is boooooring anyway—>am I right? So, I pressed on and the rest went fairly quickly.
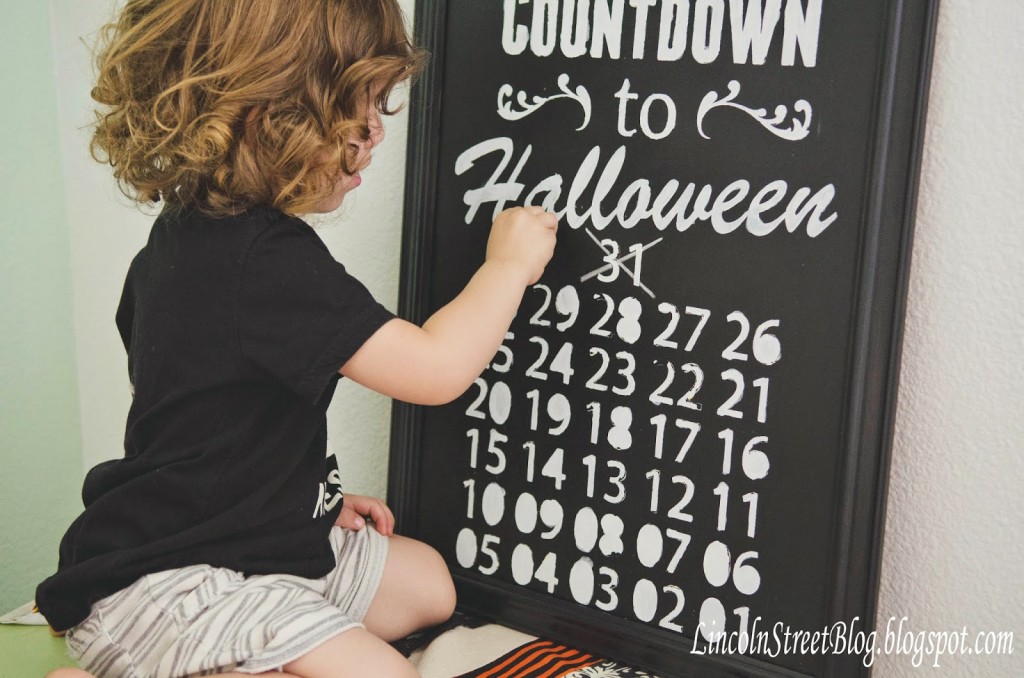
I am absolutely IN LOVE with how it turned out and in retrospect it really wasn’t that difficult to stencil once I got over my fear of imperfections! I hope you have fun with this and would love to see some variations of it!

I let my little dude try it out because anything chalk-related just gets him excited!

Look at that smile—>A winner for sure!!
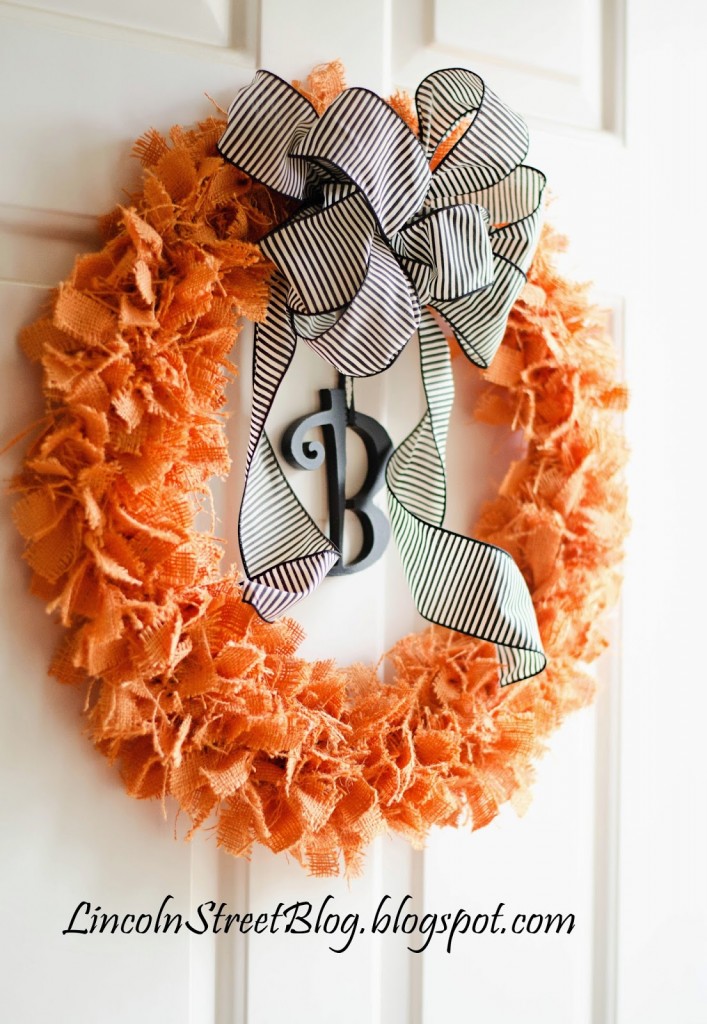
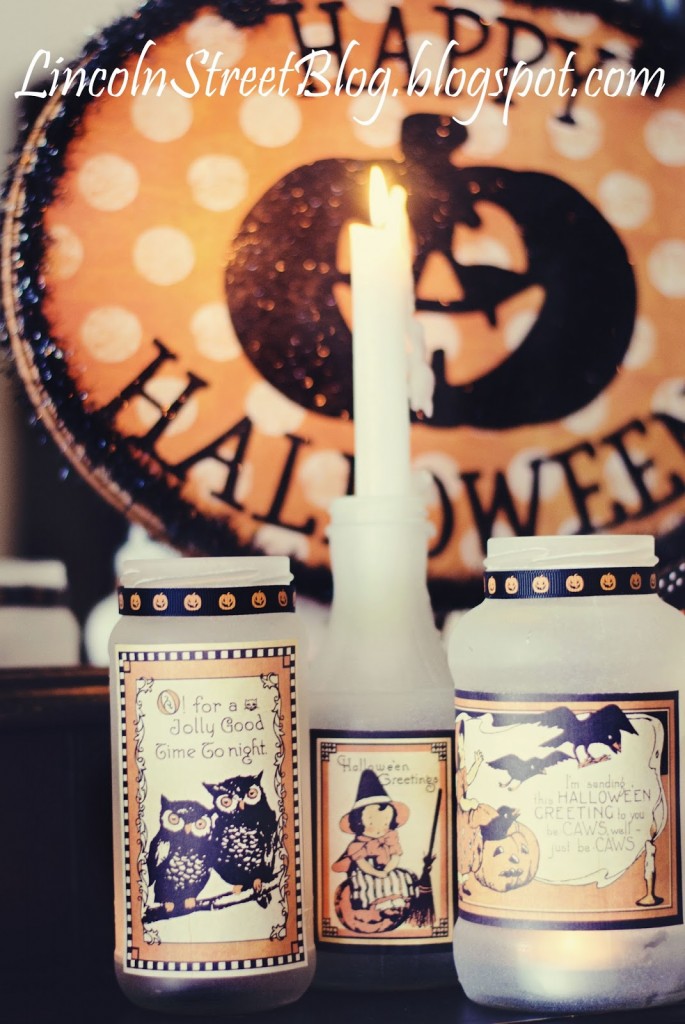
Thanks for having me eighteen25 girls, it’s been real and I hope we can do it again next year! If you are looking for more Halloween Inspiration here are a few more Halloween Projects I have shared for you to try:

%2B-%2BCopy.jpg)
%2B-%2BCopy.jpg)
Jamie
Latest posts by Jamie (see all)
- Bird Feeders - May 24, 2019
- [2014 WISHlists] Jamie’s List - December 12, 2014
- Avery Custom Photo Gift Tags - December 2, 2014
Leave a Reply