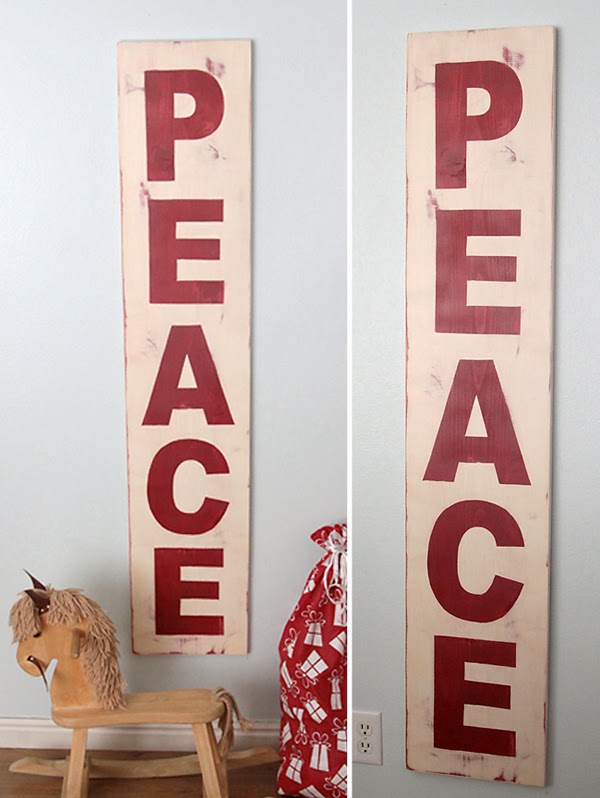
Hey guys! It’s Autumn again, from It’s Always Autumn, here to share an easy Christmas home decor knockoff project with you. I was able to make this pretty “PEACE” wall sign for about 10 percent of what Pottery Barn charges for a similar sign.
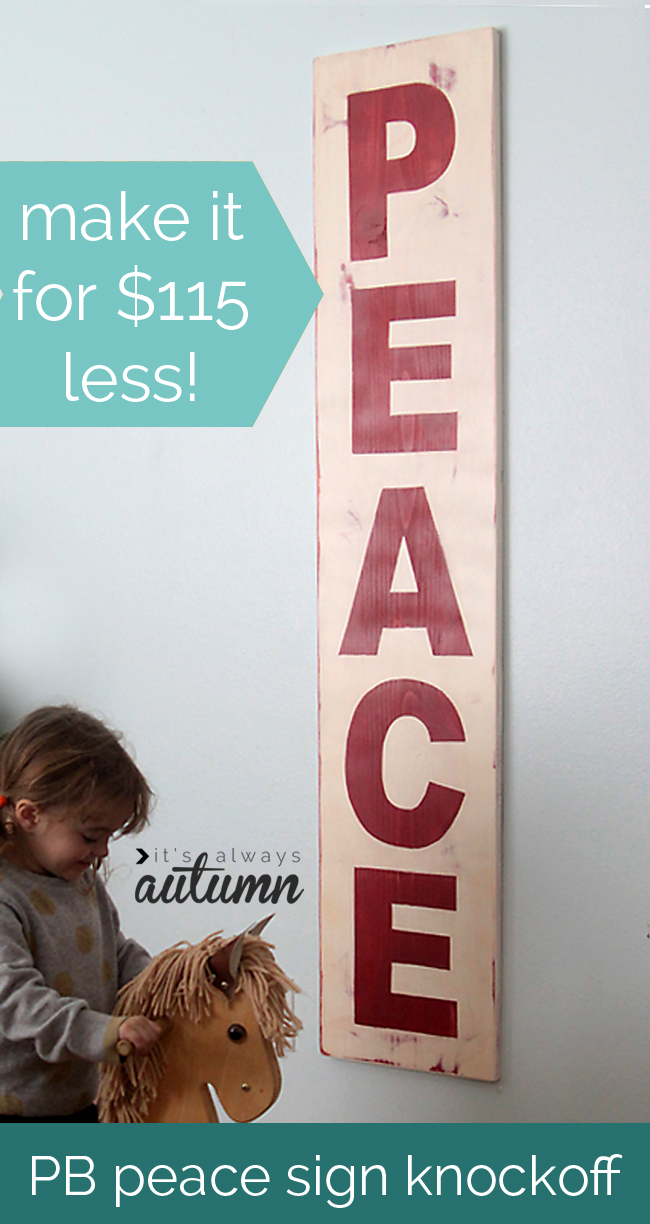
I liked the fact that this sign runs up and down, making it perfect for hanging in those hard to decorate spots – maybe on the wall at the end of your couch, or next to your front door. When I saw it on Pottery Barn’s site for $129 I knew it wouldn’t be too hard to make my own version for much, much less.

To make your own Christmas “PEACE” wall sign, here’s what you’ll need:
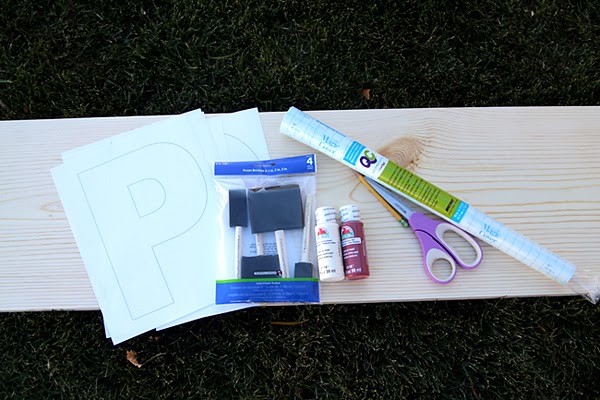
• 1 6ft by 12in wide pine board (Home Depot, about $10)
• 1 package of sticky liner paper or generic contact paper (Dollar Tree, $1)
• 4 tubes acrylic paint, 2 in red and 2 in white or off-white (Walmart, 57 cents each)
• Foam paint brush
• Scissors
• Sandpaper or sander
• Optional: sawtooth picture hangers, clear poly spray, my template for the letters
Start by cutting your board to 57 inches long (or have them cut it for you at Home Depot). Sand the cut edges until smooth. Paint the top and sides red. I only used one coat because I liked being able to see the wood grain through it, but two coats would look a little closer to the original.
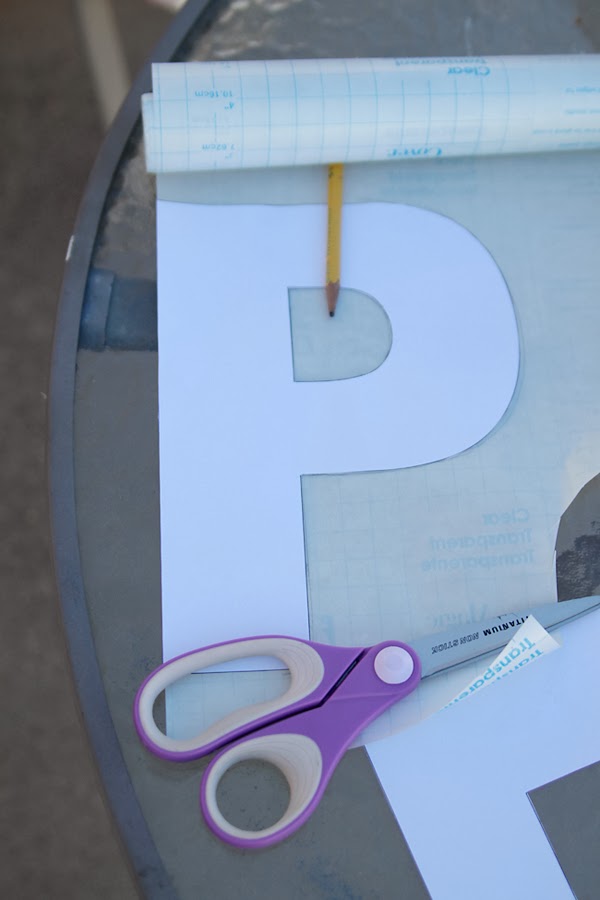
While it dries, trace the letter outlines onto your contact paper and carefully cut out. One the board is completely dry, position the contact paper letters on it as shown below, spacing them evenly on the board. Press down to adhere. Paint over the board using white paint – I used three coats.
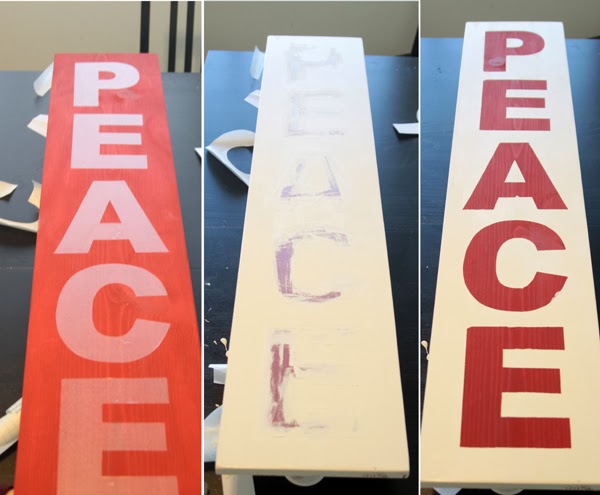
*** To keep the letters looking tidy, paint the first coat by placing your brush on a letter and painting off it. This kind of seals the contact paper down so paint doesn’t seep under it. For the second and third coats, try to paint all in one direction so any visible brush strokes go the same way.
Carefully remove the contact paper letters. Let dry completely.
If some white paint did seep onto the letters, I found it was easier to sand it off than to paint over it, since you’ll be sanding the entire piece anyway. Lightly sand off some of the white paint, revealing the red underneath, until you like the look. Try not to sand across the red parts, as the red dust will smear on the white part and you’ll have to wipe it off. It’s a good idea to wipe the entire board down after sanding with a soft, dry cloth, to remove all the dust.
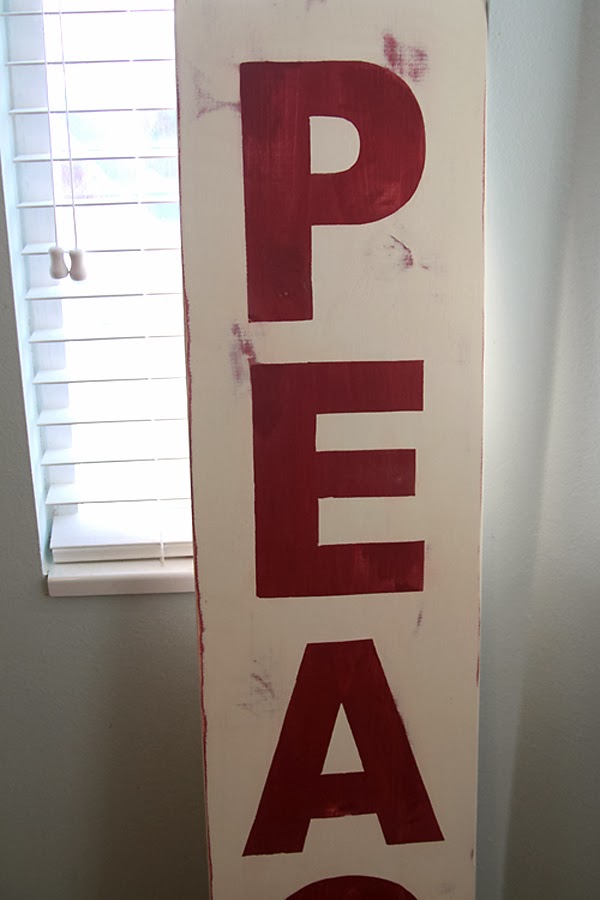
I wanted my sign to look a little more grungy, so I mixed some brown acrylic paint with water until I had a very runny mixture, which I then brushed on, then wiped back off with a wet rag. If you do this make sure to wipe up any red that gets streaked across your white paint.
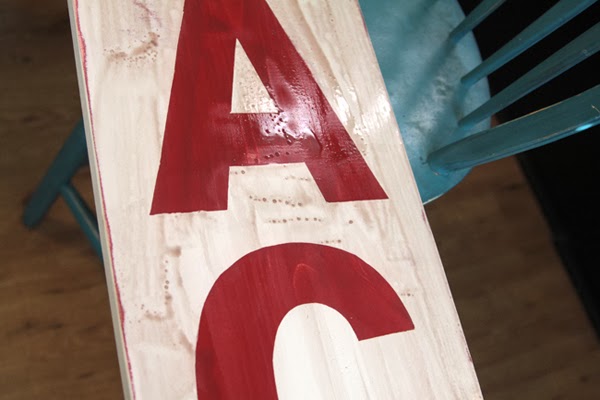
That’s all you really need to do! I did spray some clear matte poly finish on mine since it will likely end up on the porch, but if you’re keeping yours inside you likely don’t need to. I also hammered in two sawtooth picture hangers across the back so I can hang it from two nails in the wall if I decide to keep it inside.

One more finished shot:
If you’re interested in more Christmas decor ideas, check out one of these posts on It’s Always Autumn:
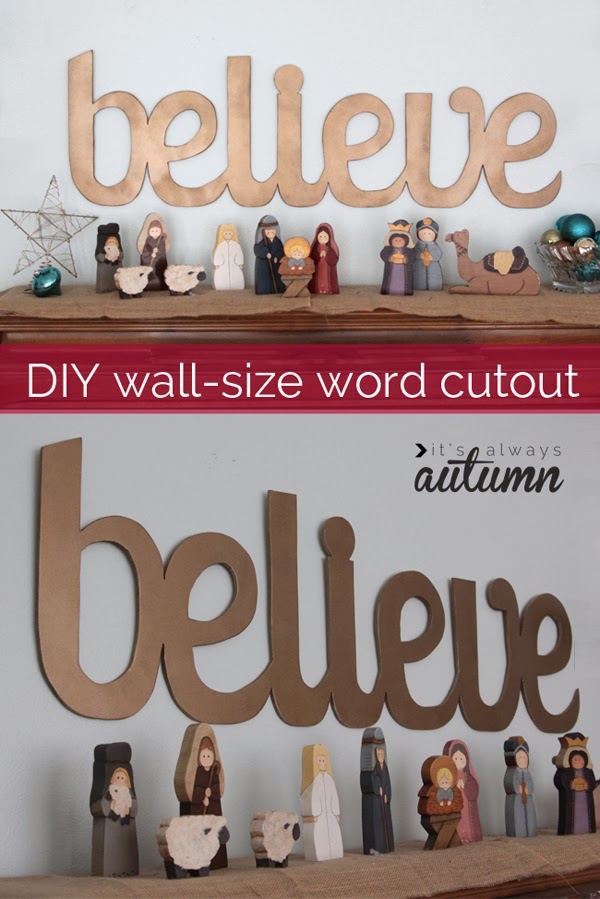
– wall size cutout word art {believe}
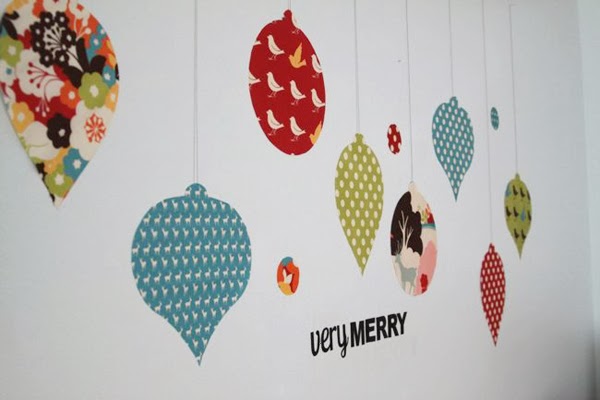
– Christmas ornament fabric wall decals



Latest posts by Jodie and Jen (see all)
- Our Friday Five 9.30 - September 30, 2022
- Our Friday Five 12.3 - December 3, 2021
- Composition Book Christmas Planner - November 28, 2021
Would it be possible for you to post the file with the printable letters? Or tell us what size and font were used? SUCH a cute idea!
Hi Jen! There is a printable file for the letters! Just click "my template for the letters" in the supply list or the words "letter outlines" under the photo showing the P. Thanks!
Thank you! Didn't see it the first time–love this project!
love your sign! what color red did you use? Ginger
what kind of wood did you use to cut out the believe sign?