we are excited to have our new friend malinda here from Dahlhart Lane! she’s sharing her cutie boys with us today along with a super cute tutorial just in time for the big feast next week!
. . . .
. . . .
My husband says that making my youngest wear this little girl pilgrim’s hat is child abuse. Obviously I need to have a girl one of these days.
Last Thanksgiving I noticed that Pottery Barn had adorable little Pilgrim hats for sale. At the time I was on bed rest with our youngest little man so I vowed to make some at a later time. This year we are excited to get to dine with the majority of our cousins on my side of the family. Since this might be the last time in a while that we get to all be together for this holiday, I wanted to make it special and decided that Pilgrim hats were a must! They are easy as pie and bring such a festive spirit to this great holiday. And best of all, since they are made with felt, they can be used for years to come.
Little Girl Pilgrim Bonnet:
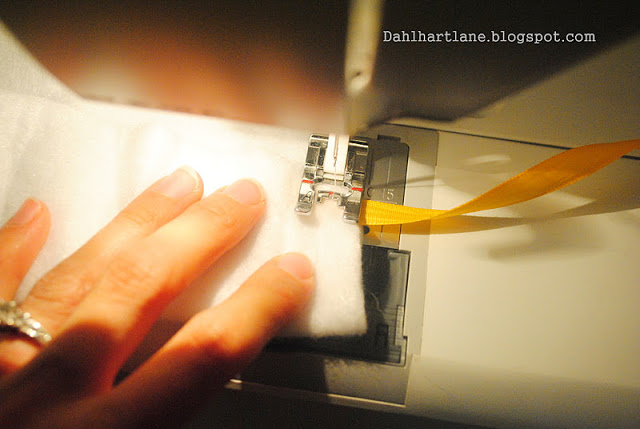
This little hat is especially easy to make. All you need is a 12×19 inch piece of white felt and some ribbon. It can be done with a hot glue gun, but I sewed it up quickly on my sewing machine.
Make sure to leave a couple inches open at the folded edge.
Open hat up so that it makes sort of a triangle.
Turn hat right side out and fold front edge back about 2 inches. Place end of ribbon under the fold and stitch into place and your done! Now your little miss can enjoy her Thanksgiving feast in style!
Unfortunately, it seemed that even my youngest could sense that this bonnet wasn’t too manly and I couldn’t catch a good picture of it to save my life! Very frustrating but I guess I really can’t blame them.
Little Boy Pilgrim Hat
This hat takes a little more work than the bonnet, but it is still simple and if your little men love it as much as mine do, than it will be worth it.
Cut out your felt. The body of my hat is 8 1/2 inches tall and 12 inches wide (you need 2). In brown, the headband is a strip of 23×4 inches out of brown and then another little strip of 1 1/2x 6 1/2 for the belt on the hat. Lastly, the little yellow buckle is made by cutting a 2 1/2 square and then cutting out the middle.
Next, take your brown headband and fold in half. Sew along the long edge and then turn right-side-out.
I use a knitting needle to help turn out my fabric.
Pin headband to one of the hat pieces. Sew it in place but be sure to not sew it all the way to the edges of your hat. This helps it to hold it’s shape when it is all done.
When you are done, fold both ends of the headband inward.
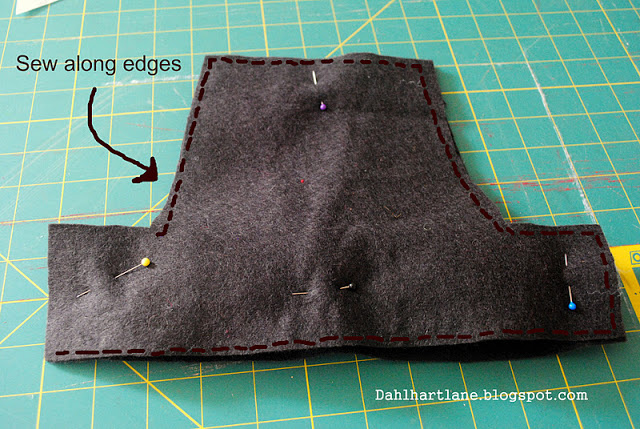
Place other piece of hat on top. Pin in place and sew along the edges, leaving a corner open so that you can turn it right-side-out.
Once right-side-out, stitch your opening closed.
Place second brown strip on hat and sew.
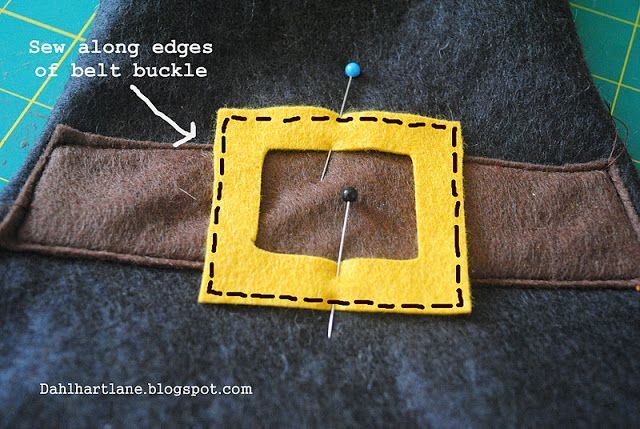
Place buckle on brown band and sew into place.
Fold in ends and sew shut.
Sew velcro onto the ends of your headband and your done!
Now your little men can have all the right accessories to gobble down their turkey dinner!
Happy Thanksgiving!


My hubby would agree with your hubby..I however am with you & would have done the exact same thing! Sooo cute! THanks for the idea!
absolutely darling!
Your boys are adorable!
OMG so cute! What a fun little idea, thanx for sharing!
Natalie
http://www.projectdowhatyoulove.wordpress.com
Oooh . . . I have everything to make these on hand. Yippee!!!
I love this idea, very clever. I'll have to remember to take notes on this for next year!! Thank you!
Love, love, love the hats! I just found your website and read the "about me" section… I must say I am digging the "J" theme that your parents picked out, and Jodie, you have the best name in the world 🙂
~Jodie
(wife of Jason, mother of Joel and Jonas!)
Just great. Thanks for sharing.
Oh my goodness that is adorable!
Super cute! I love Malinda!