Hi there Eighteen 25 readers! I’m Rebecca from The Crafted Sparrow, and I’m super excited to be here today. This is my second year participating in Spooktacular September, I adore this sister trio and I’m honored that they invited me back.
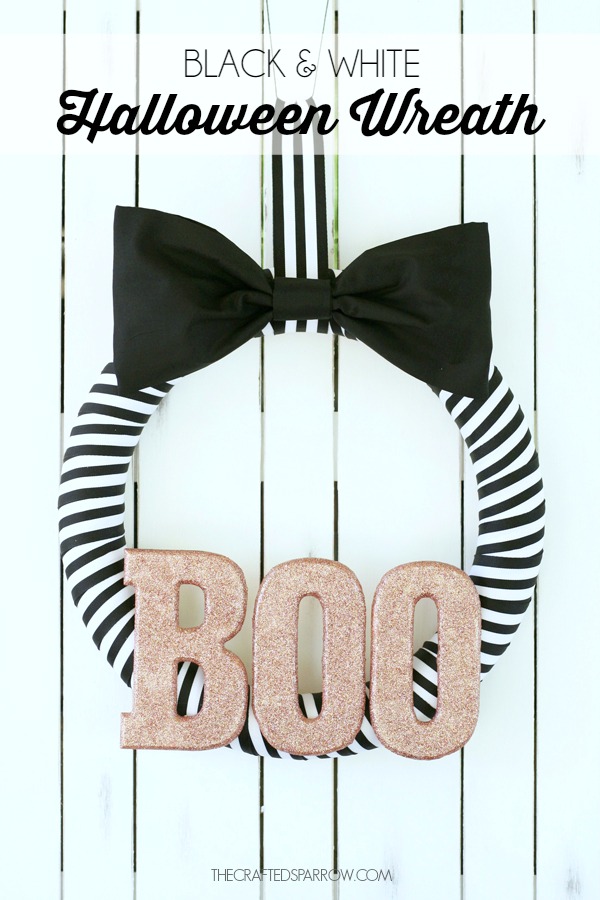
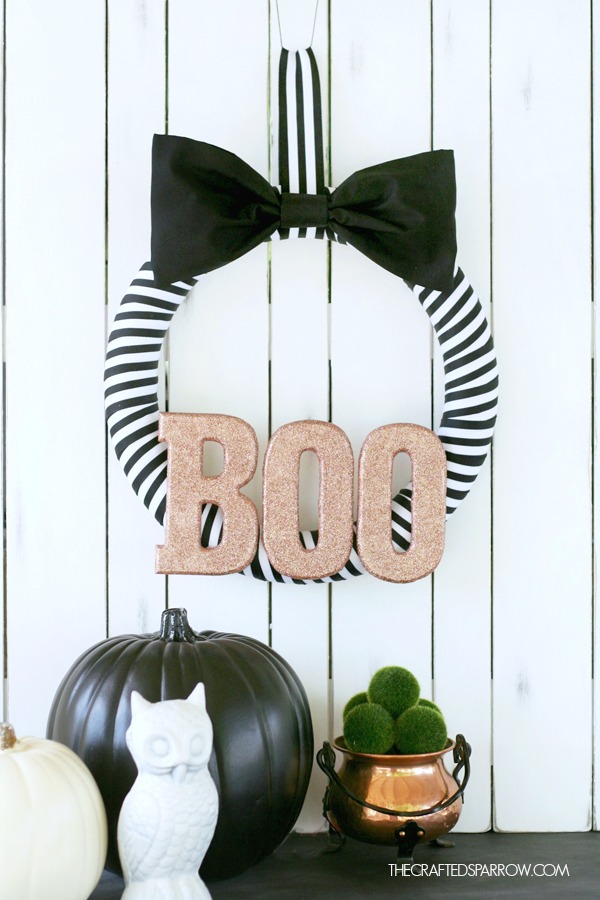
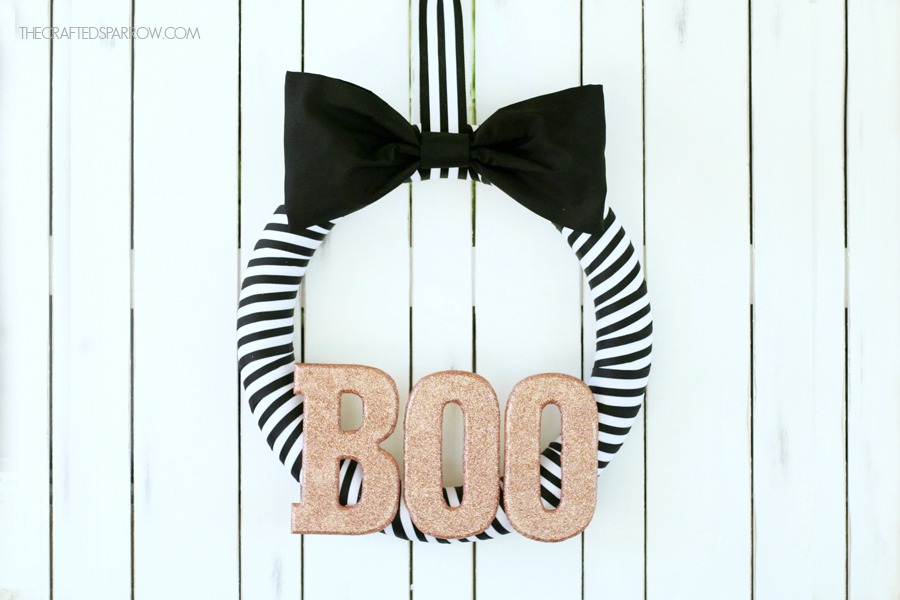
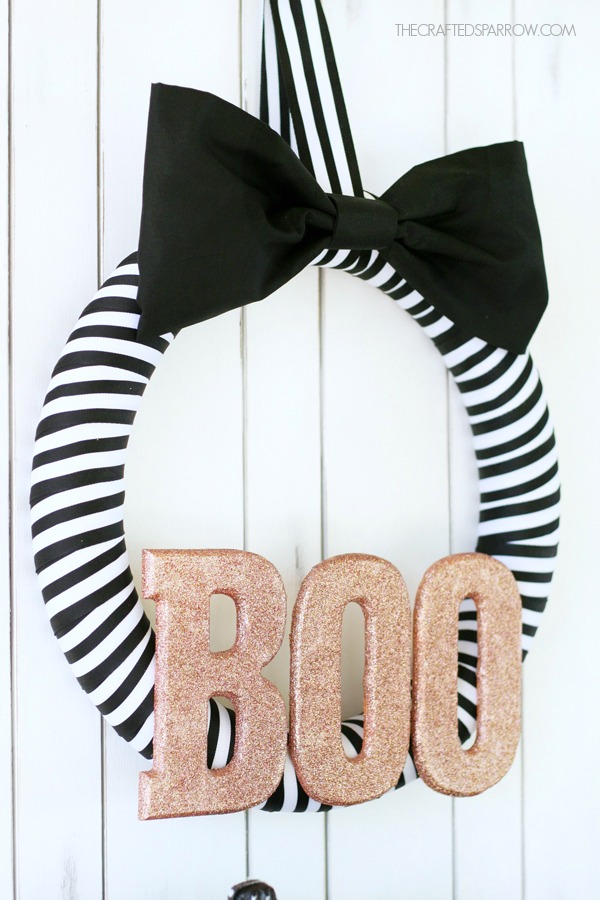
When I decorate for Halloween it usually revolves around a very basic color palette which is black and white. I usually throw a bit of color or metallics in with my black and white Halloween decor, and this Black & White Halloween Wreath fits in perfect with my décor.
Like most of my projects this wreath is pretty easy to make.
Supplies:
– foam wreath form 14″
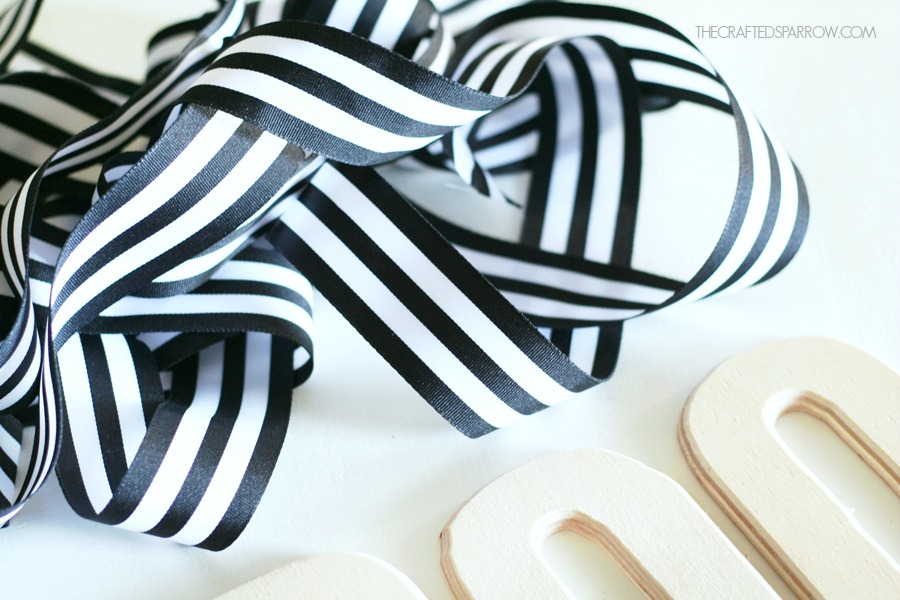
– black and white striped ribbon, you will need 2 x 4 yd rolls
– black fabric
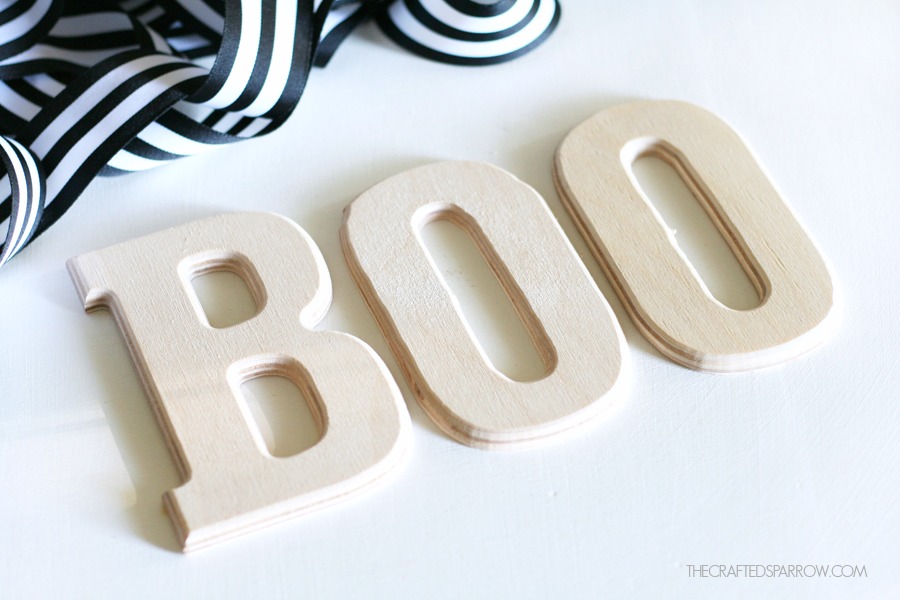
– small wood letters
– orange acrylic paint
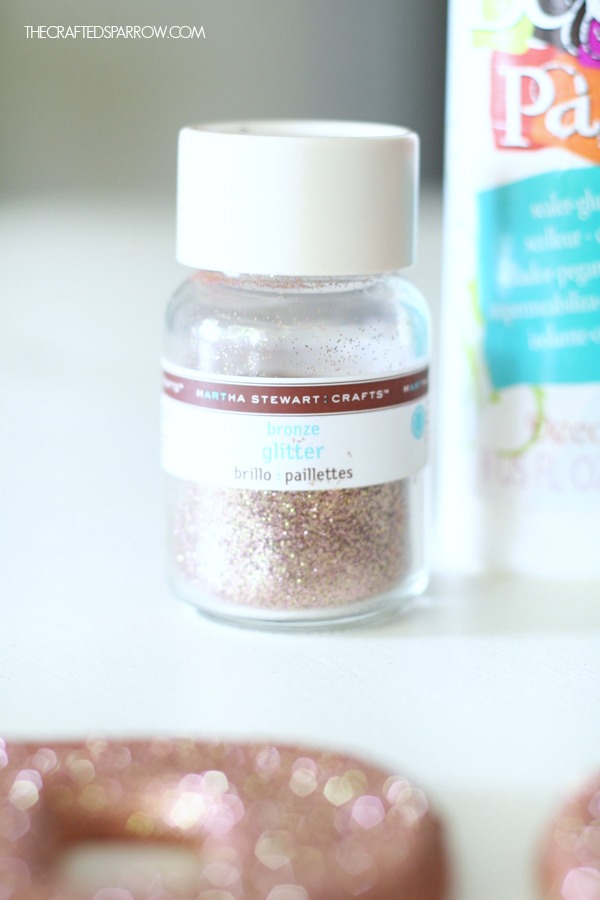
– copper glitter
– decoupage or modge podge
– foam brushes
– glue gun
First thing you will need to do is to wrap your foam wreath form with the black and white striped ribbon. I like to pin the ribbon on to my wreaths so that I can reuse my wreath forms, saves a ton of money.
Once you have it all wrapped you will need to get the wood “BOO” letters ready.
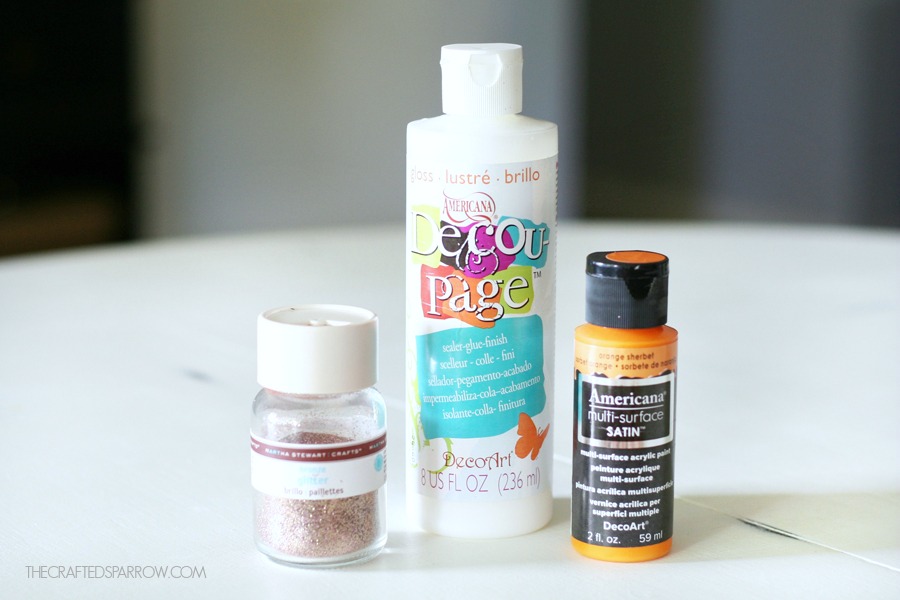
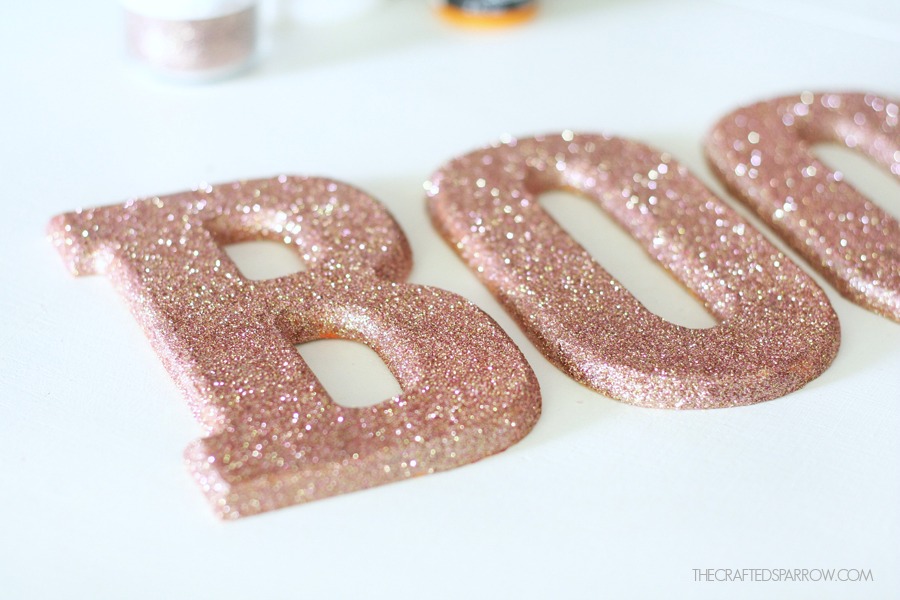
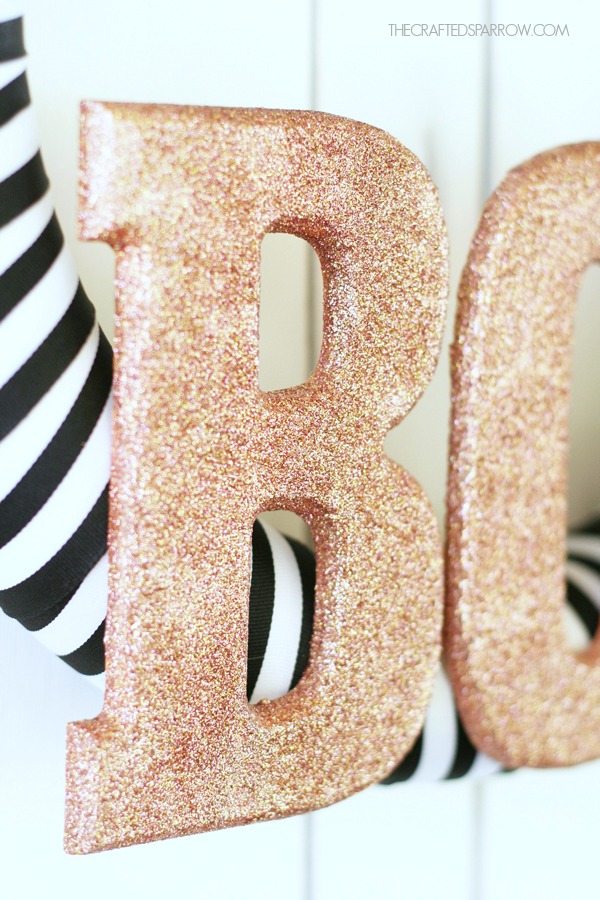
I chose to paint the wood letters with orange paint so that it would help to bring out the copper in the copper glitter that you will do in the next step. The paint I used is DecoArt Americana Multi-Surface satin paint in Orange Sherbet.
After you paint the wood letters and they are dry you will need to glitter them!
Tip: Use a lint roller to clean up any spilt glitter from your work surfaces. It also helps if you use glitter over a paper plate or something that can easily be bent to pour the glitter back in to the jar.
I used DecouPage and brushed on a quick layer with a foam brush. Then before it dries sprinkle glitter over DecouPaged surface. It is sometimes best to work in small sections. Shake or tap off any excess glitter.
Once you have all the wood letters glittered and they are dry you can seal them, this is optional but I usually do this so I don’t get glitter everywhere. I use a clear spray sealer found in the spray paint section of the hardware store.
Now you can create your black bow for the top of your wreath. To see how I made the bow go HERE for a tutorial. I used a simple black cotton fabric.
When the clear sealer is dry on your wood letters it’s time to assemble the wreath.
I used a piece of the black and white striped ribbon to create a hanger for the top of the wreath. You can pin or hot glue this to your wreath.
Then hot glue your black bow to the front of your wreath, center it with the ribbon you created the hanger out of.
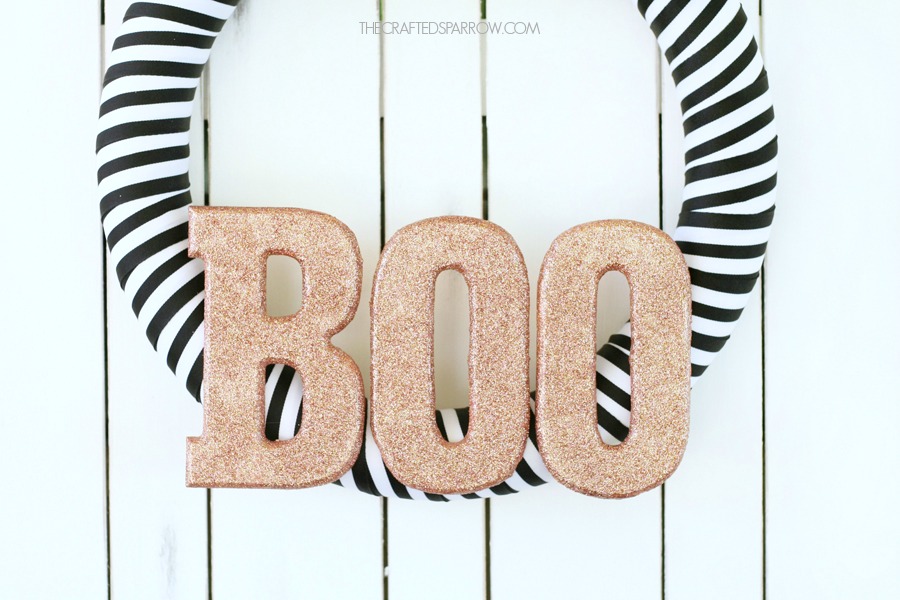
It’s time to hot glue the glittered wood letters to the bottom of the wreath, just center and glue. Hold tight until you are sure the glue is dry.
Now hang your cute wreath and enjoy all the compliments you are going to get from your neighbors and friends!
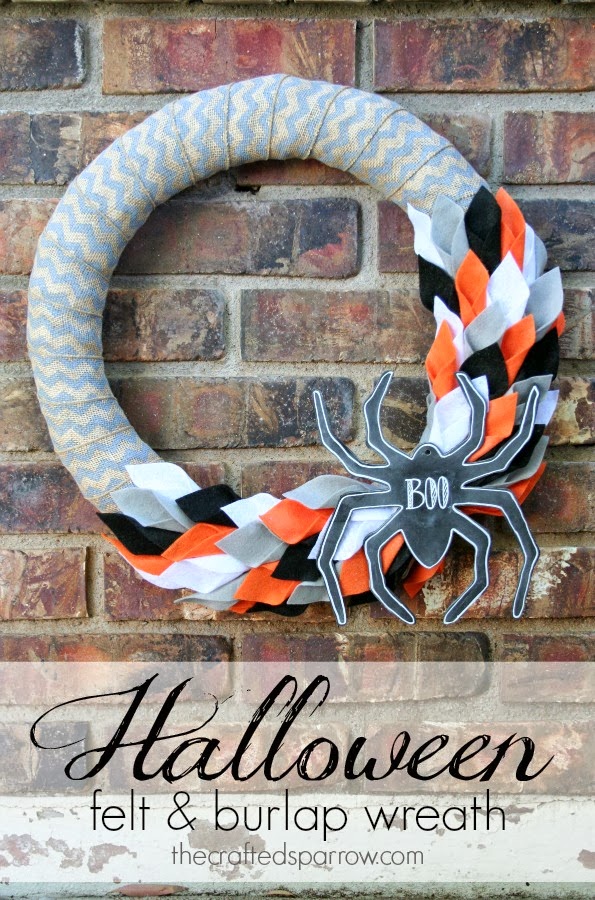
I want to thank Jen, Jamie, and Jodie for having me here today. I hope you will stop by The Crafted Sparrow and visit me often, when you do be sure to say hello. Here are some more of my Halloween ideas that I hope you will love.



Where did you buy this ribbon? I am looking for a smooth kind, like you one you used. Do you know what brand it is?
Hi Jamie! I’m not exactly sure where Rebecca got the ribbon to make this wreath, but I do know that Hobby Lobby has some just like it! Hope that helps. 🙂