Somebody pinch me! I can’t believe I get to be a part of this. I have dreamed of being invited to participate in Spooktacular September since the first year it started. And now my friends, the day has finally come. The nerd got invited to the COOL kid party. And you know what? It feels great. 🙂 So a BIG thank you to Jen, Jamie and Jodie for having me. It truly is an honor. And I will try and keep my machine-gun whimpers of joy to a minimum. Ahem…
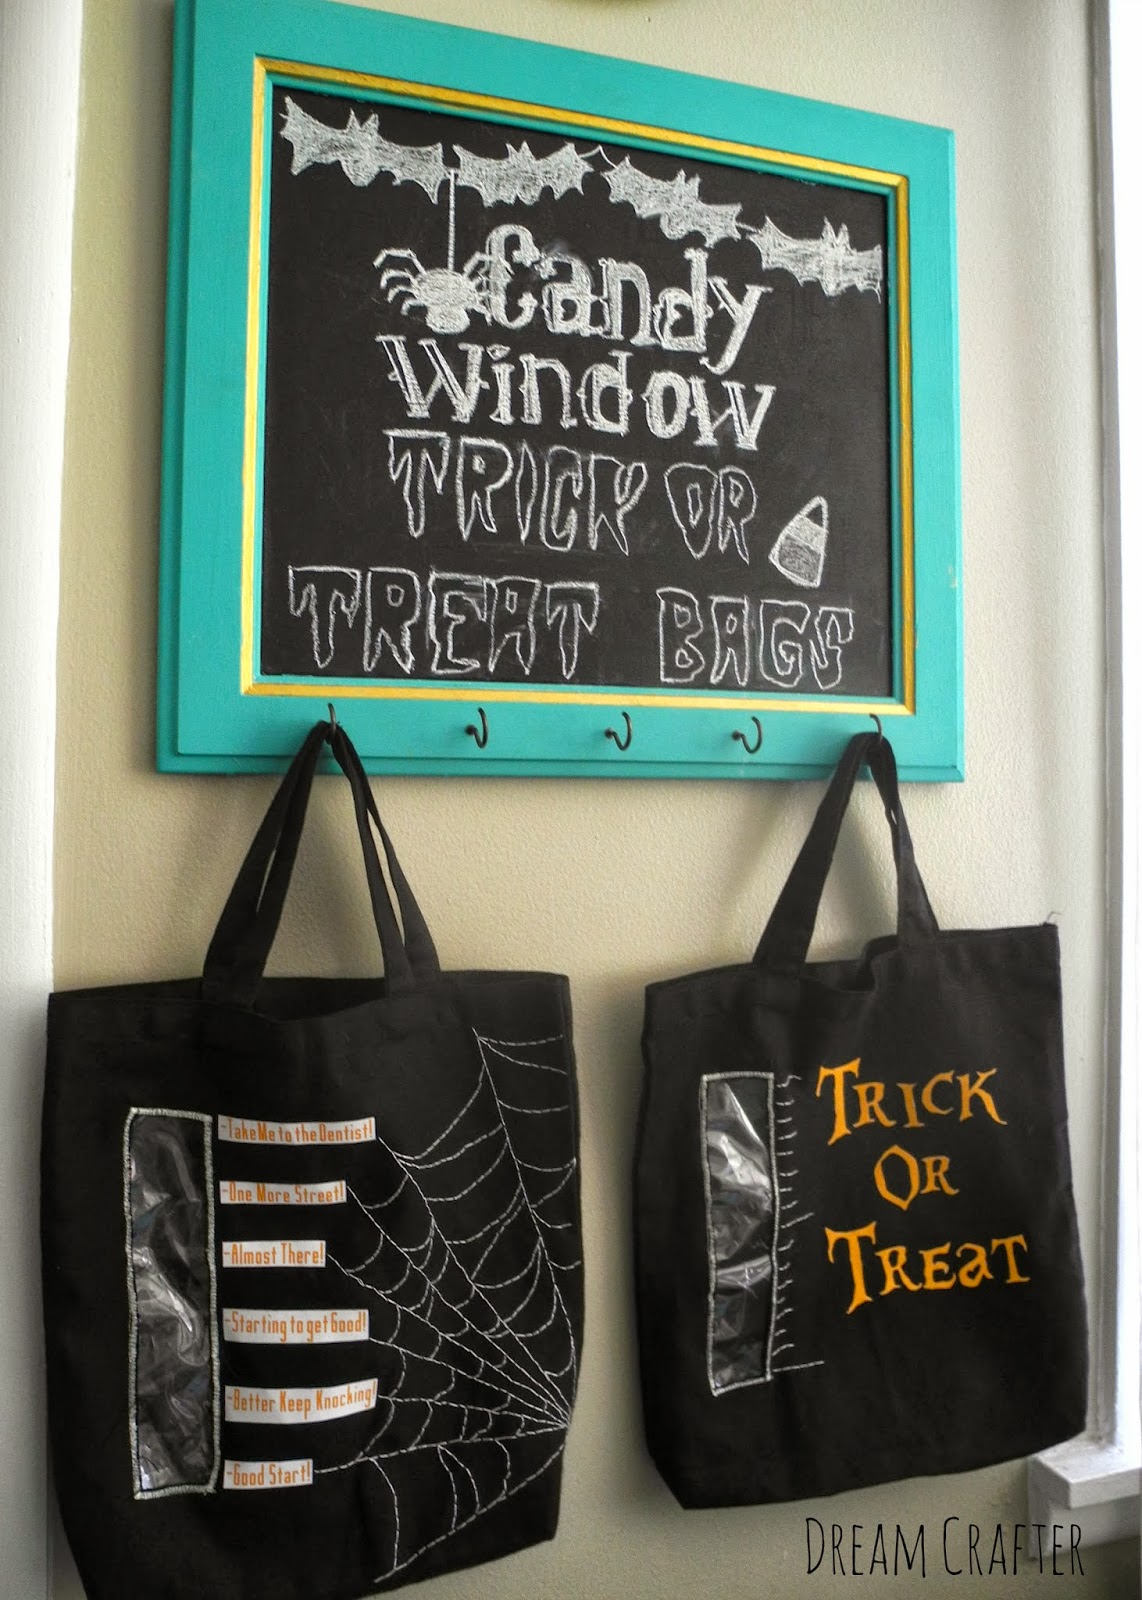
I’m Ali from Dream Crafter. Today I wanted to share these super fun/easy Trick or Treat Bags.
WHAT YOU WILL NEED:
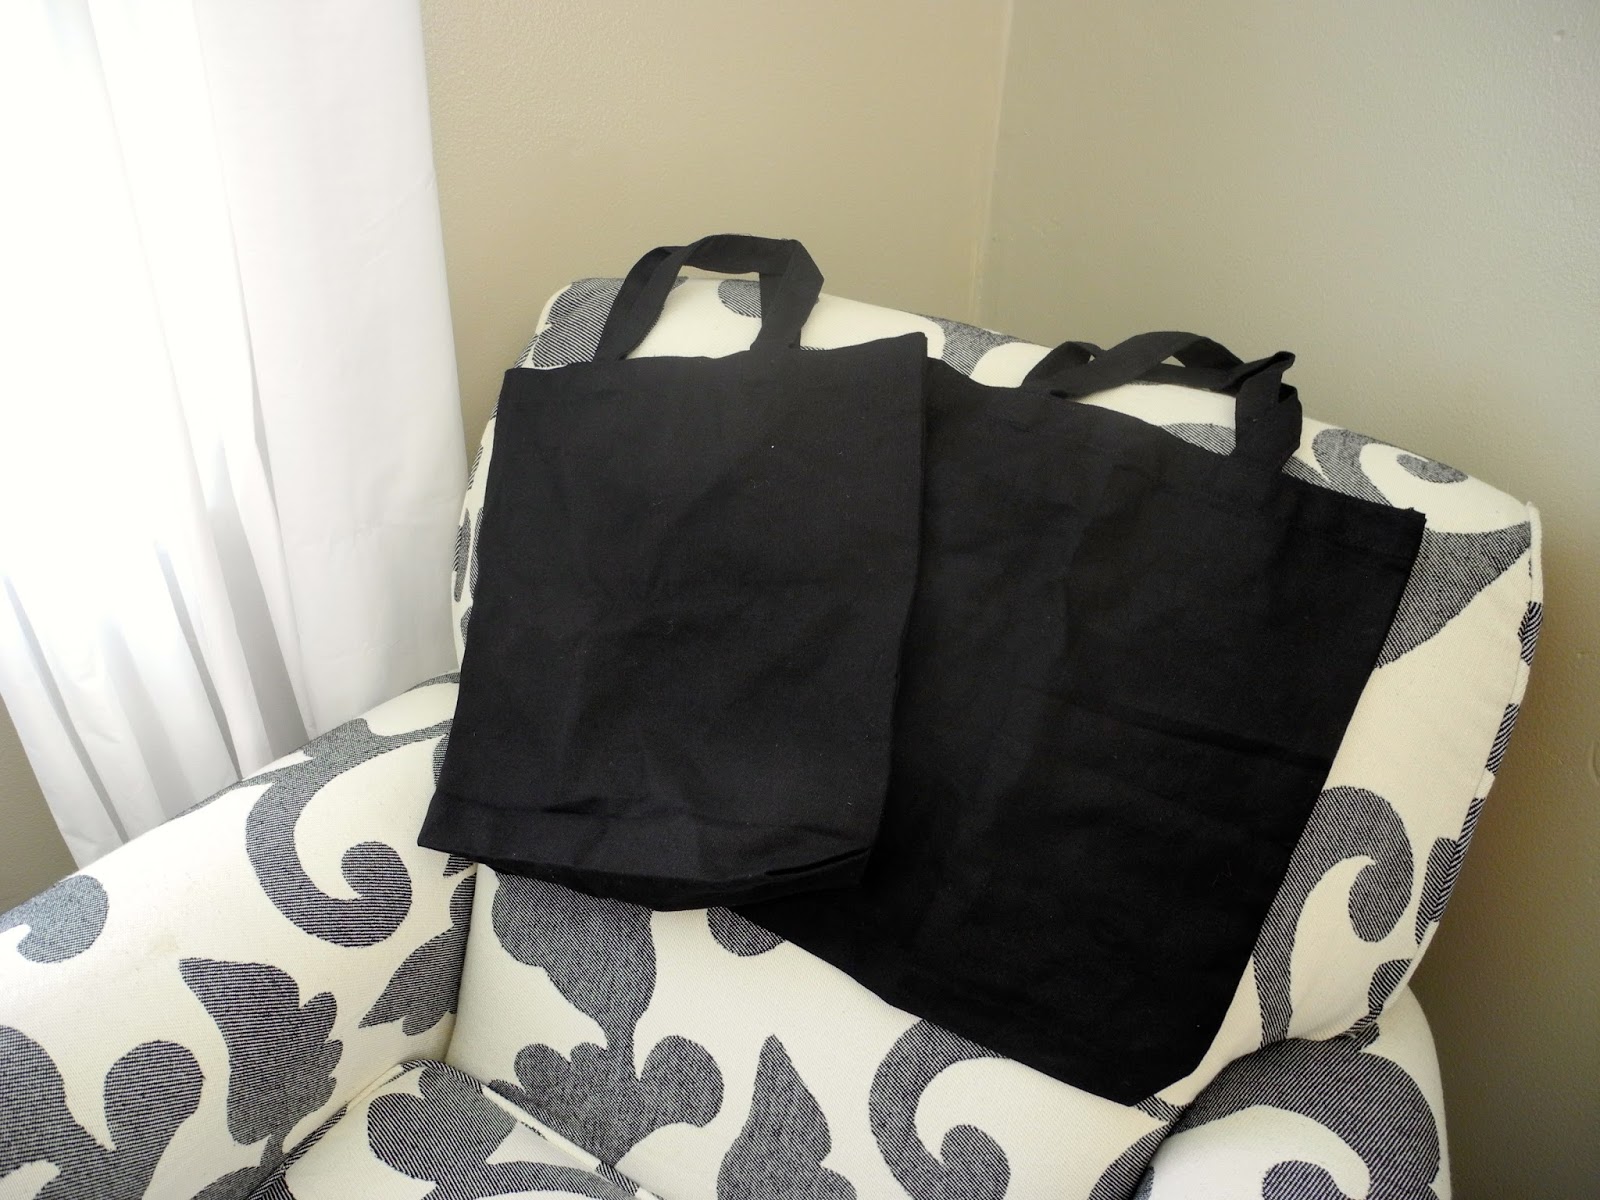
-A black (or white) bag from JoAnns (They are only $4.99)…unless you double coupon them…muwahaha. Then they are only two bucks.
-White embroidery floss
-Needle
-Sewing machine
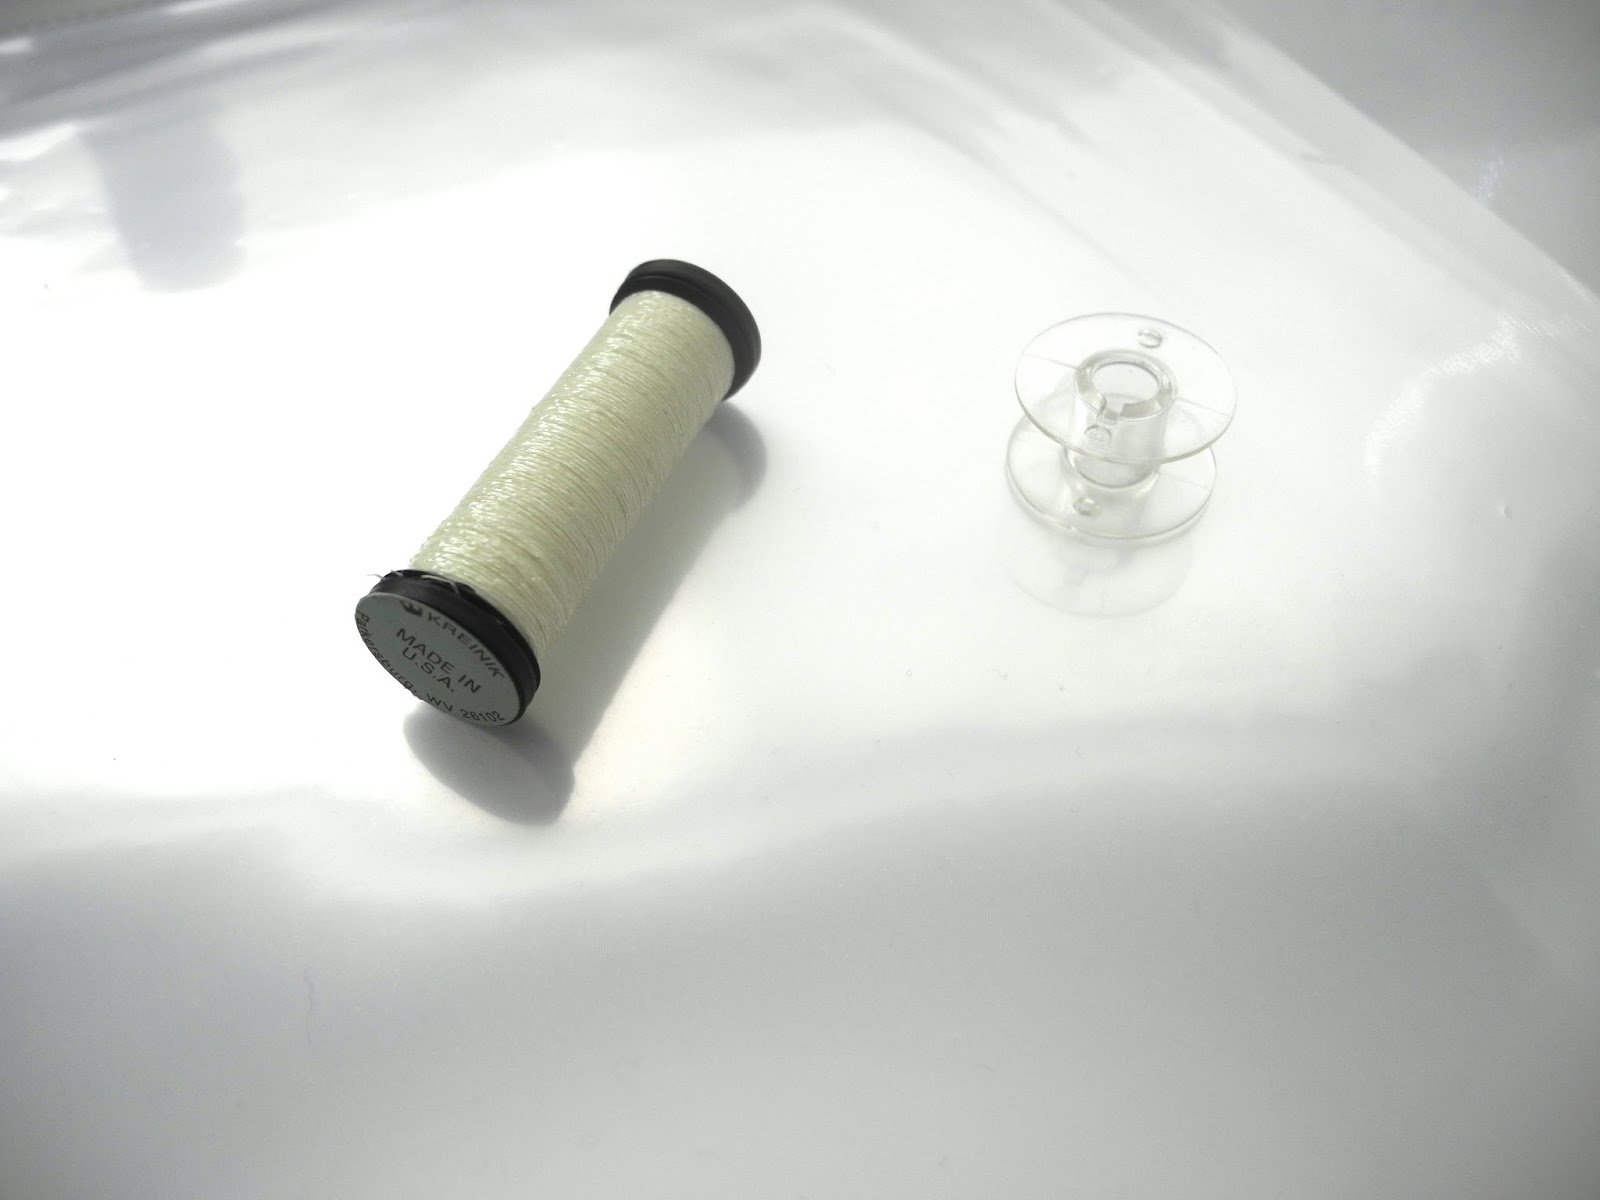
-Glow-in-the dark thread
-A sheet protector
-Iron-on printable fabric. Aaaand your computer…of course.
The first thing I did was iron my bags so they were nice and smooth. (I made two since I have two boys).
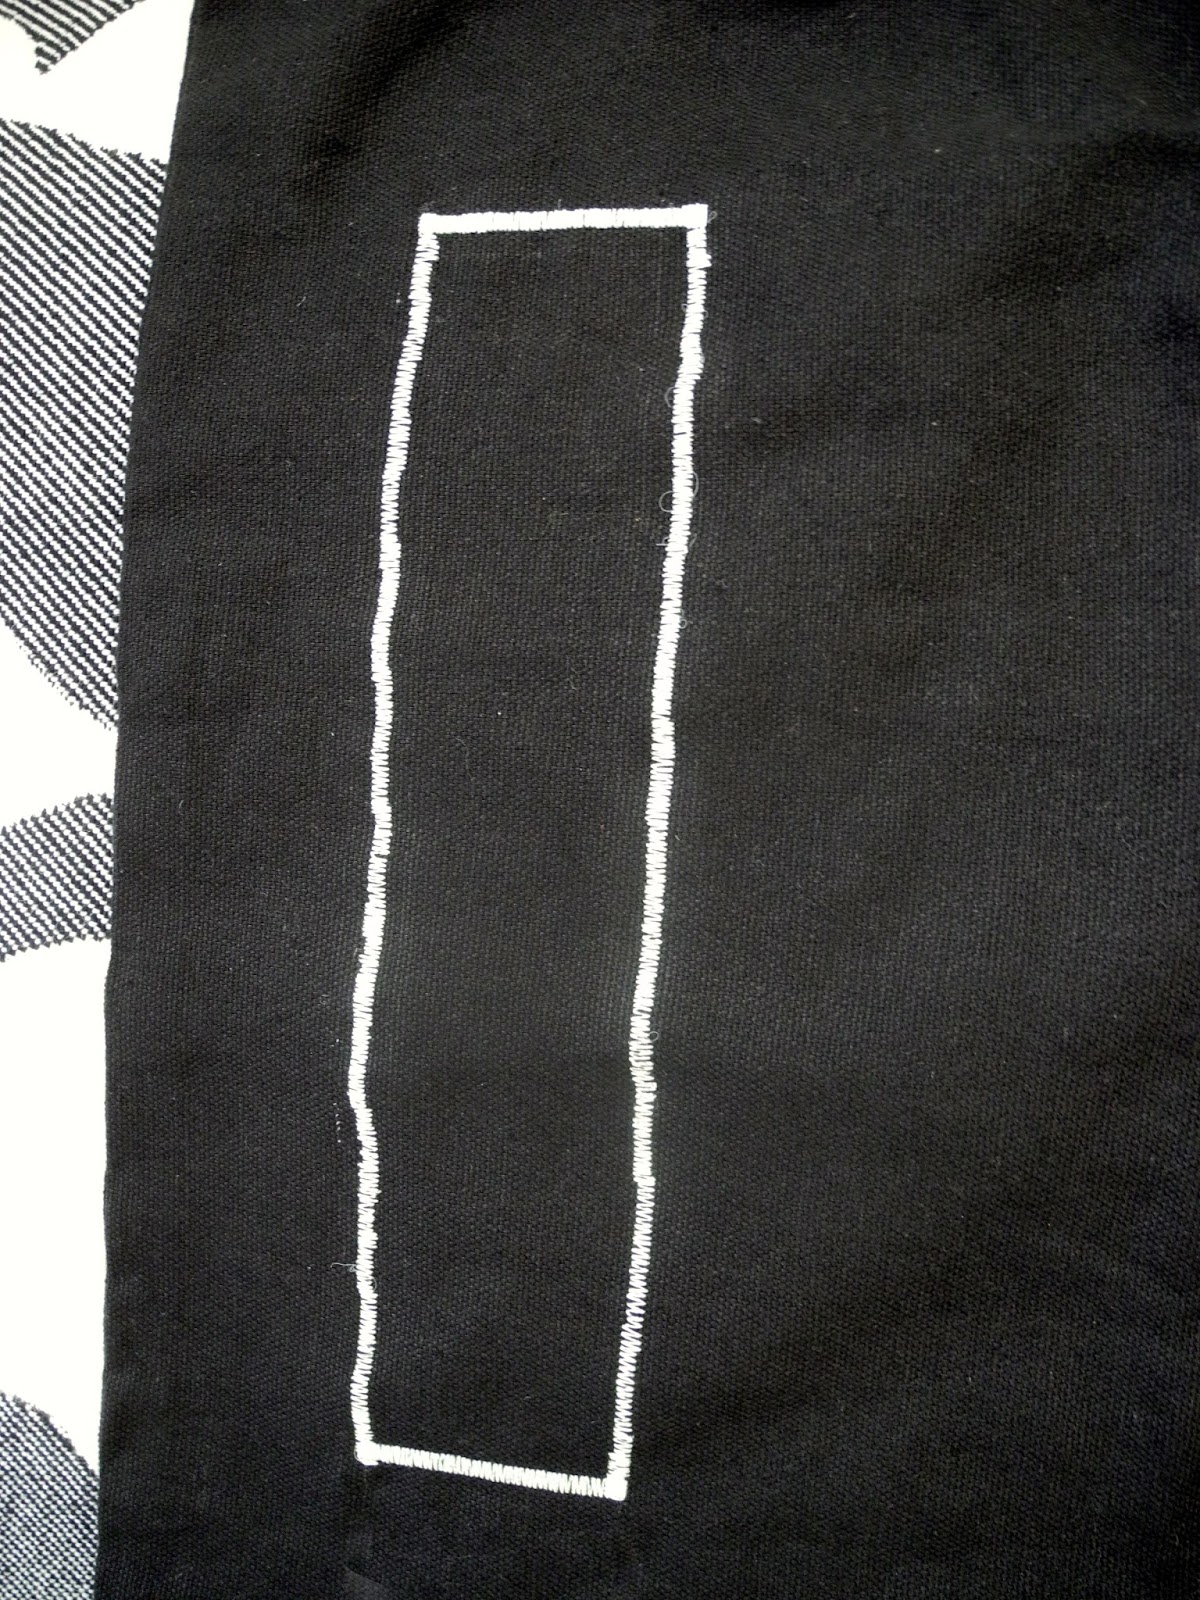
Then I got a pencil and marked where I wanted to put my window.
Using my glow-in-the-dark thread (Which by the way I just had in my thread collection. I have been waiting for the perfect occasion to use it. I’m not really sure exactly where to find this but I’m sure JoAnns would have some…they have everything.) I sewed a very tight zig-zag stitch around the rectangle.
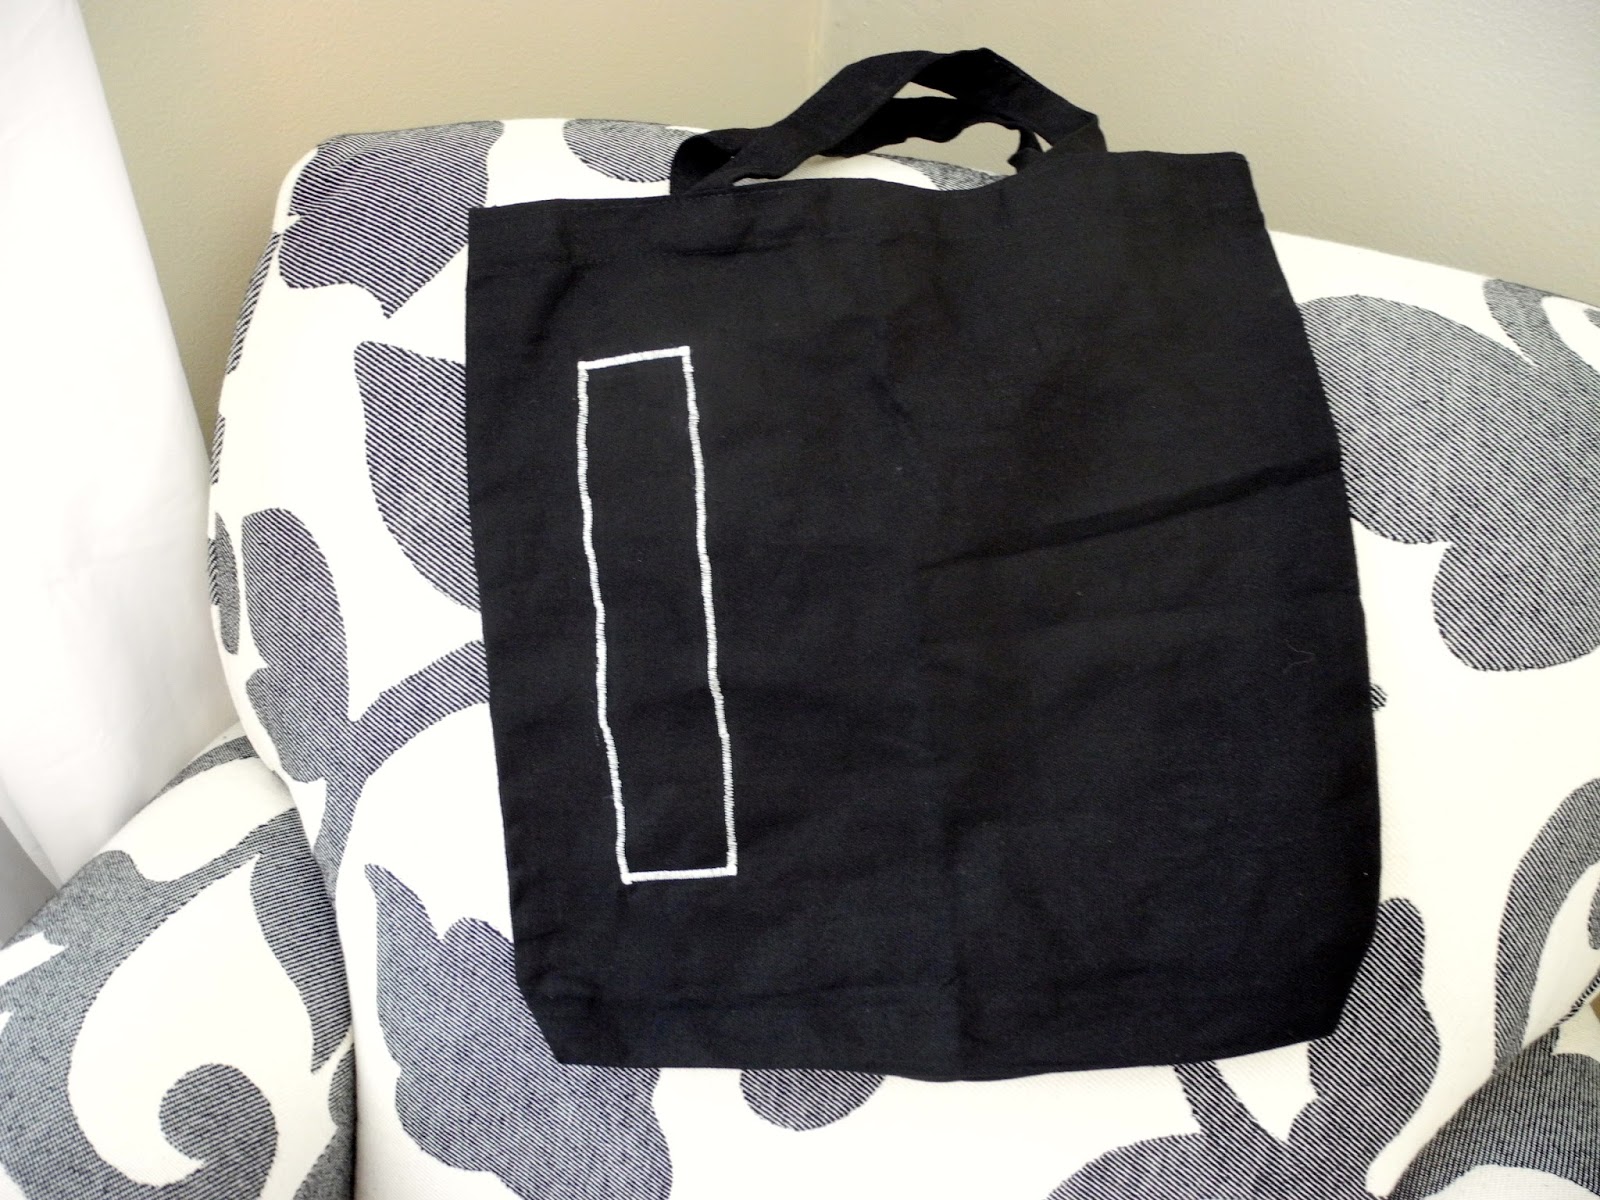
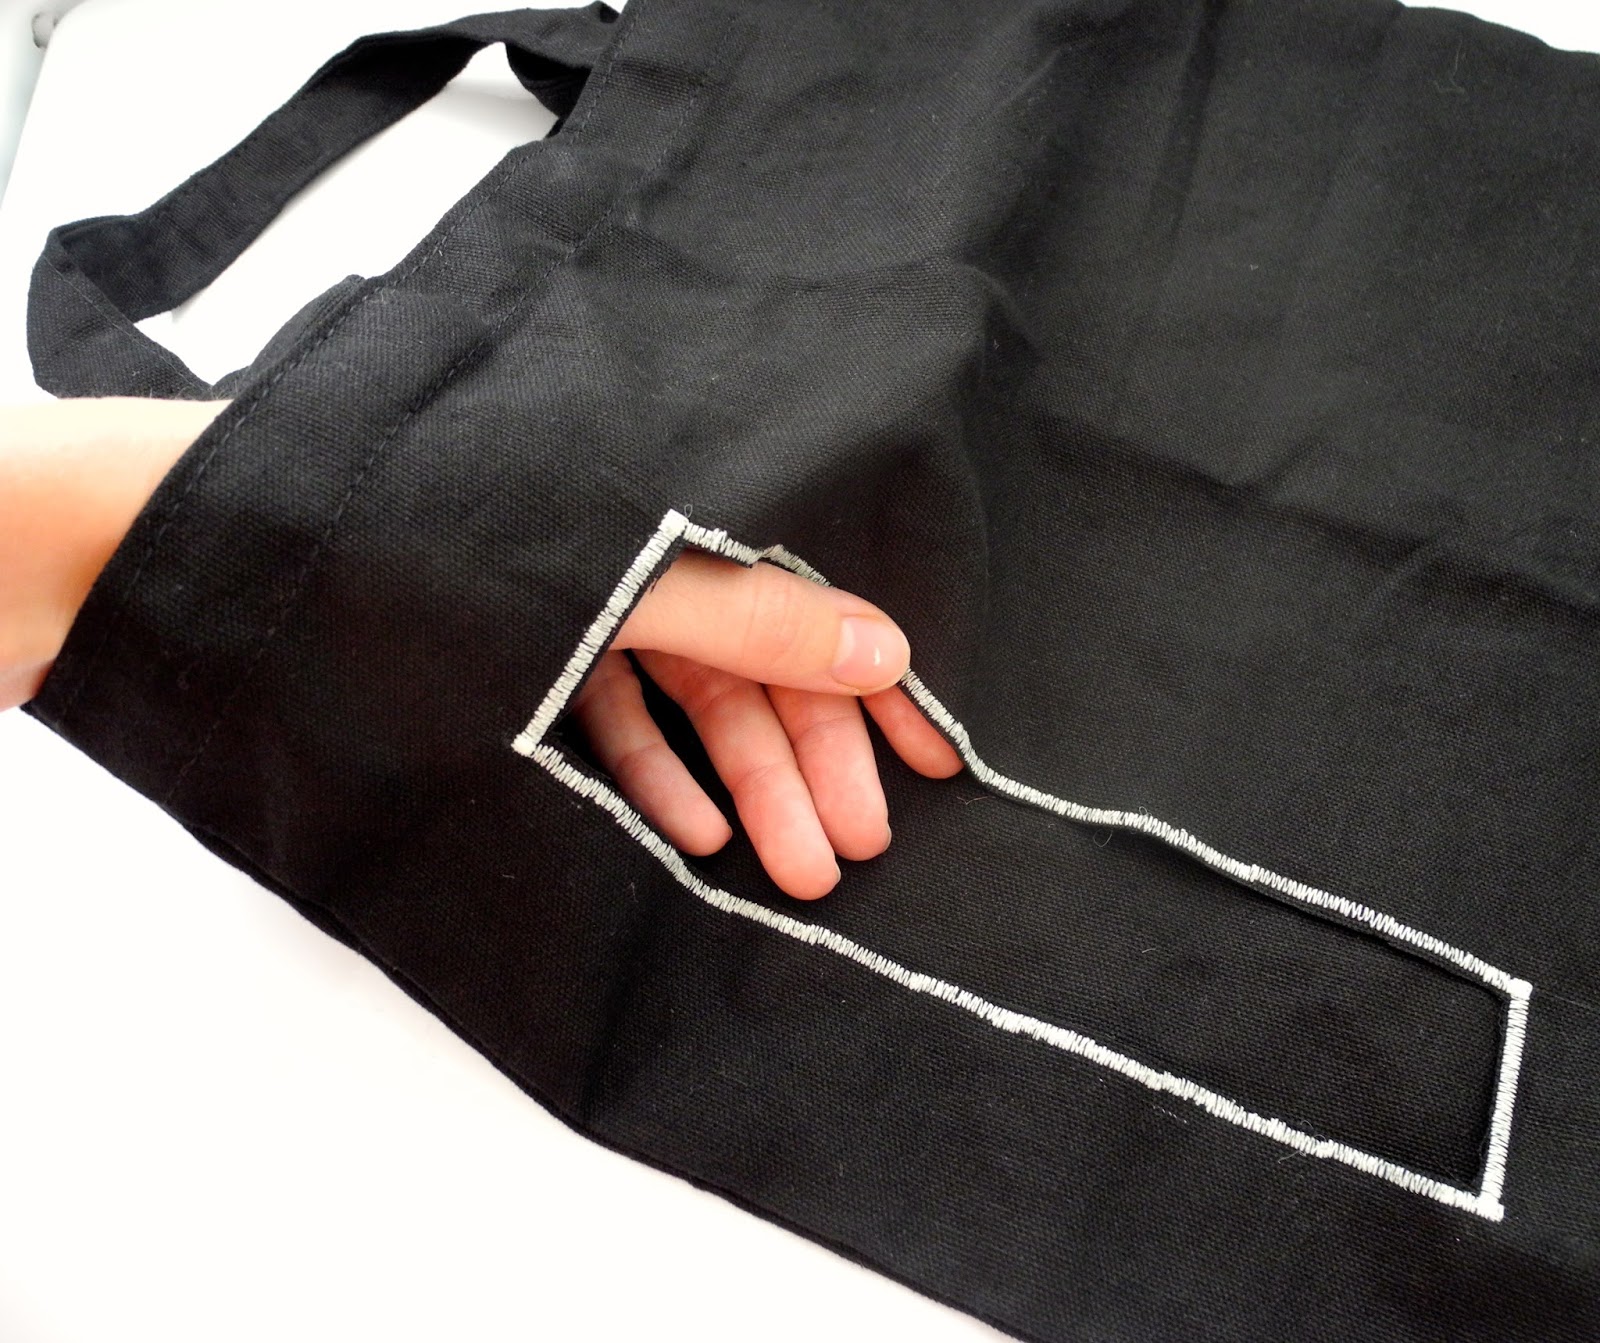
Next you need to cut out the hole being VERY careful not to cut your thread, or your fingers.
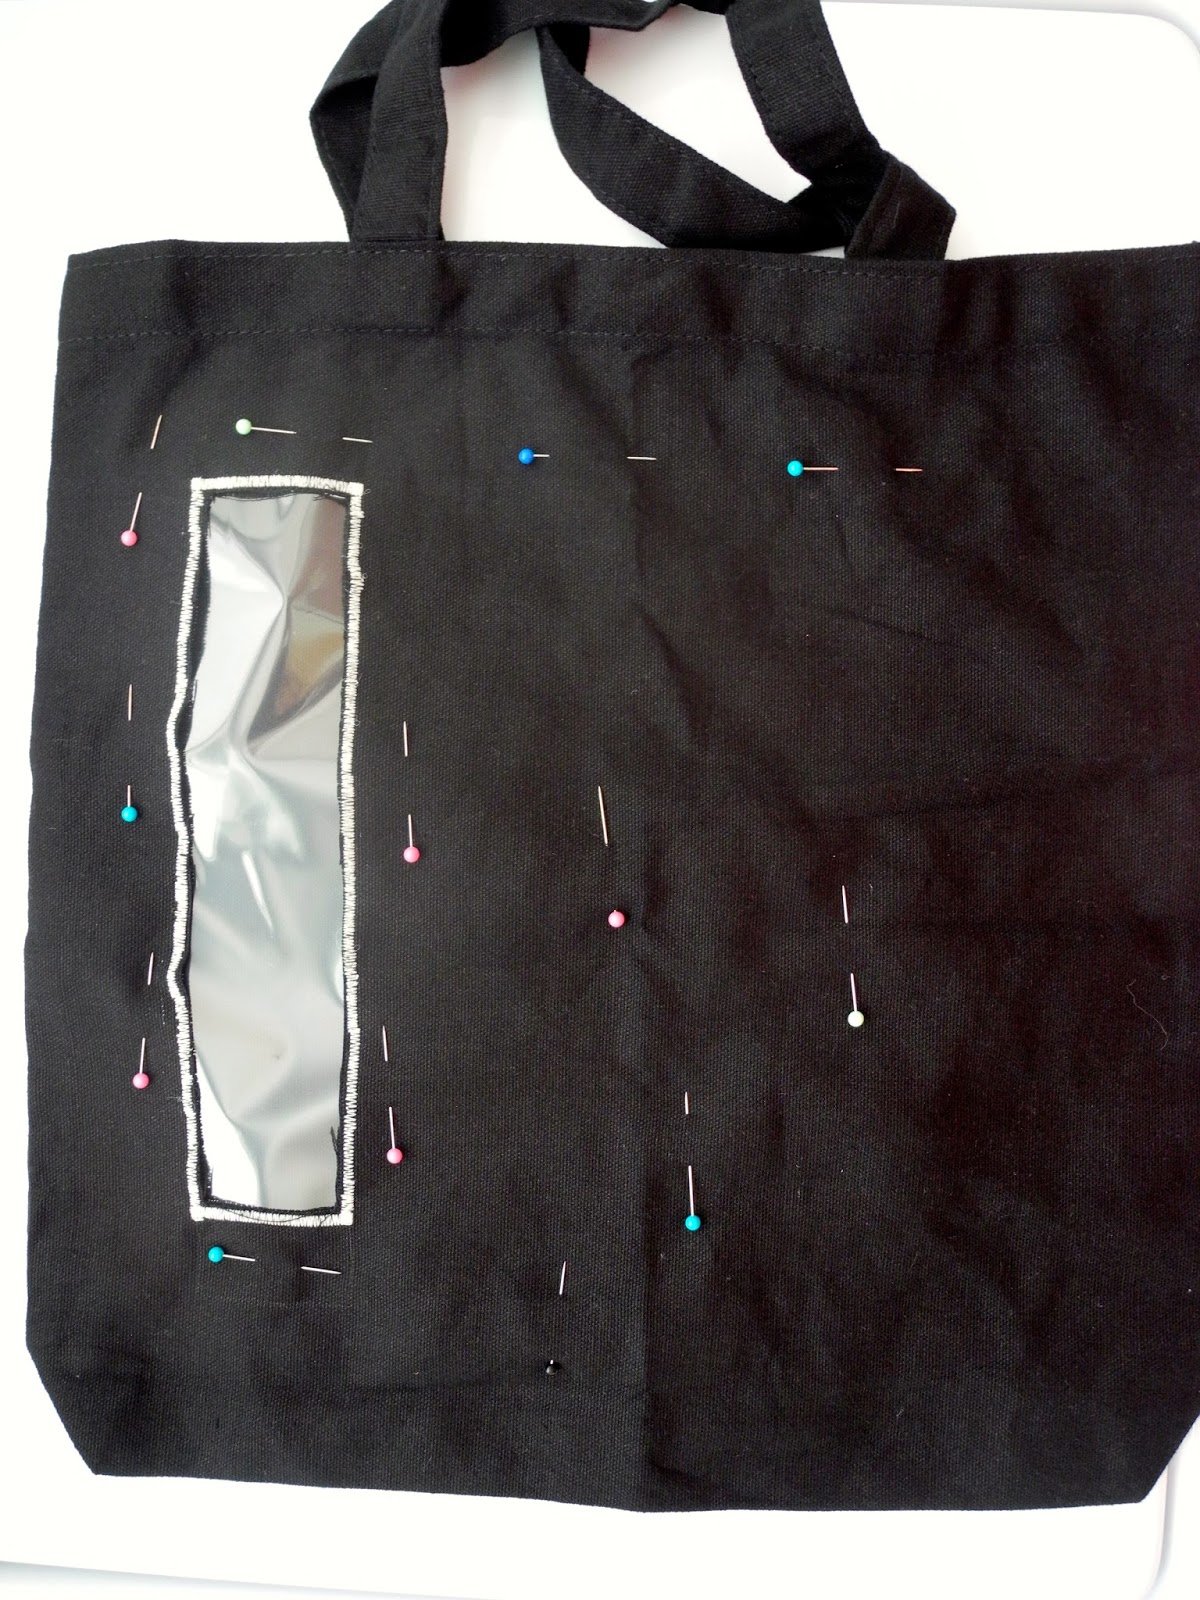
After that you are ready to pin on your sheet protector. You can also use that fancy shmancy clear plastic “fabric” you can buy at JoAnns but it was really expensive for just the little bit I needed so I decided to get creative and use a sheet protector. Don’t cut it open or anything, just pin it right in. When its double thick its just stronger anyway.
Then on one bag I decided to use my printable Iron-on fabric and make a measuring tool with clever sayings.
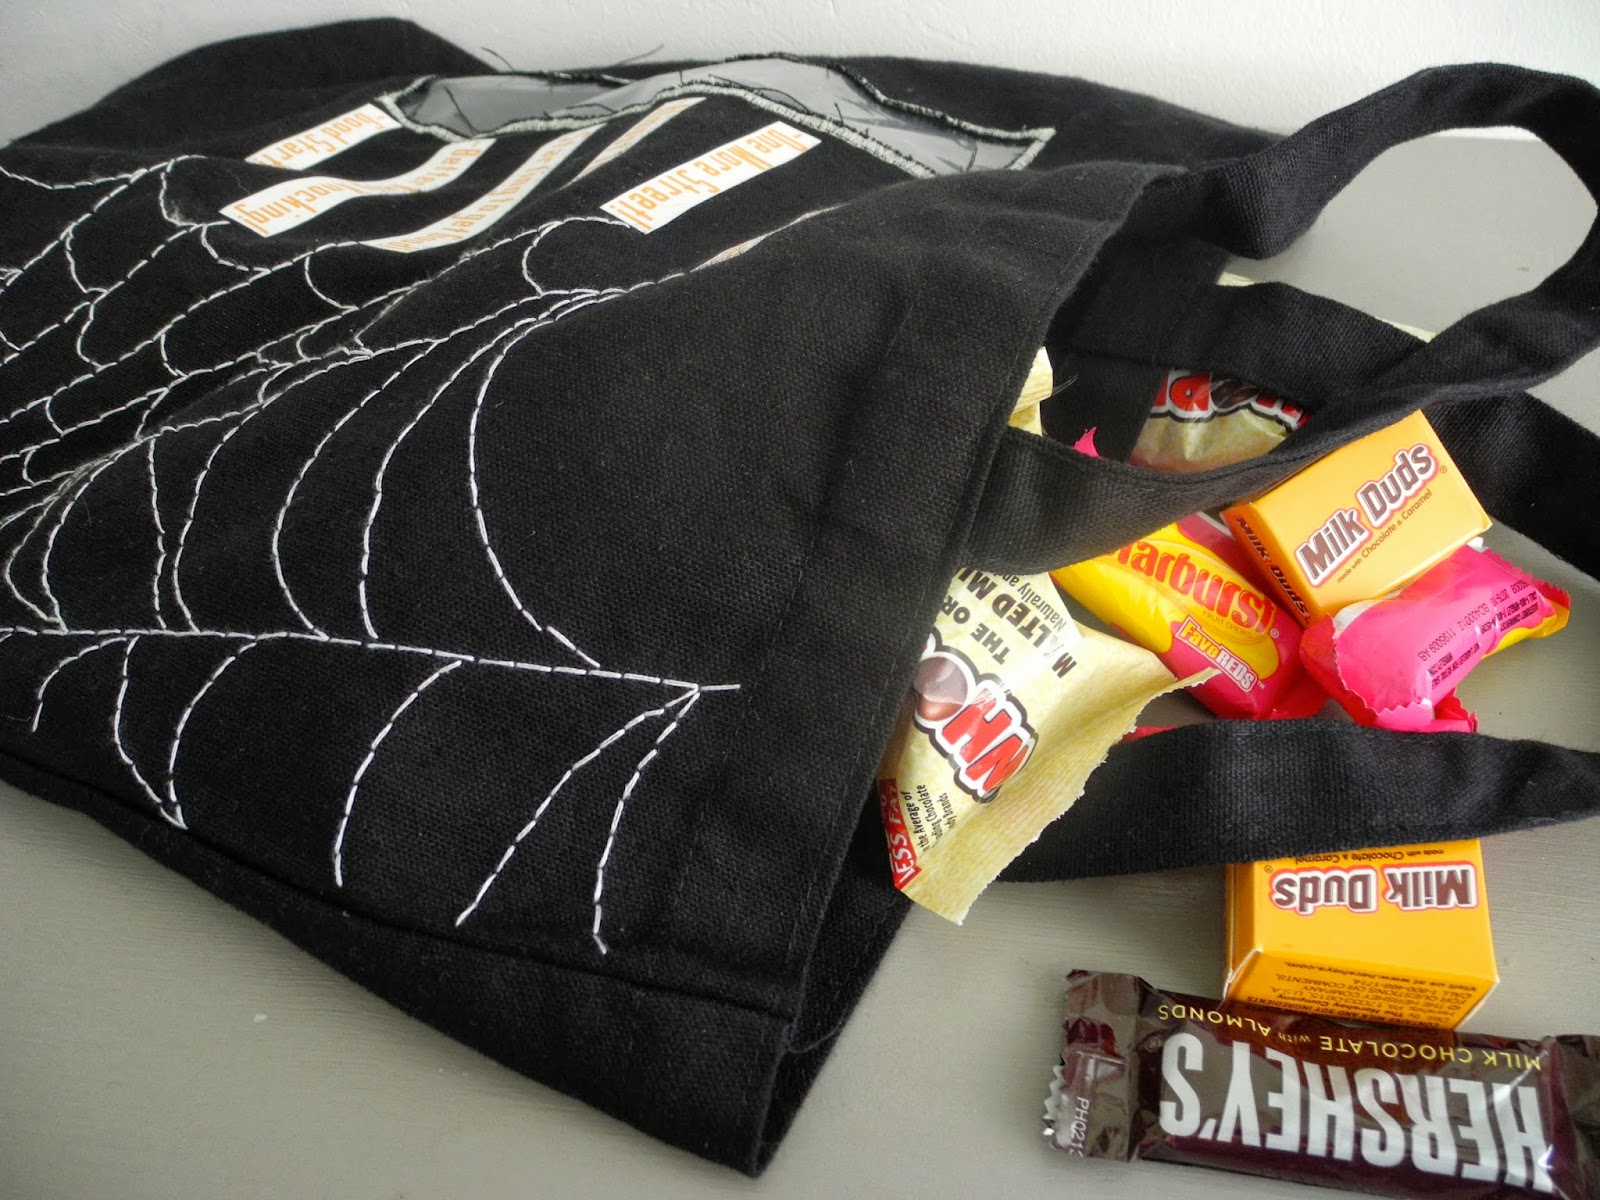
The bag says (from bottom to top) “Good Start,” “Better Keep Knocking,” “Starting to Get Good,” “Almost There,” “One More Street,” and “Take me to the Dentist!”

Then I hand stitched the spider web on using my embroidery floss.

On my other bag I used chalk to mark where I wanted to have my “measuring marks” and hand stitched those.
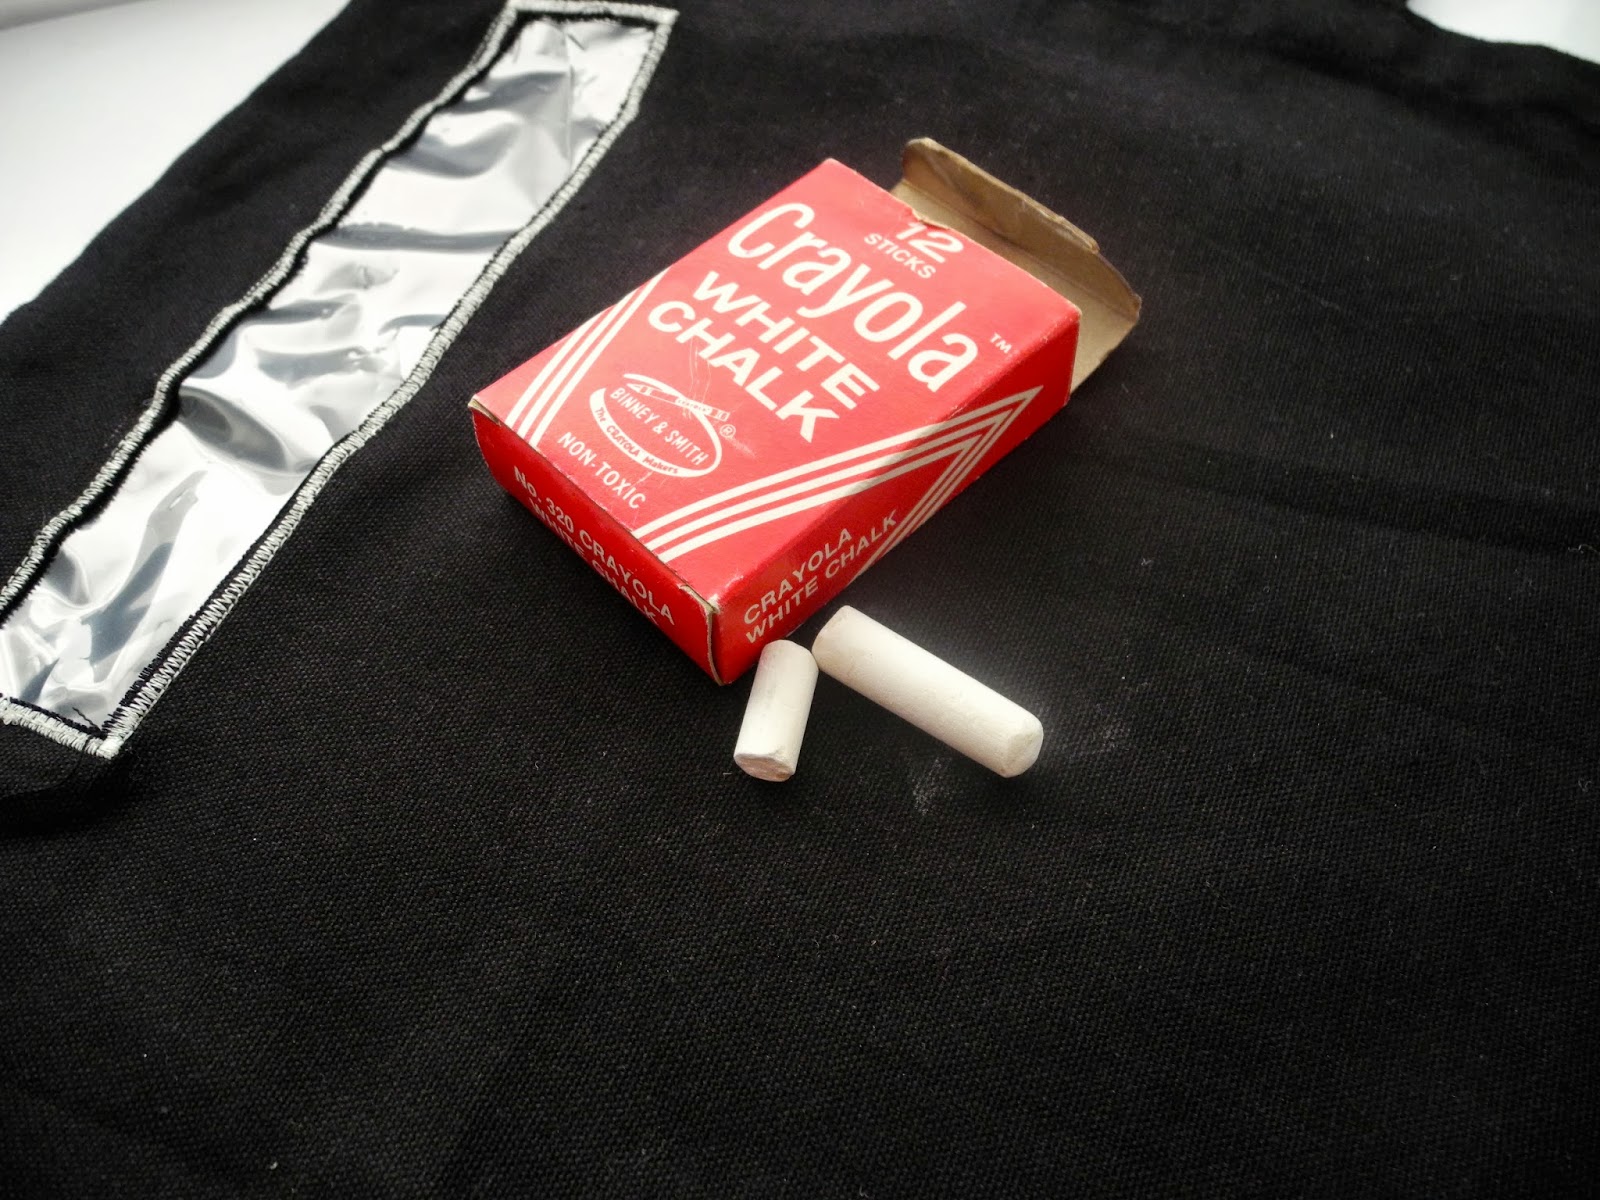
Then I used my Iron-on fabric to write “Trick or Treat” on it. And yes…I cut out the letters by hand. I don’t own a Cricut or a Silhouette so I guess I didn’t have any other choice but to do it old school. 🙂


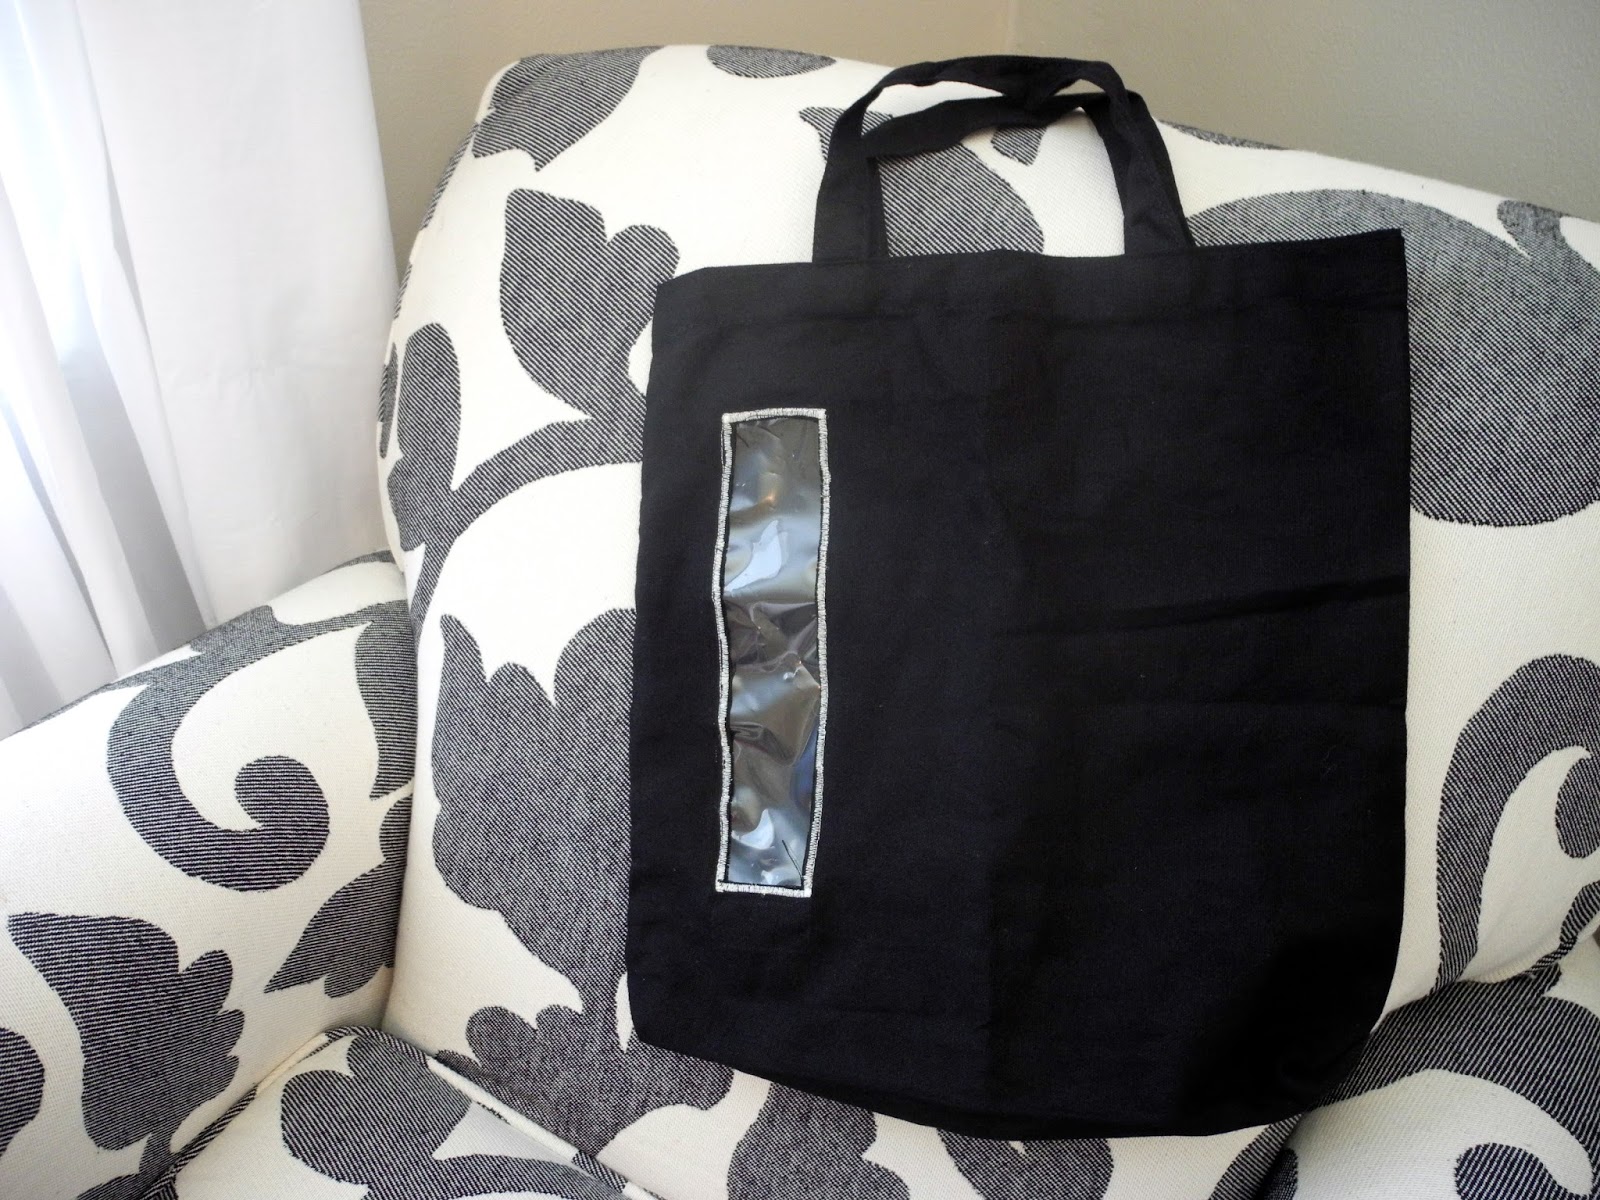
I love how they turned out because they are just the right size and so fun for seeing all your loot! But I think we all know what’s most important. Its what’s INSIDE that counts!
Feel free to hop on over and visit me anytime!
PS. Everyone who has participated so far has been amazing and has BLOWN me away with all their creativity. Thanks for sharing your time and talents!
-Ali


Latest posts by Jodie and Jen (see all)
- Our Friday Five 9.30 - September 30, 2022
- Our Friday Five 12.3 - December 3, 2021
- Composition Book Christmas Planner - November 28, 2021
Cute bags and cute trick-or-treaters:)
Thanks sue!
I may have missed it, but how did you attach the sheet protectors??
I just put them inside my bag and used pins to secure it. then I just sewed around my rectangle one more time! 🙂
Those are so cute! It's awesome that they can see how full their bag is getting! LOVE it!
Super duper cute!
Love this idea. Made me chuckle!
Fun idea!
Super cute idea. Thanks for sharing!!