Before I get started, I want to tell you how much I love and adore these eighteen25 girls. You might see them just as the creative geniuses that they are here on their blog but what you may not see is how kind and generous they are and how much they support and promote other blogs. They are constantly using their online presence to build others up in the blogging community and it warms my heart each time I see it. They are also extremely humble and are going to be so embarrassed that I am saying this but if they cut this out of my post I will be ticked so they better not!! 🙂 Love you Jen, Jamie and Jodie!!
Now, onto my Spooktacular Halloween project!
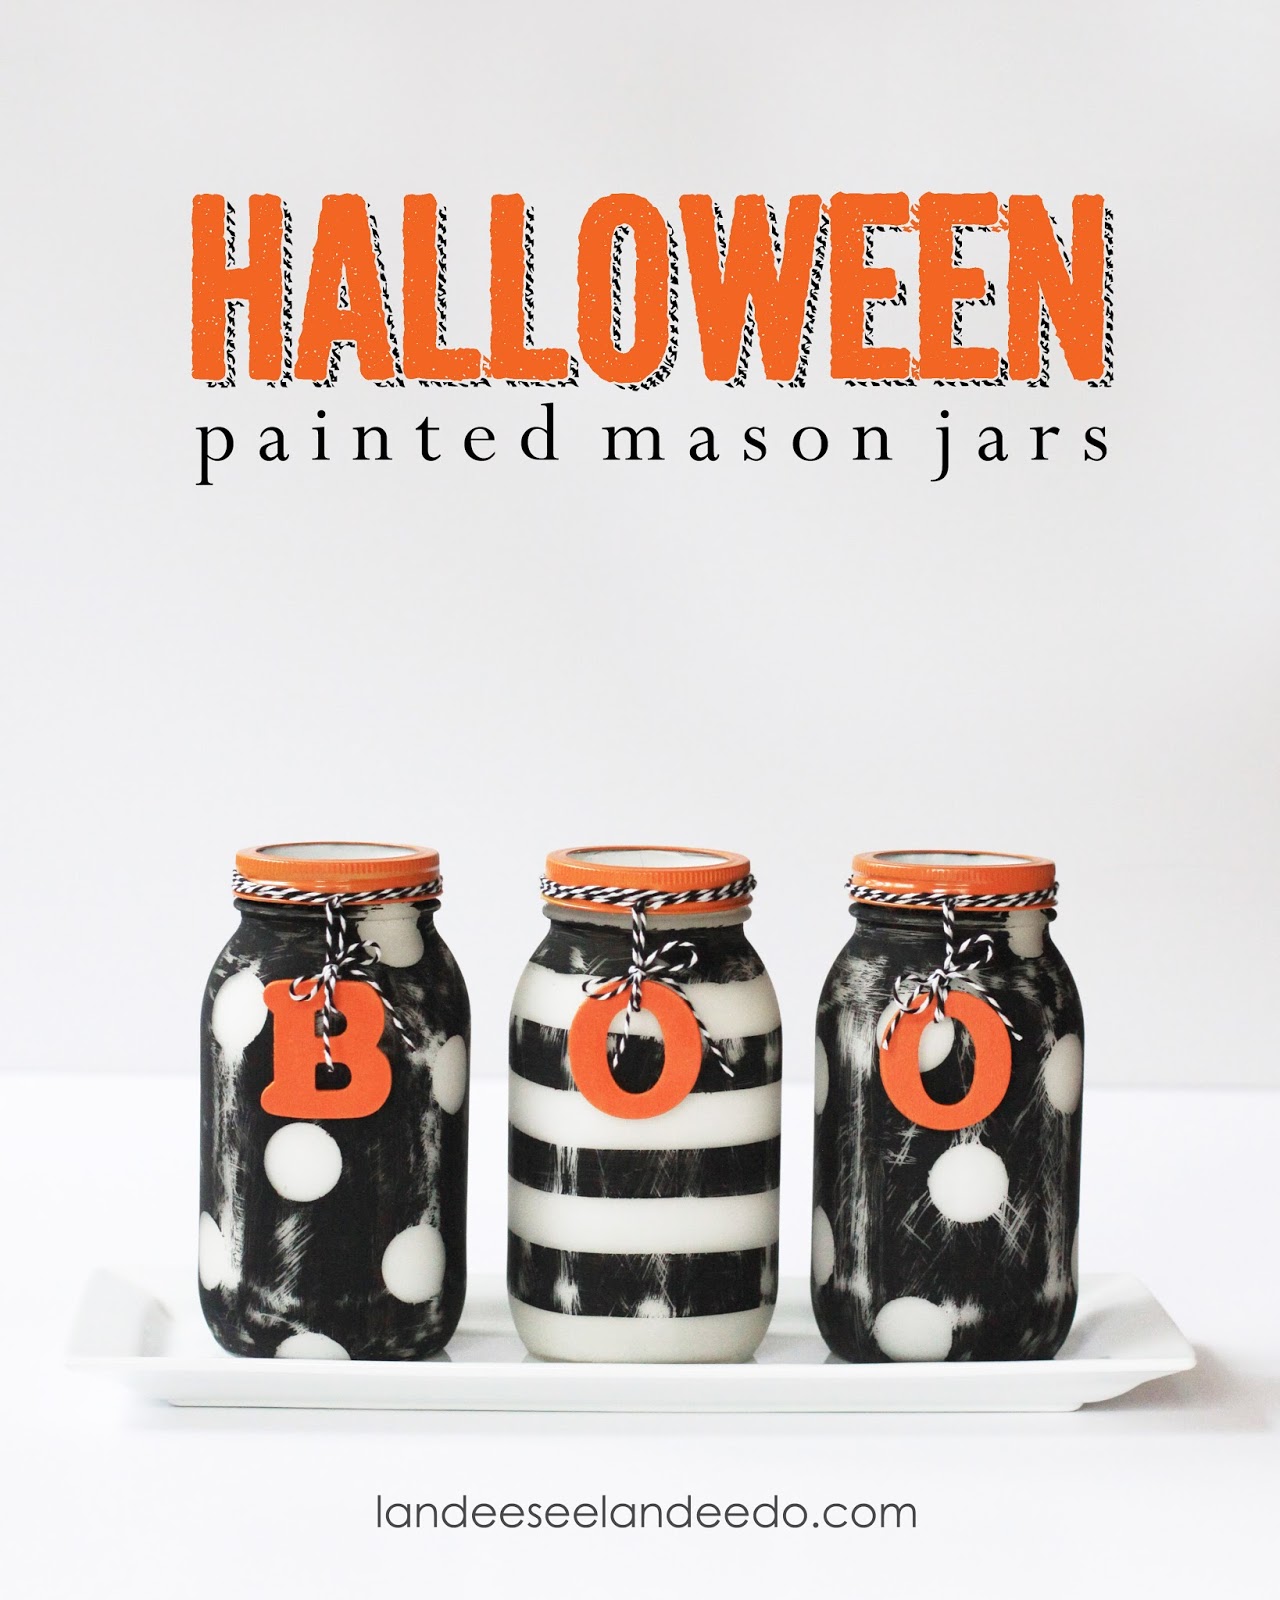
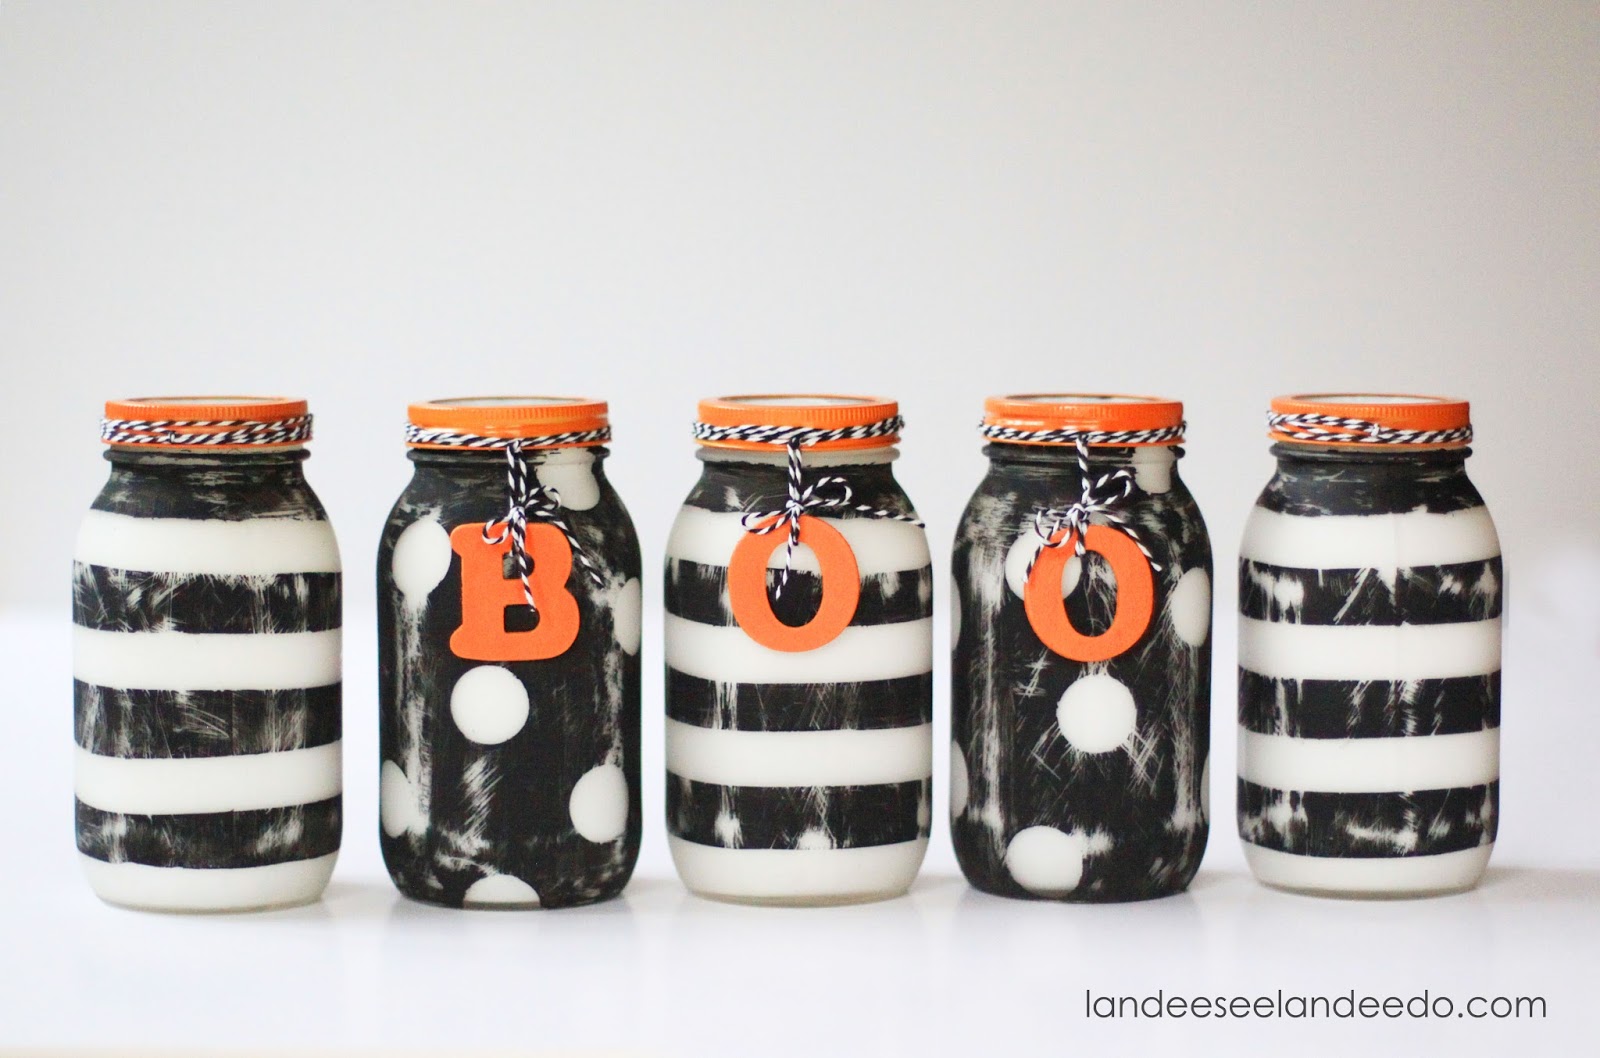
Today I am sharing these super fun Halloween Painted Mason Jars! I have been seeing all kinds of painted mason jar projects flying all over the internet and I have been dying to try it out myself! There are more ways to paint mason jars than can even be counted but this is how I decided to do mine…
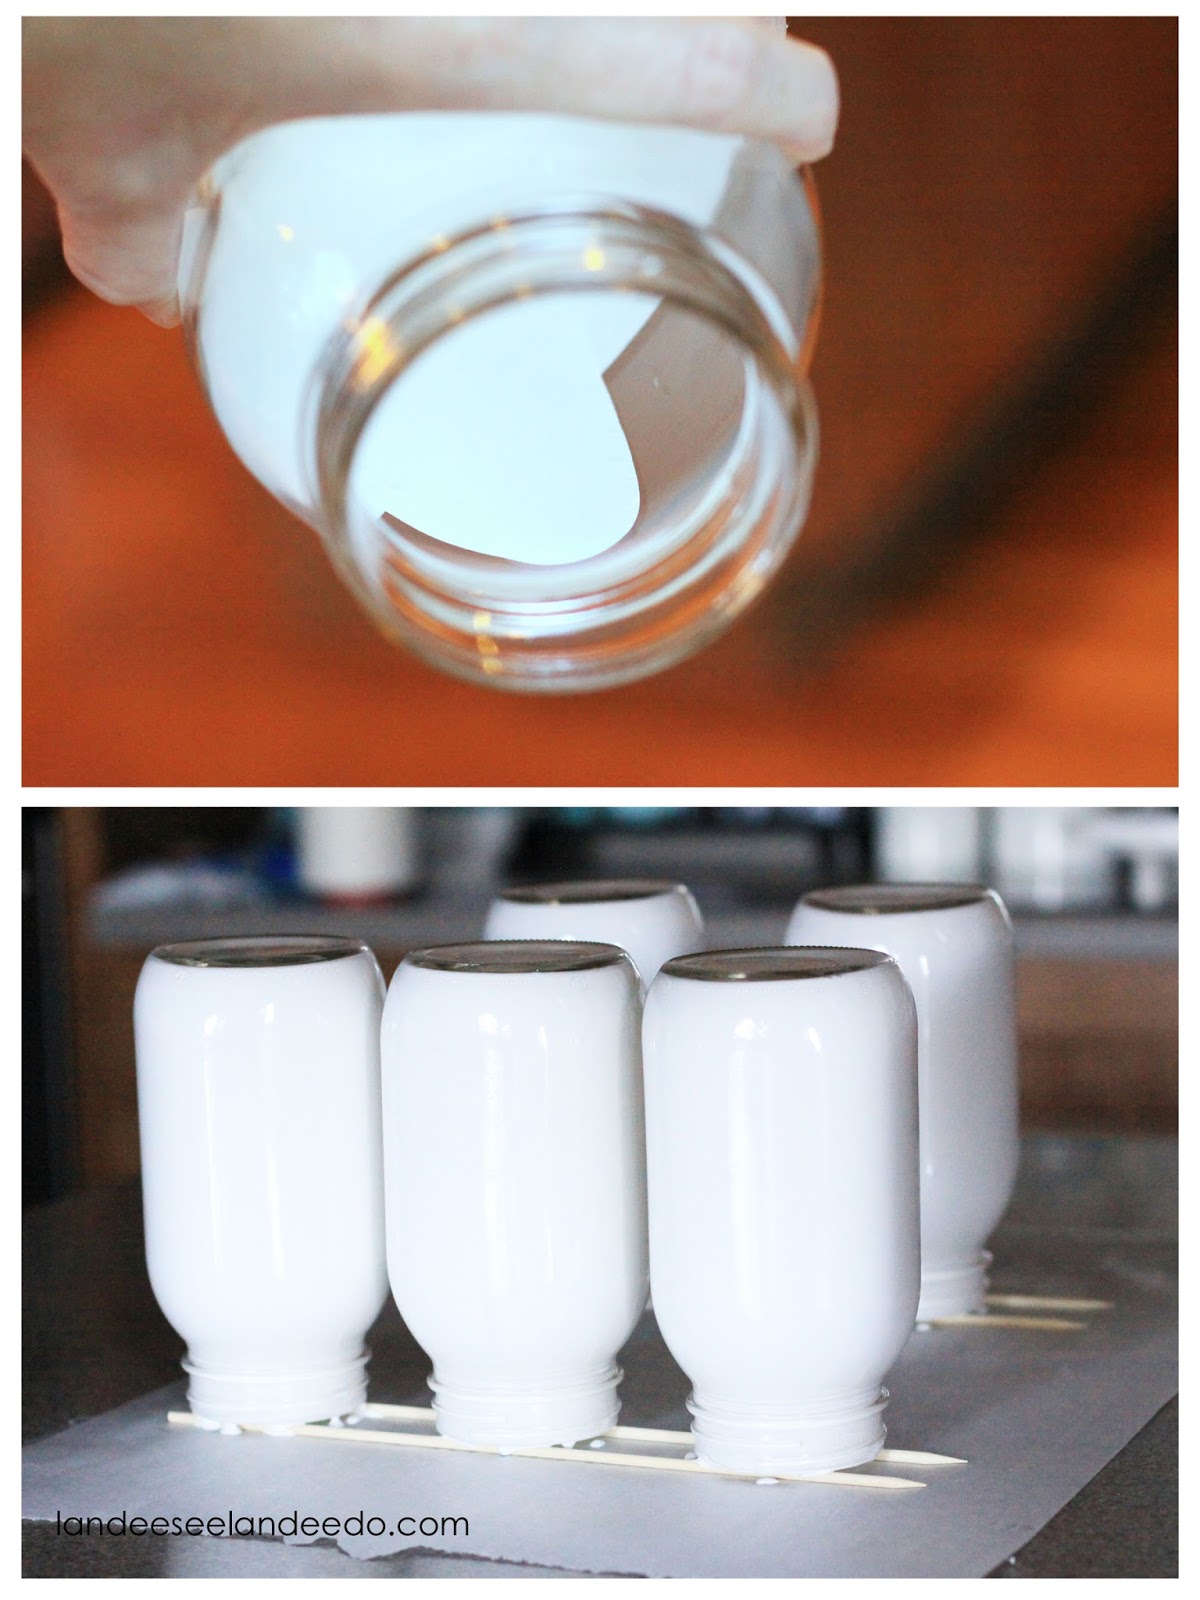
First, pour some slightly watered down white acrylic craft paint into jar and swirl around until inside is completely coated. Put upside down on parchment or wax paper to dry. I like to prop mine up on bamboo skewers and wipe the rim every once in a while with a paper towel until it stops dripping. Allow to dry upside down overnight.
Next comes the fun part…decoratively painting the outside of the jar! For the polka dots I wanted big 1″ dots. I didn’t have any 1″ round stickers so I figured I’d make them myself.
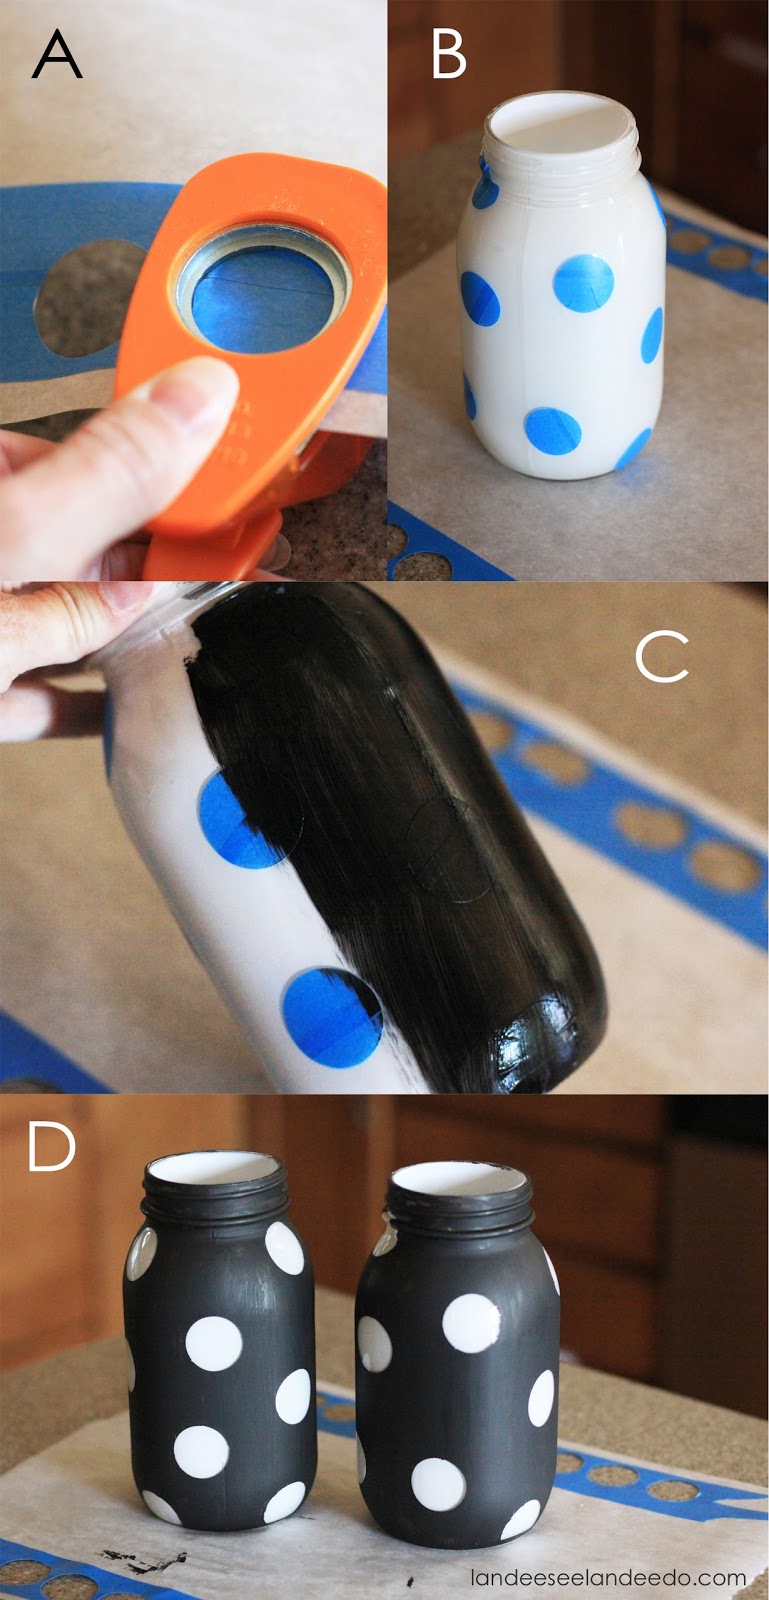
A) Overlap two long strips of painters tape on parchment/wax paper. Using a 1″ circle punch, punch out several circles. B) Peel parchment/wax paper off back of painters tape circles and apply to jar as desired. C) Paint over entire outside of jar with black acrylic craft paint (I did two coats). D) Peel off stickers! The paint had leaked under in a couple of little spots but I just used my fingernail to scrape the paint off.
I think they are totally adorable as is, but I decided to “halloween them up” a little by distressing them with sandpaper. It just gave them a little bit of a spookier feel and some fun detail.
I made the striped jars in much the same way as the polka dot jars except I wrapped the painters tape around each jar evenly to create the stripes before painting over the entire thing with black paint.
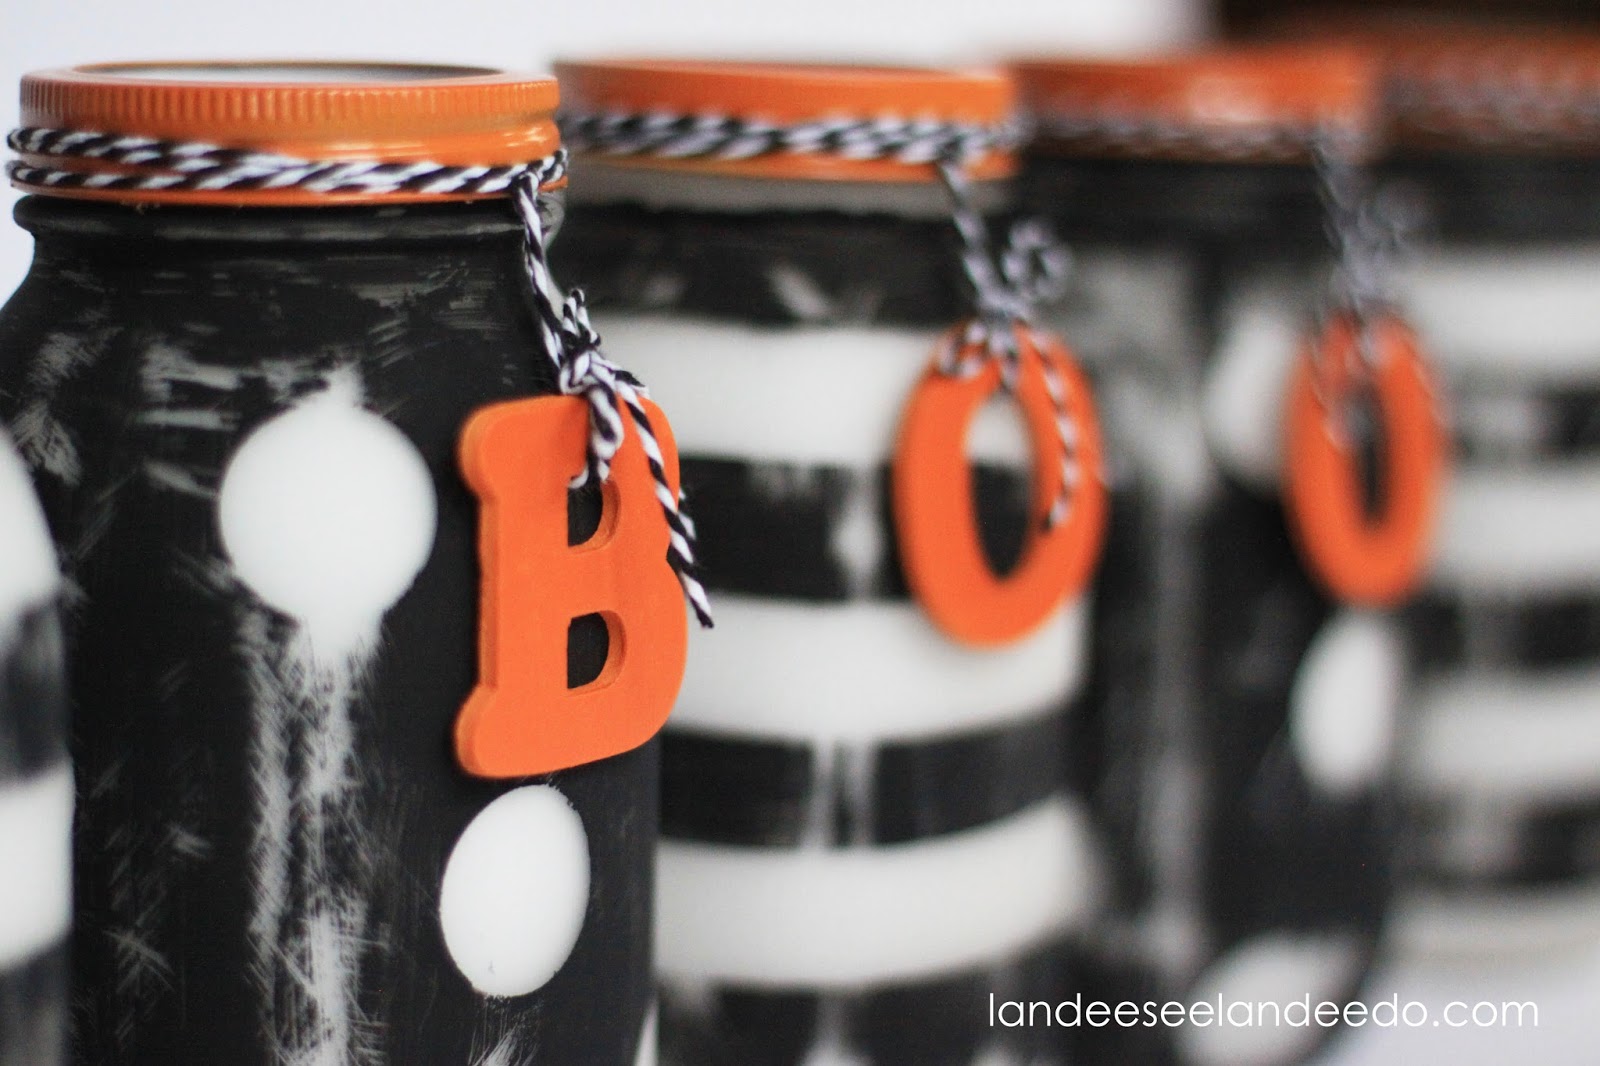
After I got them distressed just how I liked them, I sprayed the jars with a matte finish clear spray paint to keep the paint from coming off. I also spray painted the jar lid rings and some wooden letters spelling out “BOO” orange and tied them to the jars with some black & white baker’s twine!
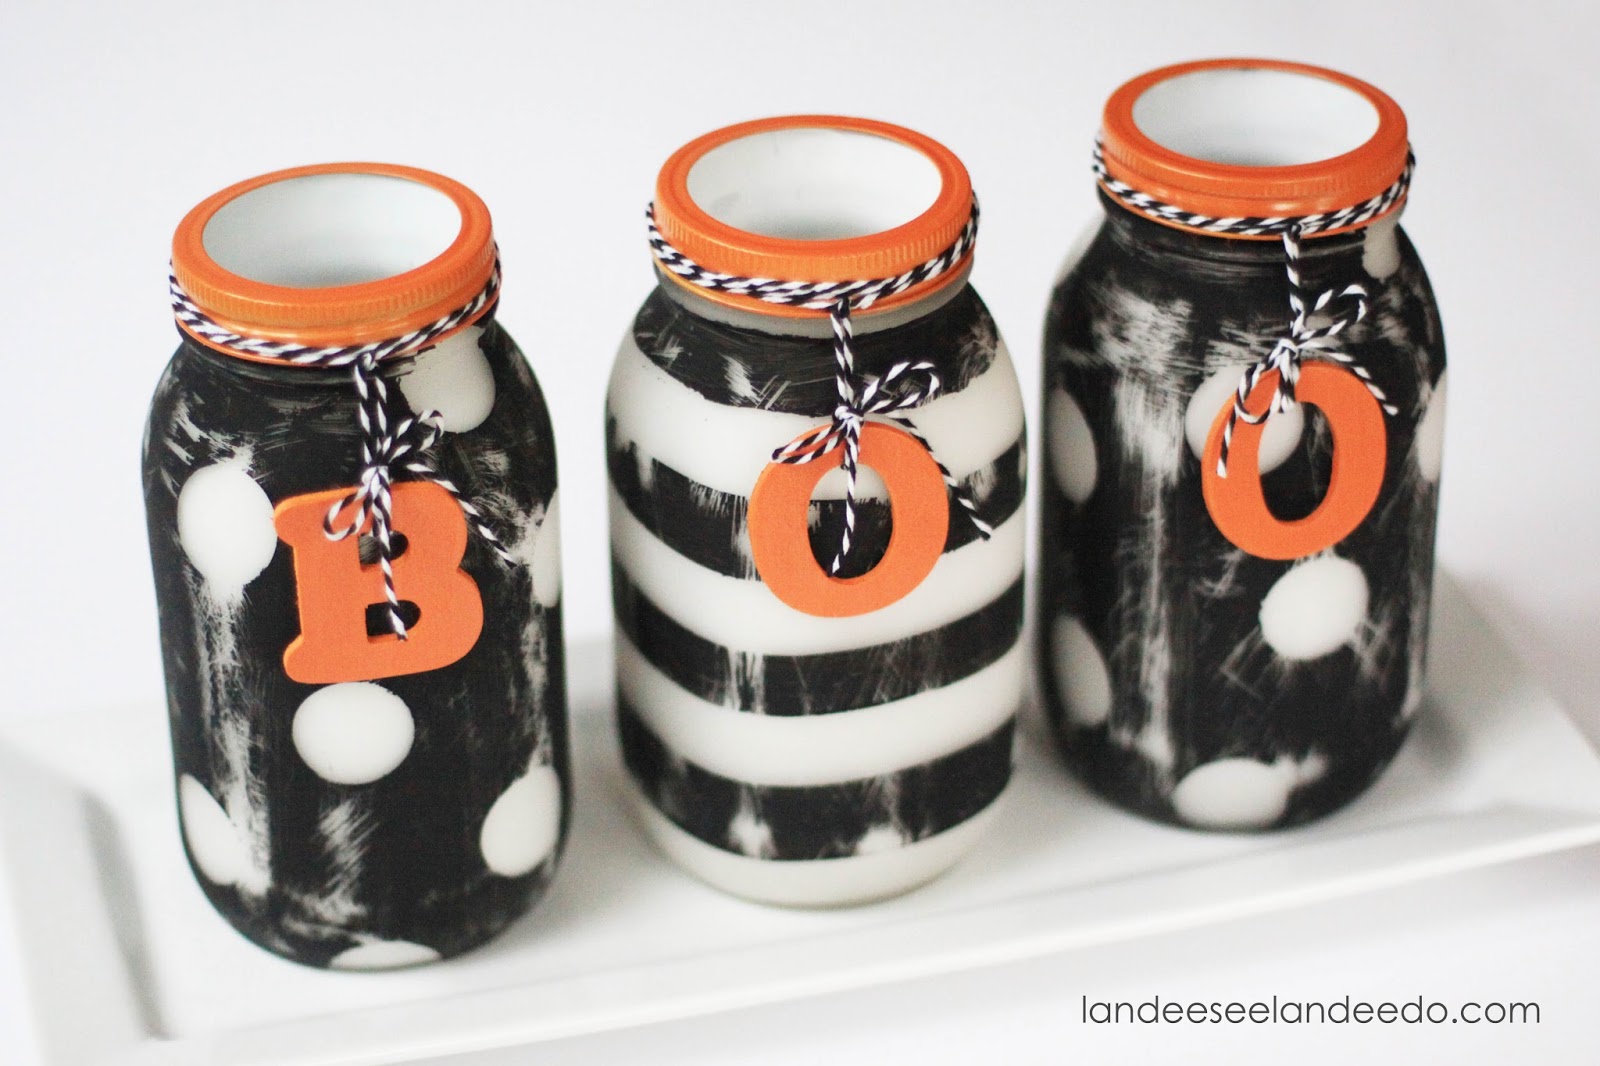
I am planning on using them down the middle of my kitchen table as my centerpiece this Halloween season!
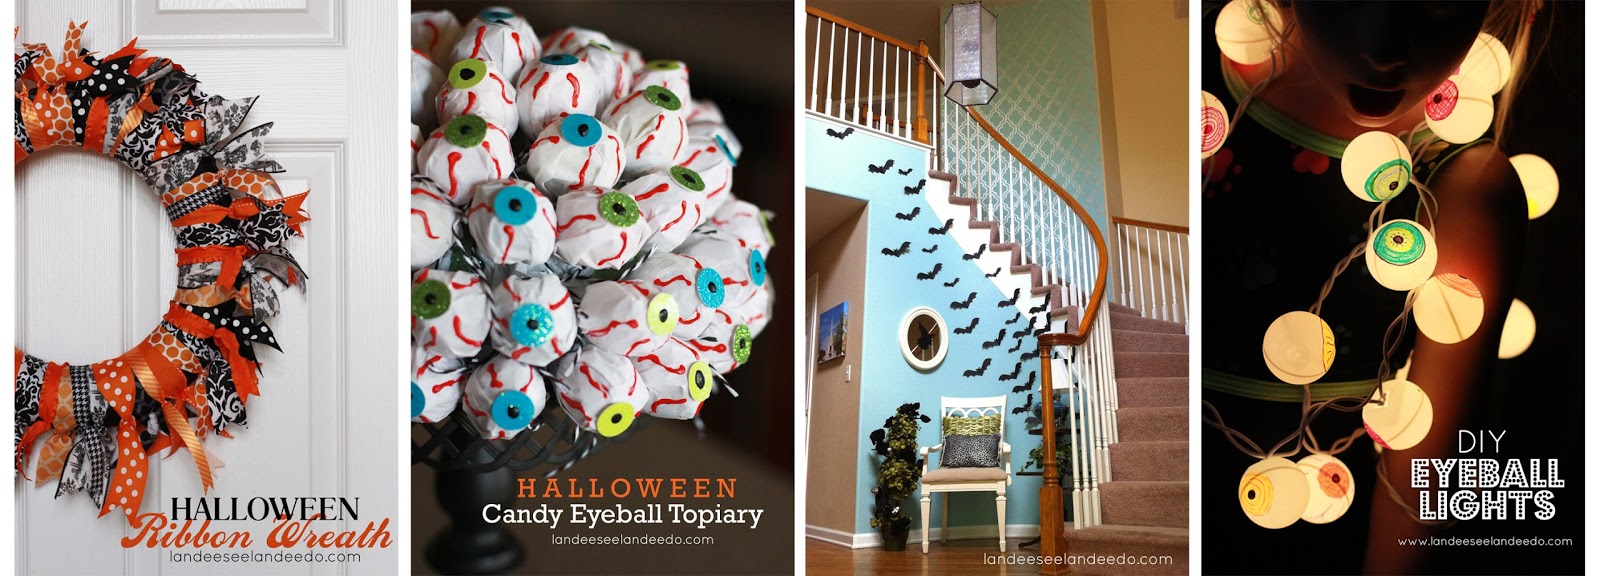
Here are a few other Halloween projects I have shared on my blog in the past:


Jamie
Latest posts by Jamie (see all)
- Bird Feeders - May 24, 2019
- [2014 WISHlists] Jamie’s List - December 12, 2014
- Avery Custom Photo Gift Tags - December 2, 2014
Love these! Cute + simple. 🙂
Totally adorable! And not very complicated which I appreciate 🙂
How cute, Love them!
LOVE! So cute and the finish on them is great – limitless what you could do for other holidays in this concept. Now if someone could gift me the time to do it al 🙂
really really love these, thank you so much for sharing x
Love them! They are so cute and fun!! Thanks for the great idea!!
I love these. I was just wondering where you found mason jars with no writing inside (like Kern or Ball always has their logos in the glass). Thanks for being so inspirational!
Love what you said about Jamie, Jodie and Jen…their kindness and support really is amazing!
The jars are absolutely adorable…love every single detail!
Can you tell me which type do paint you used?
sueellenhafen@yahoo.com
It's acrylic craft paint.
Can you tell me,when I put the white acrylic paint on the inside,and do the black or red acrylic on the outside with the polka dots,can I put dish soap in the jar?
If you paint the inside of the jar you will not be able to put any liquid in it. Just keep all the paint on the outside of the jar and you will be good. 🙂