
Hi Eighteen25 readers! I’m Toni and you’ll find me over at Design Dazzle, where I love to share inspiration for stylish kids rooms, kids parties, DIY and holiday awesomeness. I am so thrilled to be featured here at Eighteen25 with all the crazy talent! I love Halloween, and I think it’s important to think outside the box when it comes to creating whimsical decorations for such a fun holiday.
I’m excited to share with you one of my latest creations, the Mummy Hand! Perfect to go on a mantle or to give as a gift, this fun DIY project is easy, inexpensive, and perfect for your Halloween decor.
Here’s what you’ll need:
- 2-3 cups of rice or beans or cotton balls (some type of cheap filler)
- 1 rubber band
- White cotton or muslin fabric, rip into strips about 18 inches long (about 10 – 12 strips )
- 1 rubber kitchen glove (dollar store find)
- Glue gun
- Any ribbon or embellishment you’d like to add to the finished product

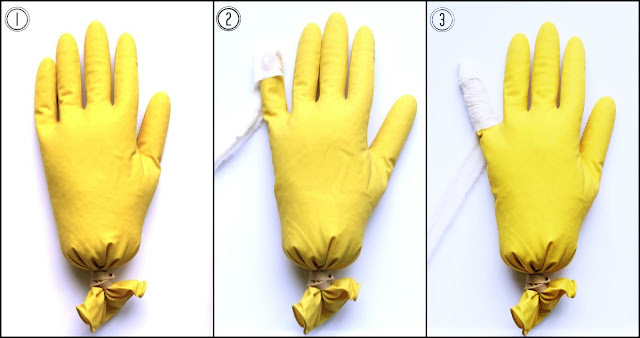
Here are just a couple of steps to create your mummy hand:
- Fill your rubber glove with rice (or other filling) until your glove is completely filled. Tie off with a rubber band.
- Begin wrapping your glove by taking a strip of fabric and hot gluing it to the top and back of the finger.
- Wrap tightly down the finger.
- Do each finger and wrap the tail between the fingers. When you’re done with the fingers, you can cut off any excess fabric tail and glue the last of the tail to the glove.
- Finish wrapping the hand, gluing the last piece of fabric to the glove.
- Decorate with ribbon or anything else you like (I added ribbon and plastic animals like the rat or sparkly spider’s web), and voila! Place among your Halloween decor and enjoy!


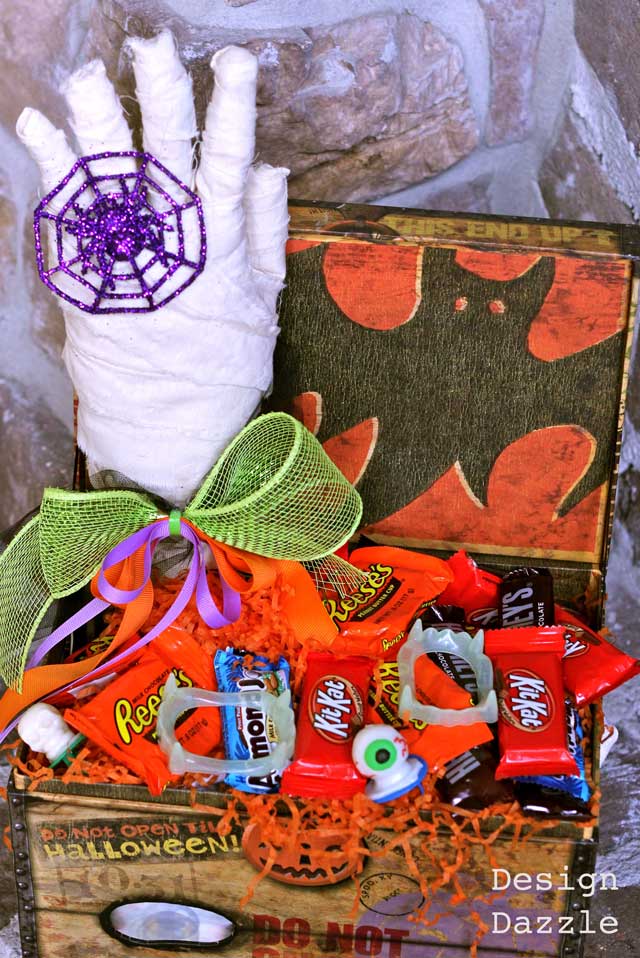
Various embellishments give it different looks – spooky, cute, scary, etc.
Don’t forget to check out some of my other Halloween projects over at Design Dazzle like my
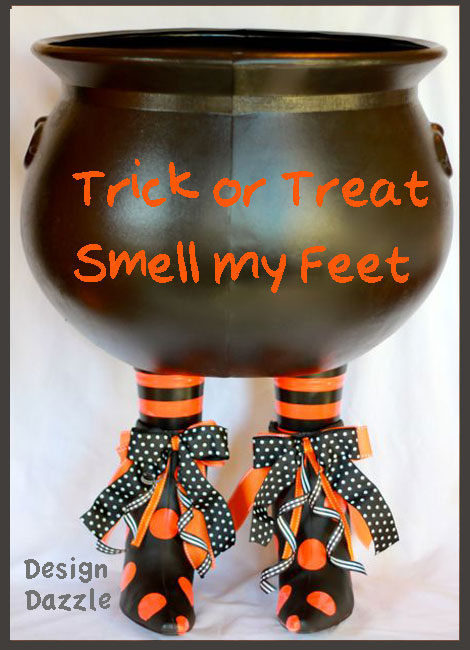
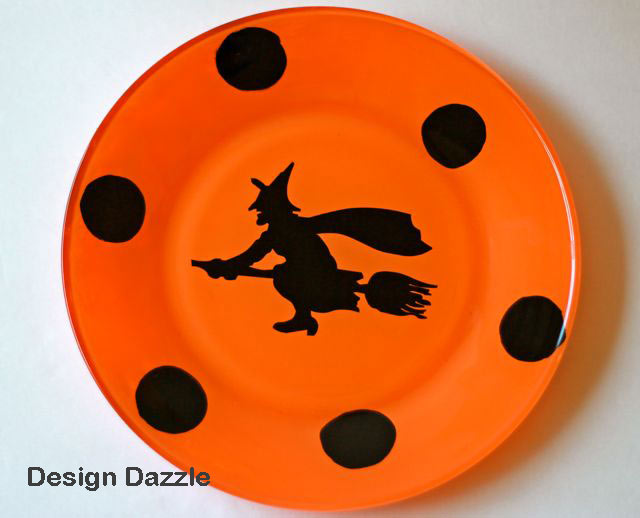
DIY Boot-i-licious Cauldron or make your own Halloween Dinner Plates,
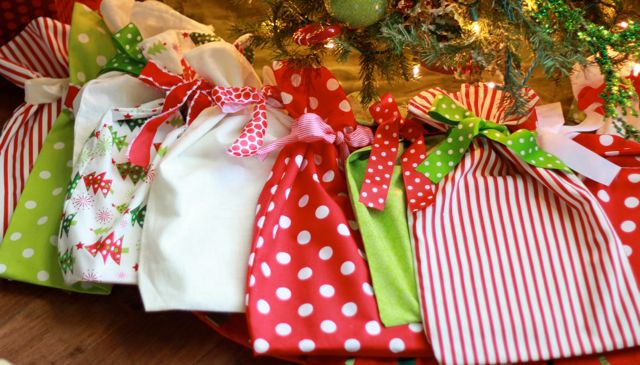
and for upcoming Christmas ideas easy peasy Christmas book or gift bags!
Next week October 1st we are hosting our…
We would love for you to join us at Design Dazzle!!

. . . . .
this post is sponsored by:

Jodie
Latest posts by Jodie (see all)
- Our Friday Five | Jodie Edition - May 29, 2015
- Our Friday Five | Jodie Edition - April 24, 2015
- Toe-tally Awesome Teacher Gift - April 20, 2015
This is so fun! I think this might be on my Halloween decoration list this year!
Wow amazing once your holiday with family
very nice design
nice post brother 😀
Thank you so much for this post. I want to let you know that I posted a link to your blog in Creative Busy Bee Craft Inspirations, under the Page 1 post on Sep. 28, 2012. Thanks again.