This is a sponsored post written by me on behalf of Rice Krispies®. As always, all opinions are my own.
I always get so excited for Easter. I love anytime we get together as a family, but I especially love when we get together for the holidays. When we were little girls we had a big window in the front of our house. There was a couch in front of the window and we would sit for probably 30 minutes waiting for the first person to show up to our family get-togethers. When the first car would pull up we’d jump up and run out to greet them. Now I get to watch my kids do the same exact thing. 🙂
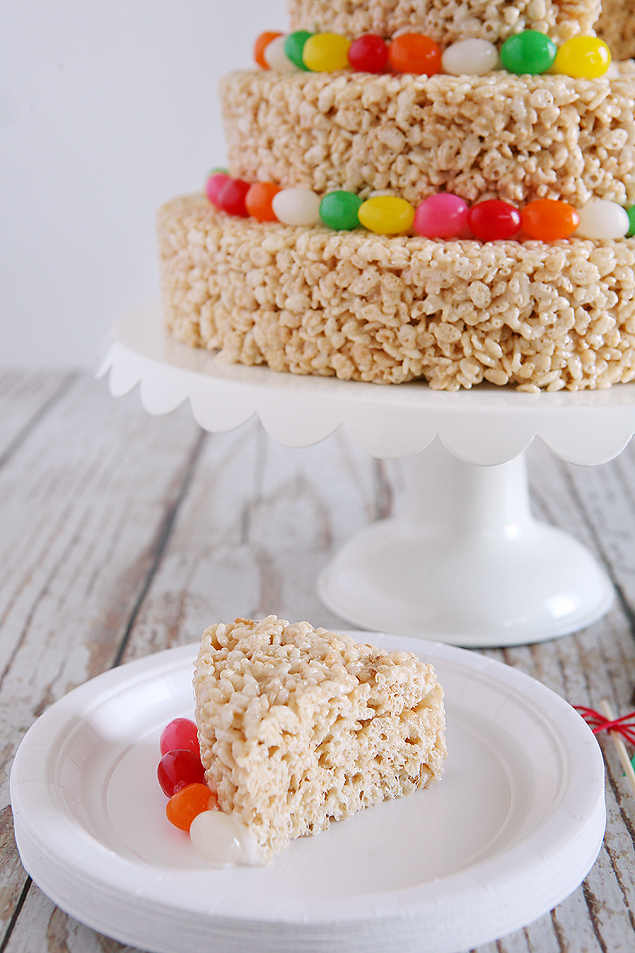
We’ve done so many fun things over the years with Rice Krispies®, they really are a blank canvas for creativity! This year for our Easter dinner we’ll be making a Rice Krispies® Treat cake. It’s going to WOW everyone and they’ll never know how super easy it was to make.
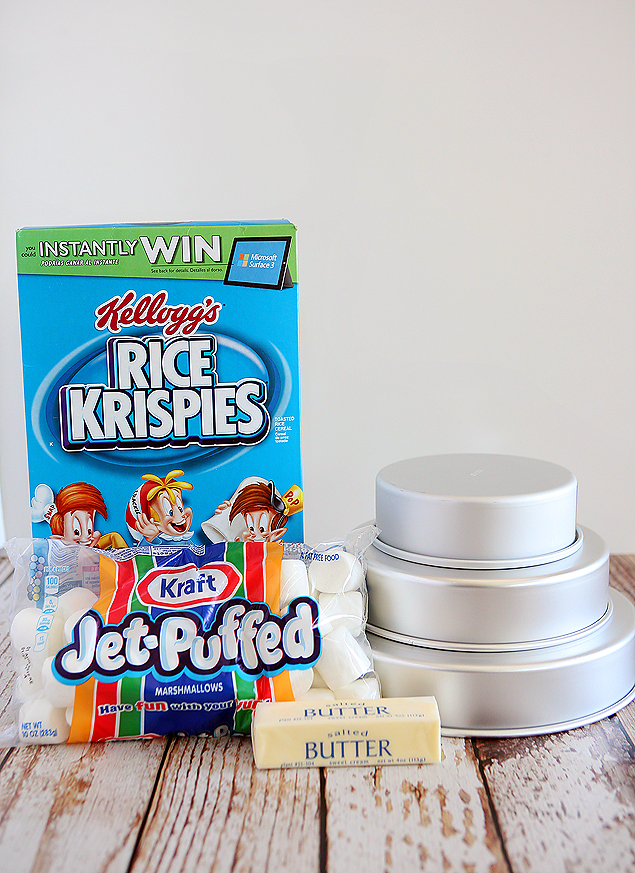
Here’s what you’ll need to make your own Rice Krispies® Treat Cake:
- 6 Cups of Rice Krispies® (per batch)
- 1 10oz bag of Marshmallows (per batch)
- 3 Tablespoons of Butter (per batch)
- Cake Pans – We used a 10″, an 8″ and a 6″
- Cooking Spray to grease the pans
- Icing
- Jelly Beans
- Chocolate Bunny (optional)
- In a large pan heat your butter and marshmallows on low until completely melted. (stirring continuously)
- Remove from heat and immediately add the Rice Krispies®, mix well.
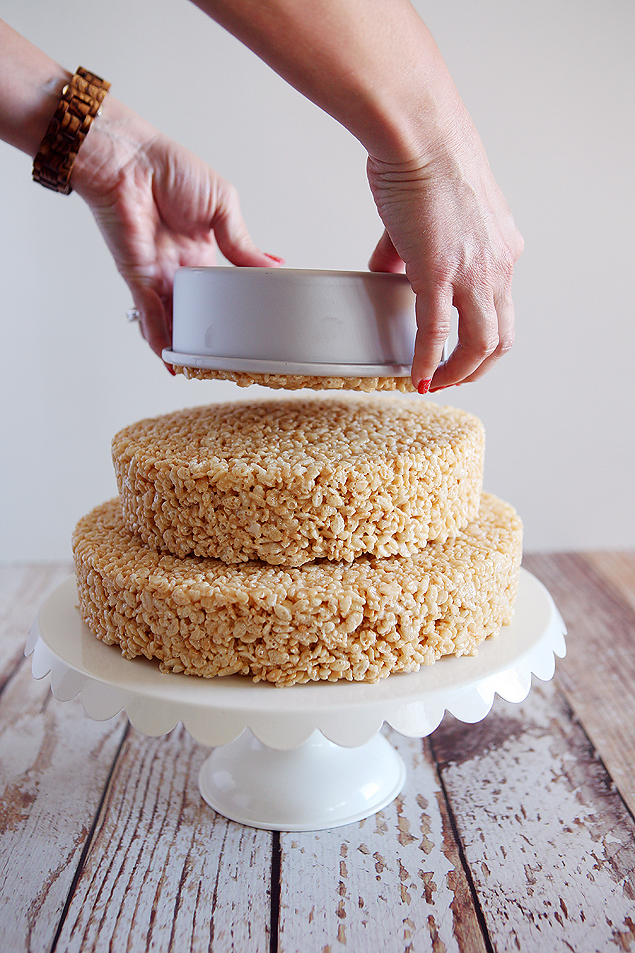
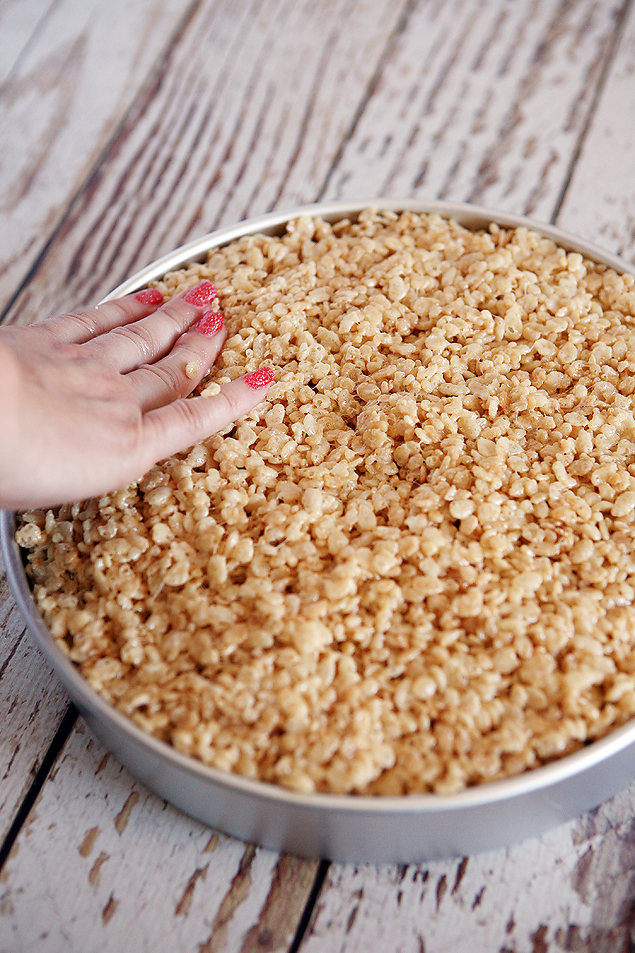
- Press into your greased cake pan.
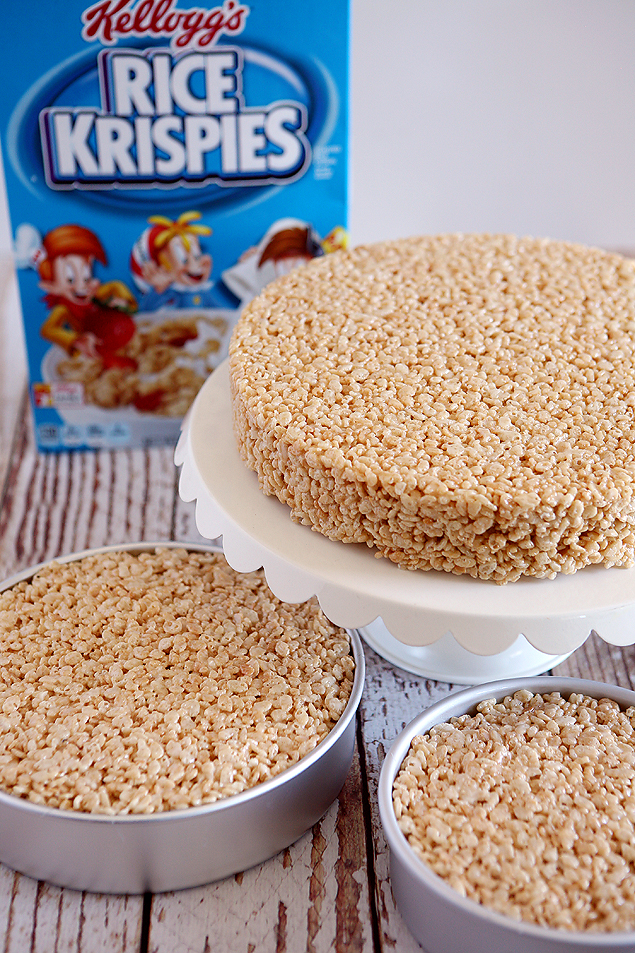
Depending on how large of a cake you’d like to make, will determine how many batches you’ll need to make. For our 3 tiered cake it took 4 batches of Rice Krispies® Treats. Two batches fit perfectly in the 10″ cake pan and another two batches filled both the 8″ and the 6″ pans.
Let the cakes set for about an hour and then simply turn your pans upside down and they’ll slide ride out.
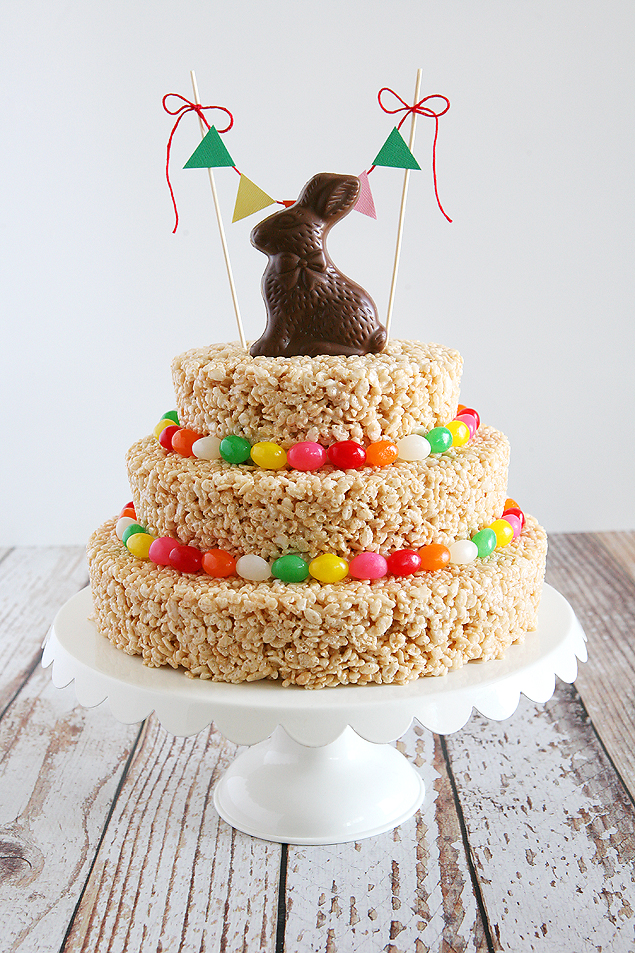
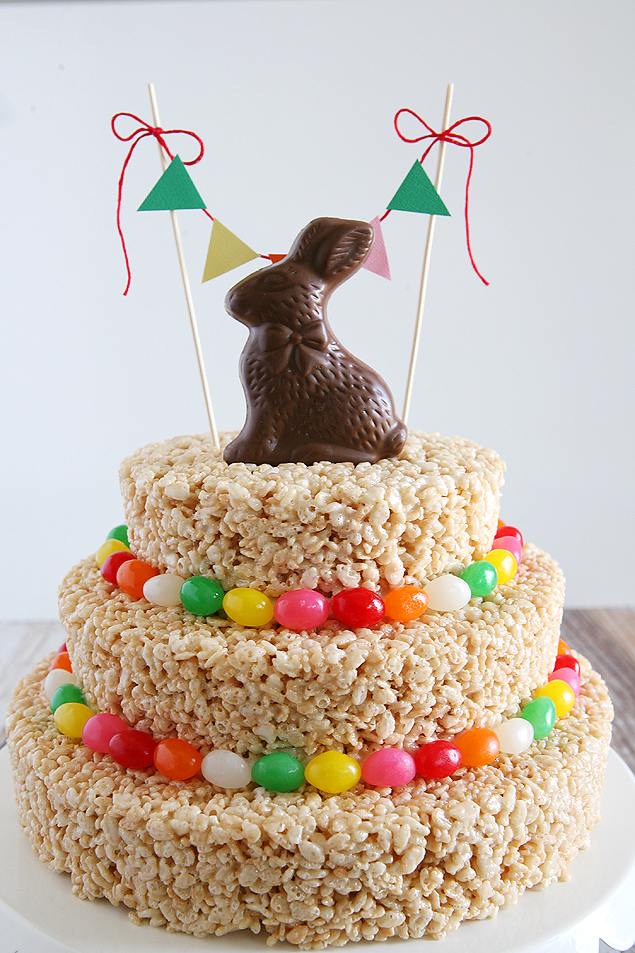
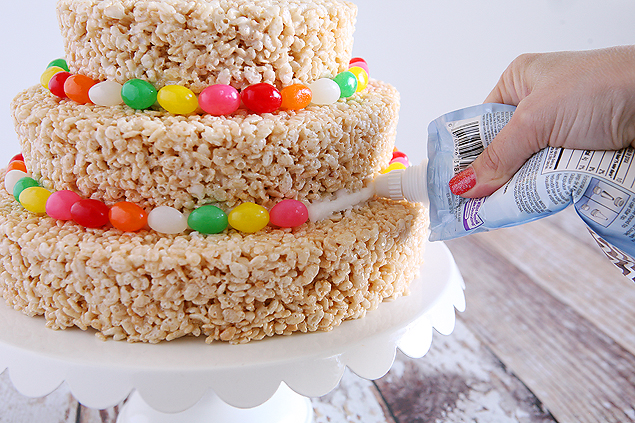
We used a pouch of pre-made icing to stick our Jelly Beans onto our cake. You could use any type of candy or no candy at all, but we thought the Jelly Beans looked really cute and festive. Just put a thin line of icing in between the cake layers and slightly push the jelly beans in place.
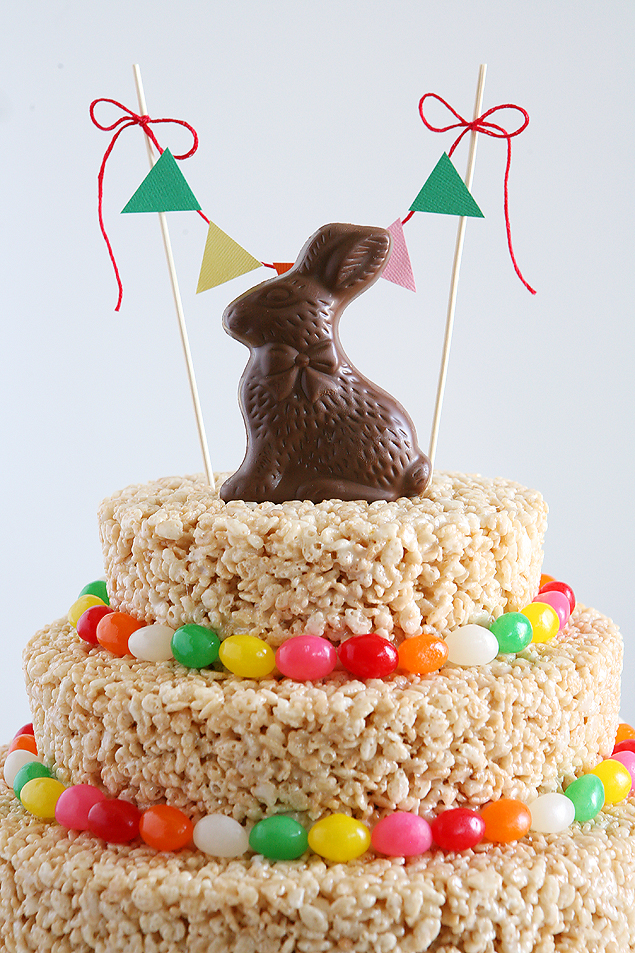
To decorate the top we used 2 wooden skewers and cut little triangle pennants out of cardstock. We glued the pennants to a piece of twine (or embroidery floss) with hot glue and then simply tied the ends to the two skewers. When your mini banner is all made just push the two skewers into the cake. We then added a chocolate Easter bunny to the top. We just pushed him down into the cake a little bit and added half of a skewer behind him to help stabilize it.
We are so happy with how cute it turned out and it was SO easy! I’m unfortunately no baker, but I can put together a 3 tiered Rice Krispies® Cake in about an hour! Wahoo!!
This cake is pretty large and will feed a big crowd of 40-50 people. If you are having a smaller gathering just leave off one of the cakes!
Visit the Rice Krispies® website HERE for lots more fun ideas and Rice Krispies® recipes! You can also follow along with them on Pinterest, Facebook and Twitter or using the hashtag #RiceKrispies.
I absolutely love this idea!! Hoping to pull this off for Easter Sunday!
So fun–thanks for sharing this!
I made the Easter bunny Rice Krispie cake and it turned out so cute! Thank you for all your great ideas over the years!
Yay!! Makes me so happy to hear that and thank you so much for your sweet comment!!