• About
  • Advertising
  • Contact
  • Meet the Team
  • Blog
    • Bloglovin
    • Facebook
    • Instagram
    • Pinterest
    • Twitter

Eighteen25

Create A Life You Love.

  • Home
  • Printables
  • DIY + Crafts
  • Holidays
  • Recipes
    • All Recipes
    • appetizers
    • salads/side dishes
    • main dishes
    • Desserts
  • Misc.

Easter Bunny Ears Napkin Rings

Mar42015 posted by Landee 5 Comments

So happy to have our friend Landee from Landeelu back today sharing another adorable project! 
____________________________________

Hi! It’s Landee from landeelu.com and I’m so happy to be back here with my besties, the eighteen25 girls, to share with you a cute and easy craft to add the perfect little touch to your Easter dinner table this year… Easter Bunny Ears Napkin Rings! I know, right?  How stinkin’ cute are these?

DIY Bunny Ears Napkin Rings | landeelu.com  Easy fabric bunny ear napkin rings to add a cute Easter touch to your table!
They don’t take much time and are so easy to make! If you would like to make some too, here is what you’ll need:
  • Fabric (assorted or all the same, whatever you’d like!) And you don’t need much.
  • Fusible Web (I found some EZ-Steam II sheets at Hobby Lobby)
  • Bunny ear pattern for fabric and fusible web, cut apart. Download HERE.
  • 26 Gauge wire (you can use thicker but this gauge worked and didn’t show through the fabric)
  • straight pins
  • fabric scissors
  • iron
DIY Bunny Ears Napkin Rings | landeelu.com  Easy fabric bunny ear napkin rings to add a cute Easter touch to your table!
STEP ONE: Pin two layers of fabric (wrong sides together) and the bunny ear pattern together and cut out. 

STEP TWO: Cut out fusible web with pattern for the fusible web piece and place between the two pieces of fabric as well as a piece of wire 7-8″ long. Follow the directions for how to use your fusible web. 

STEP THREE: Place other fabric piece on top and iron pieces together, making sure wire is running down center of pieces (again, follow the directions for your brand of fusible web here). 

STEP FOUR: Wrap around napkins and twist together to make your cute little bunny ears!
DIY Bunny Ears Napkin Rings | landeelu.com  Easy fabric bunny ear napkin rings to add a cute Easter touch to your table!

Just making these got me excited for spring to arrive! Happy Easter crafting!
_____________________________
Visit Landee at her Blog : Shop : Facebook : Pinterest : Instagram
and check out these other great projects of hers…

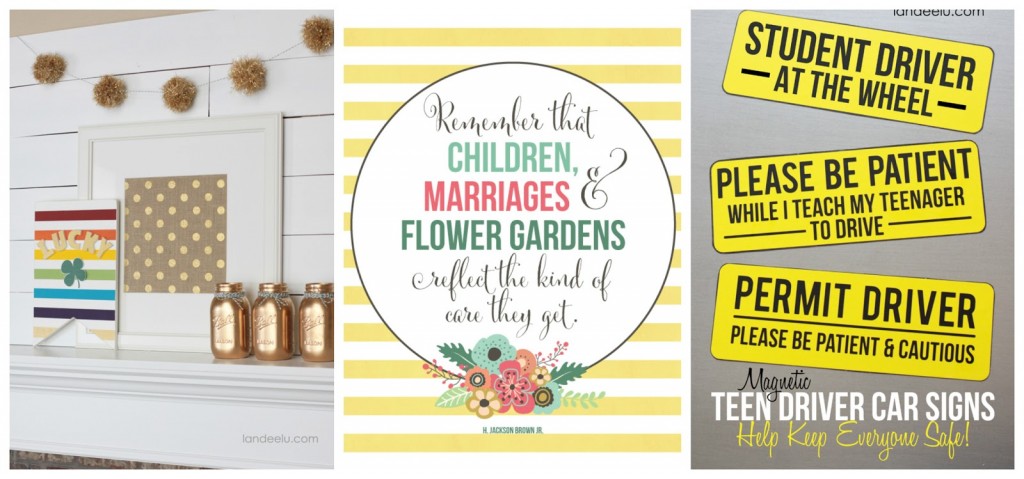
St. Patrick’s Day Mantel | Family Care Printable | Teen Driver Car Signs

  • Bio
  • Twitter
  • Facebook
  • Google+
  • Pinterest
  • Latest Posts
Landee

Landee

Hi! I'm Landee. I blog at landeelu.com (aka Landee See, Landee Do). I love squeezing inspiration out of anything and everything as I try to make my little corner of the world a little bit prettier and personal. I love a good craft, DIY project and printable almost as much as I love a good cookie! I'm also a firm believer in happy. Come on by for a visit!
Landee

@landeelu

Landee
Landee

+Landee

Landee

Landee

Landee

Latest posts by Landee (see all)

  • Ghosts In A Jar Halloween Craft - September 7, 2019
  • Halloween Slime for Kids - September 2, 2017
  • BOO Wall Hanging - September 1, 2016


5 Comments

« Easy Spring Floral Decor
So Lucky St. Patrick’s Day Tags »

Comments

  1. Amy {The Idea Room} says

    March 4, 2015 at 5:23 pm

    Absolutely Adorable!!!

    Reply
  2. bookette says

    March 4, 2015 at 7:23 pm

    the bunny ear pattern is coming out too big for letter-size paper. I've tried everything I can think of to get it to fit on the page, but it just won't. can someone troubleshoot this?

    Reply
    • Jen says

      March 5, 2015 at 1:04 am

      Not sure why it's doing that bookette. Click on it again. Then download and save it to your computer and then print. I added it to our download service, so now it should work fine. Let me know if you still have any problems. 🙂

      Reply
  3. satsuma says

    March 8, 2015 at 1:19 am

    These are adorable!! I want to use them at a birthday party. So fun. Thanks for the inspiration! jen @ http://www.satsumadesigns.com

    Reply
  4. Grace says

    March 26, 2016 at 5:56 am

    Question:
    Do you place the wire between the fusible web and the fabric, or on top of the fusible web?

    Reply

Leave a Reply Cancel reply

Your email address will not be published. Required fields are marked *

This site uses Akismet to reduce spam. Learn how your comment data is processed.

welcome!

We are Jodie & Jen, born & raised in Vegas, in a little brick house. The number hammered onto our mailbox was 1825. Visit us often & be inspired to create a life you love. Read More…

  • Bloglovin
  • Facebook
  • Instagram
  • Pinterest
  • Twitter

Subscribe by Email

Get our latest & greatest posts straight to your inbox.

featured posts

Bird Feeders
Instant Pot BBQ Chicken Sliders
Free Printable Watercolor Notebook Covers
DIY Disney Ideas
Disney Trip Fun Bags
Printable Recipe Binder

eighteen25 loves

Disney banner 350

Privacy Policy

stay updated on latest
posts on Facebook

The Girls at Eighteen25
  • Bloglovin
  • Facebook
  • Instagram
  • Pinterest
  • Twitter

Copyright © 2025 · All rights reserved · Site by Melissa Rose Design