• About
  • Advertising
  • Contact
  • Meet the Team
  • Blog
    • Bloglovin
    • Facebook
    • Instagram
    • Pinterest
    • Twitter

Eighteen25

Create A Life You Love.

  • Home
  • Printables
  • DIY + Crafts
  • Holidays
  • Recipes
    • All Recipes
    • appetizers
    • salads/side dishes
    • main dishes
    • Desserts
  • Misc.

DIY Stamped Halloween Treat Bags

Sep72013 posted by Jamie 6 Comments

Hey there Eighteen25 readers!  I’m Rebecca from The Crafted Sparrow, and I am beyond thrilled to be here today!  A huge thanks to the three of the sweetest blogging sisters around for having me.


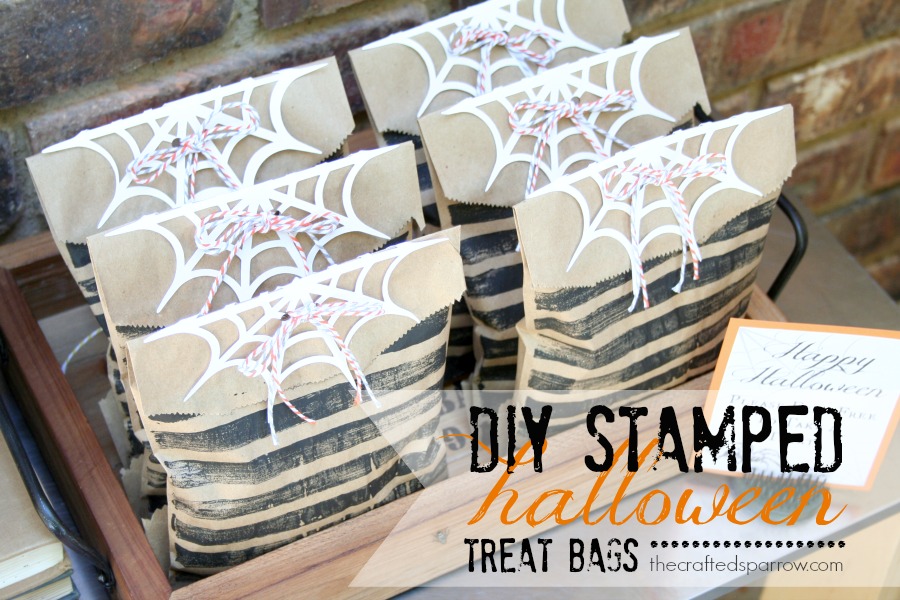
Today I’m sharing these cute & simple DIY Stamped Halloween Treat Bags.  I love to put a personal touch on packaging whenever I get the chance, and Halloween is no exception.  A while back I had a sweet friend in Utah pick me up a gazillion of these 6 x 9″ brown paper goodie bags for products I make.  Needless to say I use them for lots of things since I have so many.  They are actually perfect, they are pretty much a blank canvas for me to get creative with.  Here’s what you will need for this project:

–  Brown Paper Bags {either flat kraft bags or lunch sacks will do}

–  DIY Foam Stamp as wide as your bag {go HERE for instructions on how to make one}

–  Americana Acrylic Paint {Ebony Black}

–  Foam Brush

–  Bakers Twine

–  White Cardstock Spider Webs {made using a Silhouette cutting machine}

–  Hole Punch

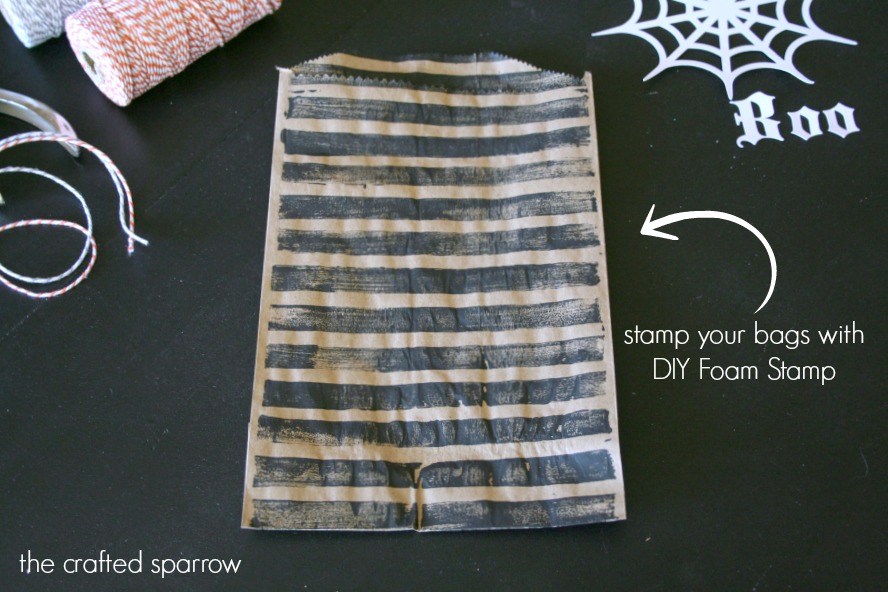
After you have used the tutorial for making a DIY Foam Stamp that I put above in the supply list and made your stamp, you will need to brush acrylic paint on all your striped foam pieces.  Then align it with your bag and press firmly, you won’t get a super solid line…it will usually be distressed looking like mine.  You can stamp both sides if you want, or just one side.  Totally up to you.

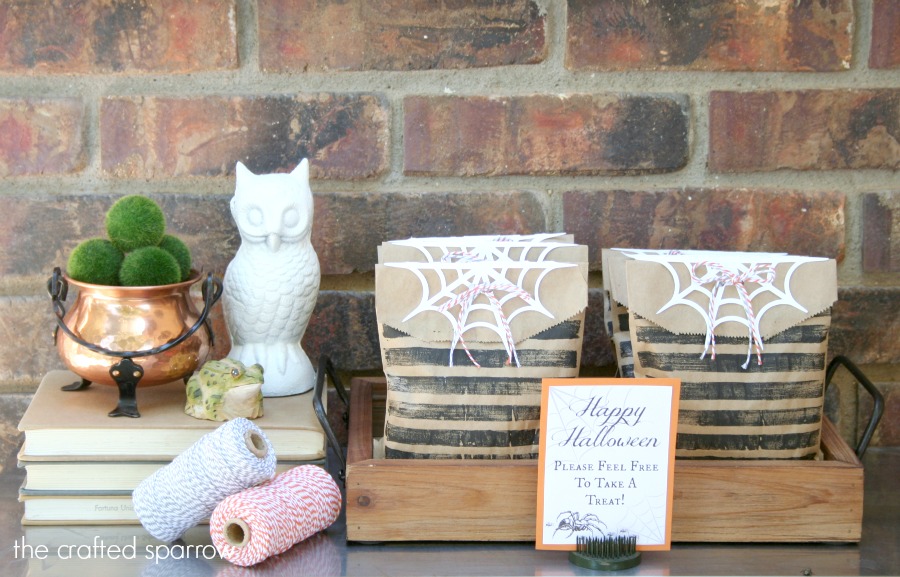
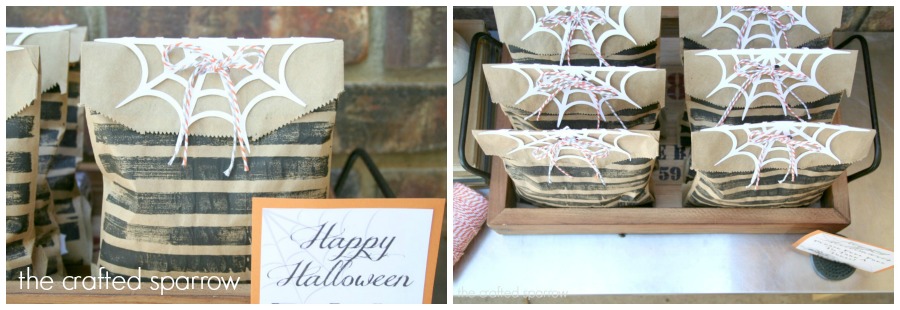
While your bags are drying get to your favorite cutting machine and cut out some super cute spiderwebs on white cardstock.  I used my Silhouette machine, my spiderwebs are 5.5″ in diameter since my bag is 6″ wide.  I also used my machine to cut some fun spooky letters out for the front of the bag.  I just used a good old fashioned glue stick to glue my “Boo” letters on my bag.

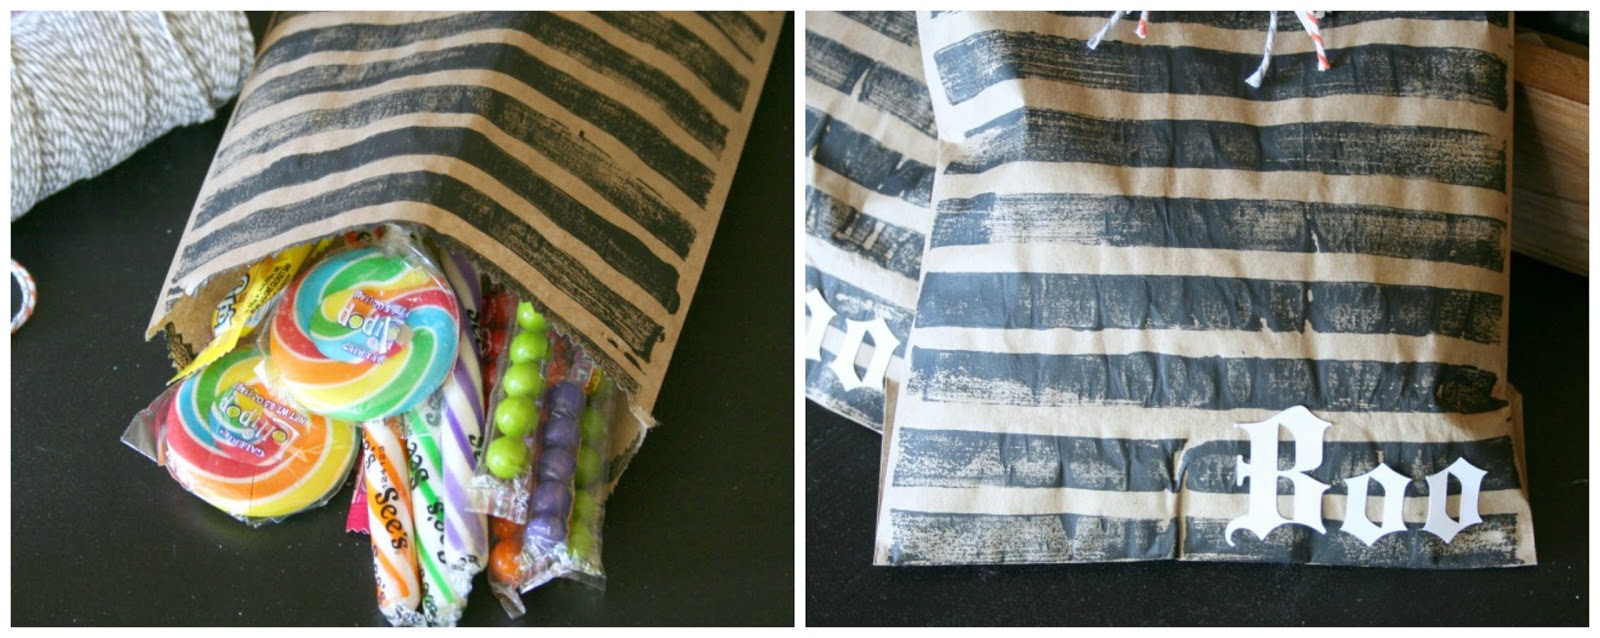
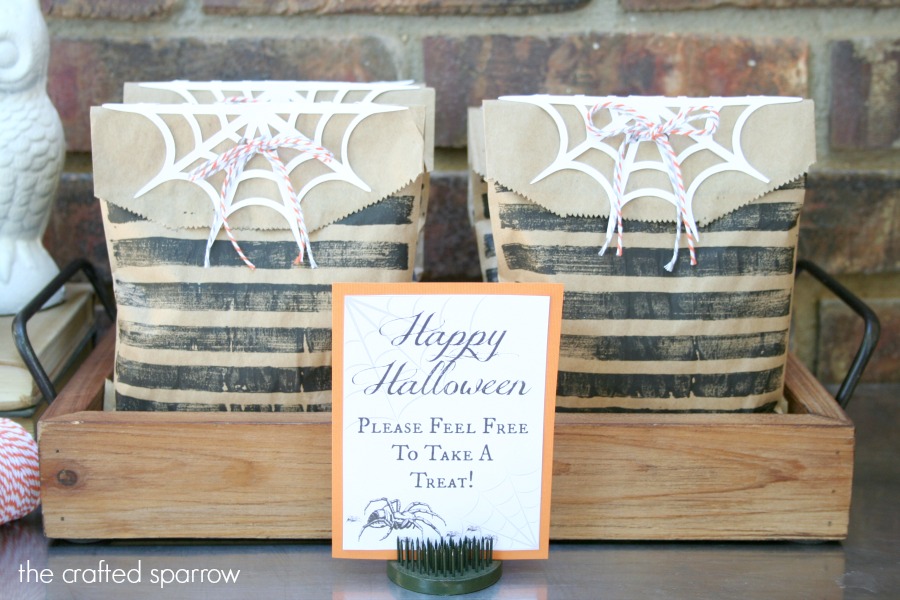
Then I just filled my bags with delicious Halloween goodies.  Fold over the top of your kraft bag, I left the back of my bag blank so there was a contrast when I folded it over.  Now add your spiderweb by folding it in half over the top of the bag.  Hole punch two holes in the center of your spiderweb, then add your cute bakers twine and tie a simple bow.  You can use ribbon too.

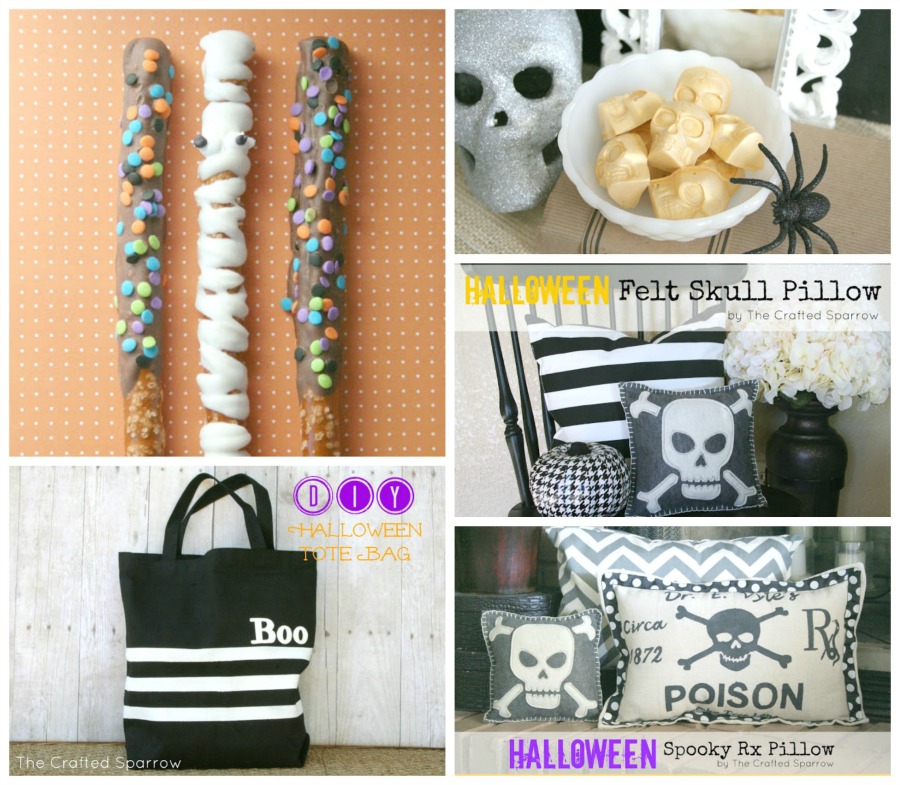
I hope you will stop by and check out some of my other past Halloween projects.

Mummy Pretzels >> Gold Skull Candy >> Felt Skull Pillow
Halloween Tote Bag >> Spooky Rx Pillow

Visit Rebecca on her Blog : Facebook : Pinterest : Twitter : Instagram
___________________________
this post is sponsored by:
  • Bio
  • Latest Posts
Jamie

Jamie

Jamie

Latest posts by Jamie (see all)

  • Bird Feeders - May 24, 2019
  • [2014 WISHlists] Jamie’s List - December 12, 2014
  • Avery Custom Photo Gift Tags - December 2, 2014


6 Comments

« Flannel Halloween Face Pillows
Caramel & White Chocolate Apple Eyes »

Comments

  1. juli (sweetpz) says

    September 7, 2013 at 11:22 pm

    Fantastic ideas!! thanks for sharing =)

    Reply
  2. Capturing Joy with Kristen Duke says

    September 8, 2013 at 12:20 am

    So cute and clever, love it, Rebecca!

    Reply
  3. Cristin Frank says

    September 8, 2013 at 10:10 pm

    These are really cute and inspiring. I just posted no-sew pumpkin craft tutorial if you want to check it out! http://eveofreduction.com/recycled-craft-no-sew-halloween-pumpkin/

    Reply
  4. Crystal says

    September 9, 2013 at 12:55 am

    Super cute!! Love the spider web on top of the bag. Love it!!

    Reply
  5. Debbie Peña says

    September 9, 2013 at 5:36 pm

    Very, very cute and so easy to do! 🙂

    Reply
  6. AKhilesh says

    September 27, 2013 at 12:05 pm

    Gud one…!!Keep posting

    Reply

Leave a Reply Cancel reply

Your email address will not be published. Required fields are marked *

This site uses Akismet to reduce spam. Learn how your comment data is processed.

welcome!

We are Jodie & Jen, born & raised in Vegas, in a little brick house. The number hammered onto our mailbox was 1825. Visit us often & be inspired to create a life you love. Read More…

  • Bloglovin
  • Facebook
  • Instagram
  • Pinterest
  • Twitter

Subscribe by Email

Get our latest & greatest posts straight to your inbox.

featured posts

Bird Feeders
Instant Pot BBQ Chicken Sliders
Free Printable Watercolor Notebook Covers
DIY Disney Ideas
Disney Trip Fun Bags
Printable Recipe Binder

eighteen25 loves

Disney banner 350

Privacy Policy

stay updated on latest
posts on Facebook

The Girls at Eighteen25
  • Bloglovin
  • Facebook
  • Instagram
  • Pinterest
  • Twitter

Copyright © 2025 · All rights reserved · Site by Melissa Rose Design