
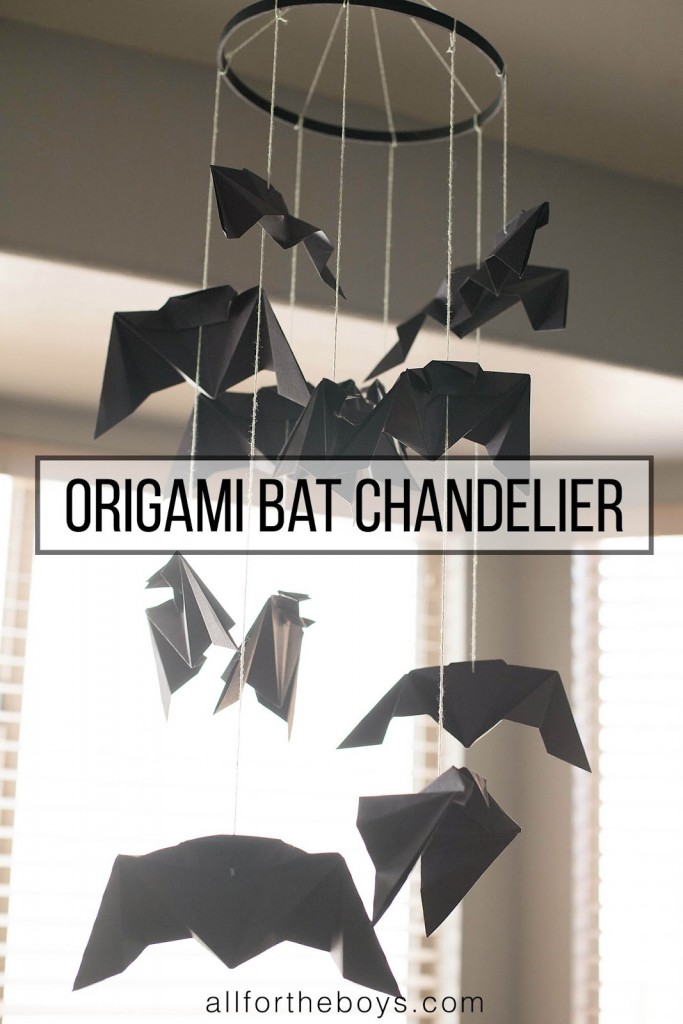
Hi! I’m Allison Waken from All for the Boys (girls welcome). We love Halloween and paper crafts so we really love it when we can mix the two. We made a flying paper bat last week but decided we wanted bats that looked a bit more like actual bats for our decoration.


This is one of those folding crafts that once you’ve done it a few times, you can do it in your sleep! I think I made these in 3rd grade for classroom decorations.
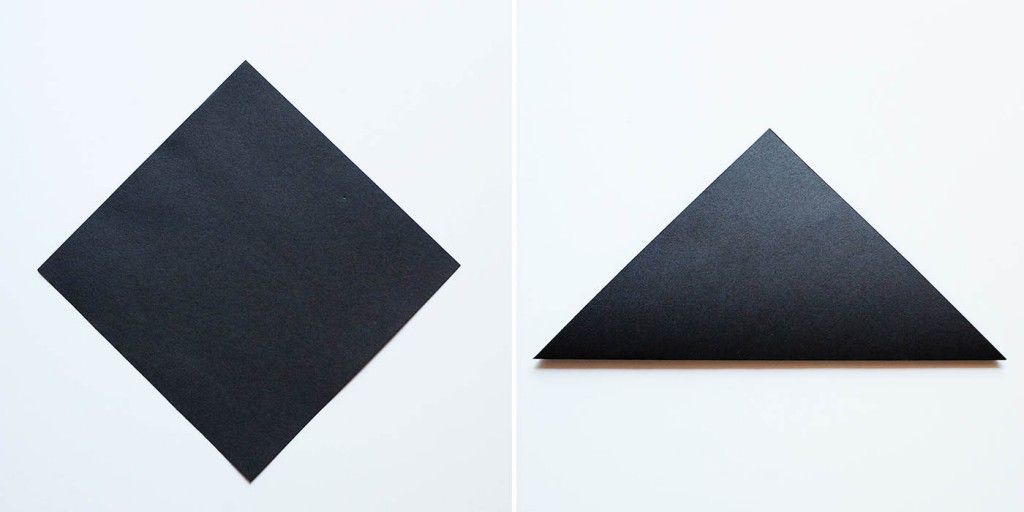
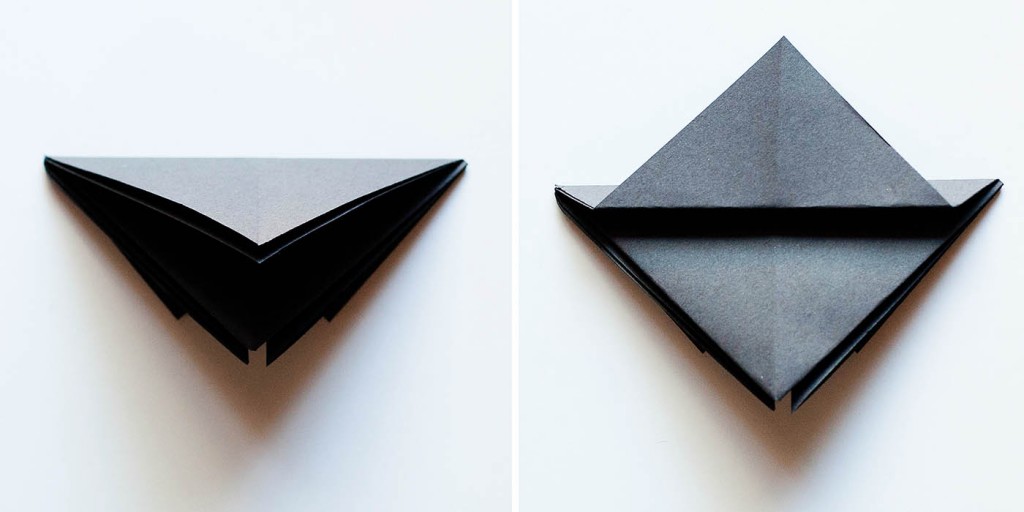
Start with a square sheet of paper (any size but probably not smaller than 6”x6” or so). Fold in half into a triangle shape.
Fold into another triangle (to crease) and then unfold.
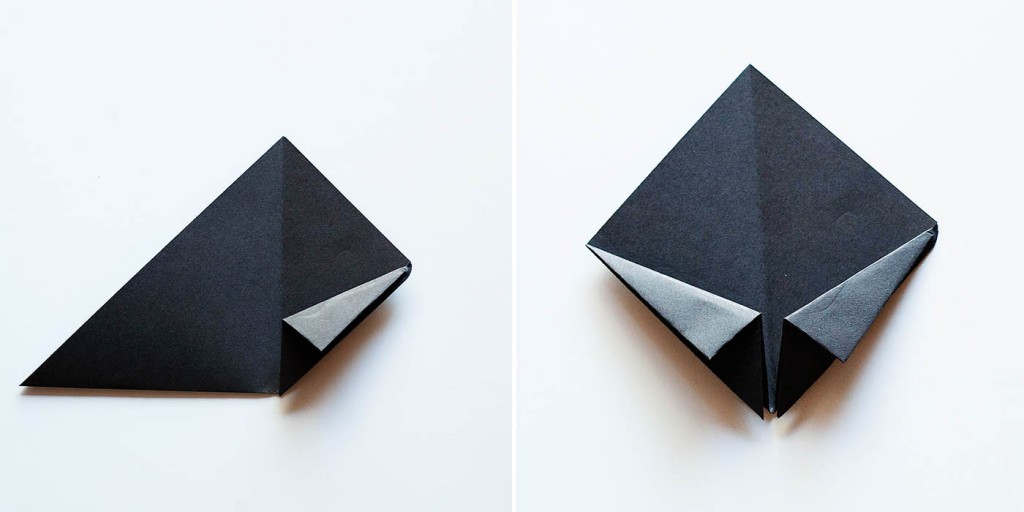
Take the bottom point and fold up to meet the top point. Then fold the same point down to the bottom.
Take the top edge where you just folded and take it to the outside edge (following the photo) repeat the last few steps for the other side.
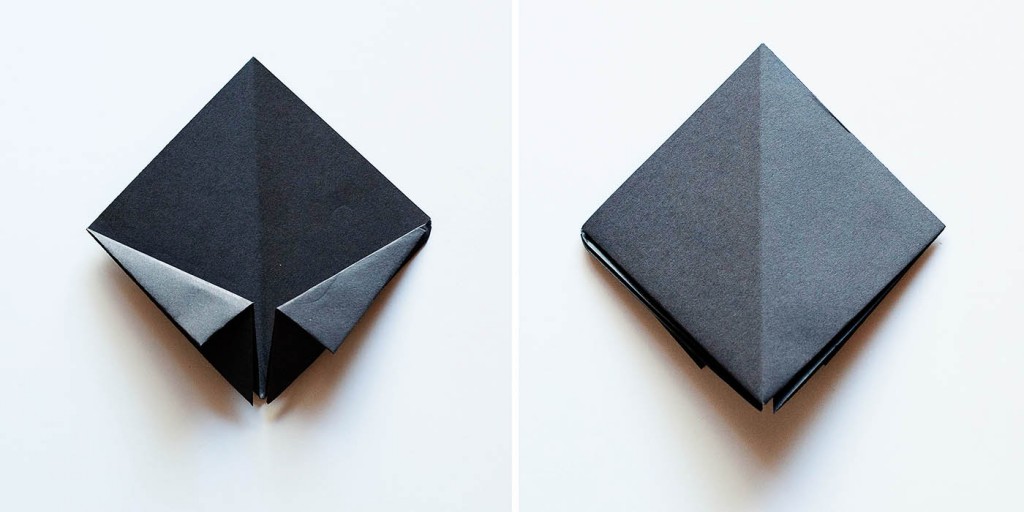
Turn over
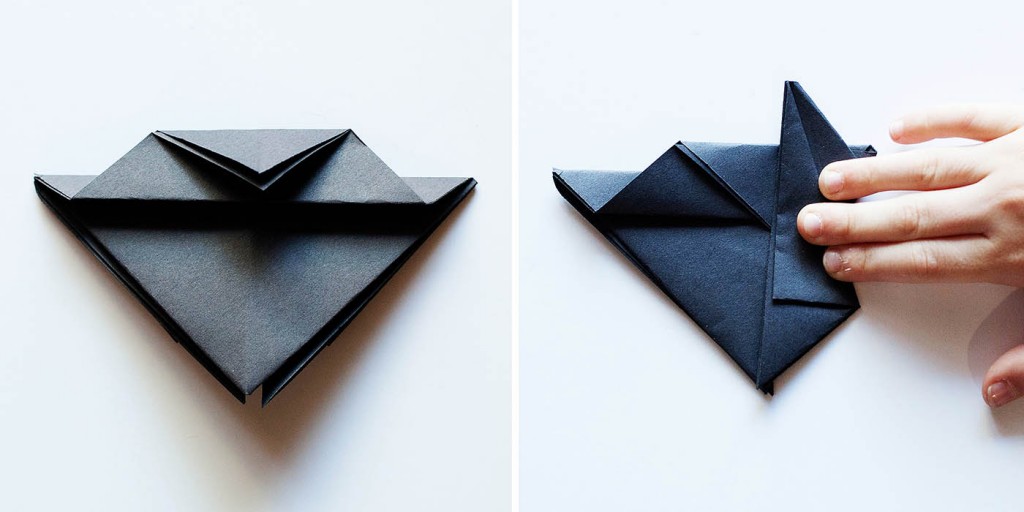
Take the top and fold it down to the bottom point. Then take the same point and fold up, but leaving about ¼” – ½” at the top (so there’s a triangle sticking out the top).
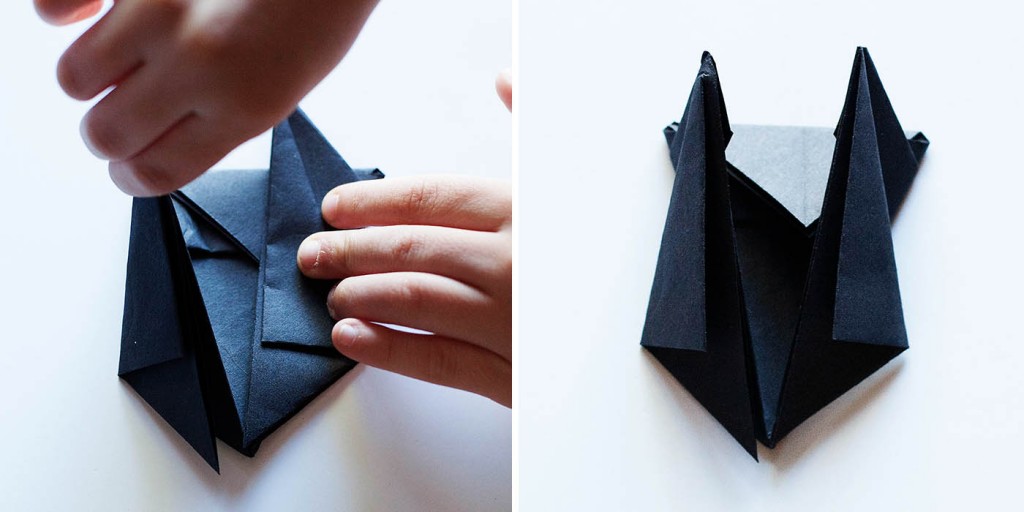
Now take the top tip and fold it down. Holding the outside corner fold it in towards the center and the back piece will sort of pop out.
Do the same to the other side creasing well.
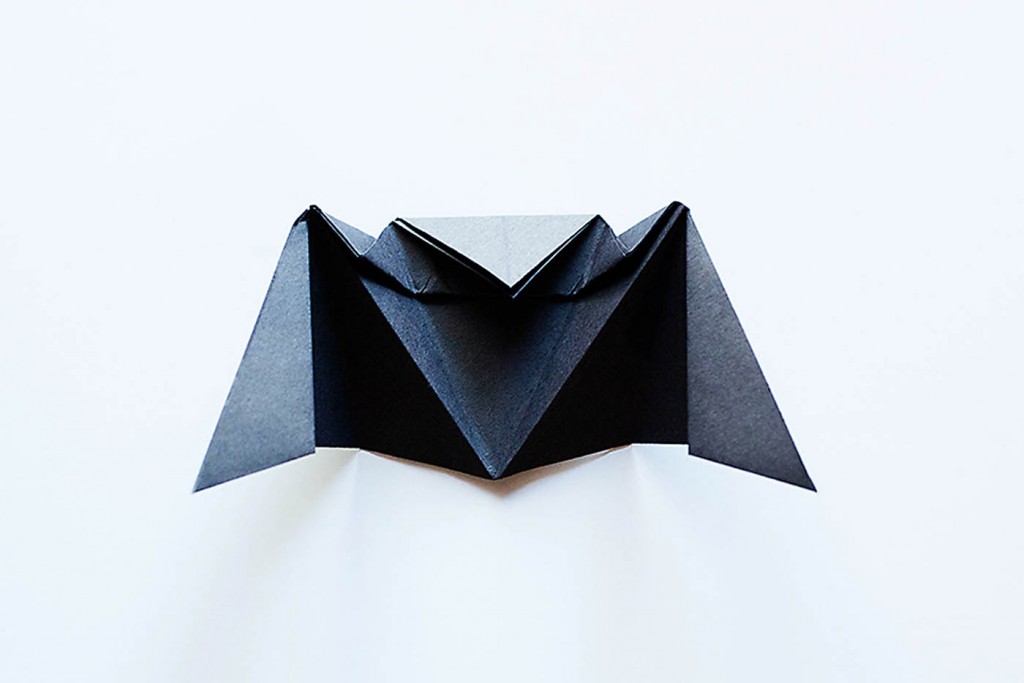
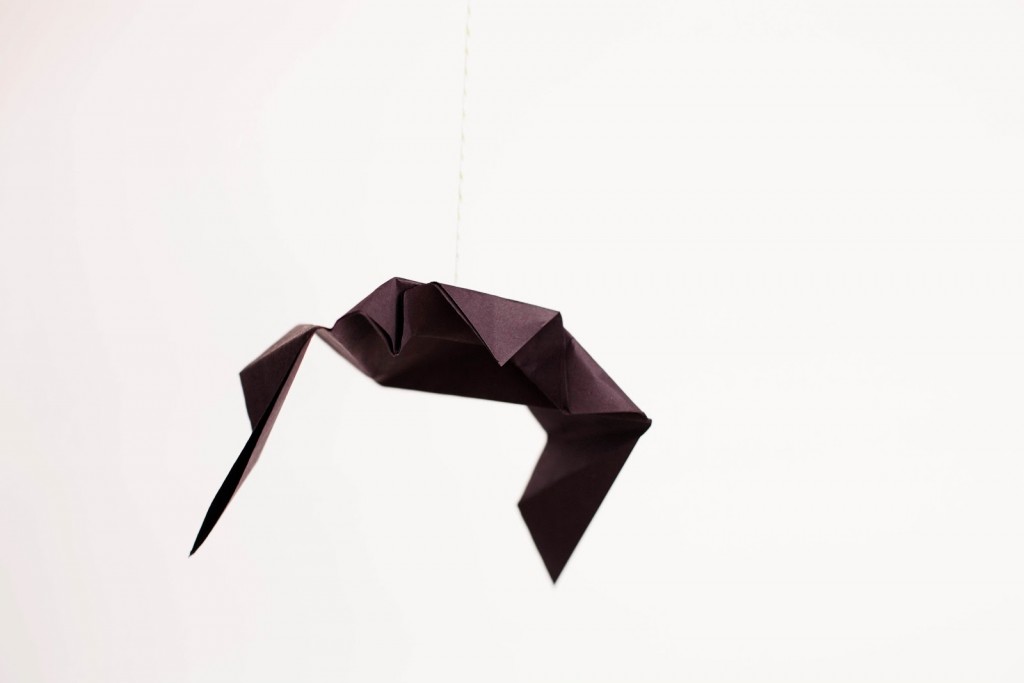
Unfold and reveal your bat!
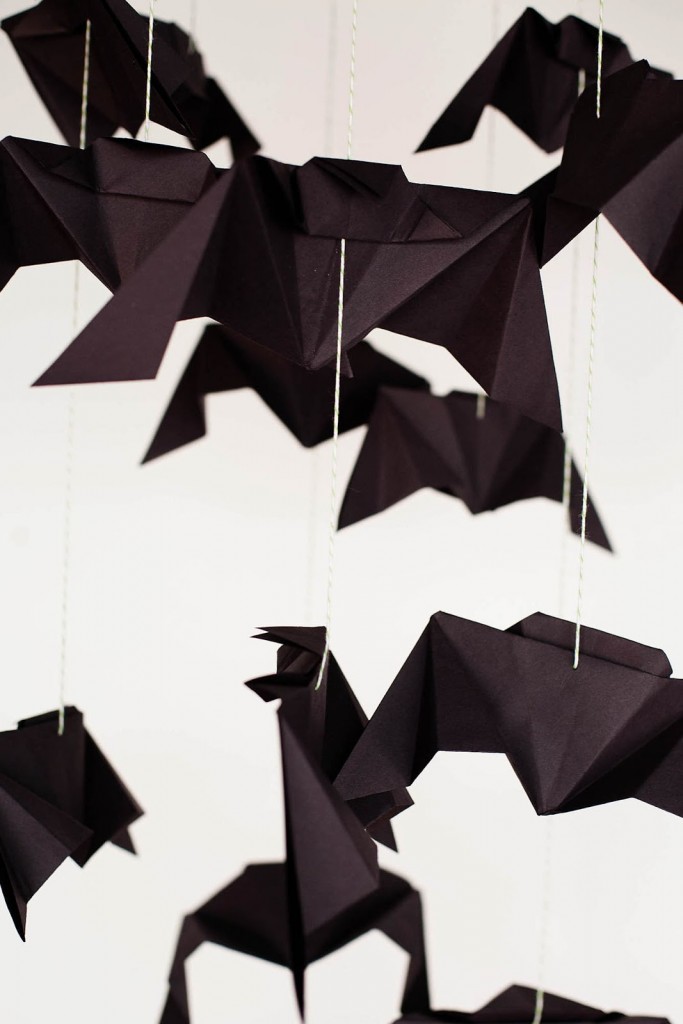
To make the chandelier we made 13 different sized bats.
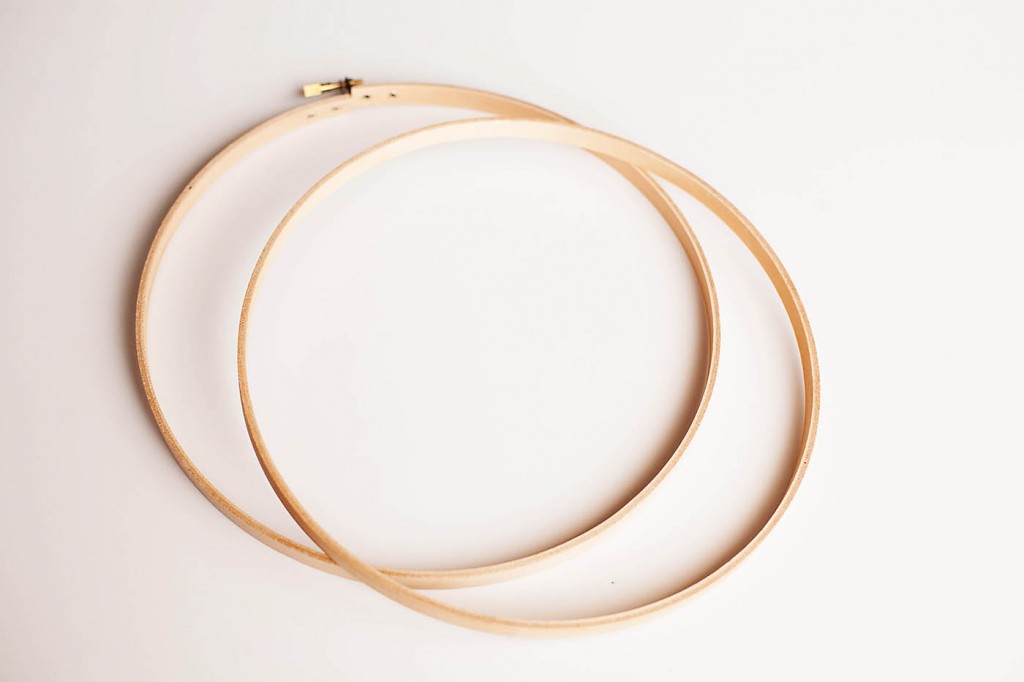
Use an embroidery hoop (or any sort of circle) for the frame of the chandelier. This one is 10”. Paint black.
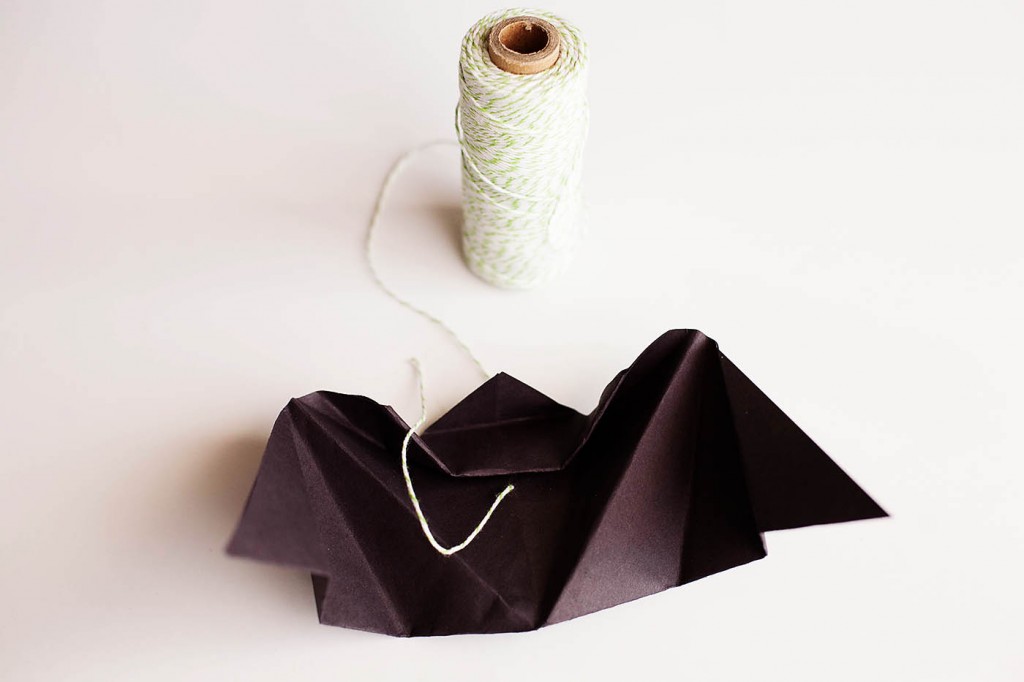
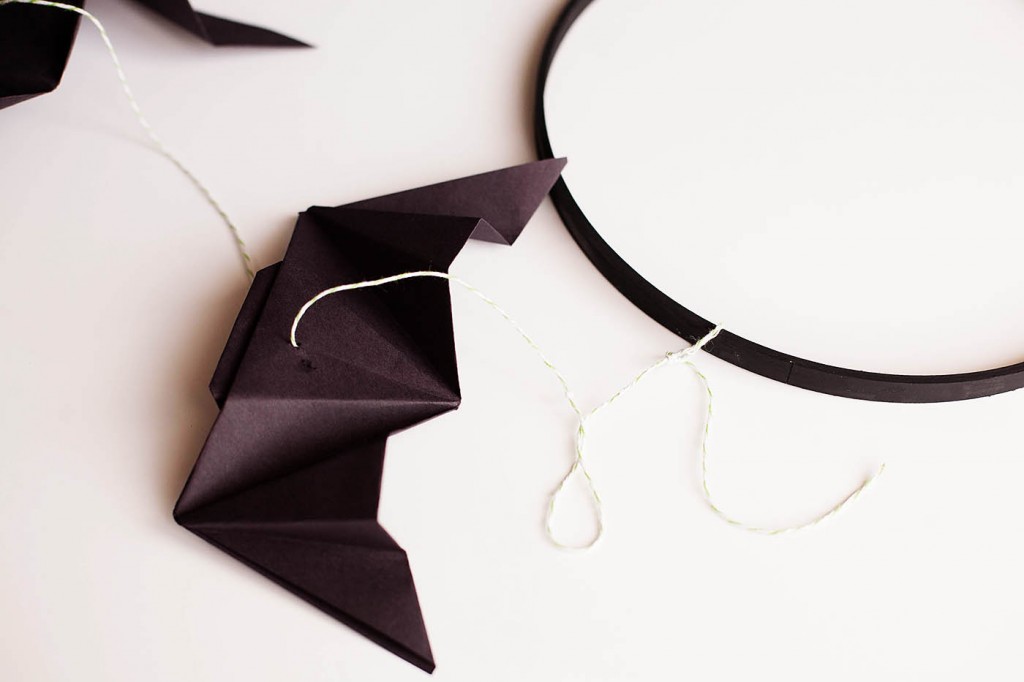
String the bats using string or clear fishing line. For these I poked a hole under the head so the knot would be hidden.
Tie the strings around the hoop.
Hang and enjoy!
Check us out for more Halloween (or everyday) fun!
Thank you so much to Eighteen25 for having us and for inspiring us all year!
Jamie
Latest posts by Jamie (see all)
- Bird Feeders - May 24, 2019
- [2014 WISHlists] Jamie’s List - December 12, 2014
- Avery Custom Photo Gift Tags - December 2, 2014
Love this idea, it looks great!
Nice and simple instructions! Thanks for posting 😀