Hey party people! I am Jessica and I blog over at Two Shades of Pink. I love all things that have to do with celebrating and try to blog about it. Parties, holidays, packaging, tablescapes…they all make my heart go pitter pat. I would absolutely love if you peeked in on me there to check out the fun DIY stuff I might be up to.
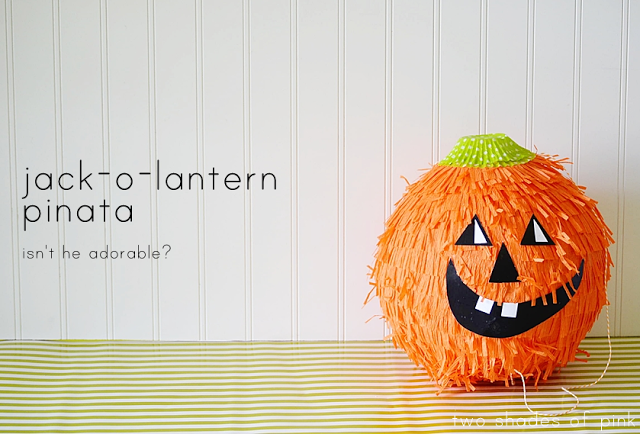
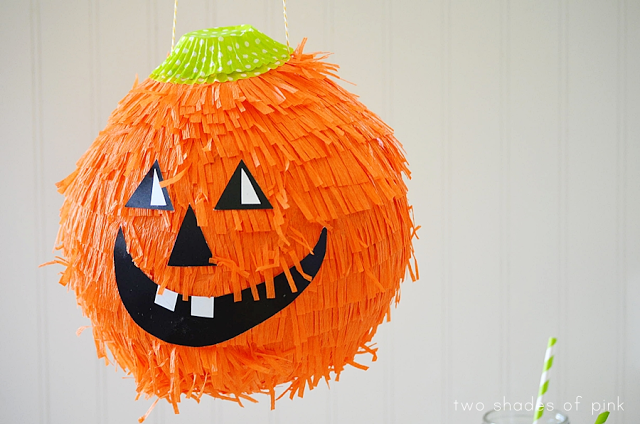
I have to say I am way pumped to be back again for the ever awesome Spooktacular! This is my third year and I am absolutely honored to be here. This time I decided to make this oh so cute jack o lantern pinata. Let’s call him Jack. I do. We have been hanging out so long that he is starting to look like a Wilson. Get it? But guess what? I have never made one before. I have done paper mache and I figured a balloon would work but the rest was me winging it. And I was surprised to find out that it’s really easy!
Here’s how I did it…trust me….
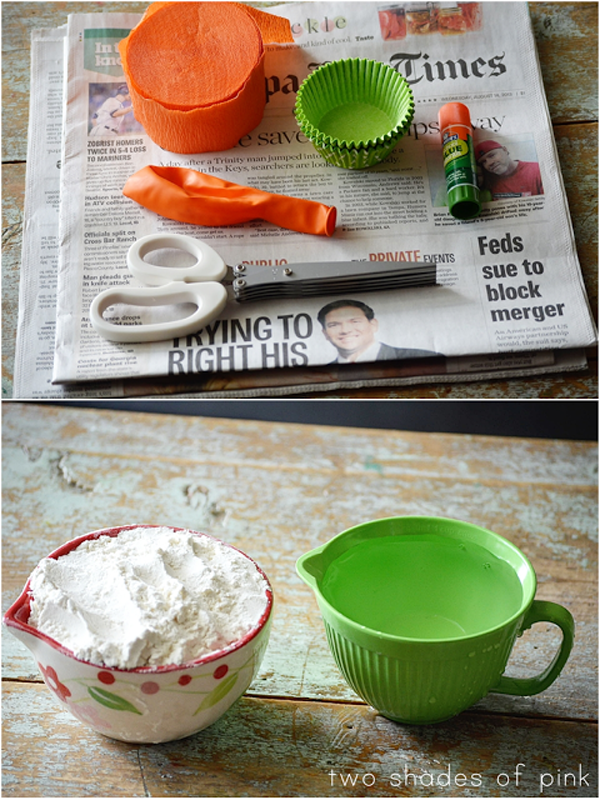
Supplies you need:
balloon, newspaper, glue stick, orange paper streamers, fringe making scissors (or regular scissors), and cupcake liners. Not pictured: masking tape
To make your paper mache just use equal parts water and flour. I used 1 cup each.
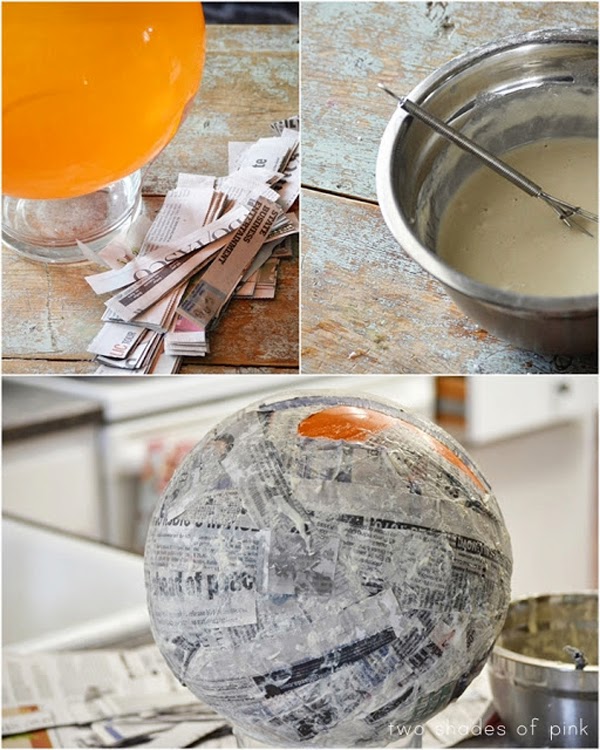
Cut like a gazillion 3 inch strips of newspaper.
Blow up your balloon and set it on something to stabilize it.
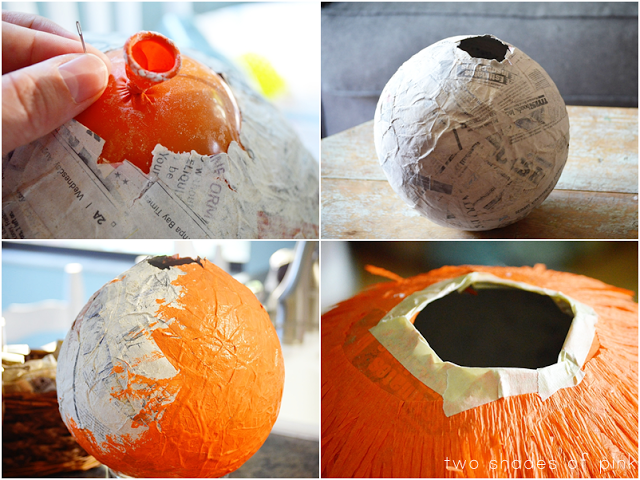
Dip strips of paper in the mixture and slide fingers down the strip to get the excess goo off.
(This gets messy so put down lots of newspaper and wear an apron to protect clothes)
I used about 3-4 layers doing this to make sure I made a good mold. This step is gooey but goes surprisingly fast. About 20 minutes.
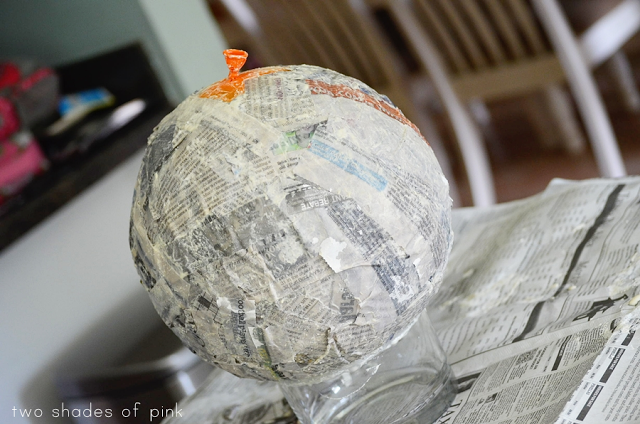
Leave an opening where you tied off the balloon and let dry for at least 24 hours. Make sure you rotate it around to be sure it dries completely. Since I had the time, I let it dry for two days. That made it perfect for me.
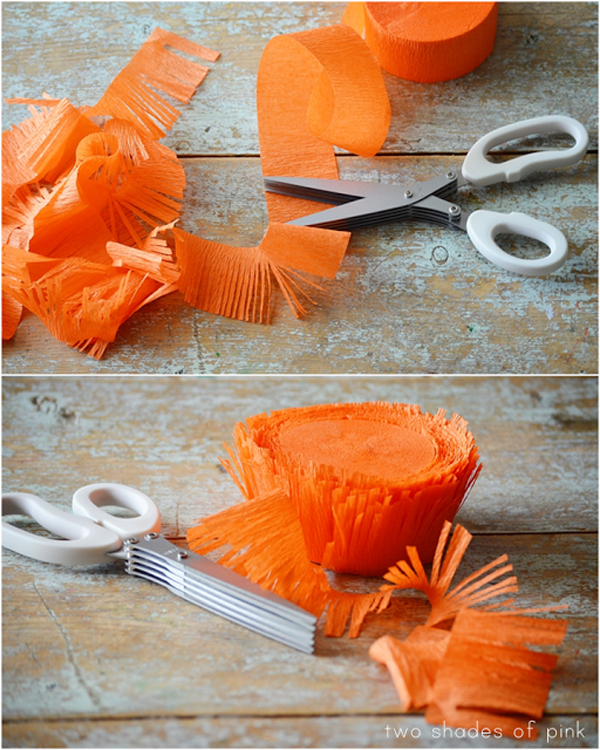
During the drying time…cut your streamers into some fringey goodness. If you don’t have these scissors, you can use regular scissors. These just cut out a lot of time. But I love these things and my OCD self has designated scissors for everything…paper, gift wrap, fabric…so having ones to make fringe?
It was destiny.
After your mold dries, pop your balloon with a pin and remove it.
I painted my mold orange but another option is to use your streamers as your last paper mache layer so it dries orange. I wish I would have done that instead.
Tape the top edges to make them more sturdy.
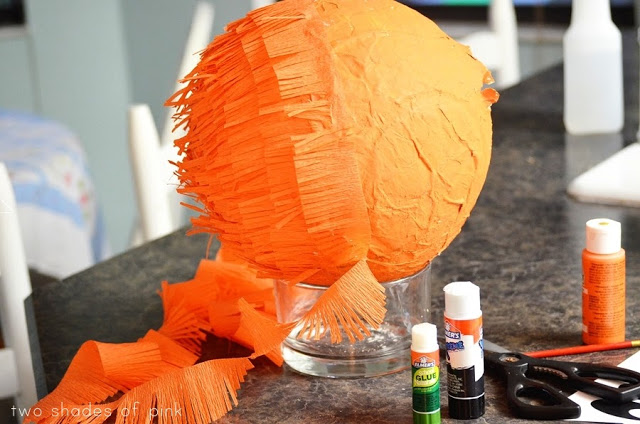
Now wrap your fringed streamers around your mold starting at the bottom. You can use a glue gun, glue stick or even more of the paper mache glue. I used a glue stick and it worked great and made it go super fast.
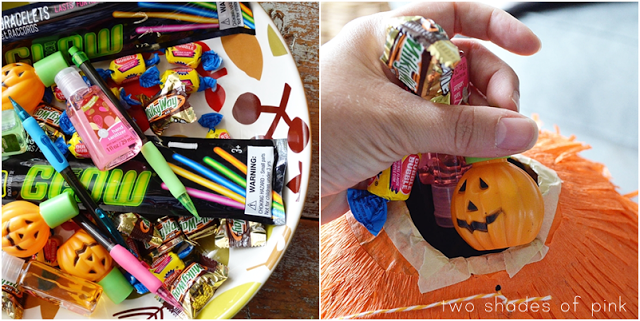
Stop when you get close to the top and then fill it with goodies. I put very little candy in mine since…you know…they will get the major hook up already when they trick or treat. So I added bubbles, pens, glow sticks, and hand sanitizer from the dollar tree.
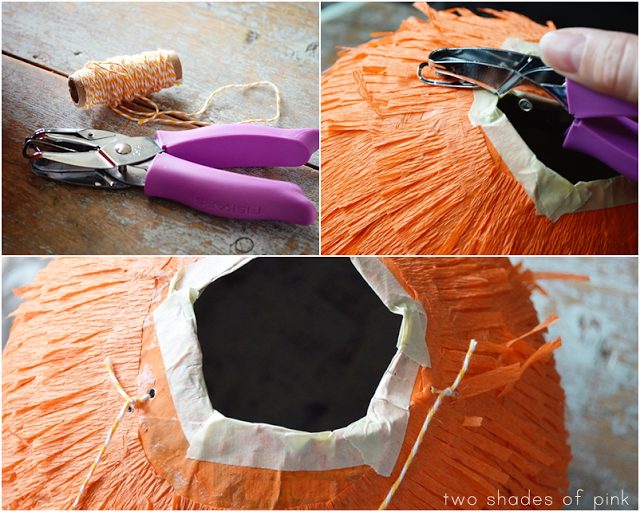
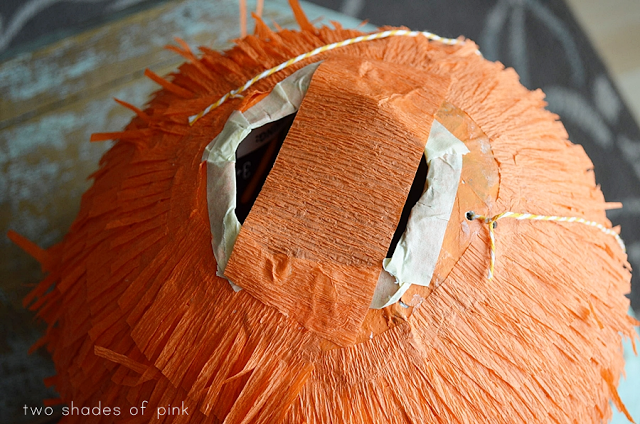
Poke 2 little holes on each side for hanging. I used orange twine. Other options fishing line, or ribbon.
Cover your hole with more crepe paper streamers and finish winding your fringe to the very top.
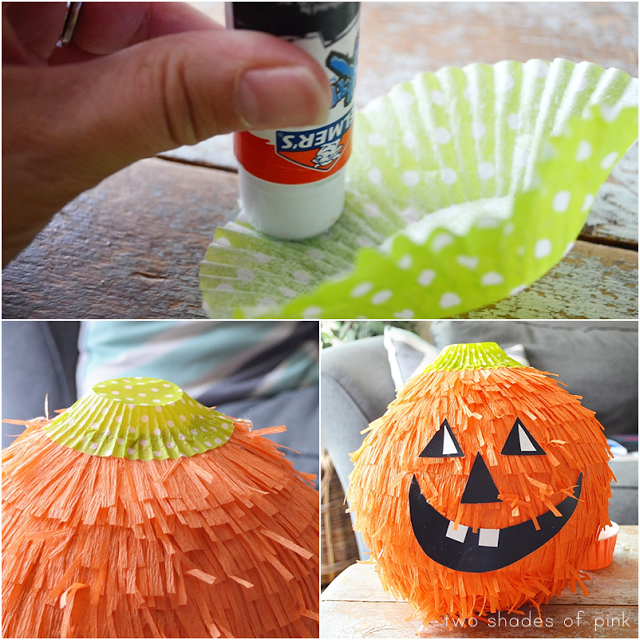
For the top I used two cupcake liners for the stem. At first, I was totally stuck on what to do for the stem part. Since my opening was at the top I didn’t want to use anything too heavy. I just used a glue stick on the edges and pressed the edges down around the top. Then I added one more on top of that one to give it a little bit more height. It looks like a little beanie but I adore it.
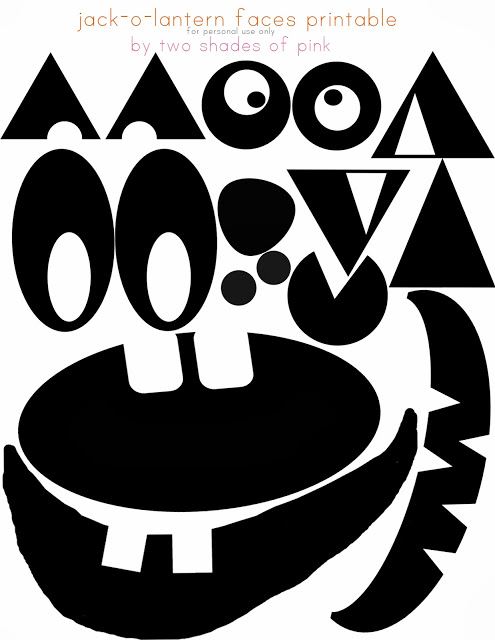
click here to print
Add a sweet little face with this fun printable I made for you. I wanted mine to look jolly.
A jolly jack-o-lantern. Yeah.
Now hang it and when the 31st rolls around, whack that thing until it rains candy!
Thank you so much Jen, Jamie, and Jodie. You girls are awesome and I so appreciate you hosting this every year.
And thanks to all of you who took the time to check out Jack here and spending time with me today.
P.S. Check out my other projects from previous spectacular spooktaculars! (Say that three times super fast)
2012
2011
______________________
this post is sponsored by:


This is SO cute! I want to make one!
Awesome pinata!! Thanks for the tutorial, Jessica! I made a pinata for a birthday party this summer (using cardboard, not paper mache) and I spent so much time on it that it was a little sad to see it get whacked to pieces. 🙂
Yep, he is stinkin' adorable! The thing I love the most about this pinata is that he looks vintage, like a retro Halloween design, which is my favorite!!
I featured one of your images on my website here: http://www.betterbeedaily.com/around-the-beehive-9-23-13
Thanks for the idea. It will be great for the kids I nanny for. they'll love breaking it just as much as they love making it!
SOOOO adorable!!