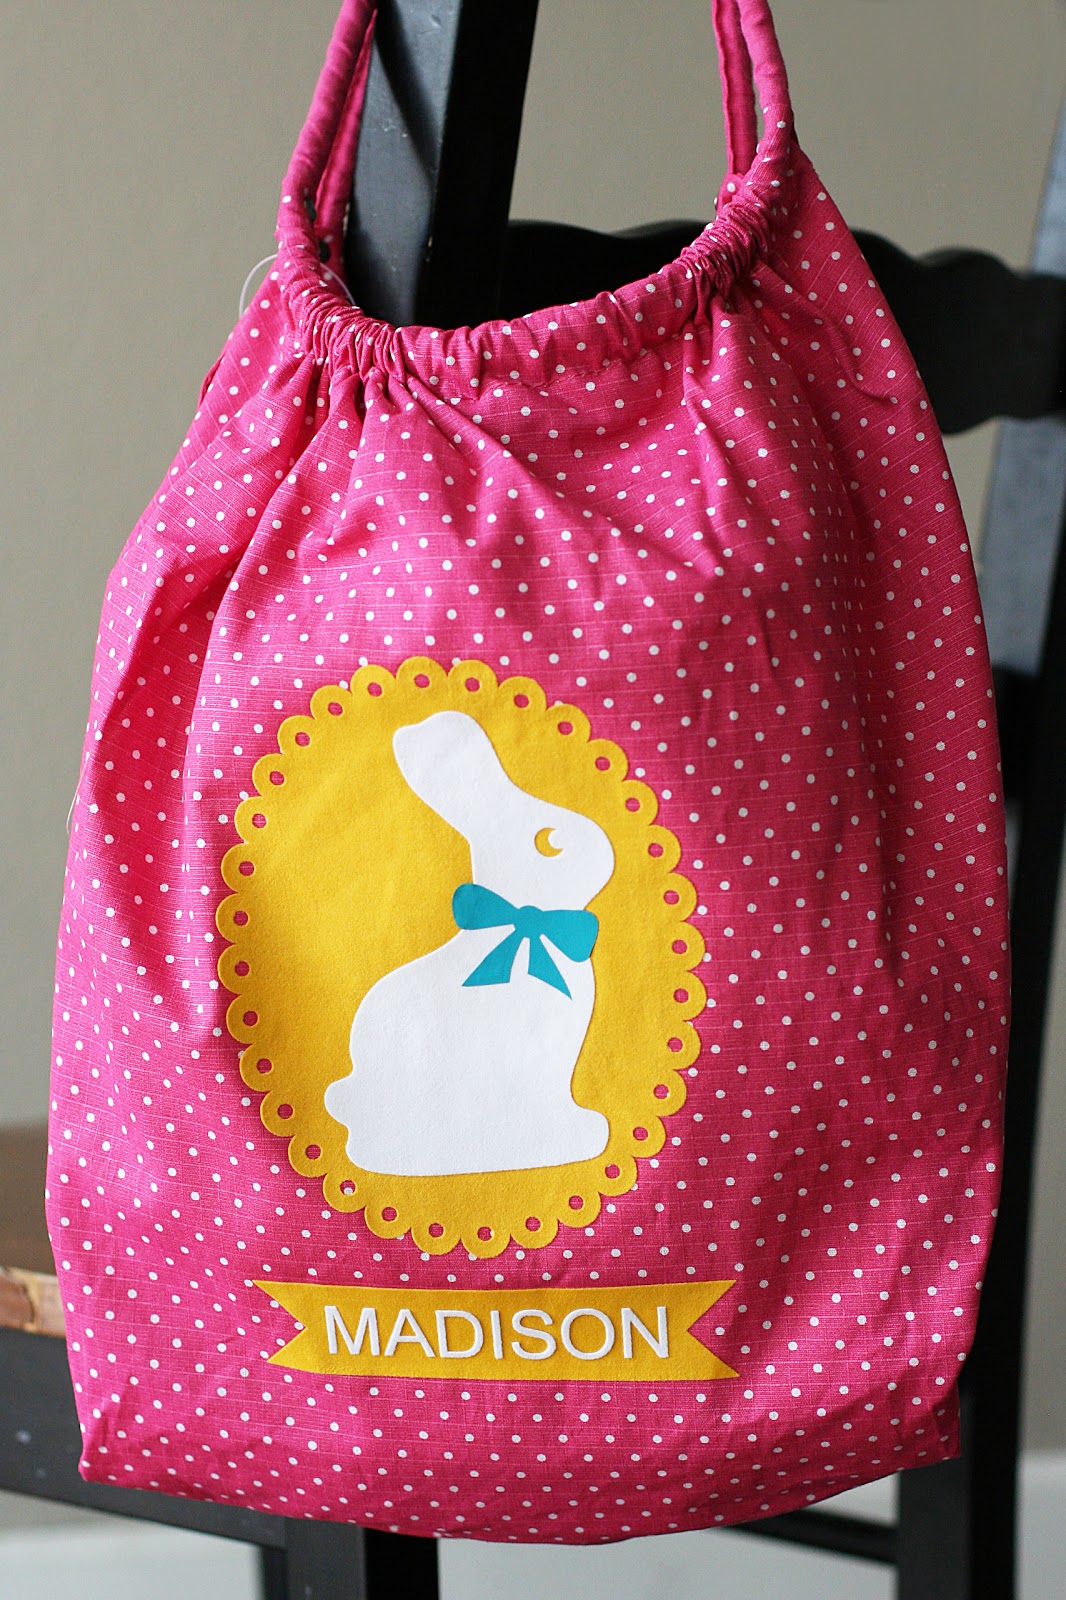
My (tween) daughter is getting a little too old for the traditional Easter basket, so I thought I would make her something a bit more grown up, but not too grown up, something in between.
I just needed a bag and the Silhouette heat transfer helped me add that extra bit of cuteness I was looking for. And how fun is it that you can layer the different colors? (it was pretty easy too)
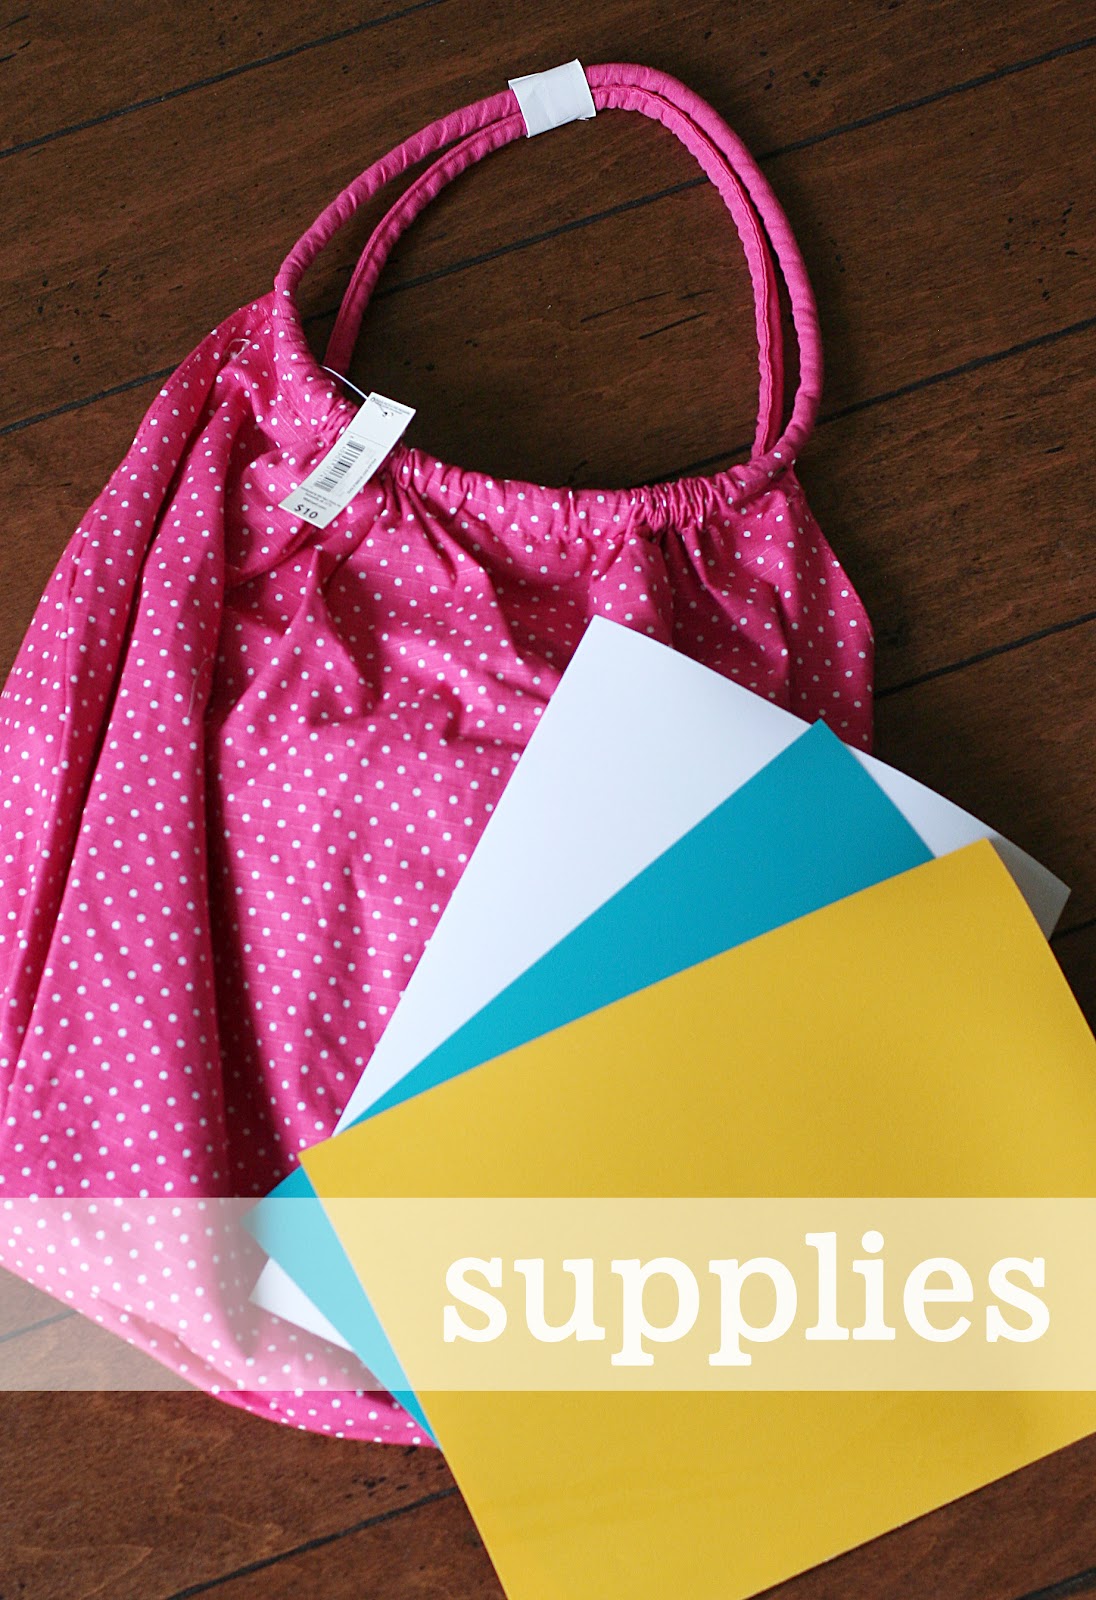
Supplies:
• BAG (found mine at wal-mart, but recently saw some really cute striped ones at forever 21)
• SMOOTH HEAT TRANSFER in teal
• FLOCKED HEAT TRANSFER in yellow and white
• SHAPES FROM THE SILHOUETTE ONLINE STORE: 6 Banner Set… 4 Scalloped Shapes… Chocolate Bunny
• FONT: Arial
What you’re going to do:
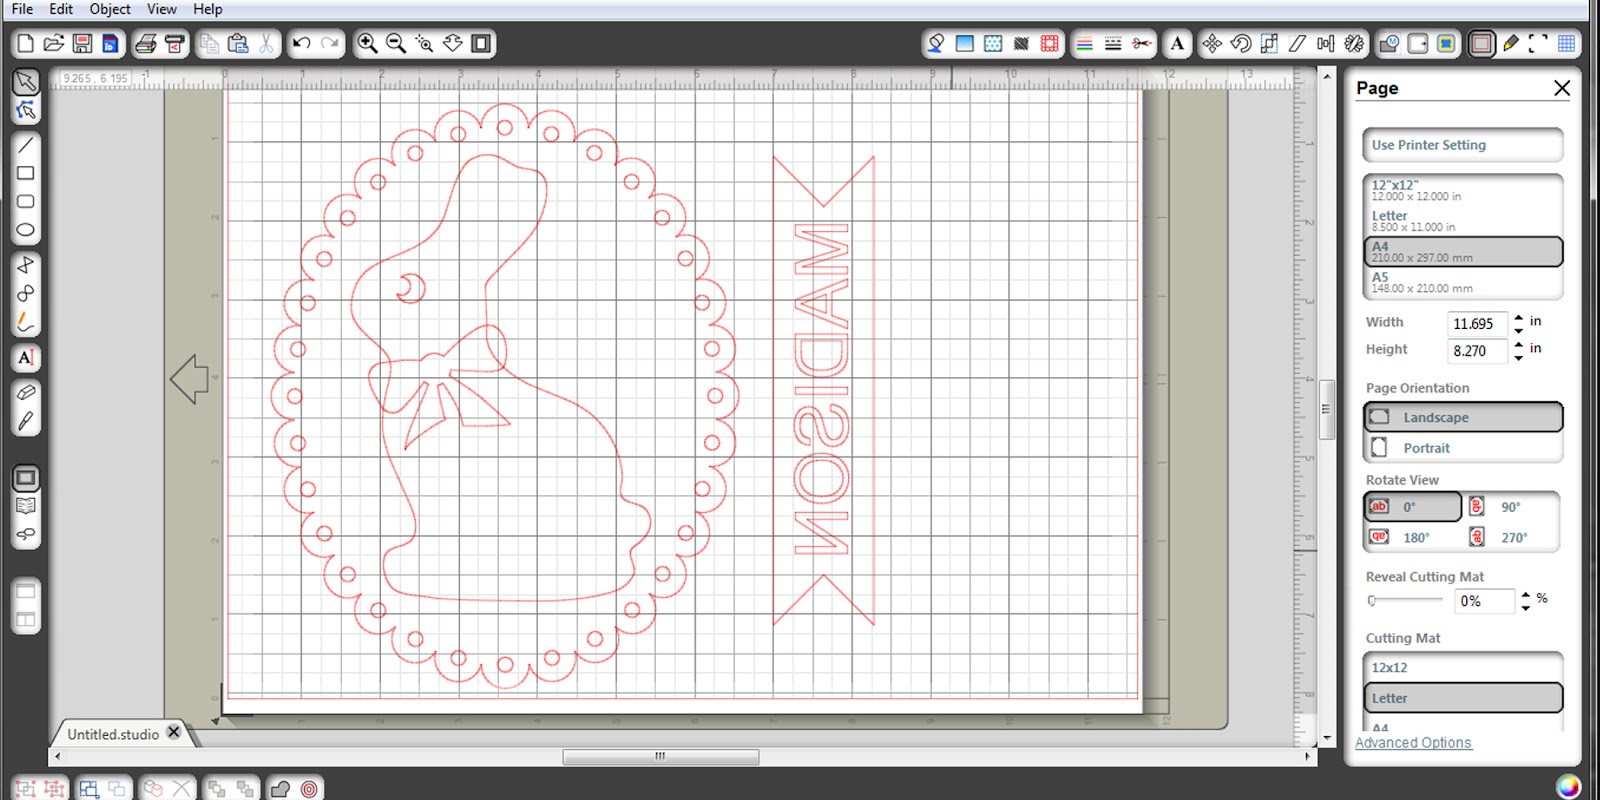
• Open all of your shapes in the Silhouette Studio®. Ungroup and delete the shapes in each set that you don’t need. Arrange the ones you do need just the way you want them. (My scalloped oval ended up being about 6″x7.5″ and the banner is the same size as when I opened it)
• Flip everything horizontally (or vertically if you’re name is going in the same direction as mine)
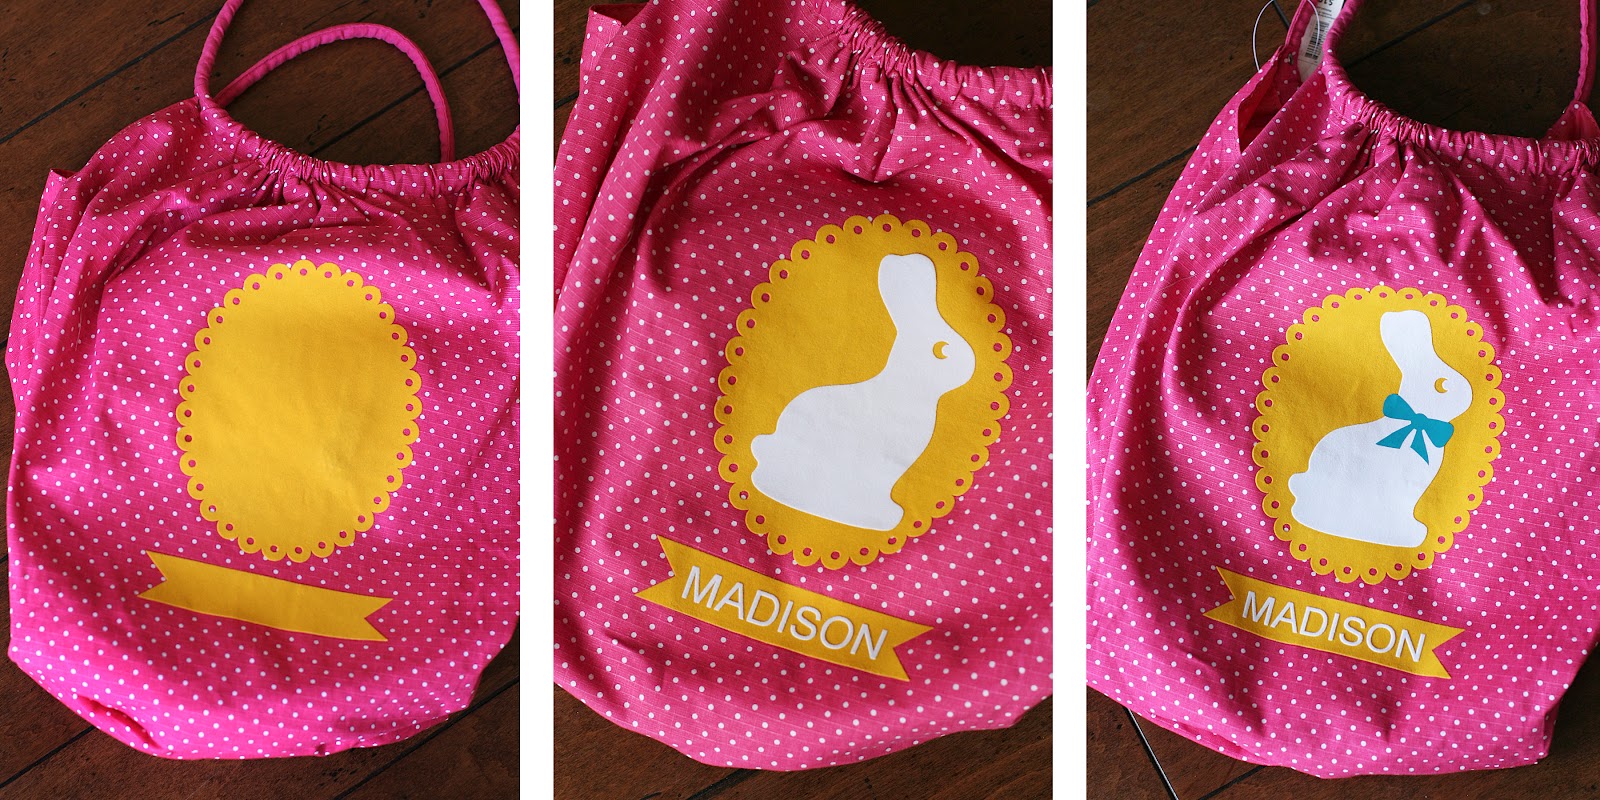
• Starting with the yellow Heat Transfer, you’re going to delete everything on your screen except for the scalloped oval and the banner. Then cut it out.
• Now undo all of your deleting (so all of your shapes are back in place) and delete everything except for the bunny and the name. Cut that out using the white Heat Transfer.
• Do the same thing leaving just the bow and cut that out with the teal Heat Transfer.
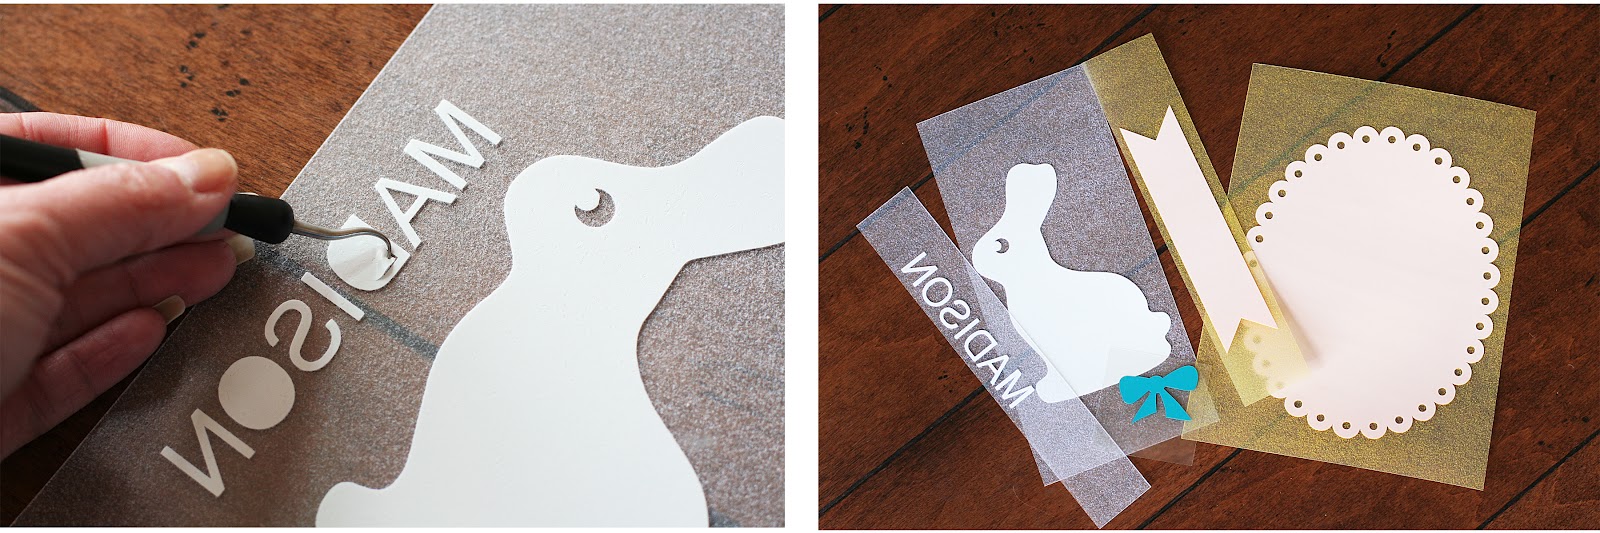
• Pull the excess material off of the clear plastic transfer sheet, leaving just your image.
• Iron each piece onto the bag. Starting with the yellow, then the white and then the teal. (we’ve found it works best if you hold the iron on real good and then let cool before trying to remove the plastic sheet)
Now we just wait for the Easter Bunny to come and fill it up!
. . . . . .
**WE WANT TO SEE WHAT OUR READERS ARE MAKING**
If you and this project come together, please share your photos with us
on our Facebook page or on Instagram (#eighteen25)
. . . . . .
Stay tuned for a new Silhouette promotion + giveaway!!
Jamie
Latest posts by Jamie (see all)
- Bird Feeders - May 24, 2019
- [2014 WISHlists] Jamie’s List - December 12, 2014
- Avery Custom Photo Gift Tags - December 2, 2014
What a great idea for reuse each year! Like stockings but Easter bags. Next year I'll have to do this for both my kids.
This year I'm making earth friendly type Easter baskets and everything's already bought.
But I Love your idea. I shall Pin it too!
This is precious!!!
This is a wonderful idea! I Love how it turned out. Thanks for sharing!
sandraallen260@centurytel.net
This is a great idea. My little ones are still in the pail stage so maybe in a couple years I will do this. But I can start by making cute designs for my daughter to match dresses now.
Your creativity never ceases to amaze us! Darn cute, girls! 🙂
Really nice idea..Thanks